M
Mark T.
Sydney, NSW
Absolutely stunning boat. The build quality is next level — VALMEX fabric feels indestructible. Delivery to Sydney was free and on time.
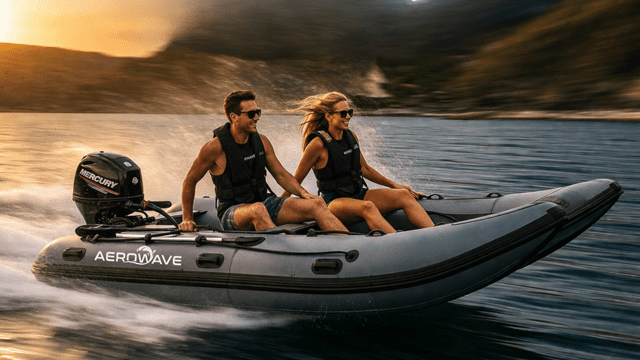
For the serious skipper
Australian-built. Commercial-grade fabric. FREE shipping Australia-wide. International shipping quotes available on request. One boat, built to outlast three. We're commercial skippers, not salespeople.
Based on 127 Google reviews
Mark T.
Sydney, NSW
Absolutely stunning boat. The build quality is next level — VALMEX fabric feels indestructible. Delivery to Sydney was free and on time.
Sarah W.
Gold Coast, QLD
We take the family out every weekend now. Rides like a dream and packs down small enough for the garage. Couldn't be happier.
Dave K.
Perth, WA
Best inflatable I've ever owned and I've had three. The 12 PSI air deck is rock solid. Customer service was excellent from start to finish.
Linda P.
Melbourne, VIC
Worth every dollar. Loaded it up with the family and gear and it cruised the bay all day. The Bimini saved us from the sun. Highly recommend.
Built on German VALMEX® 7321 Heavy Plus 1.2mm commercial-grade hulls — the same fabric used on workboats and rescue craft. One boat. 10–15 years. Backed by a 5–7 year hull warranty.
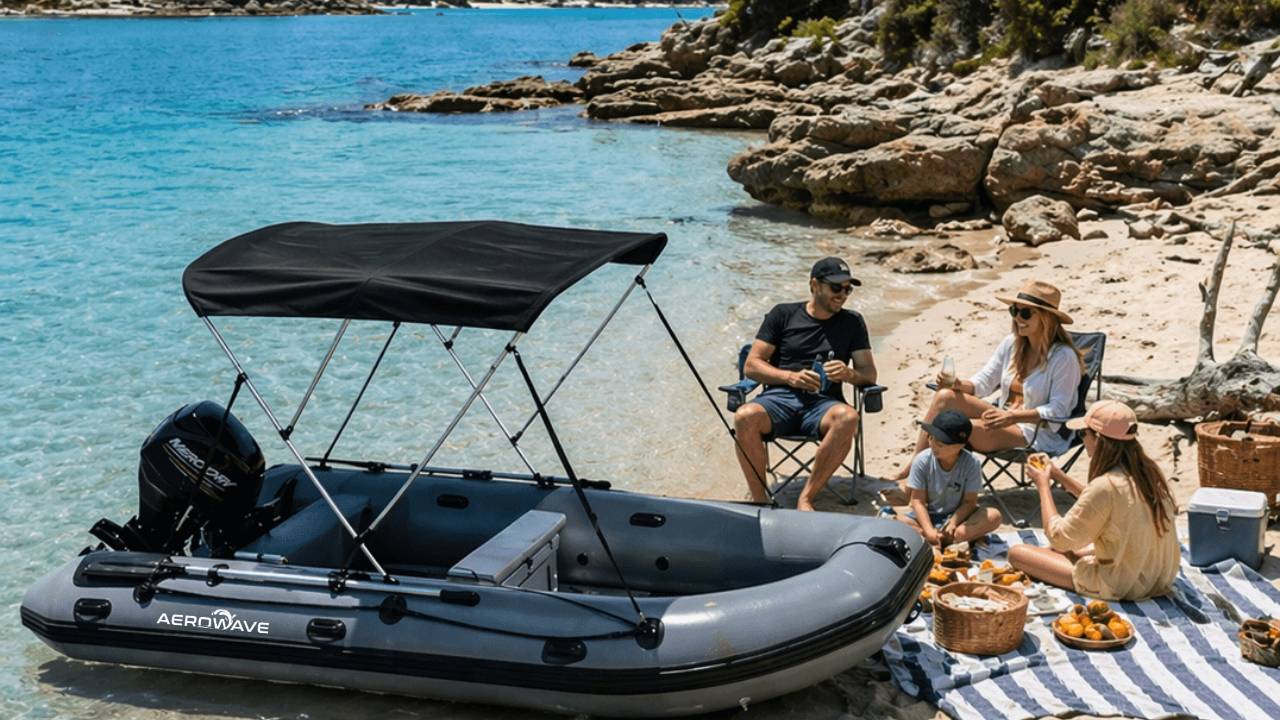
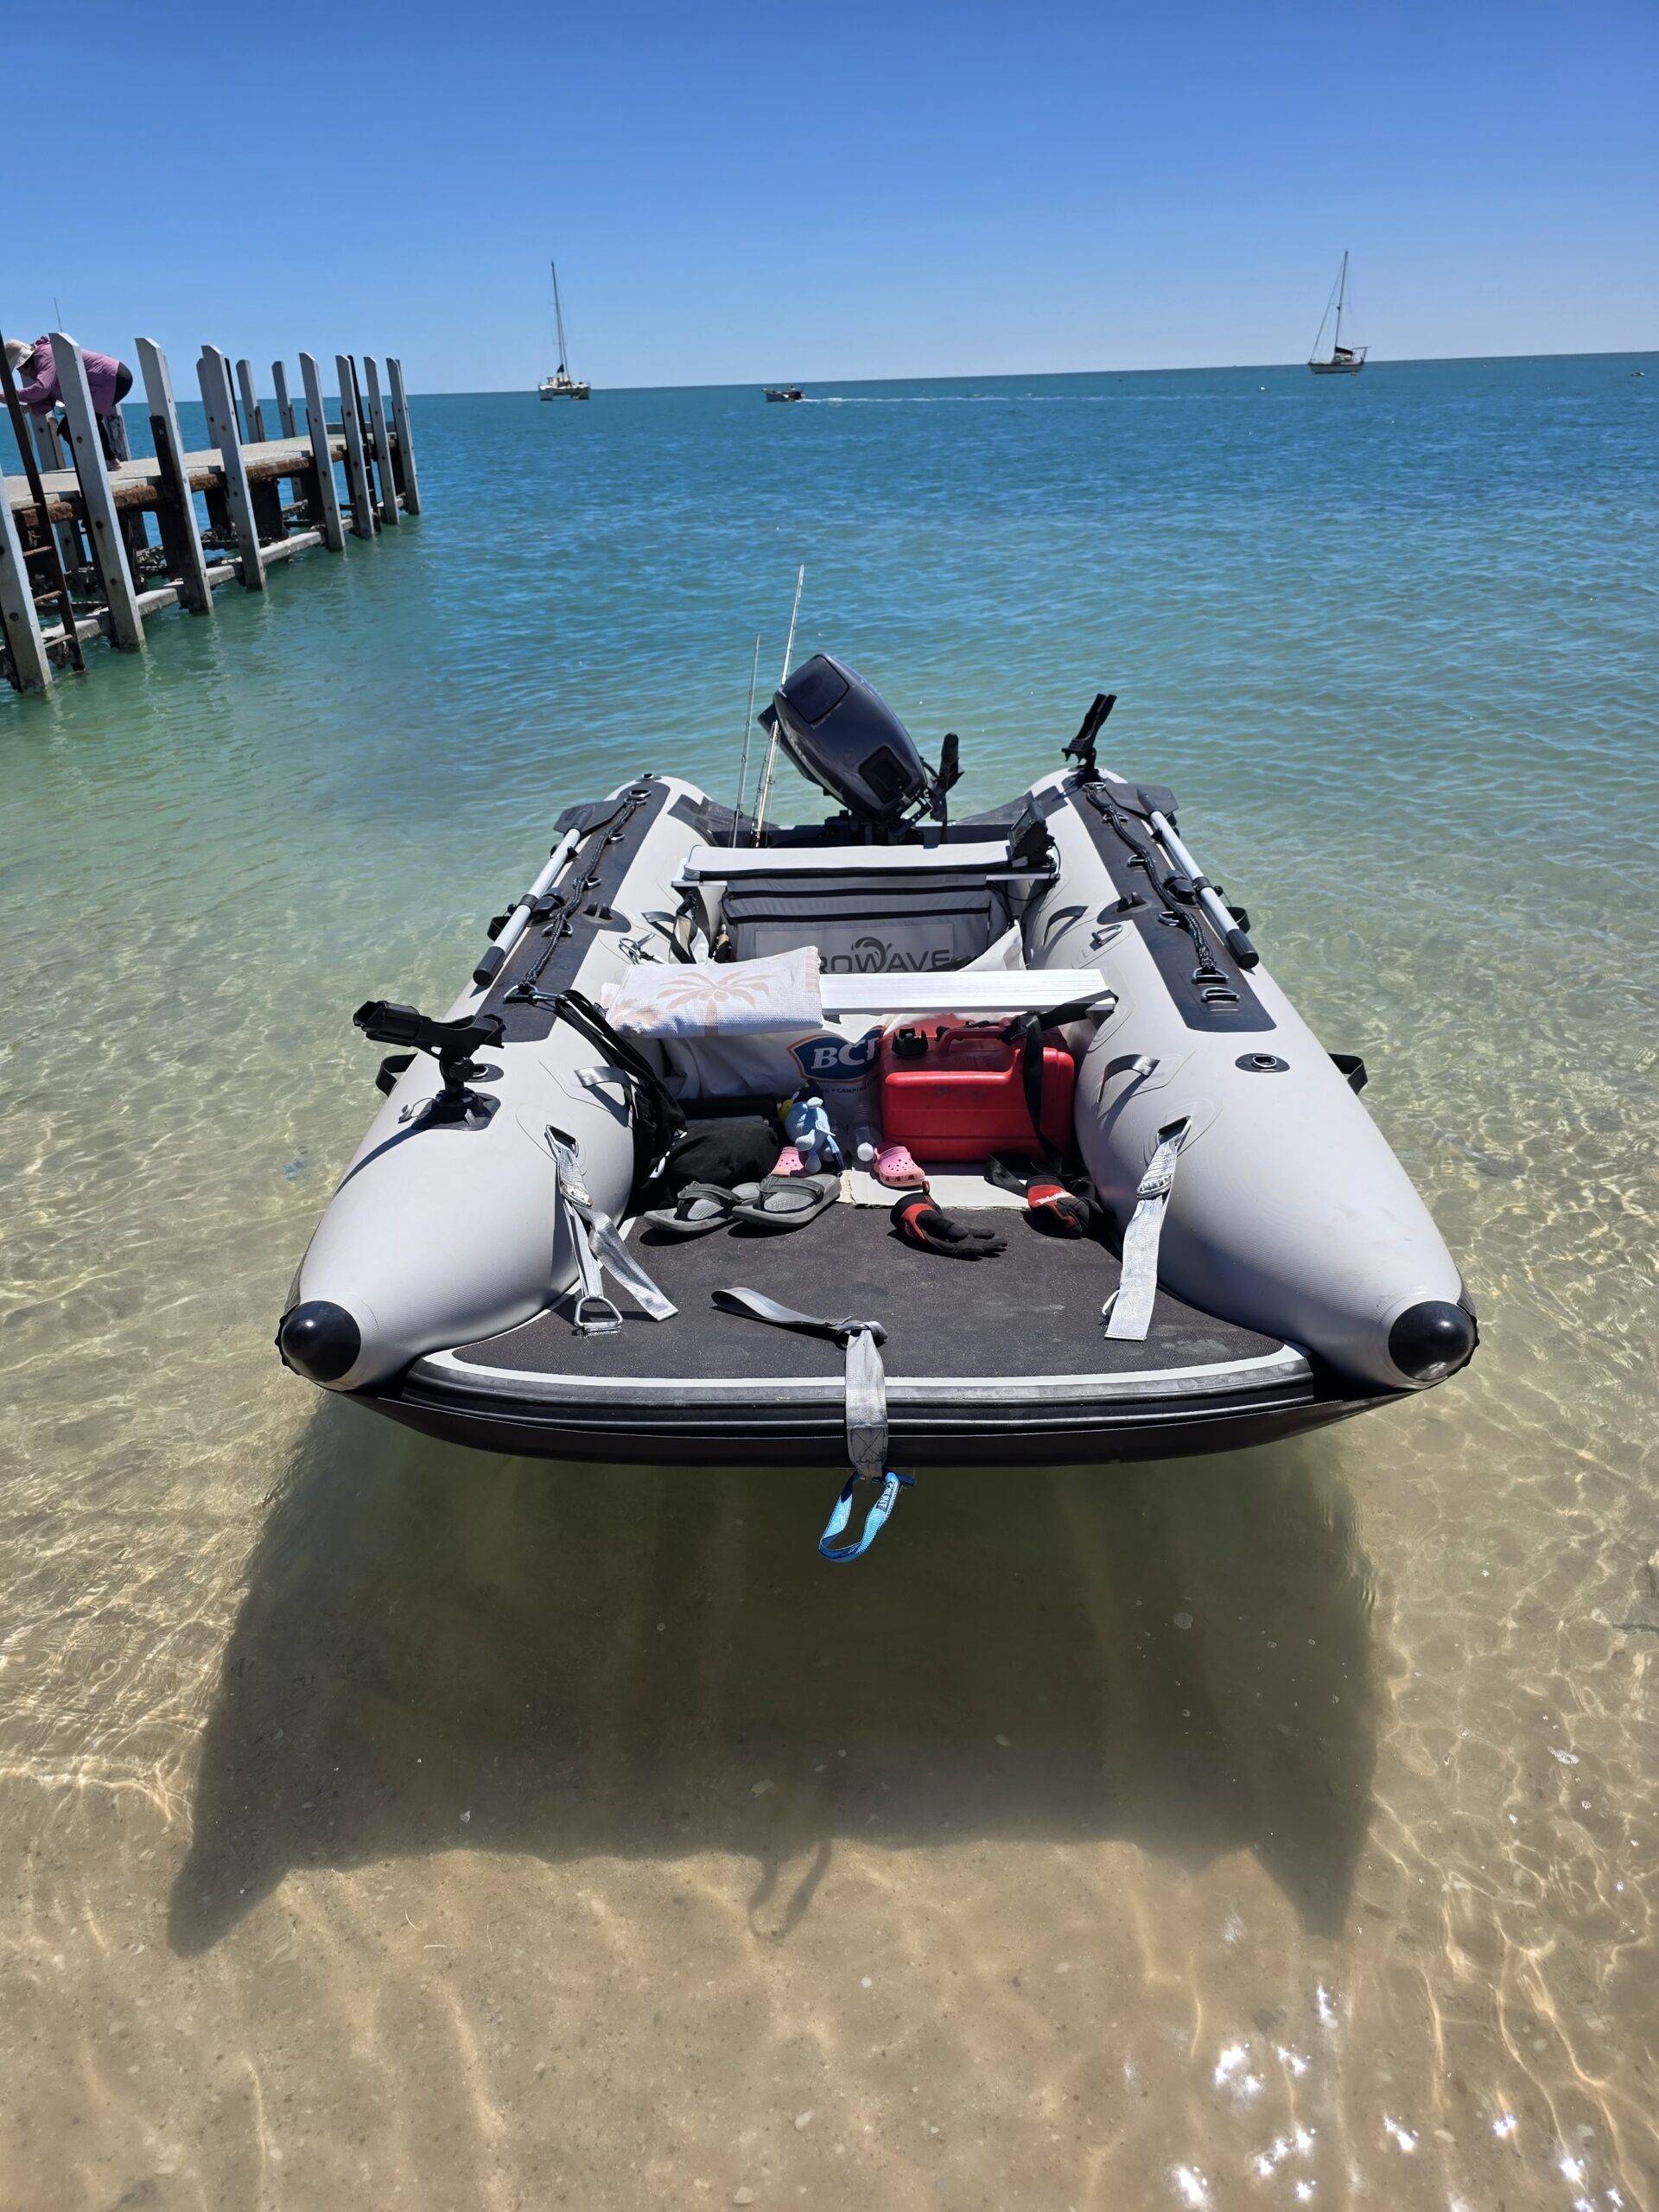
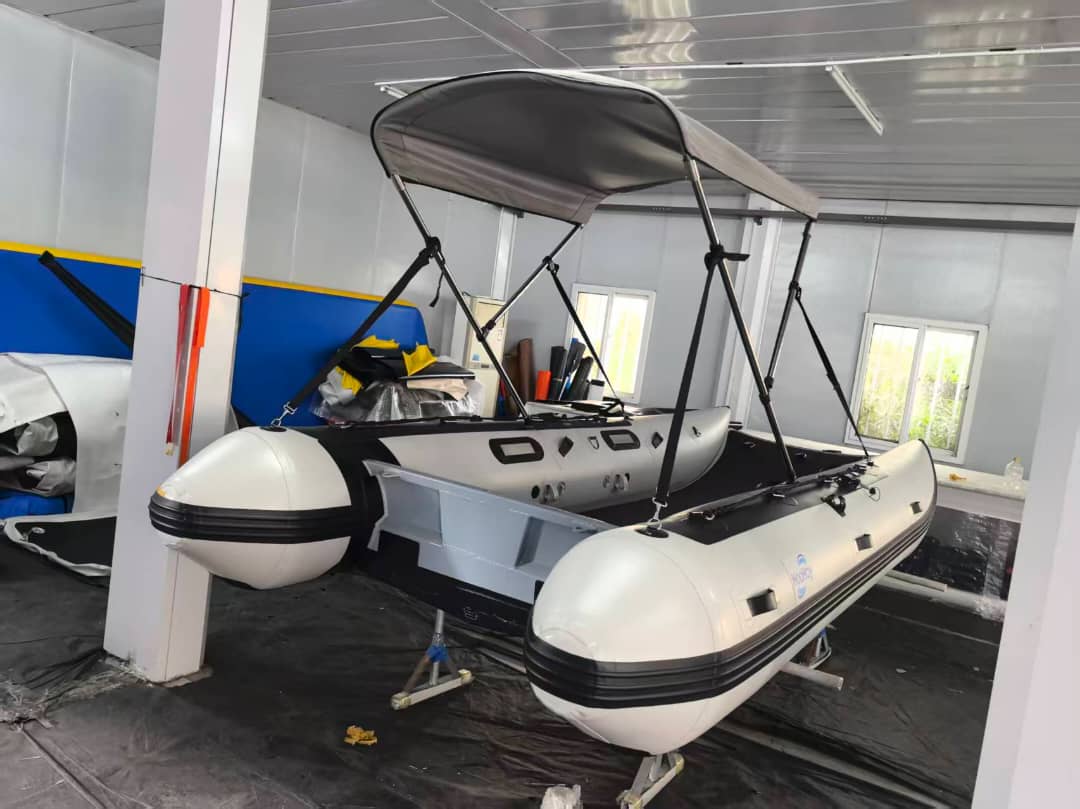
Flagship 4m enclosed-bow inflatable catamaran. German VALMEX® 7321 Heavy Plus 1.2mm commercial-grade fabric, 12 PSI air deck, LockPro wheels, full Bimini, 22 PSI lithium pump and FREE DDP Sea-Freight Australia-wide delivery included. Winter special — save $1,000 until 31 August 2026.
The premium 4m inflatable catamaran package built for Australian families, fishos and coastal adventure buyers who want stability, strength and real long-term value. Includes Full Grey Bimini, LockPro Plus Wheels, 22 PSI Lithium Pump, German VALMEX® 1.2mm fabric, 12 PSI hard-air-deck floor and FREE DDP Sea-Freight Australia-wide delivery.
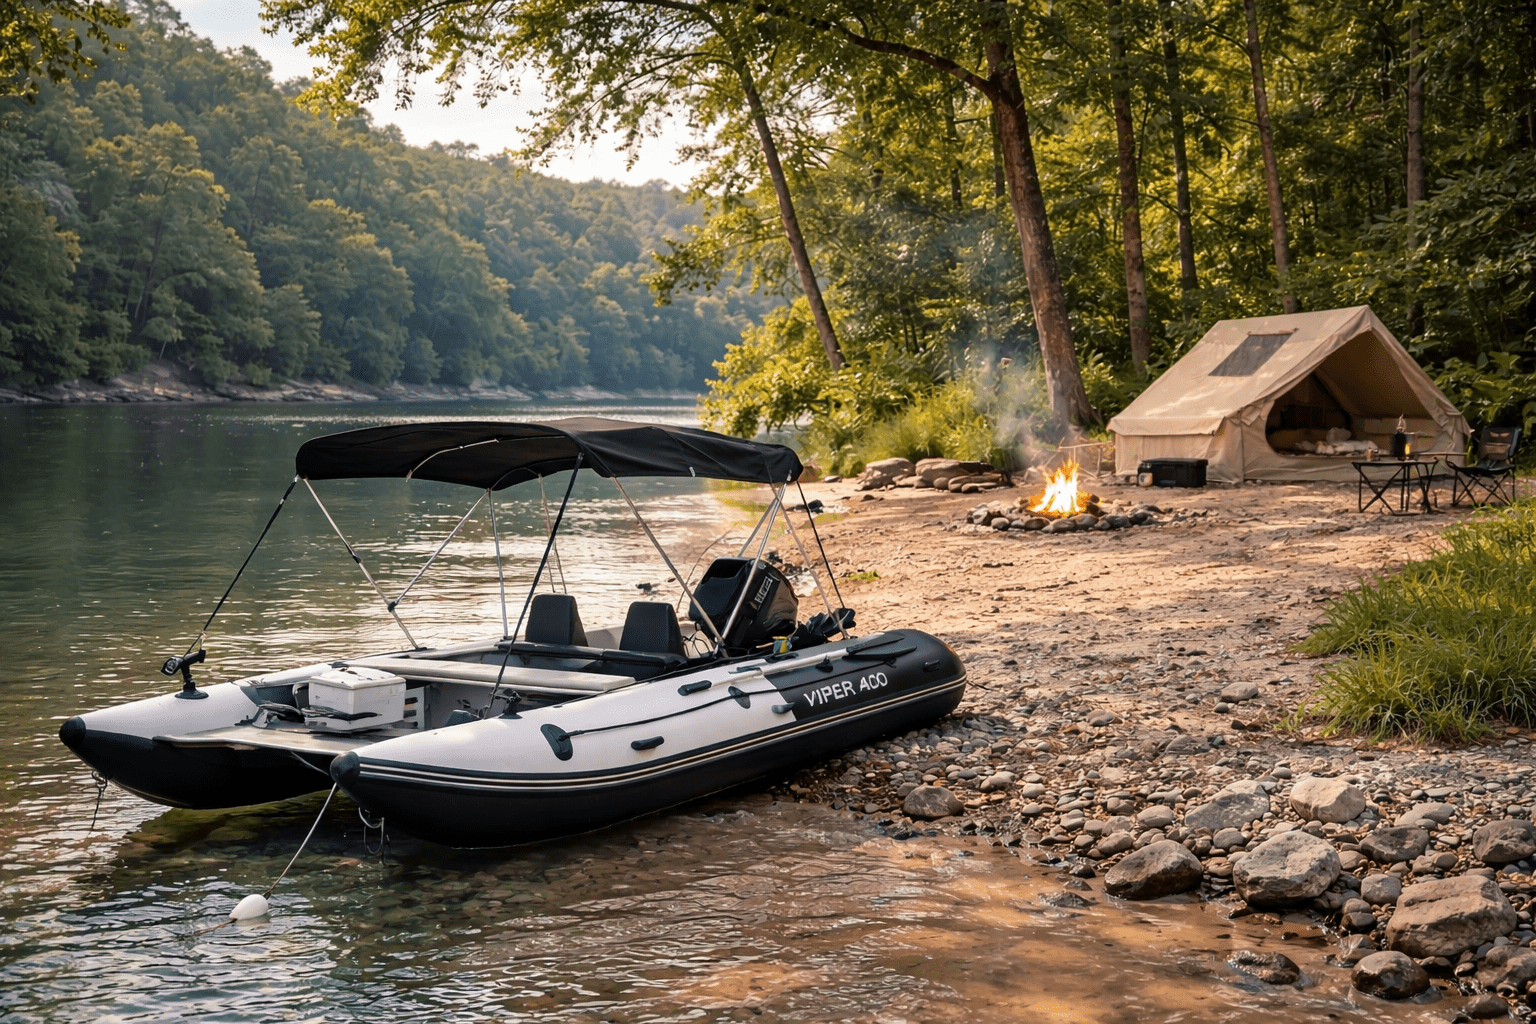
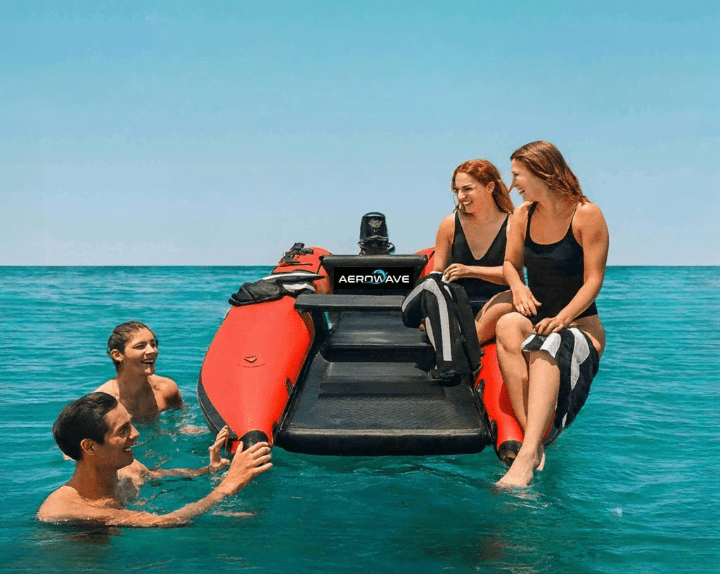
Complete boat-to-shore expedition system pairing the Viper 400 catamaran with the Aerowave Adventure Air Tent. From $4,400 — reach remote beaches, islands and rivers with a fast-deploy camp.
The compact premium Viper catamaran package built for buyers who want serious stability, easy transport, premium materials and real Australian support in a 3.3m boat. German VALMEX® 1.2mm fabric, 12 PSI hard-air-deck, 5-year warranty and FREE DDP Sea-Freight Australia-wide delivery.
Most competitors in this market only build in 0.9mm fabric. We give you the choice: 0.9mm VALMEX® on the AeroCat, 1.2mm VALMEX® Heavy Plus on the Viper (33% thicker hull), or step up to Orca CSM/Hypalon for the toughest tropical and commercial conditions.
Lightweight / tender
0.9mm VALMEX®
What most competitors build. We do too — on the AeroCat.
Serious skippers
1.2mm VALMEX® Heavy Plus
33% thicker than 0.9mm. Built on the Viper.
Premium upgrade
1.2mm Orca CSM/Hypalon
The fabric used on top-tier commercial RIBs.
One brand. Three hull grades. Pick the boat that matches how hard you push it.
Most brands cut to 0.9mm so the boat folds easier. We refused. Watch how easy our Viper 1.2mm catamarans still pack up, pack down, and stow — kit bag, caravan, or boot of the car.
Watch a full Aerowave Viper 1.2mm catamaran fold down and slide into a single Bluewater kit bag. 33% thicker than TrueKit — and still travel-ready. Caravan, ute tray, or RV gas-bottle nook: it stows.
From rolled-up to on-the-water and back again. Our commercial-grade 1.2mm Valmex doesn't punish you for going thicker — deflation and pack-down are just as fast as a flimsy 0.9mm tourer.
The fleet
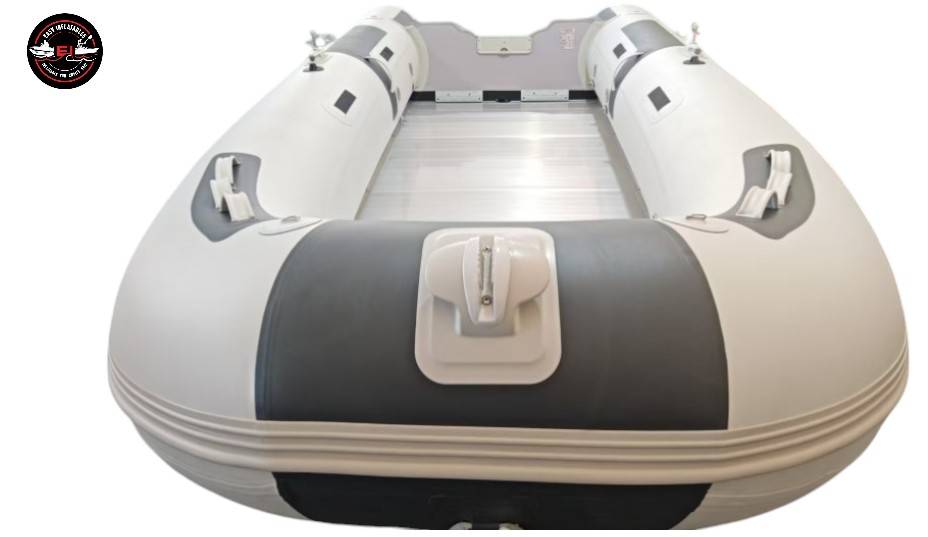
The WaveRunner 380 Series 3 is a premium 3.8m inflatable catamaran package built for Australian families, fishing, and coastal day boating, offering serious stability and premium German Valmex® construction.
Flagship 4m enclosed-bow inflatable catamaran. German VALMEX® 7321 Heavy Plus 1.2mm commercial-grade fabric, 12 PSI air deck, LockPro wheels, full Bimini, 22 PSI lithium pump and FREE DDP Sea-Freight Australia-wide delivery included. Winter special — save $1,000 until 31 August 2026.
The premium 4m inflatable catamaran package built for Australian families, fishos and coastal adventure buyers who want stability, strength and real long-term value. Includes Full Grey Bimini, LockPro Plus Wheels, 22 PSI Lithium Pump, German VALMEX® 1.2mm fabric, 12 PSI hard-air-deck floor and FREE DDP Sea-Freight Australia-wide delivery.
Complete boat-to-shore expedition system pairing the Viper 400 catamaran with the Aerowave Adventure Air Tent. From $4,400 — reach remote beaches, islands and rivers with a fast-deploy camp.
“Designed and tested in Australia by people who actually run these boats.”
Every hull is spec’d, welded and finished by a team that fishes, dives and tenders in the same waters you do.
Not sure which hull is right for you? Tell us how you'll use it — offshore, the bay, tender duty, family weekends — and we'll match you with the perfect boat from our fleet.
Add-ons
Genuine extras tested with our hulls — launching wheels, lithium pumps, sea scooters, covers and more.
Premium Australian-made bundle: heavy-duty Boat Bag + Wheel Bag in 700gsm ripstop PVC. Built to suit Aerowave catamaran series — better protection, smarter storage, more value.
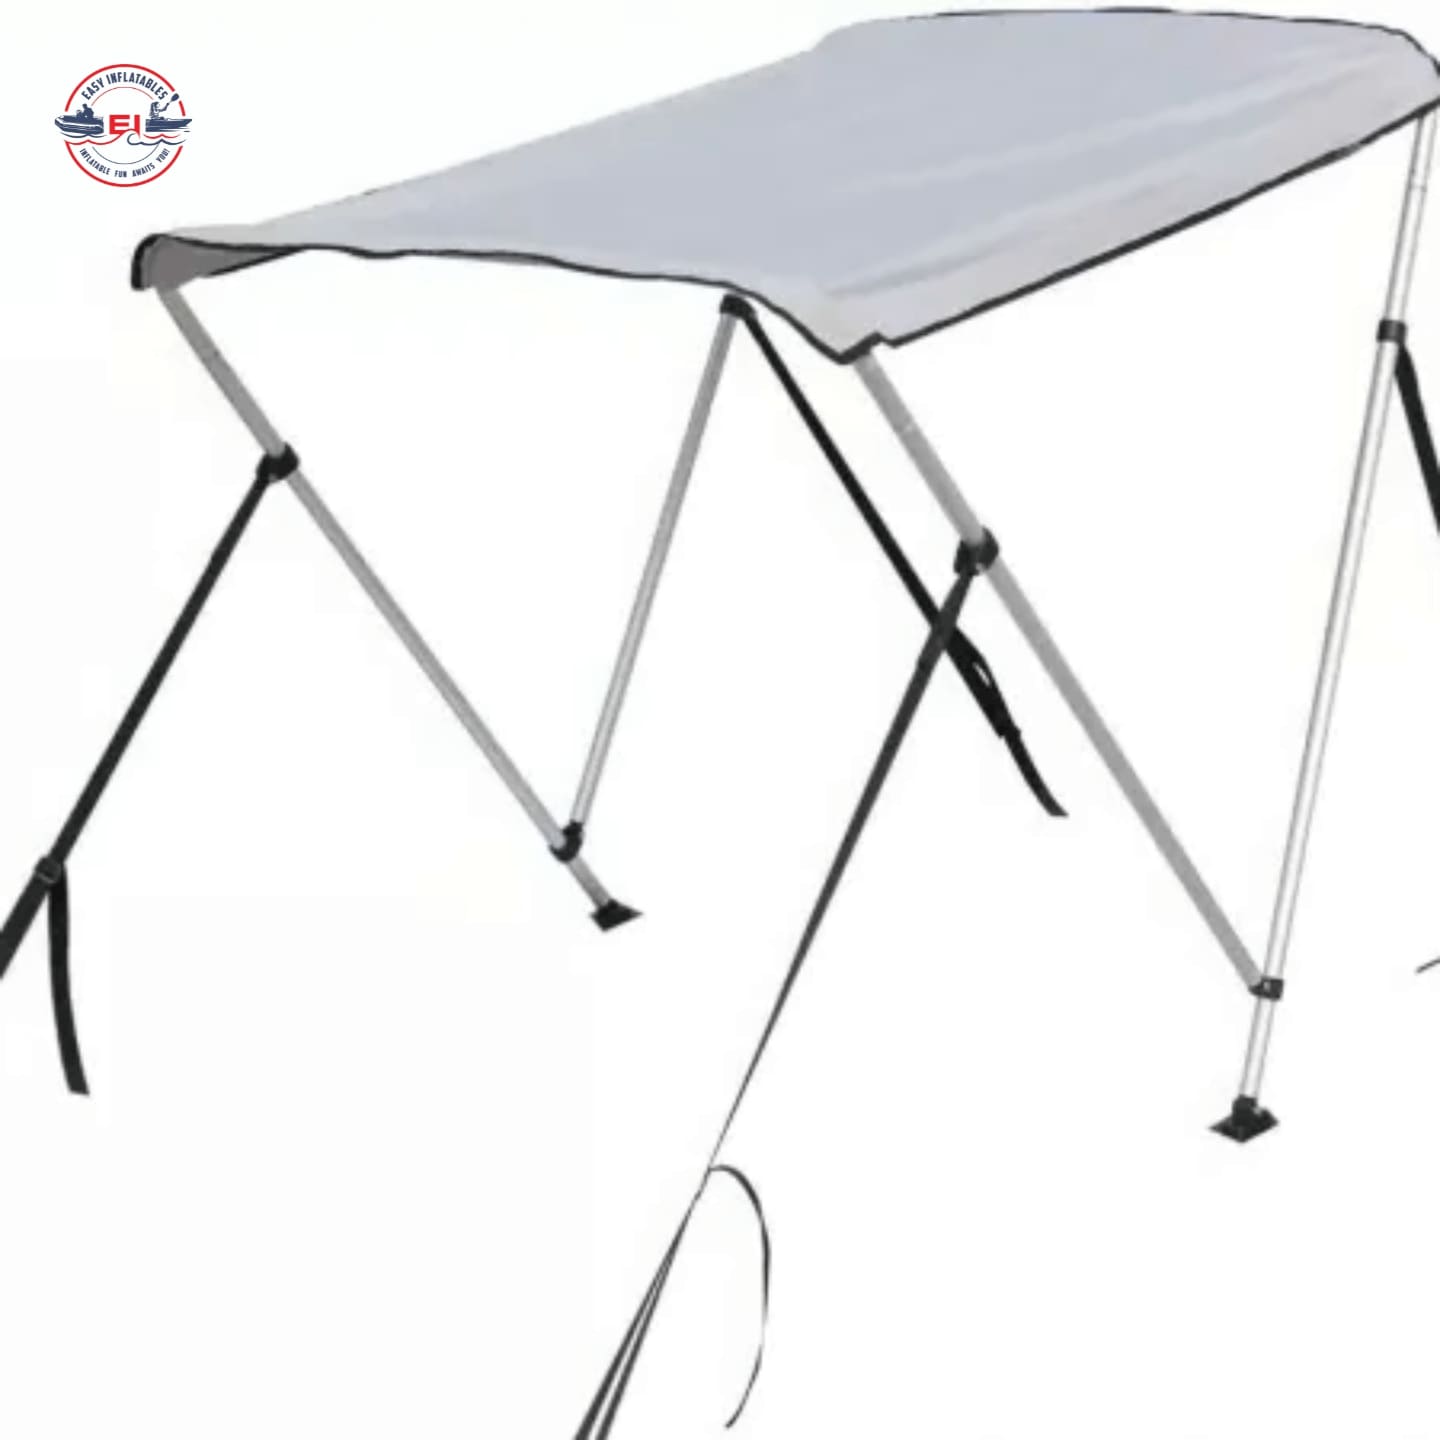
Lightweight inflatable UV sun-shade canopy for inflatable boats, SIBs and catamarans. Fast setup, compact storage and premium UV protection for Australian boating.
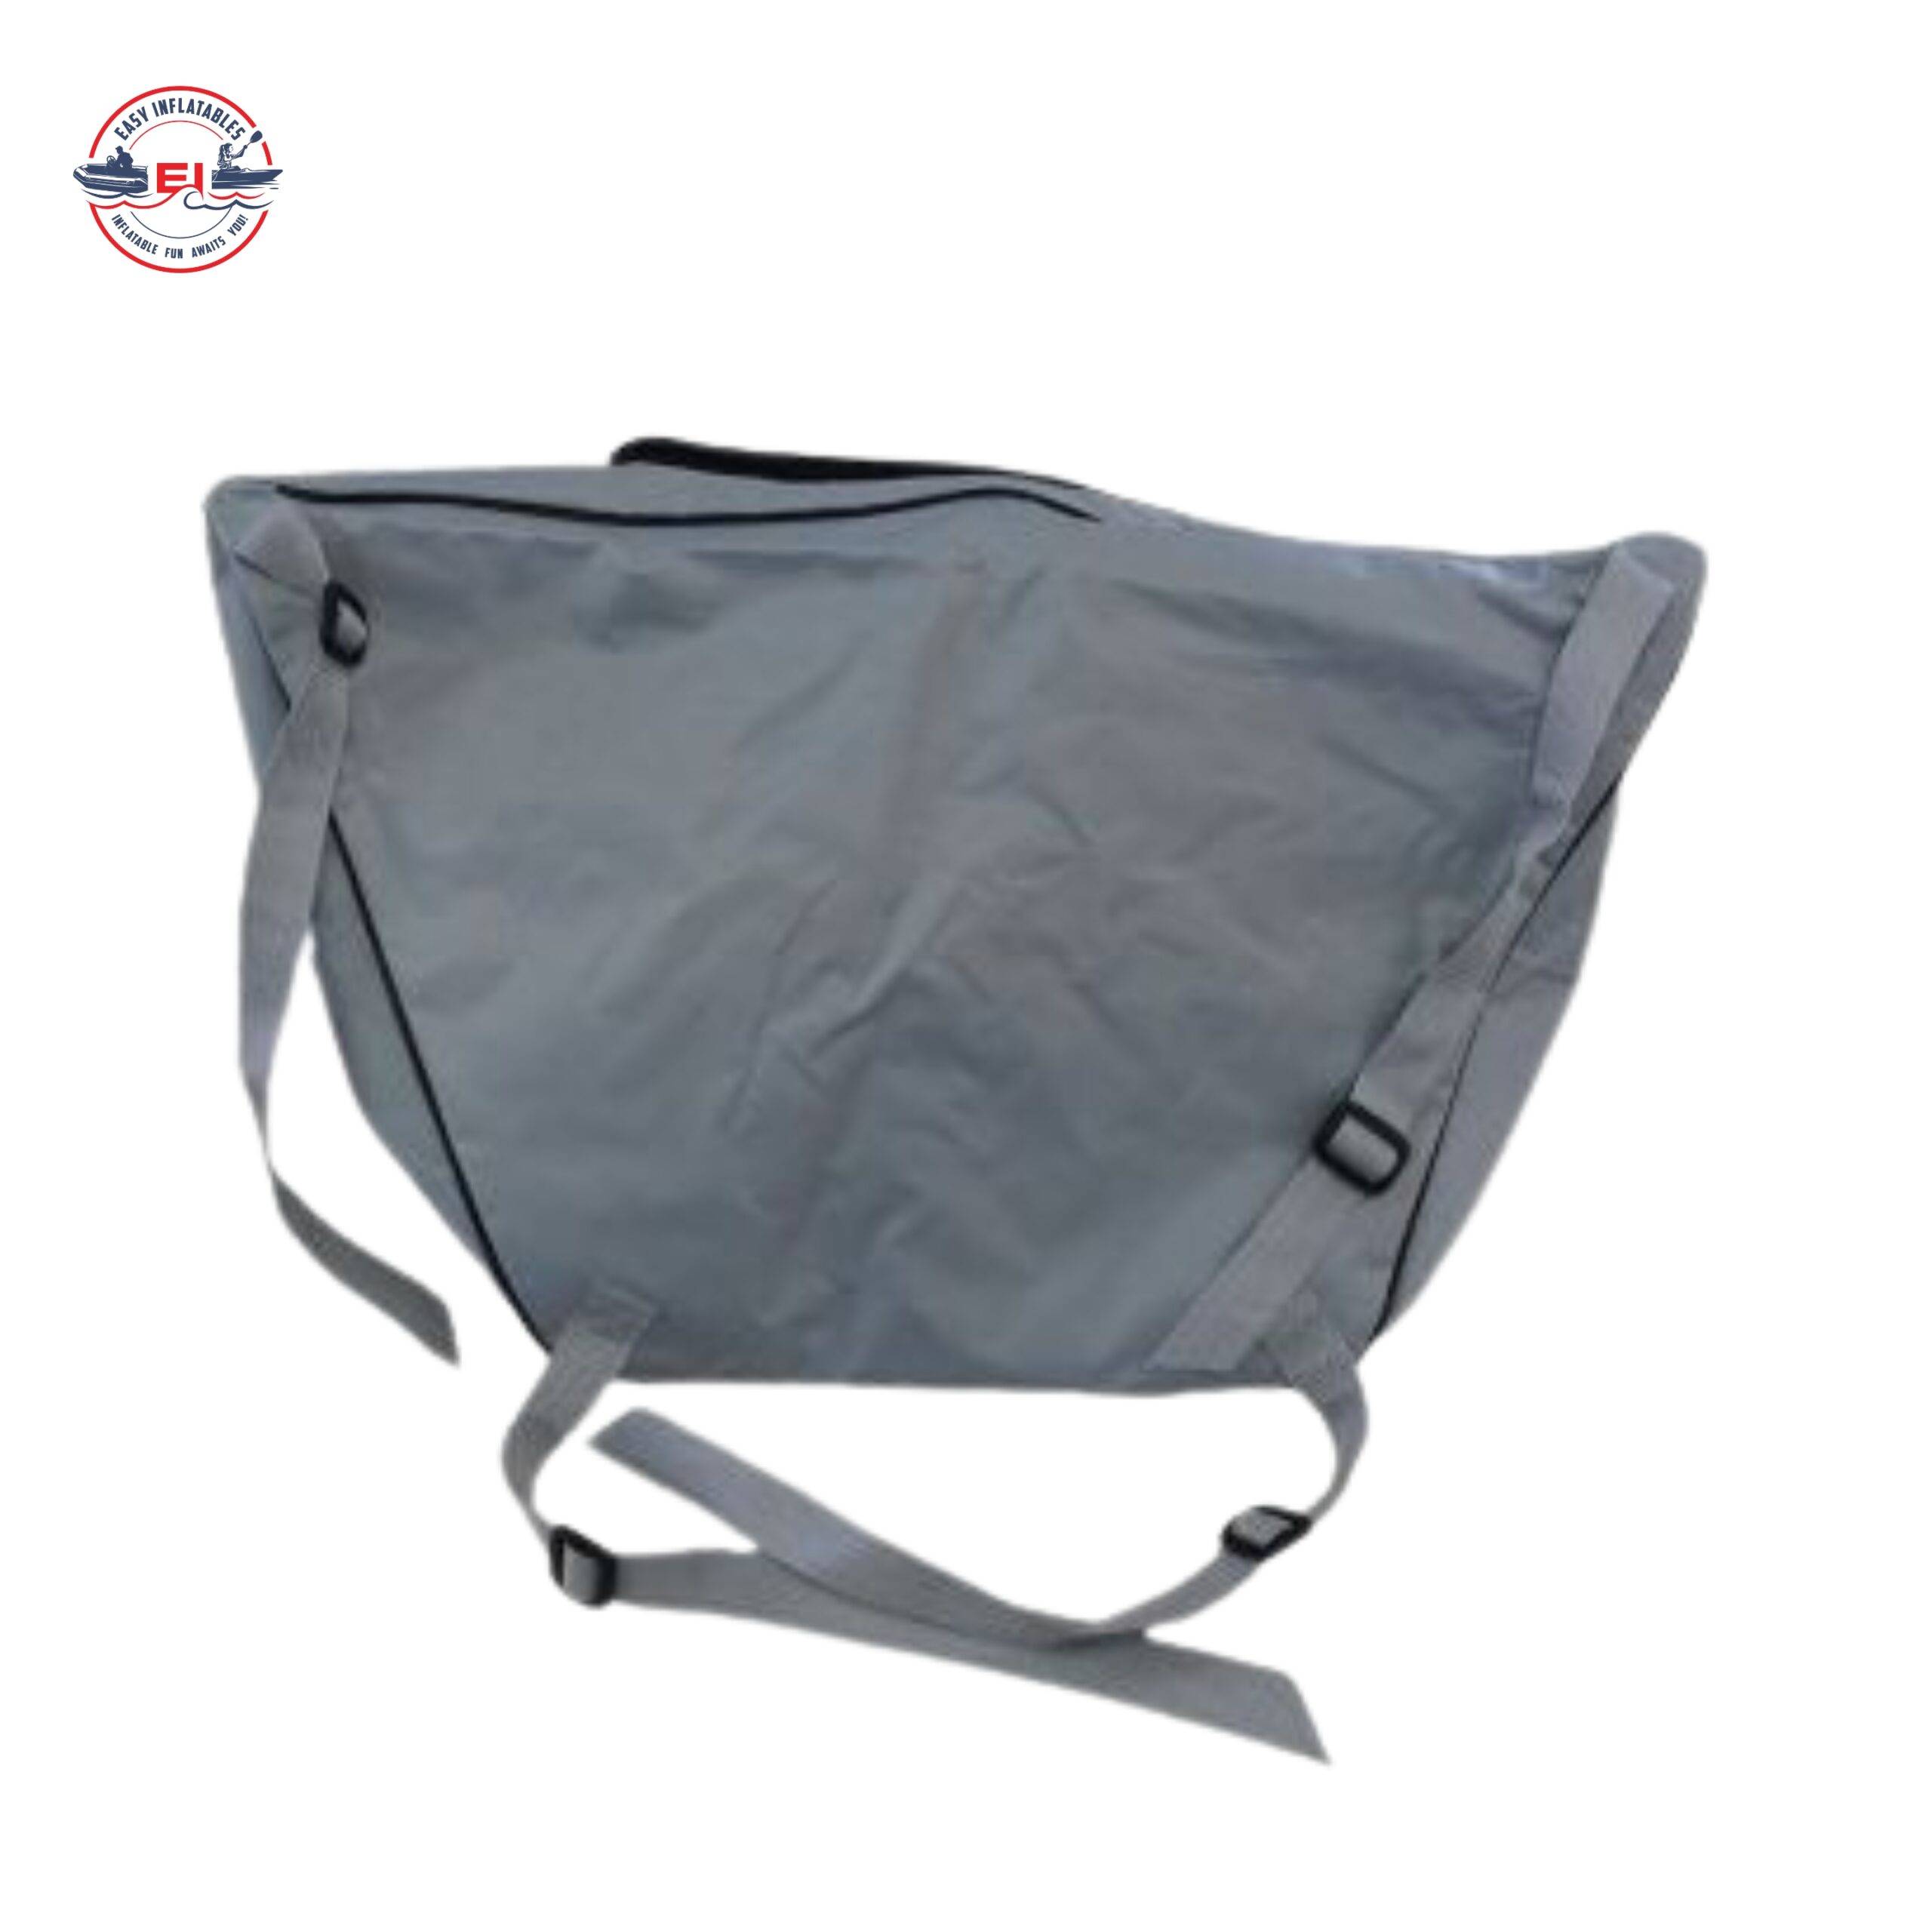
Grey Oxford cloth waterproof heavy-duty bow storage bag for Aerowave Sports and Expedition inflatable boats. Secure adjustable strap system, free Australia-wide shipping.
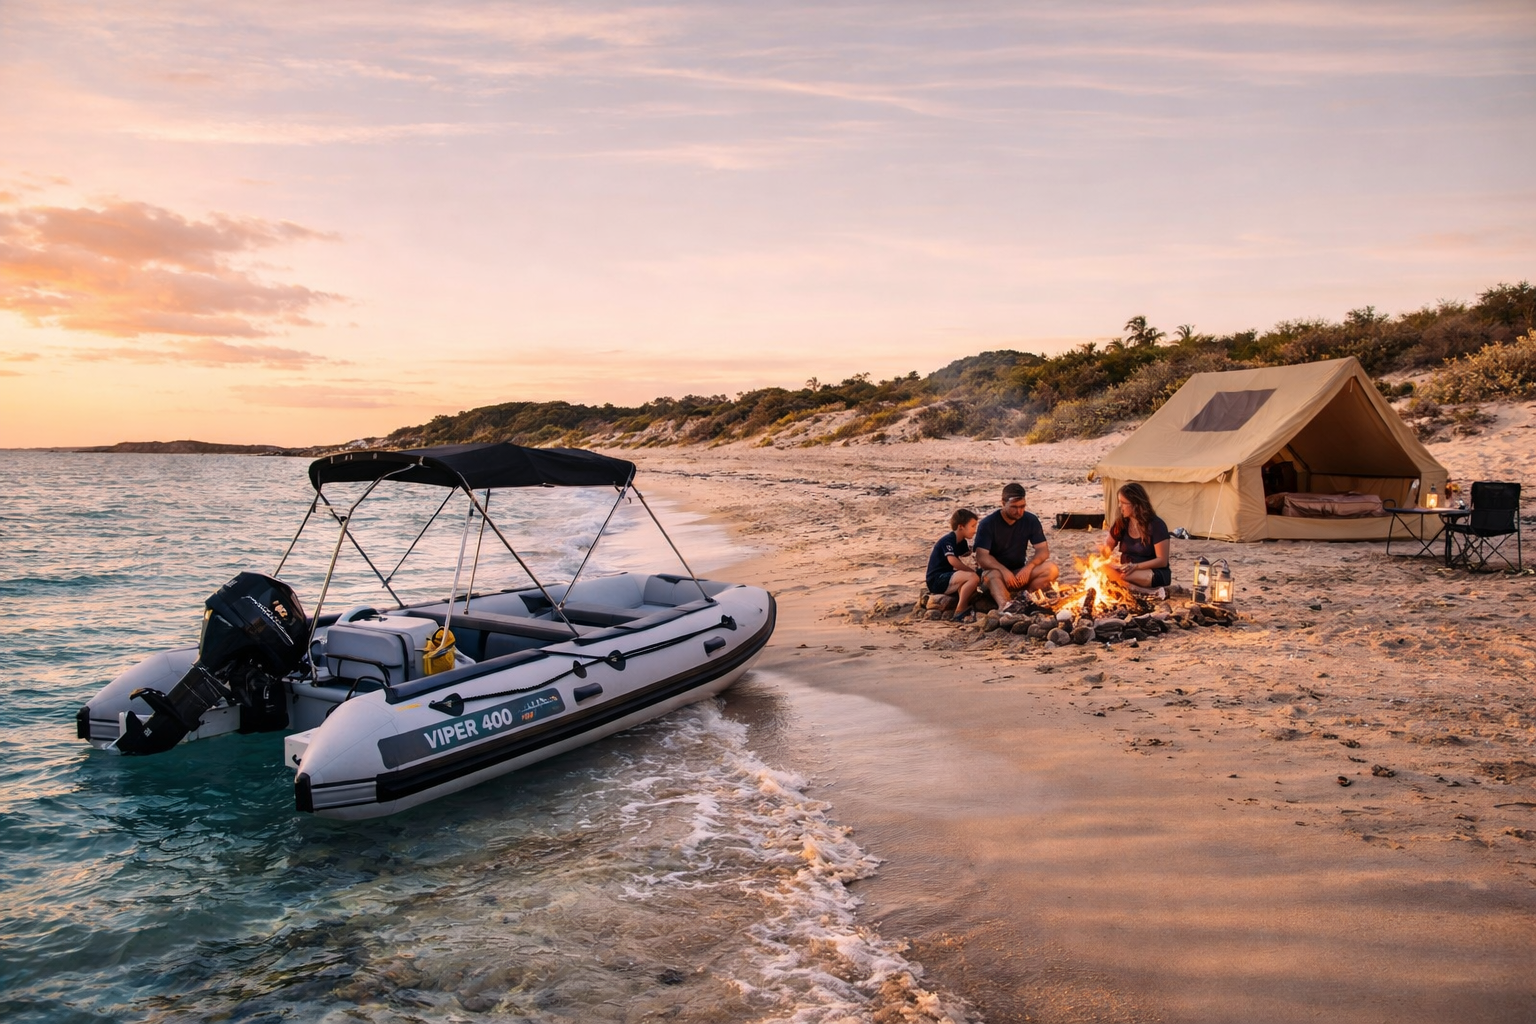
Premium inflatable air tent with 5–8 minute setup, 600D Oxford fabric, 5000mm waterproofing, and a spacious 6-person design. Built for boat-based Australian adventures.
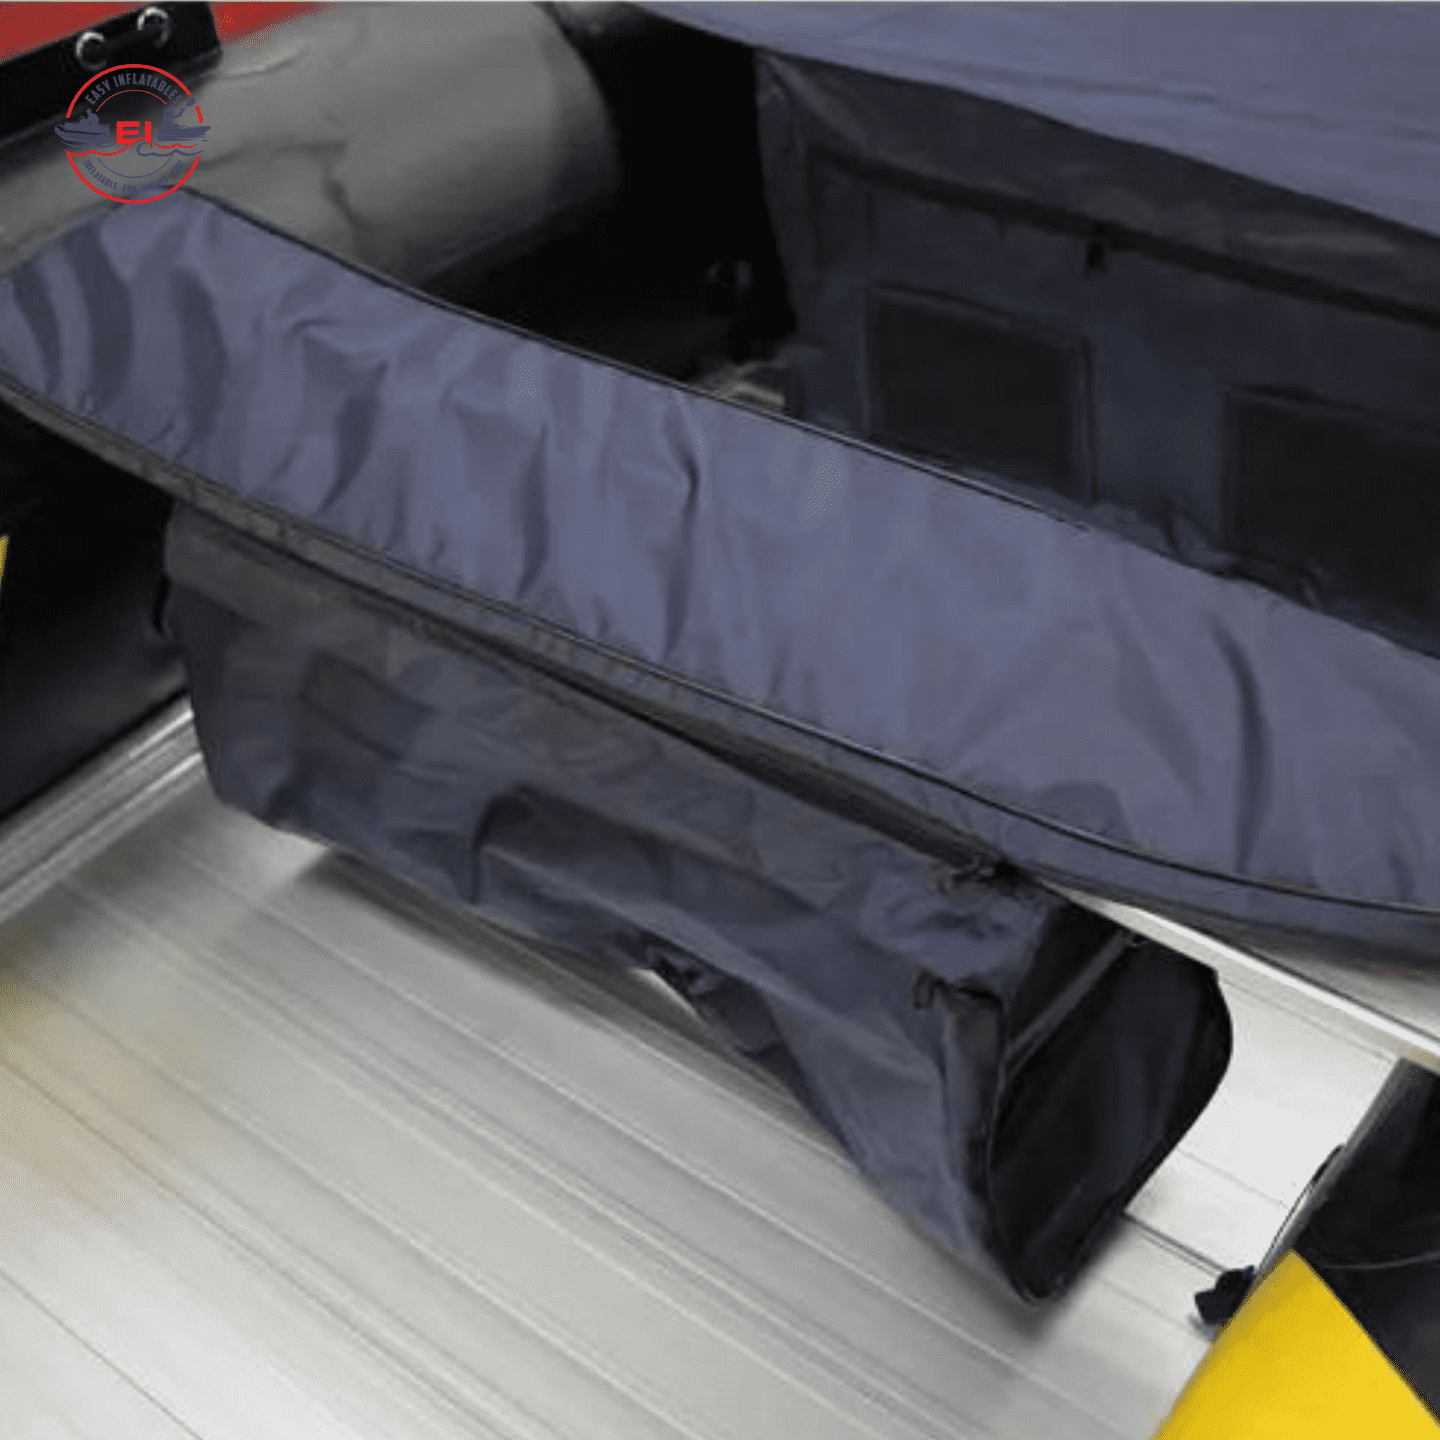
Inflatable Boat Underseat Bag Australia – 100% waterproof hidden storage, custom-fit for Aerowave Sports, Expedition and Tender inflatable boats. Keeps decks clear and gear protected.
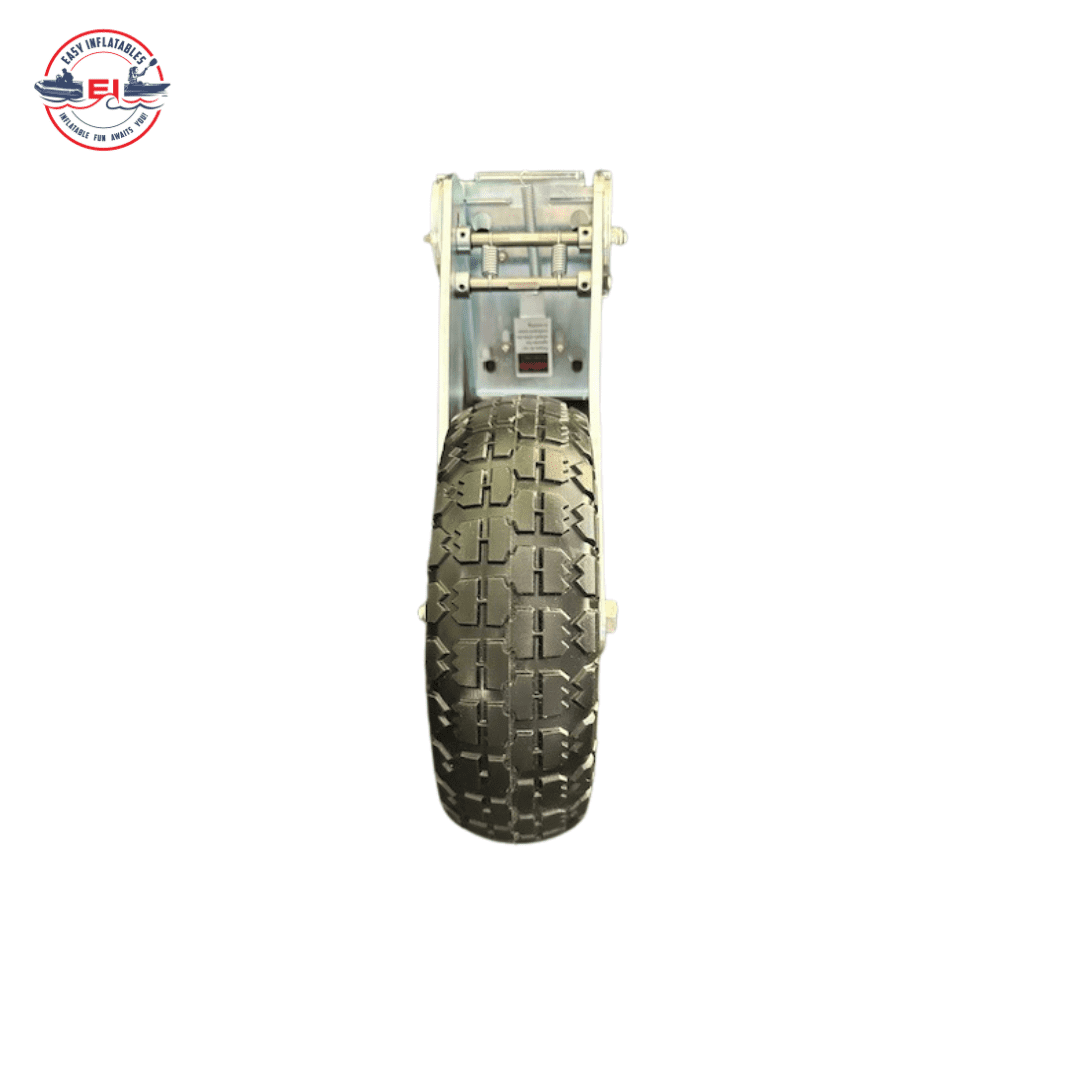
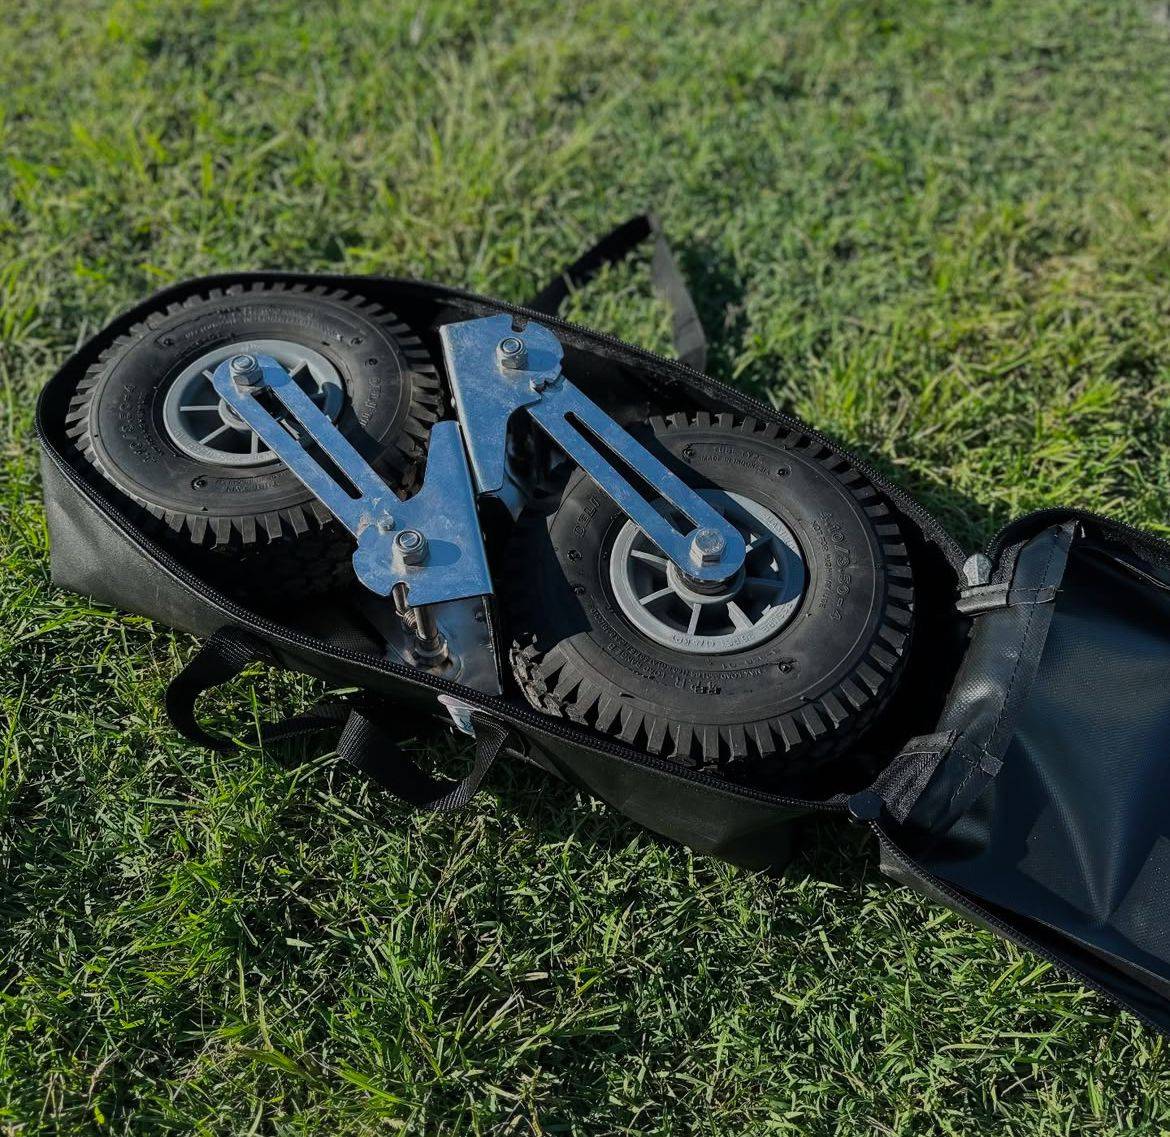
The LockPro Plus Inflatable Boat Wheel Set offers a premium solution for easy and safe loading of inflatable boats, featuring an Italian stainless steel quick-lock system.
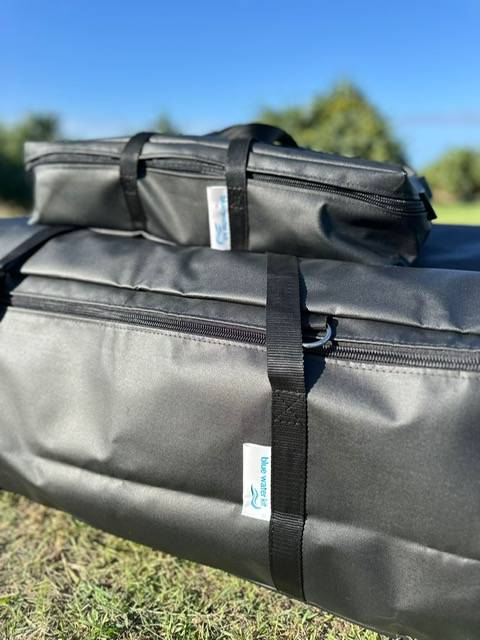
Premium Australian made inflatable boat bags built for durability and organization on the water.
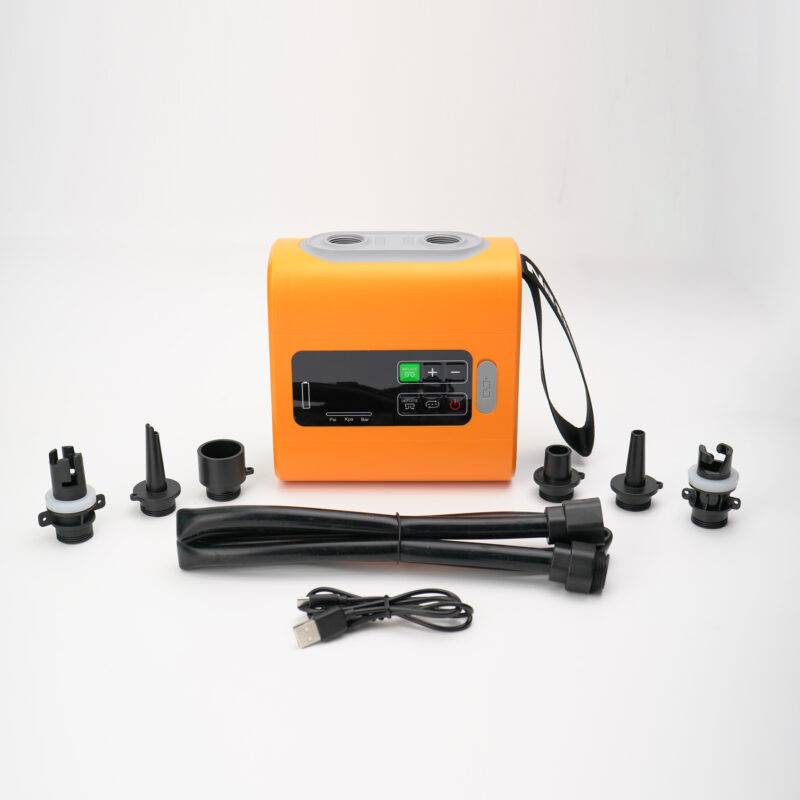
A portable lithium electric pump built for inflatable boats and SUPs, ensuring faster setup and accurate pressure.
Most inflatables use 0.7–0.9mm light VALMEX or PVC — perfect for a quick-fold "boat in a bag", but they tap out at 3–5 years. Our hulls are built from German VALMEX® 7321 Heavy Plus 1.2mm commercial-grade fabric — the same stuff used on workboats and rescue craft. Buy once. Use it for 10–12 years.
1.2mm commercial grade
33.3% thicker than Valmex 0.9mm.
10–12 year lifespan
Designed to outlast 2–3 light-duty boats.
5–7 year hull warranty
Years 1–5 comprehensive. Years 6–7 major structural cover.
Hull fabric
Easy Inflatables
Light inflatables
Aluminium
Real-world lifespan
Easy Inflatables
Light inflatables
Aluminium
Cost over 15 years
Easy Inflatables
Light inflatables
Aluminium
Abrasion & UV resistance
Easy Inflatables
Light inflatables
Aluminium
Stows in the boot
Easy Inflatables
Light inflatables
Aluminium
On-water stability
Easy Inflatables
Light inflatables
Aluminium
Warranty
Easy Inflatables
Light inflatables
Aluminium
Delivery
Easy Inflatables
Light inflatables
Aluminium
The math is simple.
One Easy Inflatables boat = 2–3 light-duty inflatables. Pay once, boat for 10–12 years.
Warranty, registration, finance, delivery and the bits in between. Can't see your question? The crew is one call away.
Easy Inflatables boats can be registered in any Australian state or territory. To register your boat you'll typically need:
All our boats comply with the Recreational Craft and Personal Watercraft Directive 2013/53/EU and are correctly listed on the CE plate. In NSW and some other states you'll also need a Boat Code Certificate (typically from $120 via mobile certifiers in most areas). We supply every document you need to support the process.
Why we don't have boats sitting in a warehouse
We get asked it every week: "Why can't I just buy one off the shelf today?"Because the moment we start stacking 50 identical boats in a warehouse, we stop building the boat you actually need — and start building the boat that's easiest for us to ship.
That's the production-boat compromise. It's not ours. Every Aerowave catamaran and monohull is hand-built to your order, with the rod holders, transom reinforcement, bow gear, layout and colours you specify — not a marketing department.
Serious fisho? Tell us how many and where. We build them into the tube layout — not bolt-on afterthoughts.
Running a bigger outboard or twin setup? We reinforce the transom for the load you actually plan to push.
Diving, snorkelling, kids off the bow — we build access points where you need them, not where a template says.
Hull colours, seat positions, console placement, T-top, bimini config — your boat, your choices.
The honest difference
Other brands run on production-line logic — 50 boats, all built the same way, just different colours. That works if you fit the average. Most serious owners don't. The boat you remember 5 years from now is the one that was built around how you actually use it.
Hidea 4-stroke outboards — 2.5HP to 20HP EFI, 5-year warranty, Australia-wide delivery.
Build slot openings, new guides, owner tips and the occasional voucher. No spam, unsubscribe anytime.