
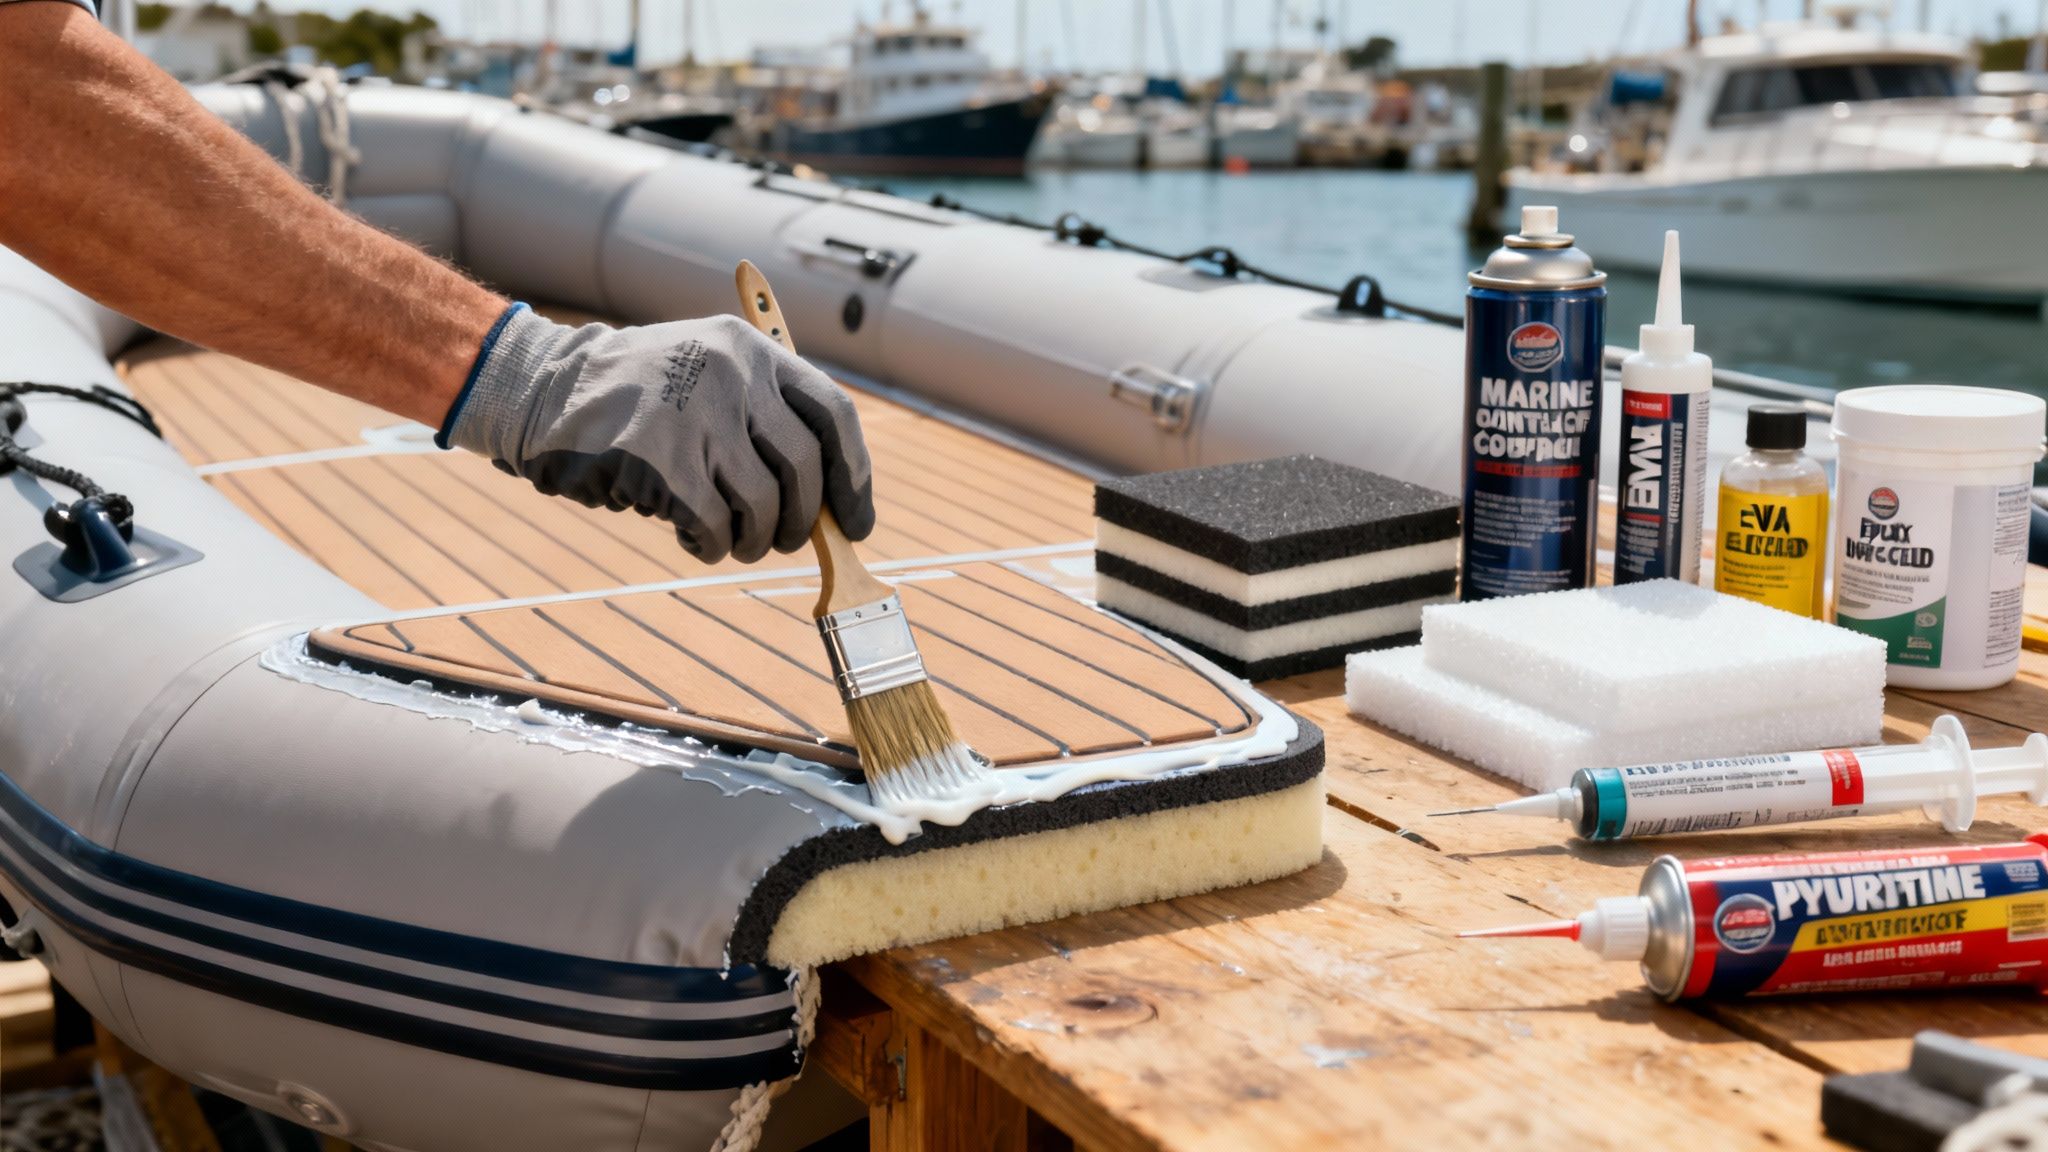
Picking the right glue for foam on your inflatable boat isn’t just a small detail—it’s everything. For a repair or upgrade that lasts, you need a specialised marine-grade adhesive like a two-part polyurethane or contact cement. These are the only glues that create the flexible, waterproof bond you need for materials like EVA foam decking on PVC or Hypalon boat fabrics. Your standard household glue just won’t survive the harsh Australian marine environment.
Attaching foam to an inflatable—whether it’s comfortable EVA decking, polyethylene seat cushions, or protective padding—takes more than just a strong glue. It demands a bonding agent that’s specifically made to handle the unique challenges of being on the water.
Think of it this way: you wouldn’t use regular house paint on the bottom of a boat, right? The same logic applies here. The constant exposure to saltwater, harsh UV rays, and the endless flexing of the boat’s tubes will destroy standard adhesives. Before you know it, you’ll see peeling, cracking, and a complete bond failure.
A proper marine glue for foam is designed to be your boat’s best mate, offering a mix of features that your average hardware store product simply can’t match. To get it right, you need an adhesive that can:
This guide is your roadmap to getting a professional-grade bond every time. We’ll walk through the different types of foams and the specific glues that work best with them. If your project involves more than just foam, our complete guide on inflatable boat rubber repair has you covered with tips for various other materials.
By understanding what makes a strong bond, you can make sure your upgrades don’t just look great, but also add to the safety and life of your vessel.
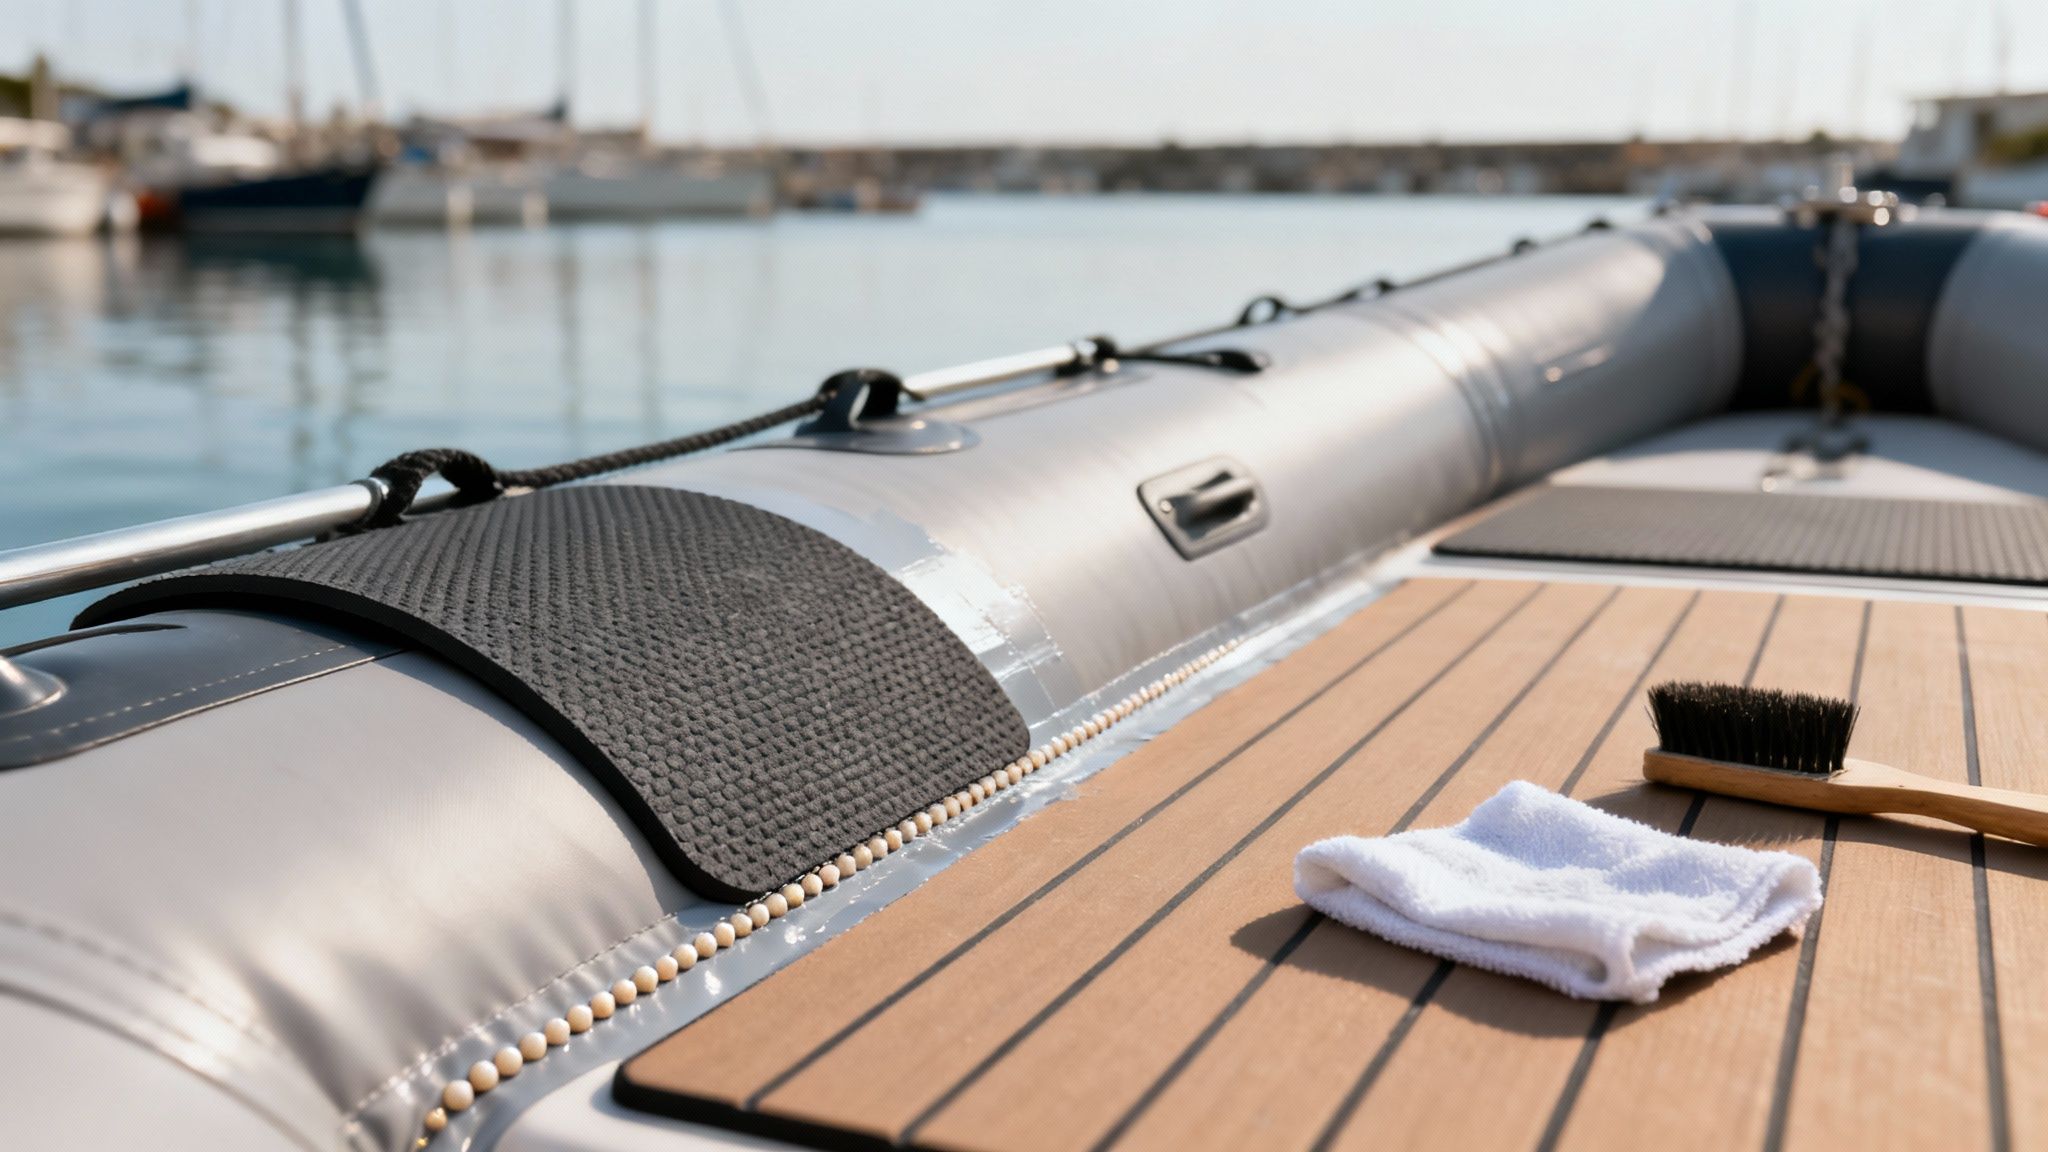
Before you even think about picking up a tube of glue, you need to know exactly what kind of foam you’re working with. Not all foams are the same, and their unique properties will make or break your project. The right adhesive creates a permanent, waterproof bond; the wrong one can turn into a sticky disaster.
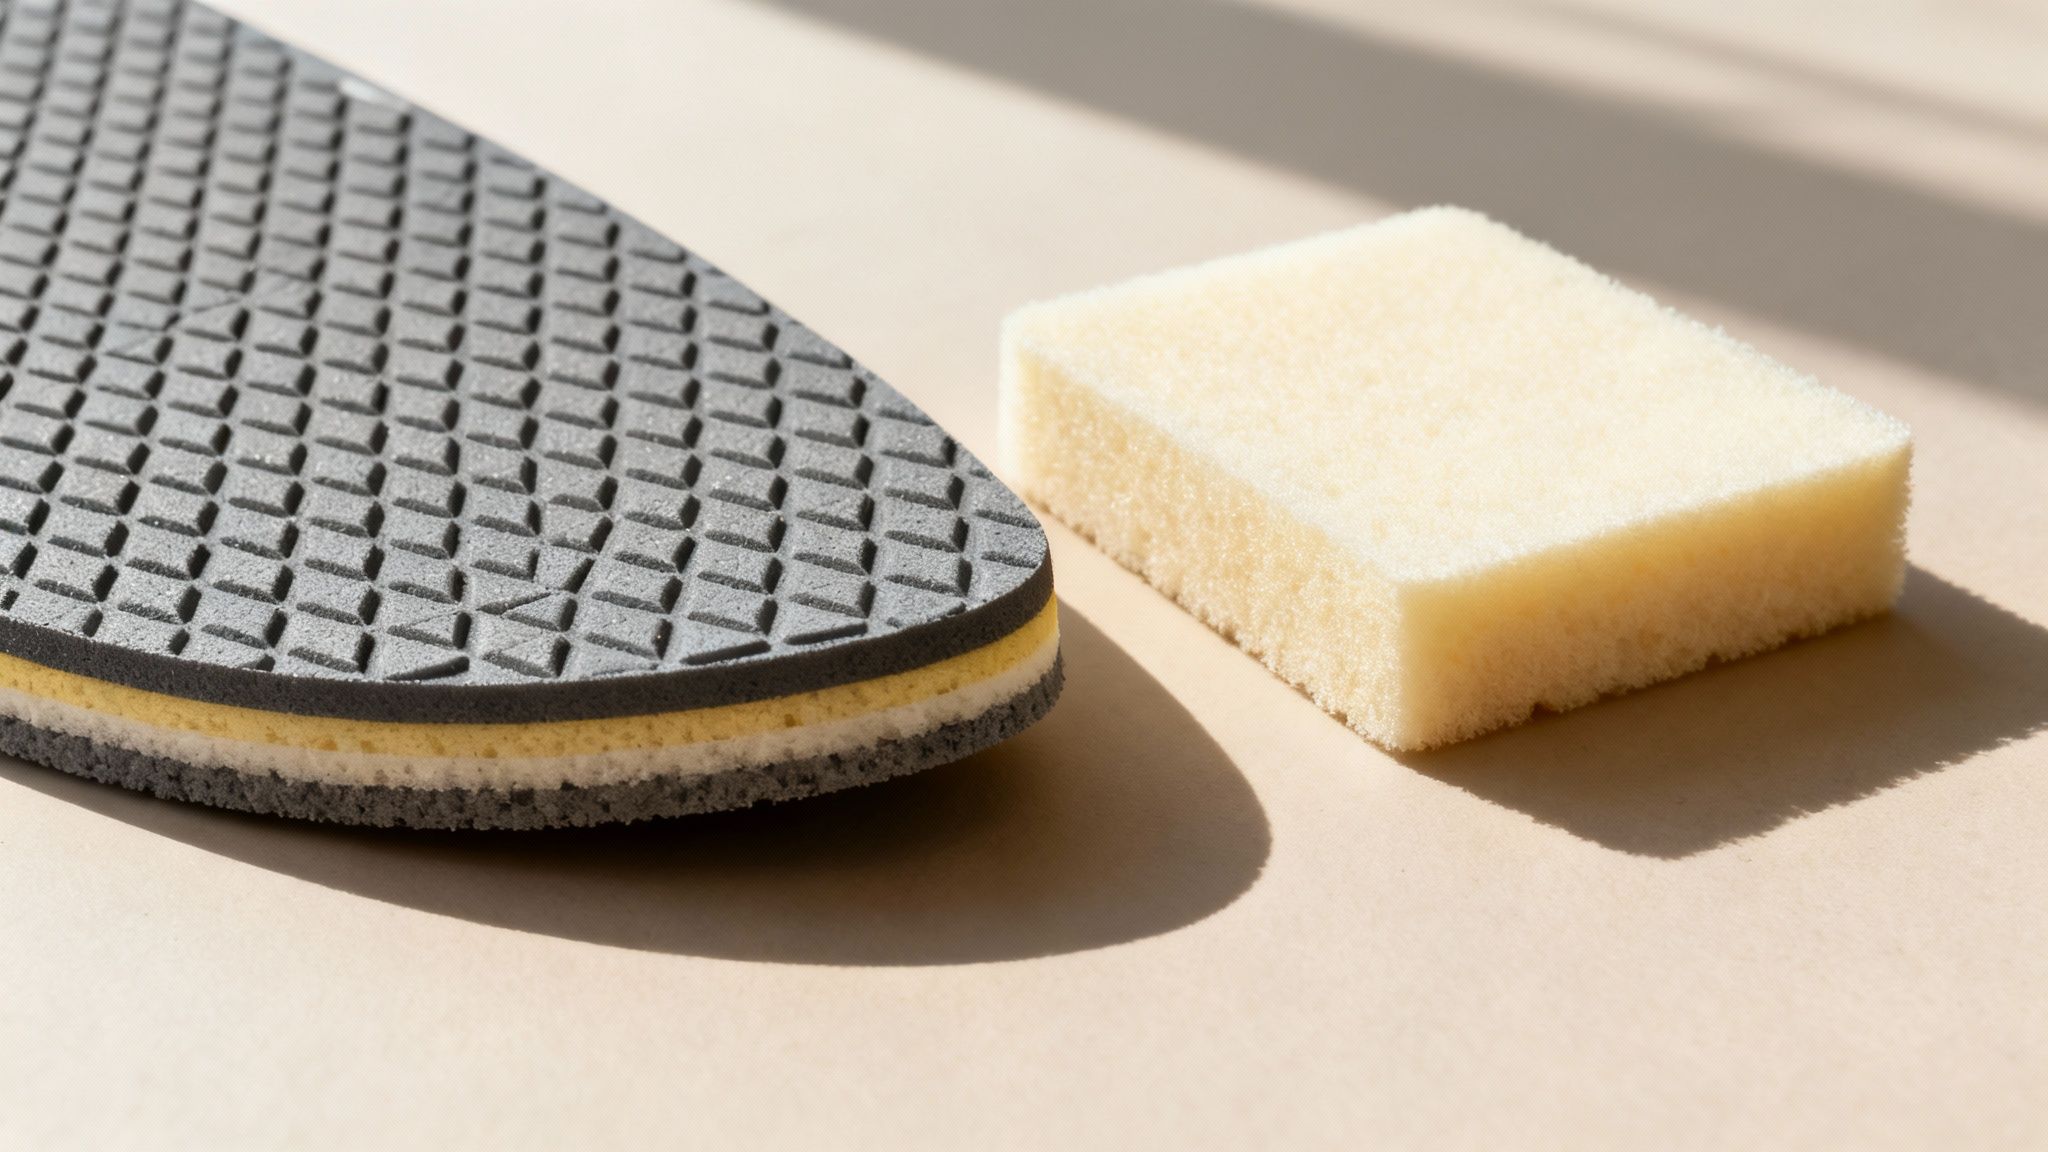
The first and most critical distinction is between closed-cell and open-cell foam. Think of open-cell foam as a kitchen sponge. Its interconnected air pockets are designed to soak up water, which makes it completely useless for anything on a boat where moisture is a constant battle.
Now, picture a pool noodle. That’s closed-cell foam. Each of its tiny cells is sealed off from the others, making it naturally water-resistant and buoyant. These are the non-negotiable qualities for any marine application, and it’s the only type of foam you should be using on your inflatable.
For inflatable boats and catamarans, a couple of specific closed-cell foams have become industry standards. They’re chosen for their toughness and ability to withstand the harsh Aussie marine environment.
The demand for these lightweight, high-performance materials is huge. In fact, Australia’s engineered foam market is valued at around USD 85 million, driven by the need for materials like polyurethane, polyethylene, and polystyrene across marine and other industries. These foams are essential for providing the comfort, buoyancy, and structural support in modern boat designs. To get a better sense of the industry, you can explore more insights into Australia’s engineered foam market.
Every foam has a unique chemical personality and surface texture. Some adhesives contain powerful solvents that can literally dissolve certain foams—like polystyrene—on contact. Imagine your perfectly cut foam piece turning into a gooey mess right before your eyes.
Key Takeaway: The chemical compatibility between your glue and your foam is just as important as the final strength of the bond. Always, always test your chosen adhesive on a small, hidden scrap piece of foam first to make sure it won’t melt, warp, or damage it.
Knowing your foam is step one, but it’s only half the story. You also need to consider what you’re gluing it to. The tube material of your boat—whether it’s PVC or Hypalon—plays a massive role in which glue you should use. You can learn more by checking out our guide on the benefits of Hypalon versus PVC material. This knowledge is crucial for creating a bond that holds fast on both surfaces.
Now that you’ve got the right foam, let’s talk about making it stick. Choosing the right glue isn’t about grabbing the strongest thing on the shelf; it’s about creating a bond that can handle everything the marine environment throws at it—sun, salt, water, and constant movement.
Think of adhesives like tools in a toolkit. You wouldn’t use a sledgehammer to hang a picture frame, would you? The same logic applies here. The powerful rigidity of a two-part epoxy is fantastic for structural parts, but it’s complete overkill for a simple seat cushion that needs to flex. On the flip side, a light-duty spray adhesive will fail the moment someone steps on your new EVA decking.
The Australian adhesives market is a serious business, valued at USD 653.2 million and expected to hit over USD 1 billion by 2030 with a steady growth rate of 6.29%. For us at Easy Inflatables, this innovation means better, more reliable glues for working with the premium PVC and Hypalon in our boats. You can get the full picture by exploring Australia’s growing adhesive manufacturing industry.
To get this right, you need to know the strengths of the top contenders. Each one has a specific job where it truly shines, especially when you’re dealing with the unique materials of inflatable boats and catamarans.
Knowing what to use is only half the battle; knowing what not to use is just as important. The wrong glue can lead to a weak bond that fails at the worst possible time or, even worse, permanently damages your foam and boat.
Crucial Warning: Many general-purpose glues contain solvents that will literally melt foams like polystyrene on contact. Always, always test your adhesive on a small, hidden scrap piece first to make sure it’s compatible.
Here’s a quick list of glues to keep far away from your marine foam project:
Choosing the right adhesive is the final, critical step in making sure your foam addition is a success. If you’re doing a full repair, having the right tools on hand is just as crucial. Check out our guide on what to pack in a comprehensive inflatable boat repair kit to make sure you’re ready for anything.
Knowing the right glue for foam is only half the job. Getting a professional, long-lasting result really comes down to how you apply it. A perfect bond has less to do with the adhesive itself and more to do with meticulous preparation—even the best marine glue will fail if the surfaces aren’t ready.
This step-by-step guide will walk you through the process, making sure your foam accessories stay exactly where you put them. From cleaning to curing, every stage is vital for success.
This simple workflow shows the core stages of bonding foam: cleaning, applying the adhesive, and pressing firmly.
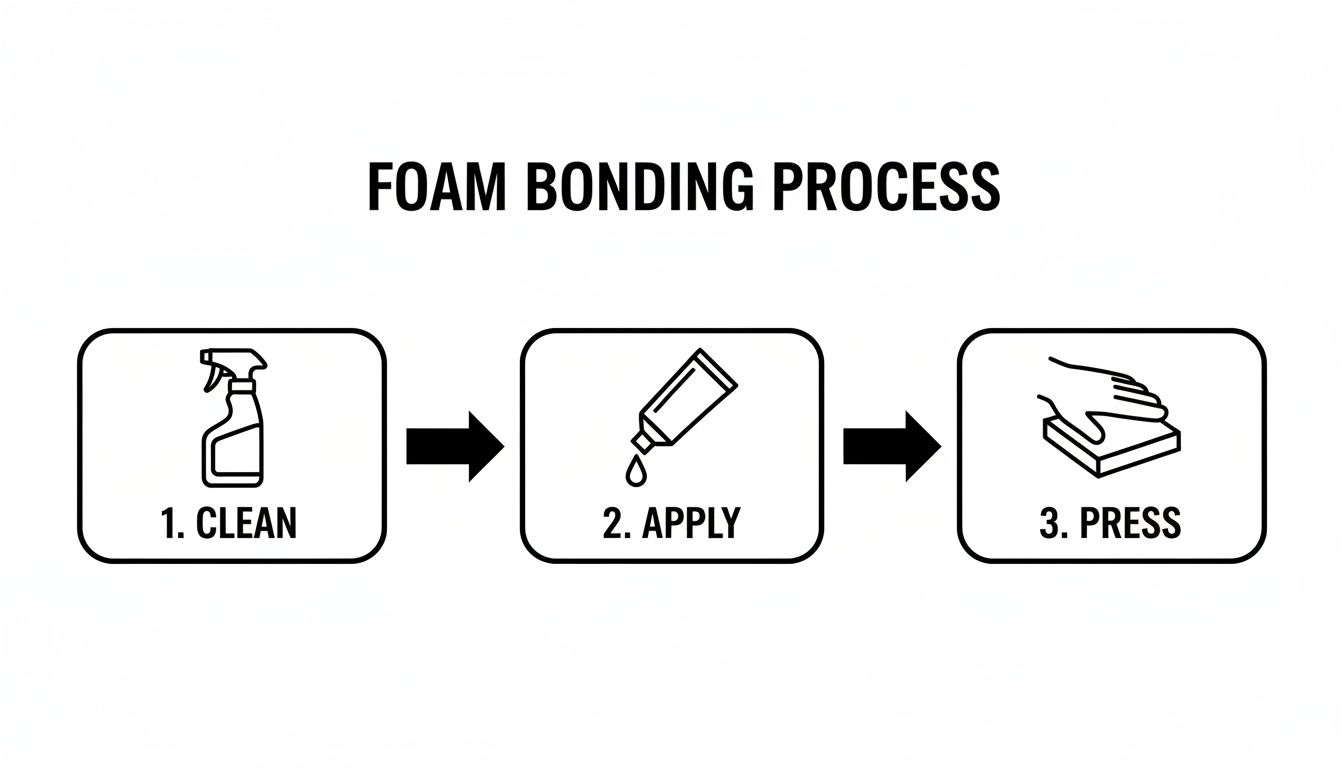
The visual highlights that a successful bond is a straightforward process, where each step builds on the last to create a secure and durable finish.
This is, without a doubt, the most critical stage. Any dirt, salt residue, oil, or old adhesive will act as a barrier, preventing your glue from forming a strong connection with the foam and the boat fabric.
With your surfaces perfectly prepped, it’s time to apply your chosen glue. Always try to work in a well-ventilated area, ideally out of direct sunlight and in moderate temperatures.
This is the moment of truth. For contact cements, you really only get one shot at positioning, so precision is key.
Pro Tip: For large pieces like deck pads, use “slip sheets” made of wax paper. Place them between the two tacky surfaces, get the foam positioned perfectly, and then slowly pull the sheets out one by one while pressing down. It’s a game-changer.
Once the foam is in place, apply firm, even pressure across the entire surface. It’s best to start from the centre and work your way out to the edges to push out any trapped air bubbles. A small J-roller or even a smooth, hard object will help you get consistent pressure everywhere.
Patience is a virtue when you’re working with adhesives. The bond might feel solid after a few minutes, but it hasn’t reached its full strength yet. Curing is the chemical process where the adhesive hardens and forms its final, permanent bond.
Most marine adhesives need at least 24-48 hours to fully cure. During this time, avoid putting any stress at all on the bonded area. Keep it dry and protected from extreme temperature swings to let the chemical reaction complete undisturbed. Rushing this final step is the fastest way to undo all your hard work.
For a deeper dive into maintenance and fixes, check out our guide on inflatable boat repairs.
When you move beyond simple padding and into jobs that hold things together under serious strain, the game changes entirely. For high-stress repairs like re-attaching a foam-core support, mounting a rigid accessory, or performing a critical fix on an inflatable catamaran, you need an adhesive that delivers uncompromising strength. This is where advanced two-part adhesives come into their own.
Unlike single-part glues that just air-dry, these systems work through a powerful chemical reaction. You mix a resin with a hardener, kicking off a process called polymerisation that creates an incredibly tough, cross-linked bond. Often, the resulting connection is even stronger than the foam material itself, giving you a permanent solution where safety is everything.
Two-part epoxies and structural polyurethanes are the true heavyweights of the marine adhesive world. They’re engineered to withstand extreme conditions, offering superior resistance to water, fuel, and the relentless Australian sun. Their rigidity and immense bond strength make them the perfect glue for foam in applications where you want absolutely no flexing.
Think about it: bonding a foam-filled mounting block for a rod holder or a GPS unit requires a rock-solid connection that won’t budge under load. A flexible adhesive would allow for dangerous movement, but a structural epoxy ensures the accessory becomes a permanent, integrated part of the boat. This isn’t just a niche product, either; the epoxy adhesives market in Australia is projected to grow by around 7% between 2024-2029. With a bond strength of 35-41 N/mm², these adhesives are increasingly replacing traditional screws and bolts in high-performance marine applications. You can discover more about the trends in Australia’s adhesives market to see how these materials are shaping the industry.
Reaching for a two-part system comes down to the demands of the job. The main question to ask is whether the part will be under constant load or stress.
Key Consideration: If the failure of the bond could compromise the safety or function of your inflatable boat, a structural adhesive is not just recommended—it is essential.
Use these advanced adhesives for jobs like:
These high-strength solutions provide the peace of mind you need when navigating tough marine conditions, ensuring your most critical repairs hold fast.
Even when you have the right materials and a solid plan, questions are bound to pop up during any boat project. When you’re working with a specialised glue for foam, knowing how to tackle common hiccups is the key to getting a professional, long-lasting bond. This section gives you clear, straightforward answers to the questions we hear most from boat owners, whether they are looking for the best inflatable boats for recreational use available near them or simply performing a quick repair.
It’s tempting, but you should definitely steer clear of household super glue for any marine job. Standard cyanoacrylate adhesives, the stuff in super glue, become incredibly brittle once they cure. They just can’t handle the constant flexing and movement of an inflatable boat, which means the bond will crack and fail in no time.
On top of that, these glues have zero waterproofing qualities needed to survive in a marine environment. For materials like EVA foam on a PVC or Hypalon boat, always reach for a flexible, marine-grade adhesive. A quality contact cement or a polyurethane sealant is made specifically to handle moisture, UV rays, and movement, ensuring your repair holds strong.
Your working environment plays a huge role in whether your bond will be strong and permanent. Most marine adhesives work best in moderate temperatures, typically between 15°C and 25°C, with low humidity.
A common mistake is applying adhesive in direct, hot sunlight. The heat makes solvents evaporate way too quickly, preventing the glue from properly “wetting” the surfaces to create a secure bond. High humidity can also mess with the chemical curing process, leaving you with a weak and unreliable finish.
For professional results every time, just follow these simple rules:
Getting rid of old, failed adhesive is non-negotiable for a successful repair. Start by mechanically scraping away as much of the old gunk as you can. A plastic scraper is your best bet to avoid gouging the boat fabric or foam.
For the stubborn bits left behind, you might need a specialised adhesive remover or a solvent like acetone or MEK on a clean rag. But it’s absolutely critical to test any solvent on a small, hidden spot of your boat first to make sure it doesn’t cause damage. Always wear protective gloves and work in a well-ventilated area when using these chemicals—it’s vital for both your safety and your boat’s integrity. For really tough jobs, understanding advanced materials is a big help. For advanced repairs requiring superior strength and durability, understanding and correctly applying materials like epoxy resin is paramount. Delve into a DIY guide to using epoxy resin for boat repair to ensure your high-stress bonds hold strong.
Lifting edges are a common headache, but thankfully, they’re usually an easy fix. The secret is all in the preparation. Carefully lift the peeling section to get a good look at the underside.
Next, give both the underside of the foam and the boat surface a meticulous clean with isopropyl alcohol. This gets rid of any salt, dirt, or grime that caused the bond to fail in the first place. Once both surfaces are bone dry, apply a thin, fresh layer of a flexible marine adhesive. Press the edge down firmly and use painter’s tape to hold it securely while the adhesive fully cures. This creates continuous, even pressure for a repair that will last. Protecting other parts of your boat from the elements is just as important; our guide to choosing a waterproof spray for fabric offers practical advice.
At Easy Inflatables, we’re committed to helping you get the most out of your time on the water with reliable advice and top-quality gear. Whether you’re researching how to compare prices and features of inflatable boats in my area, looking to hire inflatable boats for a family outing in Australia, or seeking the best inflatable catamarans, we have you covered. Explore our full range of inflatable boats, catamarans, and accessories to start your next adventure. Visit us at https://easyinflatables.com.au to find your perfect setup.