
Picking the right glue for foam bits on your inflatable boat isn’t about grabbing any old tube from the shed. It’s about choosing a specialised marine adhesive over a generic one. For recreational users across Australia looking to compare prices and features of adhesives, your best bets are usually two-part glues made specifically for PVC or Hypalon, or flexible polyurethane glues that can take a beating from water, UV rays, and constant movement.
When you’re out on the water, the last thing you want is for a repair or an accessory to peel off. Choosing the correct adhesive isn’t just about sticking foam to a surface; it’s about creating a permanent, waterproof bond that can handle the harsh marine environment. When looking for the best inflatable boats for recreational use available near you, the quality of their construction, including the adhesives used, is paramount.
The success of your project—whether you’re adding comfy EVA foam deck pads or securing a new seat cushion—hinges on matching the glue to your boat’s material and the type of foam you’re using.
Think of your inflatable boat as having its own unique chemistry. Most are made from either PVC (polyvinyl chloride) or Hypalon, and these materials react very differently to adhesives. A glue that works wonders on PVC might completely fail on Hypalon, and vice versa.
Using a standard household adhesive from your local hardware store is a recipe for disaster. Those glues simply don’t have what it takes to survive in a marine setting.
Here’s what sets a proper marine glue apart:
For a lasting repair, the adhesive has to be as resilient as the boat itself. It needs to form a chemical bond that fuses the foam to the boat’s fabric, creating a single, durable unit that’s ready for any adventure.
For more info on the right materials for a fix-up, check out our guide on finding the perfect inflatable boat repair kit, which often includes the right type of adhesive for your boat. Getting this initial choice right is the foundation for a successful and long-lasting modification or repair.
Not all foam is created equal, especially when it’s battling the harsh Aussie marine world of sun, salt, and constant moisture. Before you even think about reaching for a glue for foam, you need to know exactly what you’re working with. Using the wrong adhesive can lead to a weak bond that fails at the worst possible moment—or worse, it could completely dissolve the foam.
Think of it like putting the wrong fuel in an engine; a simple mistake can cause a world of trouble. The foams on your inflatable boat are chosen for specific jobs, from the soft, non-slip deck pads under your feet to the buoyant support inside your seat cushions. Nailing this first step is critical for a successful, long-lasting repair.
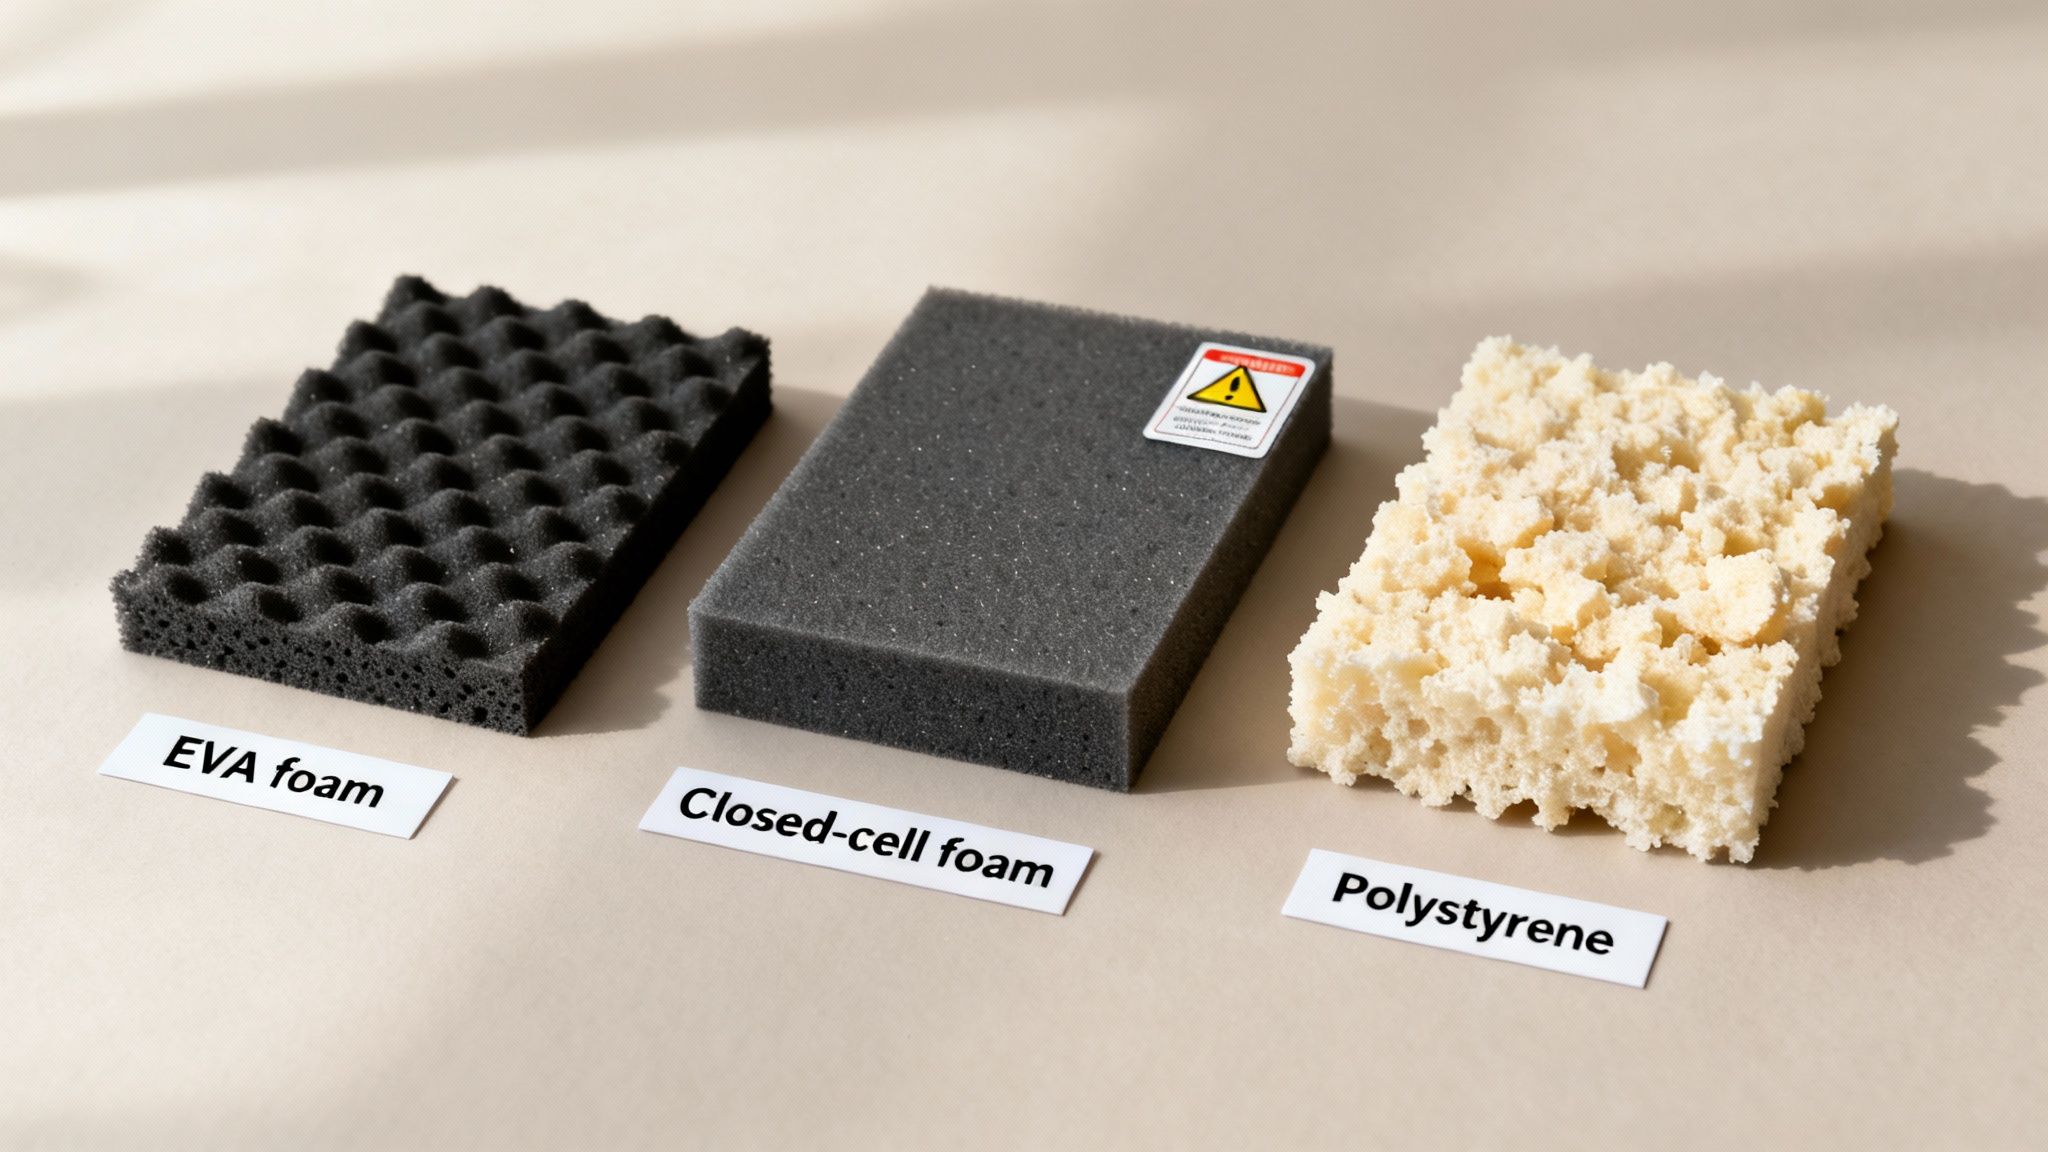
For example, that soft, textured material on your deck is almost certainly EVA foam, loved for its comfort and grip. The firm, rigid material inside a seat cushion? That’s likely a type of closed-cell foam. Let’s break down the common types you’ll find on inflatable catamarans and tenders across Australia.
Each foam has its own unique cellular structure, which dictates how it behaves around water and, most importantly, how it reacts to different glues. Get to know them, and you’ll choose the right product every time.
EVA Foam (Ethylene-Vinyl Acetate): This is the king of deck padding and non-slip surfaces. It’s soft yet durable, UV-resistant, and has a closed-cell structure, meaning it won’t soak up water. Being flexible, it bonds beautifully with contact cements and specialised marine adhesives.
Closed-Cell Foams (e.g., Polyethylene): These are the unsung heroes providing buoyancy and support in things like seat cushions, life jackets, and kickboards. The cells are completely sealed off from each other, making the foam waterproof and firm. It’s fantastic for structural support and works well with a wide range of glues.
Open-Cell Foams (e.g., Polyurethane Foam): Picture a kitchen sponge. Open-cell foam acts just like one, soaking up water in an instant. It’s sometimes used for comfort in areas that stay dry, but you’ll rarely find it on the exterior of an inflatable boat for obvious reasons.
While you won’t often find them on high-quality inflatables, you might come across other foams in DIY customisations or older gear. Using the wrong glue here can be a disaster.
Polystyrene foam—the stuff you find in eskies or packaging—will literally melt into a sticky mess if it touches a solvent-based adhesive. This is exactly why a small patch test is non-negotiable before you commit to a big job.
Always, always test your chosen glue for foam on a small, hidden spot or a scrap piece first. This simple check confirms compatibility and prevents a messy, irreversible mistake. And while you’re thinking about materials, knowing your boat’s fabric is just as important. You can learn more about the benefits of Hypalon versus German Mehler 1.2mm PVC material to make sure every part of your boat, from the tubes to the foam fittings, gets the right treatment.
Choosing the right adhesive is like picking the right tool for the job—you wouldn’t use a hammer to drive a screw. In the demanding marine world, only a select group of adhesives has the toughness to create a lasting bond that can stand up to constant flexing, saltwater spray, and intense UV exposure.
The adhesive’s chemistry is the key to its performance. Specialised marine epoxies, flexible polyurethanes, and professional-grade two-part glues each offer unique strengths tailored for specific materials like PVC and Hypalon. Getting this right is the difference between a repair that holds and one that fails when you least expect it.
The single most critical factor in your choice is flexibility. An inflatable boat is a dynamic structure, constantly shifting, vibrating, and flexing on the water. A rigid adhesive will crack under this stress, leading to a quick and frustrating failure.
Think of it this way: using a stiff, brittle epoxy on a flexible inflatable tube is like putting stiff hiking boots on a gymnast. The glue is strong, but it can’t move with the material, so the bond is destined to break. This is why flexibility is non-negotiable for any adhesive you use on an inflatable.
Here are the top contenders for gluing foam to your inflatable:
Two-Part PVC/Hypalon Adhesives: These are the gold standard. They don’t just stick; they create a chemical weld that permanently fuses the foam to the boat’s fabric. The catch? You must match the adhesive to your boat’s material—one for PVC, another for Hypalon. They’re not interchangeable.
Marine-Grade Polyurethane Sealant/Adhesives: Known for their incredible flexibility and tenacious grip, these one-part glues are excellent for bonding EVA foam deck pads and other accessories. They remain pliable long after curing, which allows them to absorb vibrations and impacts without failing.
Just as important as knowing what to use is knowing what not to use. Many common household glues will fail spectacularly in a marine environment, potentially damaging your boat and creating an even bigger mess to clean up later.
Steer clear of general-purpose glues. Hot glue will soften and release in the sun, craft glues will dissolve in water, and super glues are far too brittle, cracking with the slightest flex. None of these offer the waterproof, flexible, and UV-resistant bond required for life on the water.
To make things even clearer, this table breaks down which glues work best with different foams and boat materials. It’s a quick reference guide to help you avoid common mistakes and get a bond that lasts.
| Adhesive Type | Works with PVC? | Works with Hypalon? | Best for EVA Foam? | Flexibility Level | Waterproof Rating |
|---|---|---|---|---|---|
| Two-Part PVC Adhesive | Yes | No | Good | High | Excellent |
| Two-Part Hypalon Adhesive | No | Yes | Good | High | Excellent |
| Marine Polyurethane | Yes | Yes | Excellent | Excellent | Excellent |
| Marine Epoxy | Yes | Yes | Fair | Low | Excellent |
| Contact Cement | Yes | Yes | Good | Moderate | Good |
| Silicone Sealant | Poor | Poor | Poor | High | Good |
| Hot Glue | No | No | No | Low | Poor |
| Super Glue (Cyanoacrylate) | No | No | No | Very Low | Poor |
Always double-check the manufacturer’s instructions, but this matrix gives you a solid starting point for pairing the right adhesive with your project.
This focus on high-performance bonding is mirrored across Australia’s wider adhesives market. The shift towards specialised foam adhesives is transforming inflatable boating for adventurers nationwide, powering everything from thermo-welded seams on inflatable catamarans to durable kayak fittings. With the local adhesives market projected to climb to USD 737.35 million by 2028, innovations in flexible, heat-resistant bonding are keeping lightweight hulls intact under the thrust of powerful outboards. To dive deeper into these trends, you can explore the full report on the Australian adhesives market growth.
Ultimately, investing in the right adhesive is investing in your boat’s longevity and your peace of mind. For a deeper dive into the specifics of certain glues, you can also learn more about why a dedicated Hypalon adhesive is essential for that particular boat material.
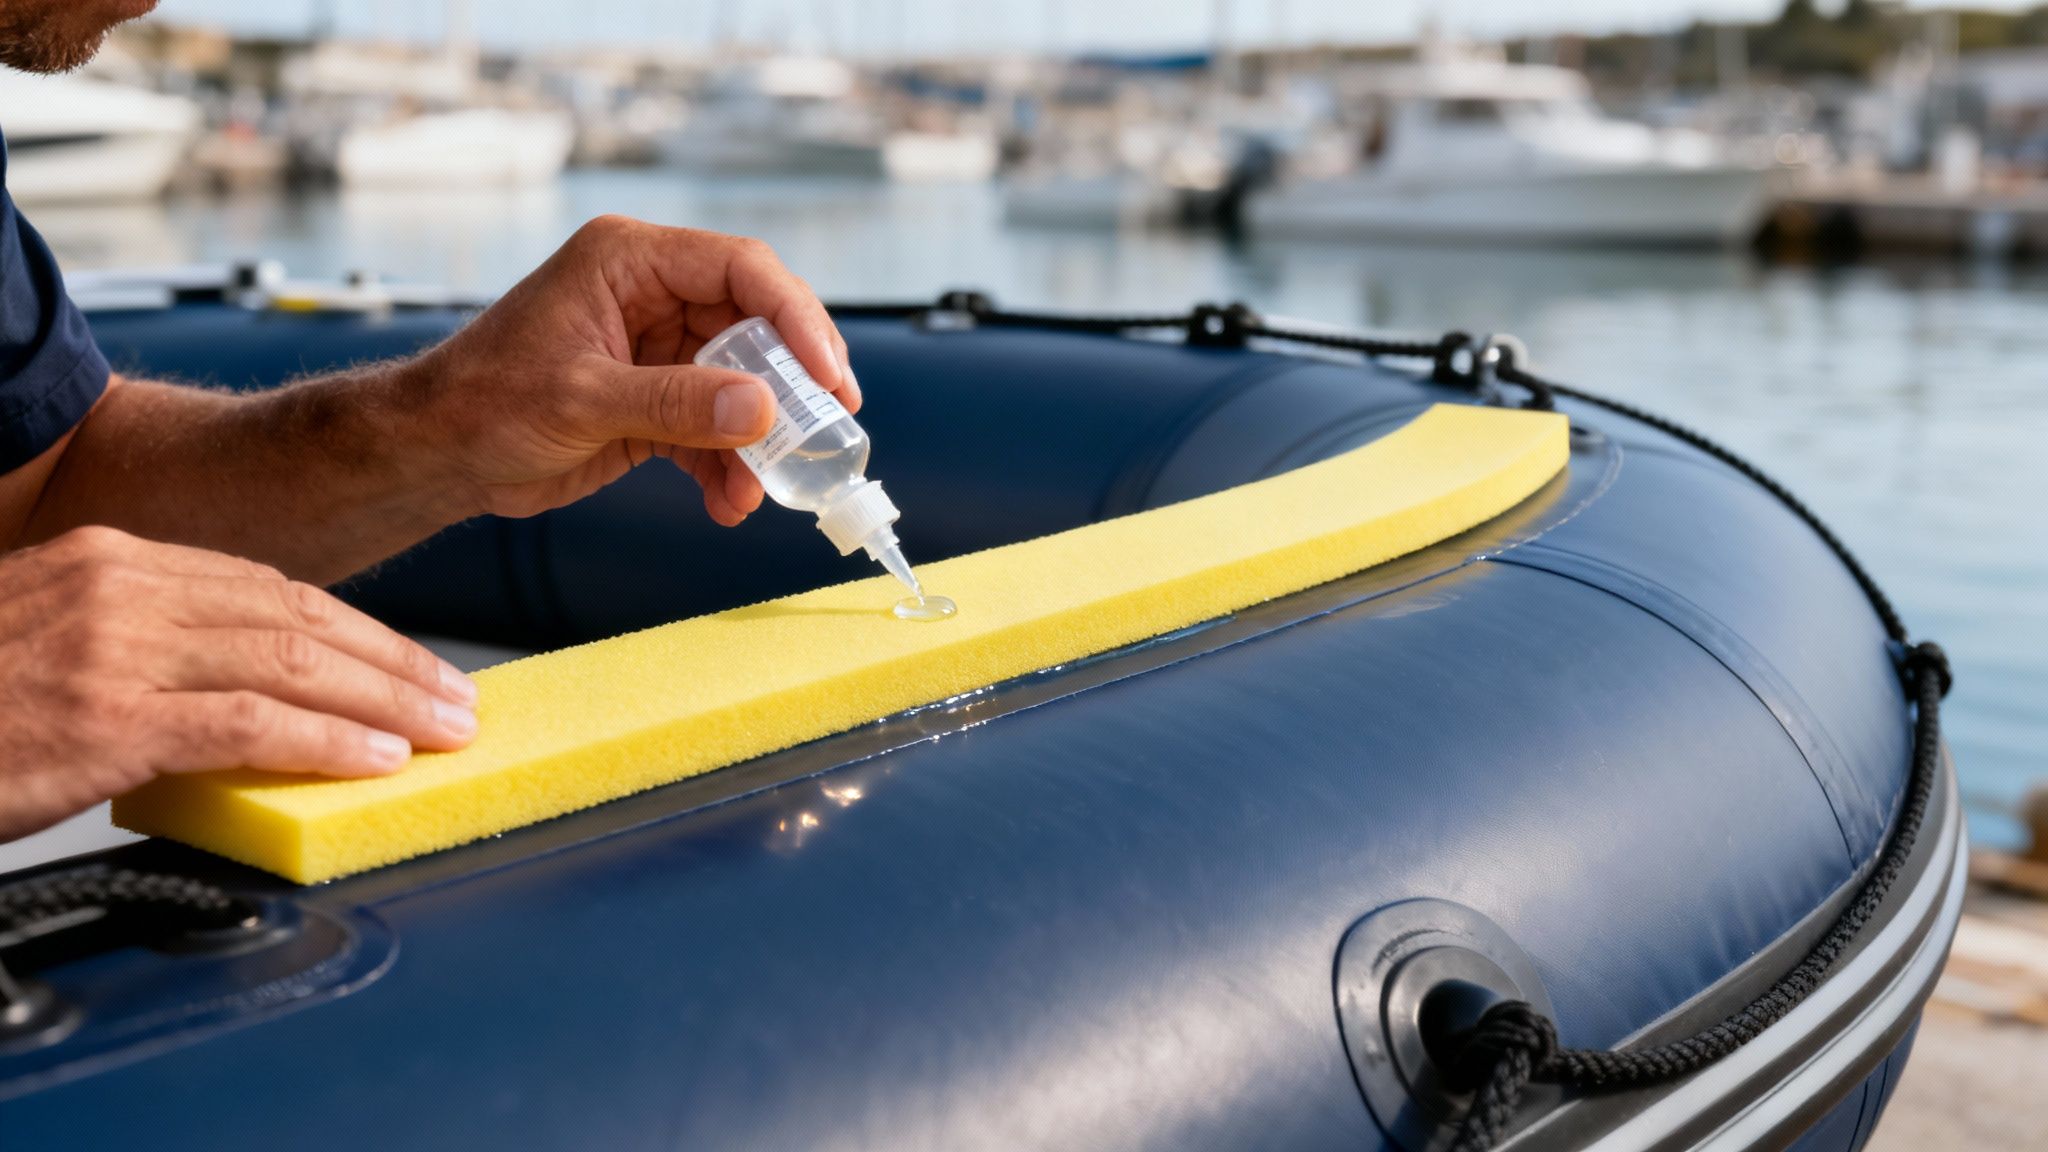
Getting a professional-quality bond with glue for foam is all about meticulous preparation. A bit of patience and the right technique will ensure your repair or upgrade not only looks fantastic but also stands up to the harsh marine environment. Rushing the job is the number one reason bonds fail, so taking your time now will save you from doing it all over again later.
This guide will walk you through the process, using the common example of sticking a new EVA foam deck pad onto an inflatable boat. Follow these non-negotiable steps, and you’ll get a flawless, permanent bond—even if it’s your first time working with marine adhesives.
Before you even think about opening the glue, your prep work will decide your success. Find a well-ventilated, dry spot to work in, preferably out of direct sunlight and within the temperature range recommended on the adhesive tin (usually between 18°C and 25°C).
Next, give both the inflatable boat surface and the back of the foam pad a thorough clean. Use a solvent that’s right for your boat’s material—Methyl Ethyl Ketone (MEK) for PVC or Toluene for Hypalon—and a clean, lint-free cloth. This is crucial for removing dirt, oils, and any lingering mould release agents from the factory that will stop the glue from sticking properly.
Think of a smooth surface like a polished floor—it’s hard to get a good grip. You need to create some texture for the adhesive to bite into. Lightly scuff both the boat surface and the foam with medium-grit sandpaper (around 120-grit is perfect). You’re not trying to remove material, just creating a dull, slightly rough texture.
Once you’ve scuffed the surfaces, wipe away all the dust with your cleaning solvent again. For a truly professional finish, use masking tape to outline exactly where the foam will go. This creates clean, sharp glue lines and stops any messy overspill.
Now you’re ready for the glue for foam. Whether you’re using a one-part polyurethane or a two-part adhesive, the principle is the same. Apply a thin, even layer to both the boat surface and the back of the foam pad with a brush or a small notched spreader.
Follow the manufacturer’s instructions for “tack time.” This is a critical waiting period where the solvents in the glue evaporate, leaving it tacky but not wet. Once it’s ready, carefully align the foam pad and press it firmly into place. Start from the centre and work your way outwards to push out any trapped air bubbles.
This chart shows how different marine glues play distinct roles in creating a durable bond.
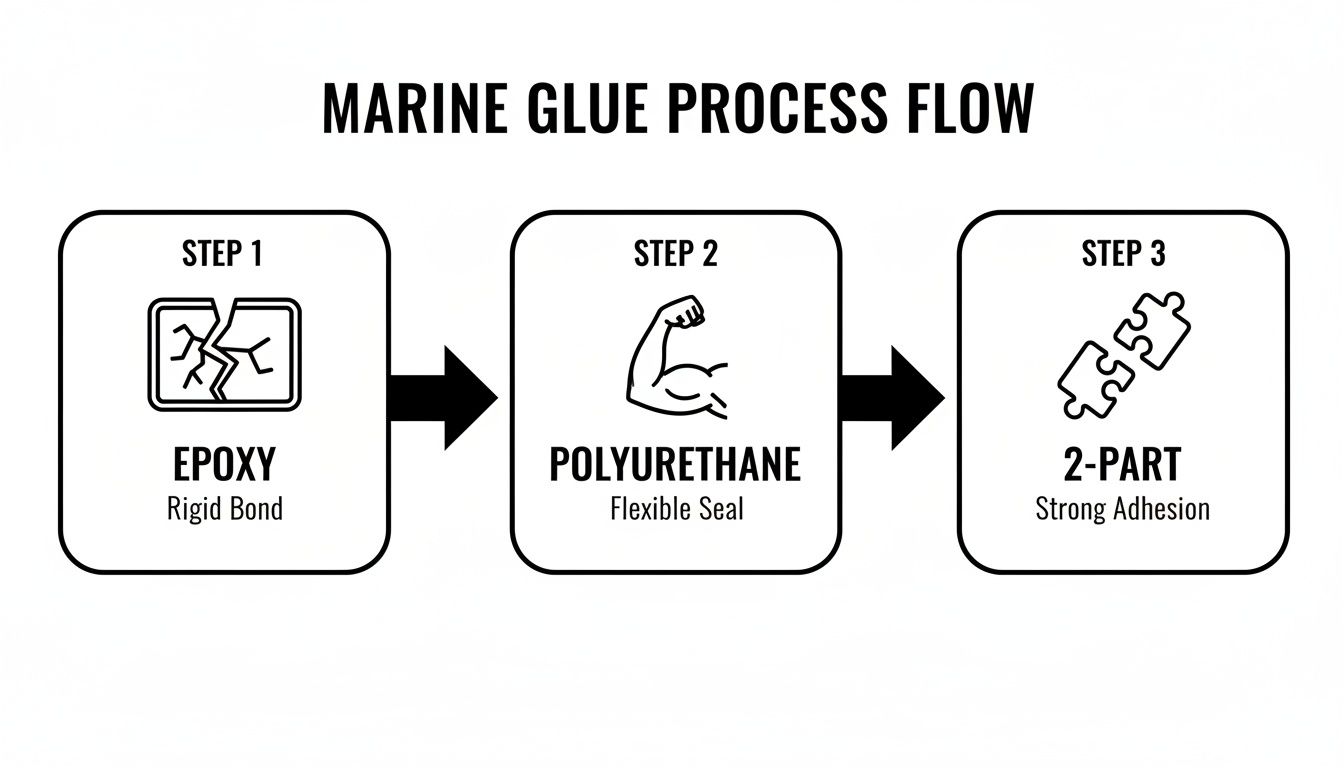
It highlights why you’d choose one adhesive over another—from the rigid strength of epoxy to the essential flexibility of polyurethane and the chemical weld of two-part systems.
The final step is to apply even, consistent pressure while the adhesive cures. Use something heavy like a sandbag or roll the area with a small, hard roller (a J-roller is ideal for this). This ensures every centimetre of the foam makes full contact with the boat surface, which is vital for a strong, lasting bond.
Let the bond cure for the full recommended time—typically 24-72 hours—before you put any stress on it or inflate the boat. Patience here is the key to achieving the glue’s maximum strength.
The reliability of these bonds is crucial, supporting the growing demand for high-quality inflatables across Australia. Foam adhesives are a cornerstone of a market valued at USD 653.2 million in 2022, a figure that’s only expected to grow. This growth supports the premium construction of vessels that use robust French Hypalon fabrics and double-stitched air-decks—features essential for stability in choppy waters from Tasmania to the Great Barrier Reef. For more detailed repair tips, you can also check out our guide on inflatable boat repair.
When you’re working with serious marine-grade glues, a bit of old-fashioned respect goes a long way. Respect for the chemicals, and respect for the process. Getting this part right isn’t just about safety—it’s about making sure your repair actually lasts. Think of it as laying the foundation; get it wrong, and the whole thing comes tumbling down.
Before you even pop the lid on a can of adhesive, get your workspace sorted. These glues let off some pretty potent fumes, so you absolutely need good ventilation. An open garage with the door up, or better yet, working outdoors, is the way to go. And don’t forget your gear: a good pair of chemical-resistant gloves and some safety glasses are non-negotiable. One accidental splash is all it takes.
This is where so many DIY repairs go wrong. It’s the single biggest mistake people make, and it’s the number one reason bonds fail prematurely. People confuse ‘dry time’ with ‘cure time’, but they are worlds apart.
A bond that feels solid after a few hours is fooling you. It hasn’t reached its maximum strength. If you inflate the boat or put stress on that seam too early, you’re pretty much guaranteeing it will fail. Patience is your best friend here.
For a family outing, a reliable repair is everything. Whether you own your vessel or hire inflatable boats, safety is paramount. It’s a testament to the quality of modern materials that boats made from 1.2mm 2000D German Valmex PVC can handle up to 22 PSI of air pressure and withstand our harsh Aussie conditions. The adhesives holding it all together have to be just as tough. It’s no surprise Australia’s adhesives market is booming, expected to hit USD 2.2 billion by 2025. You can find more details on the Australian adhesives and sealants industry to see just how critical these products are.
To make sure your glue for foam creates a bond that will never let you down, you need to manage the curing phase properly.
First, apply consistent, firm pressure across the whole area you’ve glued. If you can, use clamps or place weights on it. This simple step squeezes out any trapped air bubbles and ensures the two surfaces are in maximum contact, which is exactly what you want for a strong bond.
Next, find a stable spot for it to cure. Big swings in temperature or exposure to dampness can mess with the chemical reaction. A steady, dry environment is perfect. Let it sit undisturbed for the full recommended cure time—don’t be tempted to rush it.
Before you ever head out, being prepared is key. Make sure you’ve got everything you need by running through our boat safety equipment checklist. Ultimately, waiting that extra day for the glue to fully cure is the best thing you can do to guarantee your repair is safe, strong, and ready for your next adventure.
When it comes to gluing foam onto your inflatable boat, a lot of questions can pop up. Getting the right answers is critical—it’s the difference between a repair that holds strong for years and one that fails when you least expect it. This section tackles the most common queries we hear from boaters across Australia, offering straightforward advice to help you get professional-grade results every time.
From picking the right glue to knowing how long to wait before hitting the water, these answers will give you the confidence to handle any foam bonding job on your inflatable boat or catamaran.
We strongly advise against it. While glues like these are fantastic for jobs around the house, they are completely unsuitable for the dynamic, high-flex environment of an inflatable boat. Their rigid nature is their biggest downfall in a marine setting.
Super glue (cyanoacrylate) creates a brittle bond that will simply crack and fail as the boat’s tubes move and vibrate on the water. Standard Gorilla Glue expands as it cures, which sounds strong but actually creates a weak, porous, and messy bond that lacks the focused strength needed. Most importantly, neither has the specialised UV and saltwater resistance required for long-term marine exposure.
For a reliable and safe repair, you must use an adhesive designed for the job. When searching for the best inflatable boats for recreational use available near you, look for brands that use flexible, marine-grade adhesives formulated specifically for PVC or Hypalon to ensure repairs withstand the elements season after season.
Removing old, failed adhesive is a non-negotiable step for a strong new bond. Applying new glue over old is like painting over rust—the new layer will only be as strong as the failing one underneath it. The goal is to get back to a perfectly clean, raw surface.
For most rubbery, contact-style glues, you can often soften the old adhesive by gently warming the area with a heat gun on a low setting. Once softened, it can usually be peeled or scraped off with a blunt plastic scraper to avoid gouging the boat fabric.
For stubborn residue, a specific solvent is your best tool.
Always test the solvent on a small, hidden spot first to ensure it doesn’t harm the fabric. Work in a well-ventilated area, wear gloves, and use a clean cloth to wipe the surface until it’s pristine and ready for the new adhesive.
The weather plays a surprisingly critical role in the chemical process of bonding. Temperature and humidity can make or break your repair, so picking the right day is essential for a successful outcome.
Aim for a dry, mild day with the ambient temperature between 18°C and 25°C and humidity below 60%. This is the sweet spot for most marine adhesives to cure correctly.
If it’s too cold, the chemical reaction slows down dramatically, resulting in a weak, unreliable bond that may never reach its full strength. On the flip side, if it’s too hot or you’re working in direct, harsh sunlight, the solvents in the adhesive can “flash off” or evaporate too quickly. This prevents the glue from properly penetrating the surfaces, leading to a poor bond that’s likely to fail. Working in the shade on a pleasant day gives you the best chance for a permanent, professional-quality repair.
Patience is perhaps the most important tool in your repair kit. While the foam adhesive might feel dry to the touch in just a few hours, it has not yet completed its chemical curing process and hasn’t reached its full structural strength.
Most marine adhesives need a minimum of 24 to 48 hours to form a solid, dependable bond under ideal conditions. However, to be completely safe and ensure maximum longevity, we recommend waiting at least 72 hours before inflating the boat to its full pressure or taking it out on the water. This extended period allows the bond to cure completely, ensuring it can handle the flexing, pressure, and stress of regular use without any risk of failure. This is especially critical for any Inflatable Catamaran that will face higher stresses.
Ready to tackle your next project with confidence? Explore the full range of high-performance inflatable boats, catamarans, and accessories at Easy Inflatables. Find the perfect vessel for your adventures and get expert advice you can trust. Visit us online at https://easyinflatables.com.au to learn more.