
Anodes for boats are your vessel’s unsung heroes. These small, inexpensive metal blocks act as sacrificial bodyguards for the essential—and expensive—underwater metal parts of your boat. They’re designed to corrode first, taking the hit so your propeller, shafts, and outboard don’t have to. Simply put, they are a non-negotiable part of boat maintenance, especially for the best inflatable boats for recreational use.

Think of the water your boat sits in as a giant, conductive soup. When you have different metals submerged together—like a bronze propeller and an aluminium outboard leg—they create a weak electrical current. This natural process, called galvanic corrosion, causes the less “noble” metal to slowly dissolve, or “sacrifice” itself, to protect the more noble one. It’s a silent enemy that will eat away at your valuable equipment if you let it.
This is where anodes for boats come in. Anodes are made from a metal that is even less noble (more reactive) than the parts you want to protect. By bolting one onto your boat, you’re giving corrosion an easy and cheap target. The anode corrodes away over time, leaving your expensive propeller, transom, and engine components completely untouched.
In Australia, with over 850,000 registered recreational boats navigating everything from saltwater harbours to brackish estuaries, using the right anodes is a critical safeguard. From Sydney Harbour to the estuaries of Queensland, the risk of corrosion is always present.
In fact, choosing the wrong anode—or not using one at all—is a leading cause of preventable damage. Studies show it contributes to serious corrosion issues in up to 25% of slipway inspections each year. Unprotected hull fittings can sometimes show pitting rates of over 2 mm annually. It’s a small detail with huge consequences.
For owners of modern inflatable boats, especially our popular inflatable catamarans with durable aluminium transoms, this protection is absolutely vital. Aluminium is a fantastic material—lightweight yet strong—but it’s also highly susceptible to galvanic corrosion in saltwater if left unprotected.
The core principle is simple: The anode sacrifices itself so your boat doesn’t have to. It’s an incredibly small investment that prevents thousands of dollars in potential repairs to your hull, outboard, or sterndrive.
Choosing the right anode material is your first and most important decision. The type of water you boat in—salt, fresh, or brackish—dictates whether you need zinc, aluminium, or magnesium anodes. Making the wrong choice can either provide insufficient protection or, in some cases, even accelerate corrosion.
For example, using a magnesium anode in saltwater will cause it to dissolve in weeks, not months, leaving your boat defenceless. For broader surface protection against moisture and spray, you might also want to look into an anti-rust spray for marine components. This guide will walk you through everything you need to know to make the right choice and keep your vessel in top condition.
Picking the right material for your boat’s anodes isn’t just a small detail—it’s the single most important decision you’ll make in the fight against galvanic corrosion. It’s not a one-size-fits-all situation, and getting it wrong can be just as damaging as having no anode at all. The choice comes down to one simple thing: the type of water your boat spends most of its time in.
To get why this matters, you have to think about how an anode actually works. Every metal has a natural electrical voltage when it’s sitting in water. For an anode to do its job, it needs to have a lower (or more negative) voltage than the metals it’s protecting, like your outboard’s aluminium leg or your bronze propeller. This voltage difference is what makes the magic happen, forcing the anode to corrode away instead of your expensive gear.
For years, zinc has been the trusted workhorse for boats that live exclusively in saltwater. It offers a protective voltage of about -1.05 volts, which is the perfect sweet spot for protecting steel, bronze, and aluminium alloys in the highly conductive environment of the ocean.
But there’s a catch. Take a zinc anode into freshwater or even brackish water, and it quickly develops a hard, whitish crust of zinc oxide. This coating basically turns the anode off, leaving your running gear completely exposed to corrosion.
So, the rule is simple: zinc anodes are a solid choice only if your boat never leaves the salt. If you like to cruise up rivers or spend time in estuaries, zinc isn’t your best bet.
On the other end of the scale, you have magnesium anodes. Magnesium is the most electrically active metal we use for anodes, packing a serious punch with a protective voltage around -1.60 volts. This high voltage makes it incredibly effective at protecting boats in freshwater, which is much less conductive than saltwater.
But here’s the critical takeaway: Never, ever use a magnesium anode in saltwater or even brackish water. Its high voltage makes it dissolve at a crazy-fast rate—sometimes in just a few weeks. Worse, its aggressive current can “over-protect” certain metals, especially aluminium hulls and sterndrives, causing hydrogen bubbles to form under the paint and leading to blistering and damage.
Magnesium is strictly for the freshwater crowd—think lakes, dams, and rivers. If your boating adventures take you anywhere near the coast, you need another solution.
This is where modern aluminium anodes have really changed the game, becoming the best all-round choice for most Australian boaters. These aren’t made from your average aluminium; they’re a special alloy containing small amounts of zinc and indium. This secret sauce prevents that insulating oxide layer from forming, allowing them to stay active in all water types.
With a protective voltage of around -1.10 volts, aluminium anodes provide fantastic protection in saltwater, brackish water, and even do a decent job in freshwater. This versatility is perfect for anyone who trailers their boat between different spots, like going from an inland dam one weekend to a coastal fishing trip the next. They are especially good for protecting the aluminium outboards and transoms common on Easy Inflatables boats, including our top-rated inflatable catamarans.
If you want to dive deeper into how this all works, you can explore more about the science of galvanic corrosion right here on our blog. The big win is that one set of anodes can protect your pride and joy across different environments.
Choosing the right anode can feel confusing, so we’ve put together this simple table to help you match the right material to your boating lifestyle. This side-by-side comparison breaks down the best use for Zinc, Aluminium, and Magnesium anodes in Australian conditions.
| Anode Material | Best for Water Type | Protective Voltage (Approx.) | Lifespan | Best Use Case |
|---|---|---|---|---|
| Zinc | Saltwater Only | -1.05 V | Good | Boats that stay exclusively in the ocean. |
| Aluminium | Salt & Brackish | -1.10 V | Excellent | The versatile choice for trailered boats and moving between salt and brackish water. |
| Magnesium | Freshwater Only | -1.60 V | Varies (Short in Salt) | Boats used exclusively in lakes, dams, and rivers. |
At the end of the day, selecting the correct material is your first and most crucial step in setting up effective corrosion protection. It’s a simple choice that makes a huge difference in keeping your boat safe and on the water for years to come.
Alright, so you’ve picked the right material for your anodes. That’s a great start, but the job’s only half done. The next critical step is figuring out the correct size and where to put them.
Think of it this way: an undersized anode is like bringing a bucket to a house fire – it’s just not enough to do the job. And putting it in the wrong spot? That’s like locking the front door but leaving the back wide open. This is especially true for the outboards and aluminium transoms we see on so many inflatables and our best-selling inflatable catamarans.
Getting the size spot-on isn’t about complex maths; it’s more of a common-sense game of making sure you have enough anode mass to last between checks. For most of us recreational boaters, a good rule of thumb is to choose anodes that will still have at least 50% of their original size left after a full year in the water.
This quick reference guide makes it easy to see which material works for your local waters – the first step in any placement decision.

As you can see, Zinc is the old reliable for pure saltwater, Magnesium is strictly for freshwater, and Aluminium is the versatile all-rounder. It handles the brackish mix perfectly, making it the go-to for many Aussie boaters who move between estuaries and the open coast.
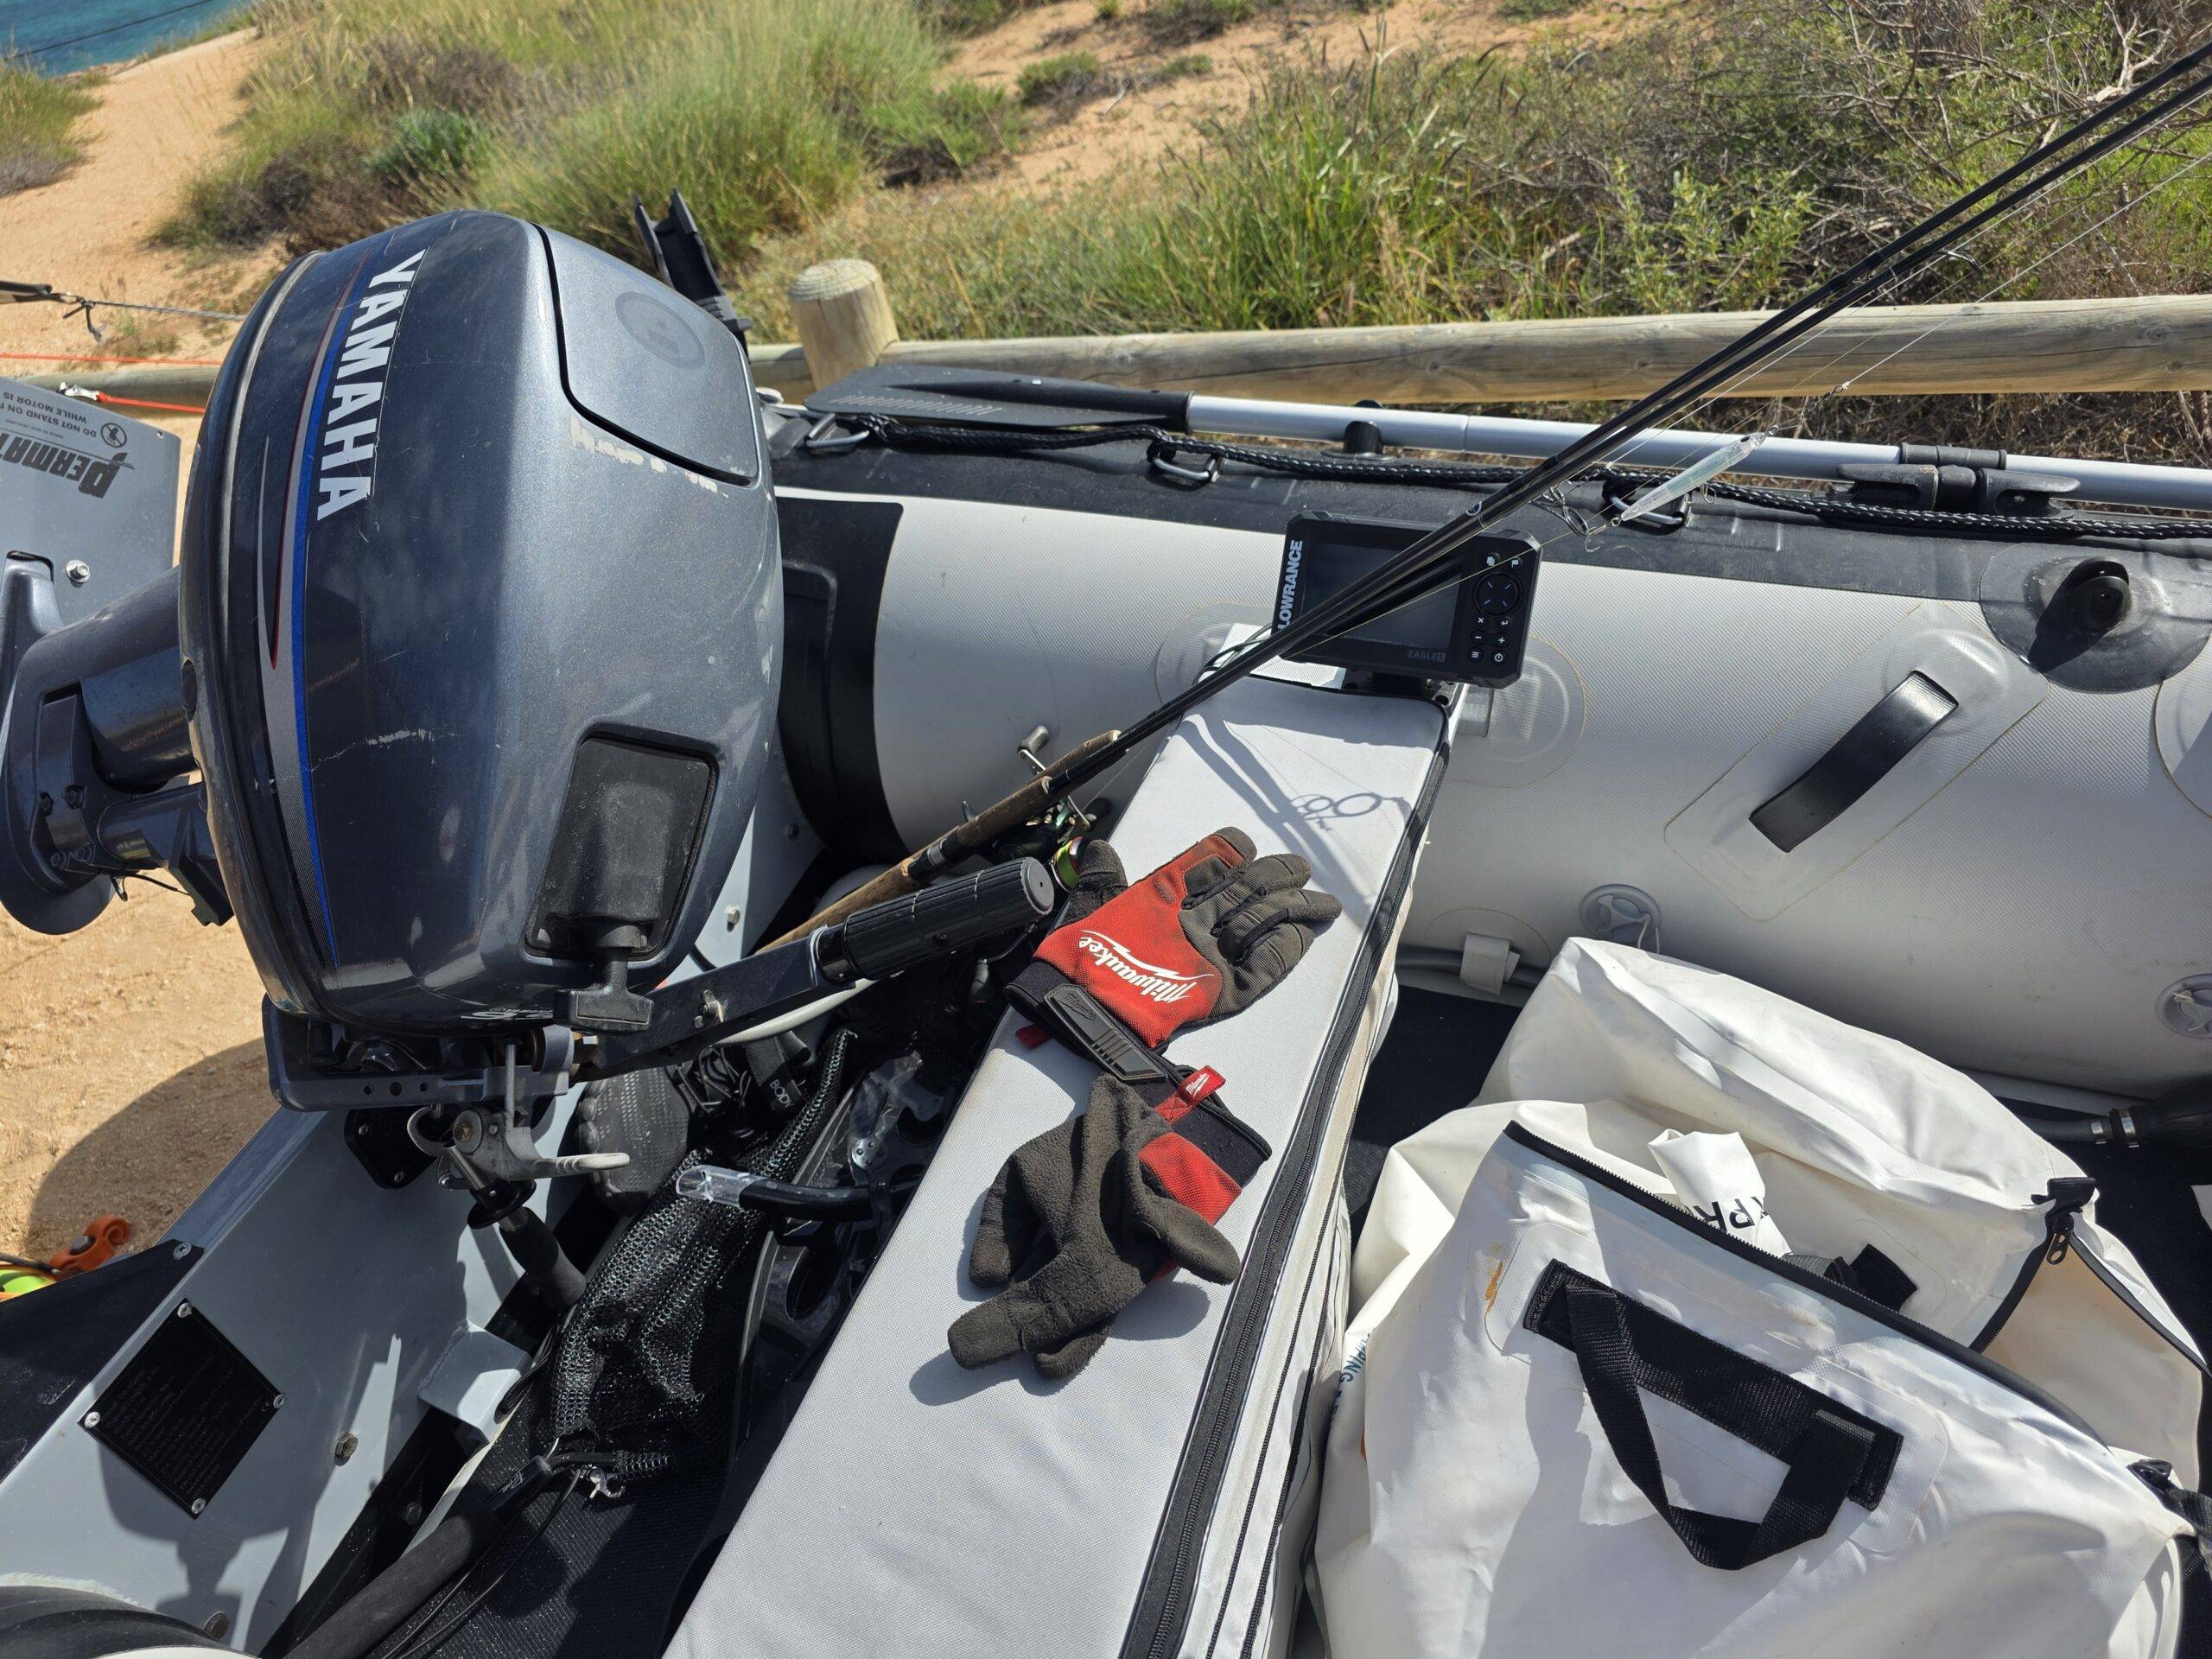
Your outboard motor is a cocktail of different metals all bolted together, making it a hotspot for galvanic corrosion. Thankfully, manufacturers have already figured out where the weak points are and designed specific anode locations to protect them. Your owner’s manual is always the best guide, but you’ll almost certainly find anodes in these key spots:
When it’s time to replace these, it’s absolutely crucial to use the exact factory replacement part for your specific motor. A cheap, poorly fitting anode might look like it’s saving you money, but it can lead to a very expensive repair bill down the track.
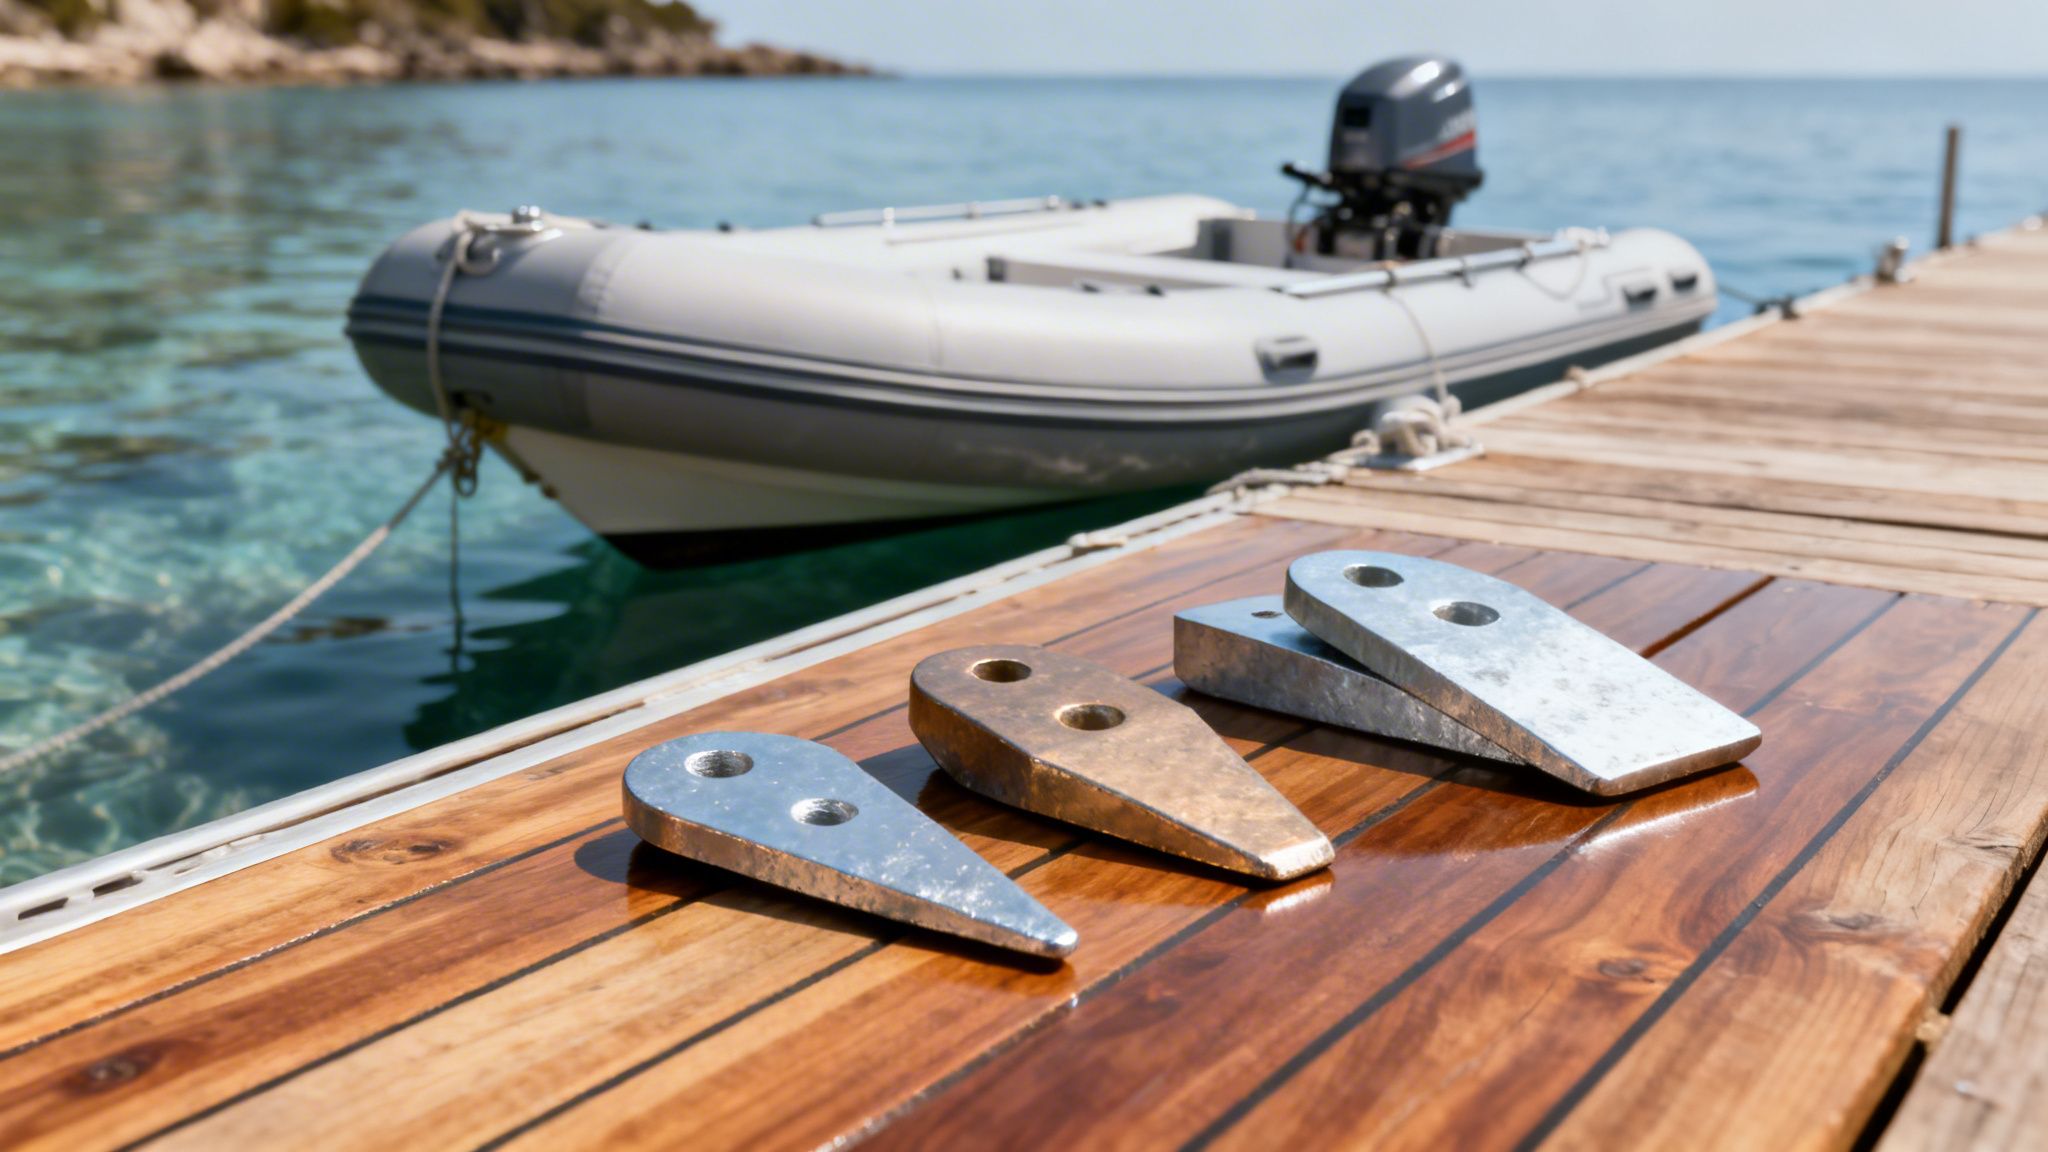
For many inflatable boats, especially those with a tough aluminium transom, dedicated protection is non-negotiable. An unprotected transom can get eaten away by severe pitting, particularly if you’re boating in saltwater. This is a massive concern for trailer boats up and down the coasts of Queensland and New South Wales. When you compare prices and features of inflatable boats in your area, be sure to check the anode protection.
To properly protect your transom, a dedicated bolt-on plate anode is your best bet. For most smaller boats up to 6 metres, a 1kg or 2kg aluminium anode bolted directly to the transom, below the waterline, does the trick. It creates a strong protective field around this vital area.
Here’s the most important thing to remember: for an anode to work, it must have a clean, direct, metal-to-metal connection with whatever it’s protecting. Never, ever paint over your anodes or the surface they mount to. A layer of paint acts as an insulator, making the anode completely useless. Understanding your motor is key, and our guide on selecting the right engine for your inflatable boat can offer more great tips on motor care.
Ultimately, getting the placement and sizing right turns your anodes from simple metal blocks into a coordinated defence system. By putting them in the right spots on your outboard and transom, you’re creating an effective shield that keeps every bit of metal safe from the silent threat of corrosion.

Knowing how to check and change the anodes on your boat is a core skill every owner should have. It’s not a complicated job reserved for marine mechanics; it’s a simple task that saves you a fortune and stops corrosion dead in its tracks. With just a few basic tools and a bit of know-how, you can handle it yourself.
Think of it like checking the oil in your car. It’s a quick, routine check that tells you everything about the health of your engine. For anodes for boats, a quick look every few months—and definitely every time you pull your boat from the water—is your best insurance against the silent but costly damage of galvanic corrosion.
If there’s one thing to remember about anode maintenance, it’s the 50% rule. This isn’t just a suggestion; it’s a non-negotiable principle for every boat owner.
An anode must be replaced once it has eroded to half of its original size. At this point, it has lost so much mass that its surface area is significantly reduced, meaning it can no longer provide adequate protection to your expensive underwater metals.
Waiting any longer is just asking for trouble. An anode that’s 75% gone isn’t “getting the last bit of life out of it”—it’s leaving your propeller, transom, and outboard completely exposed. A chalky white or grey coating is a good sign your anode is doing its job, but heavy pitting, crumbling, or chunks missing are clear signals that it’s time for a new one.
You don’t need a professional workshop to change your anodes. Most can be swapped out with a handful of tools you probably already have in your shed.
That’s all that stands between you and proper corrosion protection. With this simple kit, you’re ready to get to work.
Changing an anode is a pretty straightforward job. Follow these steps, and you’ll get it done right every time, ensuring your new anode can do its job properly.
Locate and Remove the Old Anode: First, find all the anodes on your outboard, sterndrive, or transom. Use your spanner or socket set to carefully unbolt the old, wasted anode. Don’t be surprised if the bolts are a bit stiff from corrosion—a little gentle persuasion might be needed.
Clean the Mounting Surface Thoroughly: This is the most critical step of the whole process. Grab your wire brush and give the area where the anode was mounted a vigorous scrub. You need to get rid of all traces of corrosion, salt, paint, and grime until you see clean, bare metal.
Ensure a Perfect Connection: An anode only works if it has a direct electrical connection to the metal it’s meant to protect. That clean surface you just prepped is what allows the protective current to flow. Any paint or gunk left behind acts as an insulator, making your brand-new anode completely useless.
Install the New Anode: Bolt the new anode firmly into place. It needs to be snug and secure, with the entire back of the anode pressed flat against the clean metal surface you prepared. Don’t go overboard and overtighten, as you could strip the threads, but make sure it’s tight enough not to vibrate loose. And remember: never apply any paint, grease, or anti-foul over your new anode or the mounting point.
Following this simple process ensures your anodes function exactly as they should. For more complex fixes or hull maintenance, exploring professional advice on inflatable boat repairs can provide extra peace of mind and keep your vessel in top shape for years to come.
Even with the right anodes installed, you can sometimes run into strange issues. Learning to read the signs your boat gives you is a crucial skill. Is your anode disappearing way too fast? Or maybe it looks brand new after a full season in the water? Both scenarios point to problems that need attention before they cause serious damage.
This troubleshooting guide will help you diagnose what’s really going on under the waterline. Think of yourself as a boat detective—the clues are all there if you know where to look. By understanding the symptoms, you can spot trouble early and take the right action.
You replaced your anodes just a few months ago, and they’re already more than halfway gone. Rapid anode wear is a classic sign of an electrical problem. It shows your anodes are working overtime, but it’s not normal and points to an aggressive corrosive force that needs to be found.
There are two likely culprits for this:
If you suspect stray current, the first step is a full inspection of your boat’s electrical system. Pay close attention to bilge pumps, lighting, and any recently added electronics. For persistent electrical gremlins, getting a marine electrician to perform a hull potential test is the best way to pinpoint the source. You might also find a high-quality marine battery box helps isolate your power source, reducing the risk of stray currents. For more information, you can explore our guide on marine battery boxes to ensure your setup is secure.
The opposite problem can be just as worrying. You pull your boat out after a year, and the anodes look almost as clean as the day you installed them. This is a major red flag.
An anode that isn’t corroding isn’t working. This means your expensive underwater metals are completely unprotected, and any minor corrosion you see on them is just the beginning.
Here’s what could be wrong:
Even with anodes installed, you might spot the tell-tale signs of corrosion on your running gear. Learning to identify these early can save you from a major repair bill down the track.
Look for these specific visual clues:
If you spot any of these signs, it’s time for immediate action. Your first step should be to check your anodes, their connections, and their material type to find the root cause of the failure in your corrosion protection system.
We’ve covered the what, why, and how of sacrificial anodes, but you might still have a few questions floating around. Let’s tackle some of the most common queries we hear from Aussie boaters to give you the confidence to get your maintenance right.
The rule of thumb is to inspect your anodes every six months and get ready to replace them once they’re about 50% gone. For the average weekend boater in Australia, this usually lines up perfectly with an annual engine service, making it easy to remember.
But your mileage will vary. If your boat lives in a “hot” marina packed with other vessels and potential stray electrical currents, you might chew through anodes every few months. On the flip side, if you’re mostly in freshwater, your anodes will last much, much longer.
The one rule you absolutely must follow is to never let an anode completely disappear. A nearly-gone anode offers next to no protection, leaving your expensive outboard and transom completely exposed to corrosion.
No, you should never mix anode materials like zinc and aluminium on the same bonded circuit. Think of it this way: the more “active” metal always protects the less active one. When you mix them, you create a new problem.
The super-active aluminium anode will waste all its energy trying to protect the less-active zinc anode, on top of protecting your engine parts. It will burn itself out incredibly fast, leaving your boat completely unprotected way sooner than you’d expect. Stick to one material best suited for your water type for reliable, consistent protection.
Absolutely not. In fact, painting an anode is one of the worst things you can do—it makes it completely useless. An anode only works if it’s in direct electrical and physical contact with the water.
A layer of paint, no matter how thin, acts as an insulator and stops the sacrificial process dead in its tracks. Just as importantly, you must never paint the surface where the anode mounts. It needs a clean, bare, metal-to-metal connection to do its job and protect the component it’s attached to.
Yes, it’s not only normal but a great sign! Seeing a chalky, white layer form on your aluminium or zinc anodes means they are working exactly as they should. This buildup is just an oxide byproduct created as the anode corrodes away to protect your boat.
It’s visual proof that your anode is sacrificing itself for the greater good. If the coating gets really thick and crusty, you can give it a quick scrub with a wire brush at your next inspection. But a thin, even white film is the perfect sign of a healthy, functioning anode system.
At Easy Inflatables, we know that proper maintenance is the key to enjoying your time on the water. We offer some of the best inflatable boats for recreational use available near me, right here in Australia. From our durable inflatable catamarans to our powerful Hidea outboard packages, every part is designed for performance and a long life on the water. Explore our full range of boats and accessories to find the perfect setup for your next Australian adventure at https://easyinflatables.com.au.