
It’s a frustrating sight for any boatie: a seam on your inflatable starting to peel away, especially under the full force of the Australian sun. Standard glues just can’t cut it in that heat; they go brittle and let go, leaving you with a leaky mess. Think of a high-temperature adhesive as specialised sunscreen for your boat’s bonds—it’s engineered to stay tough and flexible when the surface gets scorching hot. Whether you’re comparing prices and features of inflatable boats in your area or already own one, understanding adhesives is key to longevity.
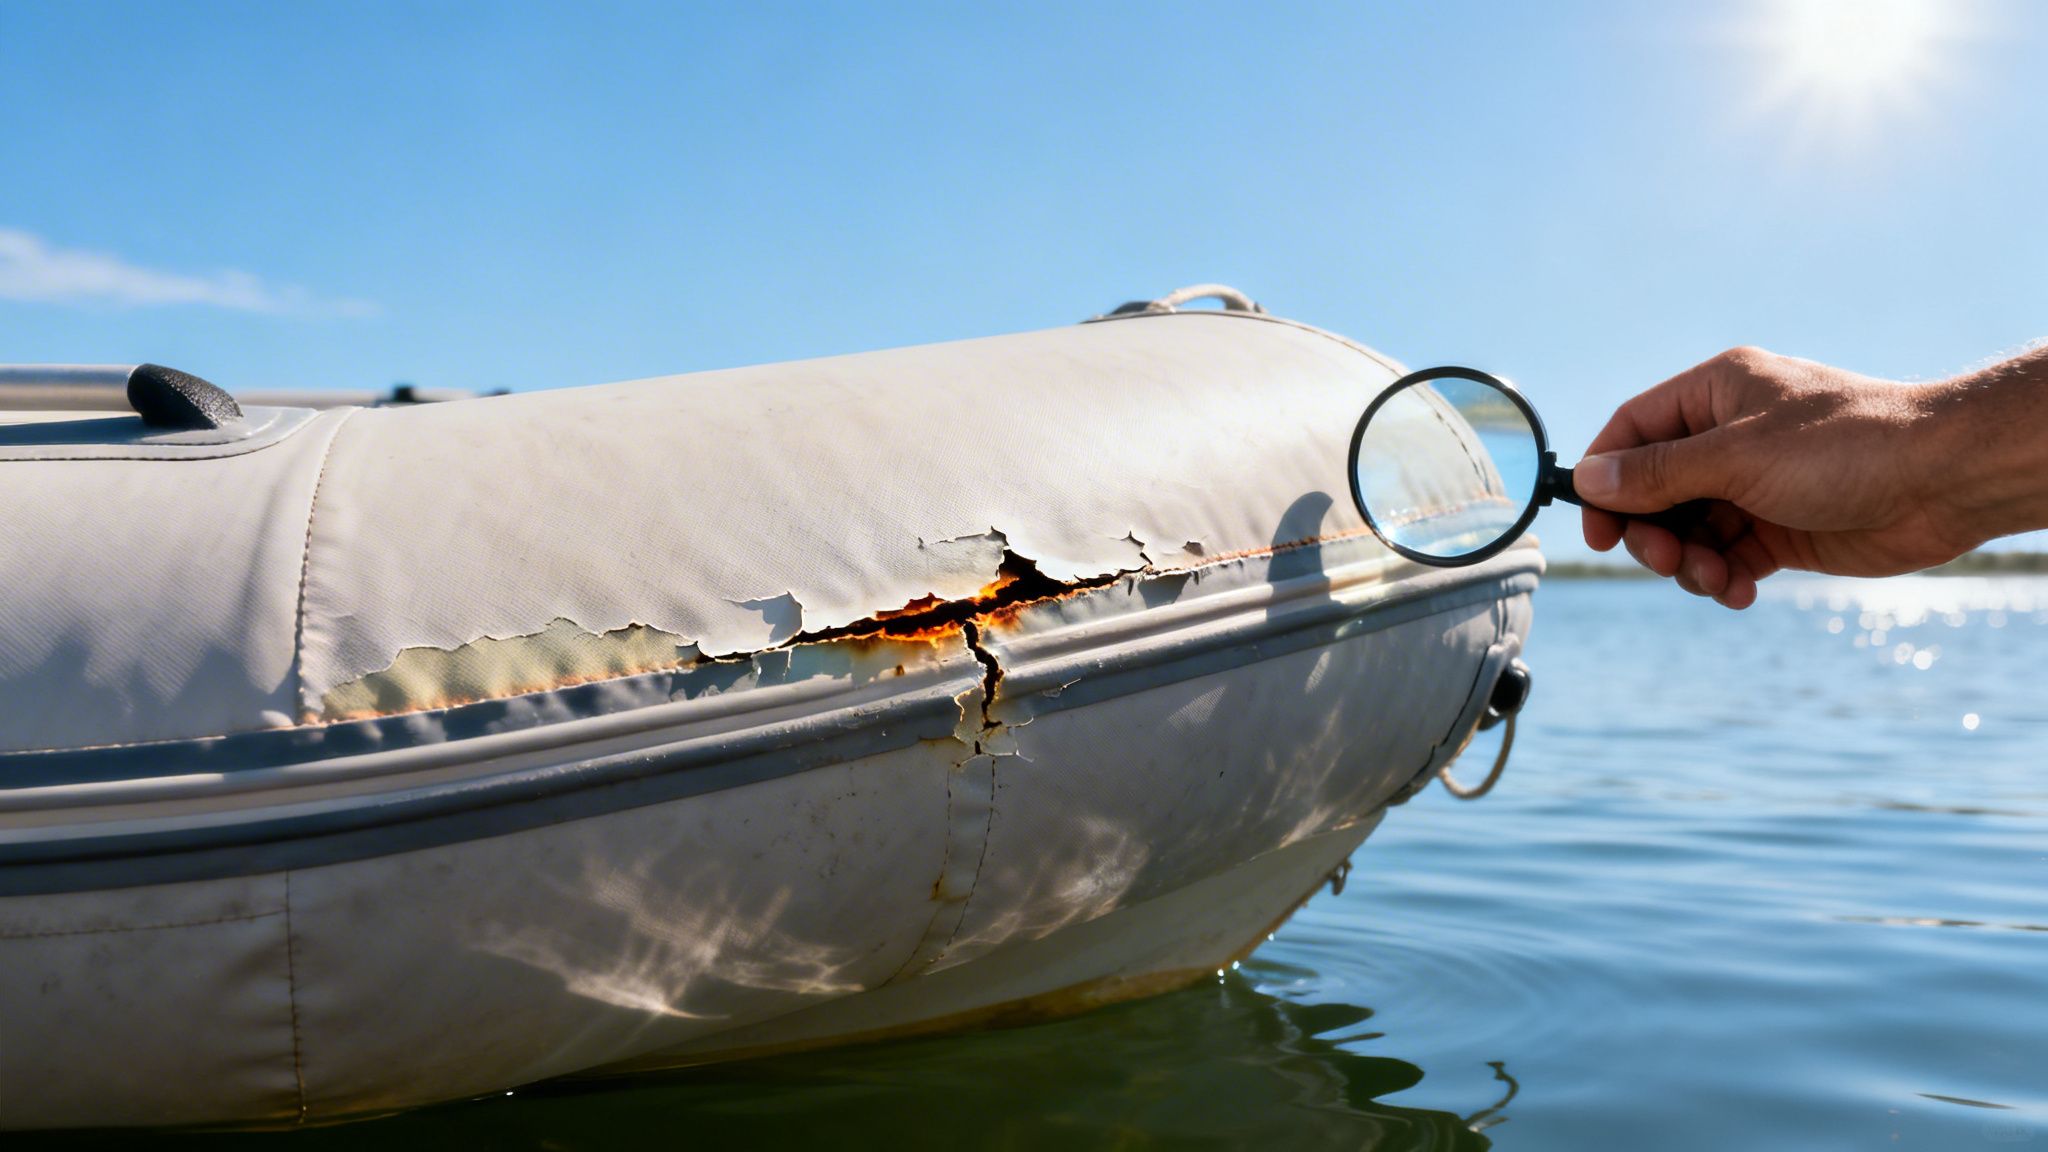
That brilliant sun that makes for a perfect day on the water is also your boat’s biggest enemy. When dark-coloured PVC or Hypalon fabric soaks up sunlight, the surface temperature can absolutely skyrocket, getting far hotter than the air around it. This constant cycle of heating and cooling puts massive stress on standard glues, causing them to soften, lose their grip, and fail. If you’re looking for the best inflatable boats for recreational use available near you, choosing one with high-quality, heat-resistant seams is a crucial first step.
And this isn’t just about looks. A failing seam or a handle that pulls away can go from a minor annoyance to a serious safety issue in a heartbeat, especially when you’re far from shore. The integrity of your boat’s bonds is everything, whether you’re out for a family cruise or relying on a high-performance inflatable for a serious fishing trip.
Imagine leaving a chocolate bar in the car on a hot summer’s day—it melts into a useless puddle. That’s pretty much what happens to a regular adhesive under intense heat. A high-temperature adhesive, on the other hand, is built differently. It’s made to handle these wild temperature swings without losing its structural strength, ensuring your repairs hold firm day in and day out.
This resilience is crucial for a few key reasons:
This need for tough, heat-proof bonding solutions is growing fast. In fact, the global market for these specialised adhesives is set to hit USD 7.6 billion by 2034, pushed by demanding industries like marine and automotive where performance under pressure is non-negotiable.
A failed bond at sea is more than just an inconvenience; it’s a genuine risk. Using the right high-temperature adhesive is a fundamental part of good boat maintenance, giving you reliability and peace of mind on every trip.
Ultimately, picking the right glue is a critical investment in your vessel’s safety and longevity. For a deeper dive into the practical side of fixing your boat, you can check out our comprehensive guide to inflatable boat repairs.
Choosing the right adhesive can feel a bit like a chemistry test you didn’t study for. To get a repair that actually lasts, you need to look past the fancy branding on the tube and understand what’s inside. While there are countless glues out there, only a few are cut out for the tough demands of marine use.
Each type of glue, or “chemistry,” brings its own mix of flexibility, brute strength, and resistance to the elements. For example, some specialised adhesives are engineered for very specific jobs, like a self-adhesive, waterproof barrier used to protect deck foundations from moisture. When it comes to inflatable boats, though, the choice nearly always boils down to two heavy hitters: polyurethanes and epoxies.
Think of polyurethane adhesive as the gymnast of the glue world. It’s incredibly tough and strong, yet it stays flexible—which is exactly what you need for the fabric on an inflatable boat or an inflatable catamaran. As your boat inflates, deflates, and flexes on the water, a polyurethane bond moves right along with it, preventing the repair from going brittle and cracking under pressure.
These are almost always two-part systems, meaning you mix a resin and a hardener right before you apply it. This kicks off a chemical reaction that creates a powerful, cross-linked bond that stands up to water, sun, and scrapes. For any PVC or Hypalon fabric repair, a flexible polyurethane is your go-to.
If polyurethane is the gymnast, then epoxy is the weightlifter. Epoxies cure into a rock-solid, rigid state, making them the perfect choice for structural repairs on hard, non-flexing parts of your boat.
You’ll typically see marine-grade epoxy used for:
But here’s a critical warning: using a rigid epoxy on a flexible fabric is a recipe for failure. The moment your boat inflates or flexes on a wave, that inflexible glue line will crack, and your patch will pop right off. This is why matching the adhesive to the material is so important. It’s the same principle as with other materials, like knowing the best glue for foam repairs to avoid melting the foam.
A true high-temperature adhesive has to hold its ground when things get hot. For a boat, this isn’t just about engine heat—it’s about handling the constant temperature swings from a sun-baked deck to the cool water below. This cycle can quickly destroy weaker glues. Some industrial-grade adhesives are even rated for continuous use from 121°C to over 816°C, showing just how resilient a proper bond can be.
Using the wrong adhesive on your inflatable is a bit like putting diesel in a petrol car—it’s a recipe for total failure. The single most critical step in any repair is matching your high-temperature adhesive to the boat’s material. Get this right, and you’re well on your way to a permanent, factory-quality seal.
The two fabrics you’ll almost always encounter on inflatables are Polyvinyl Chloride (PVC) and Hypalon. They might look and feel similar, but chemically, they’re worlds apart and demand completely different glues. Slapping a PVC adhesive on a Hypalon boat will give you a weak, temporary bond that’s guaranteed to peel away, probably at the worst possible moment.
So, how can you tell what your boat is made of? The easiest method is to check the manufacturer’s plate, which often lists the fabric. If that’s missing or unreadable, there’s a simple test you can do.
Find a hidden spot, like the inside of a valve flap, and dab a small amount of acetone on a cloth. Gently rub the area. If the material gets sticky and the colour transfers to your cloth, you’ve got a PVC boat. Hypalon, on the other hand, will show little reaction beyond looking a bit cleaner.
This simple distinction is vital because the glues work in fundamentally different ways:
Understanding this difference is the first and most important step. If you want to dive deeper, you can learn more about the benefits of Hypalon versus PVC material in our detailed comparison guide.
Of course, your repair job might go beyond the inflatable fabric itself. Many boats have rigid parts like aluminium transoms, wooden floorboards, or hard plastic D-rings and handles. These non-flexible components need a totally different bonding strategy.
While flexible polyurethanes are perfect for fabrics that need to move and flex, a rigid, high-strength epoxy is the superior choice for bonding structural elements that don’t bend. This ensures a rock-solid connection that won’t fail under load.
When you’re choosing an adhesive, you also have to think about the temperature resistance of the parts you’re bonding. For some of the advanced composites and plastics used in high-performance marine environments, understanding properties like Peek’s melting temperature is crucial. Your adhesive must be able to handle the material’s thermal limits without degrading.
This quick decision guide can help simplify your choice between a high-temperature adhesive for flexible fabrics or one for rigid parts.
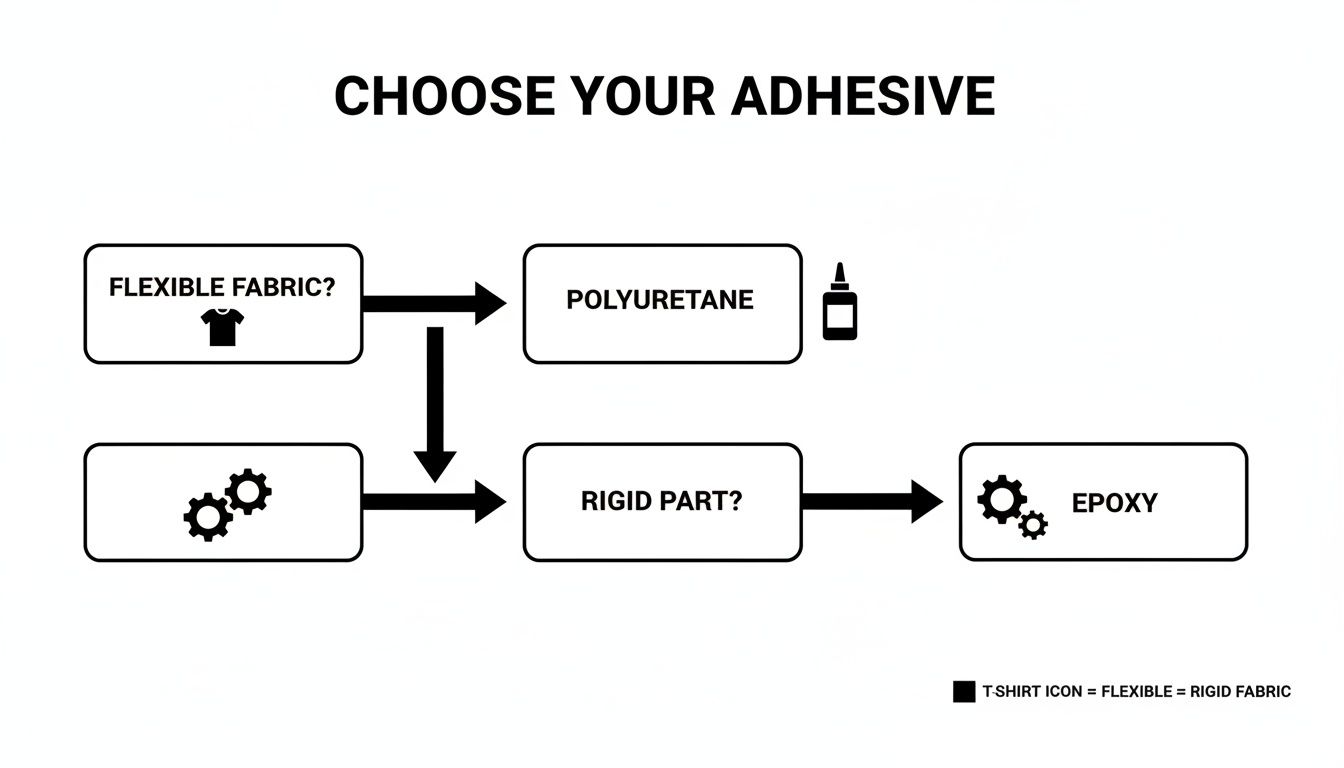
As the flowchart shows, material flexibility is your main guide. It points you toward polyurethane for fabrics and epoxy for any hard components. By correctly identifying your materials from the start, you set yourself up for a successful, durable repair that lasts.
Even the world’s best high-temperature adhesive will let you down if you skimp on the prep work. A rock-solid, permanent bond isn’t just about the glue; it’s about giving that glue the perfect surface to bite into. This guide will walk you through the process just like a pro, making sure your repair stands up to the heat and strain of real-world use.
The fate of your repair is sealed long before you even crack open the adhesive. In fact, poor surface preparation is the number one reason adhesive jobs fail. Think of it like trying to paint a dusty, greasy wall—the paint has nothing to hold onto and will just peel away. Your adhesive needs a clean, slightly roughened surface to create a powerful mechanical grip.
First up, lay your patch over the damaged spot and make sure it extends at least 2-3 centimetres beyond the tear on all sides. Use a pencil to lightly trace around the patch onto the boat’s material. This outline is your working area.
Now for the most important part: cleaning. This is absolutely non-negotiable. Both the patch and the marked area on your boat need a thorough wipe-down with the right solvent.
Put some solvent on a clean, lint-free cloth and give both surfaces a good, firm wipe. You might notice the material gets a little tacky, which is a great sign! It means the very top layer is chemically prepped for an unbreakable bond. Let the solvent flash off completely before you do anything else. Our detailed guide on rubber boat repair has even more tips on this crucial stage.
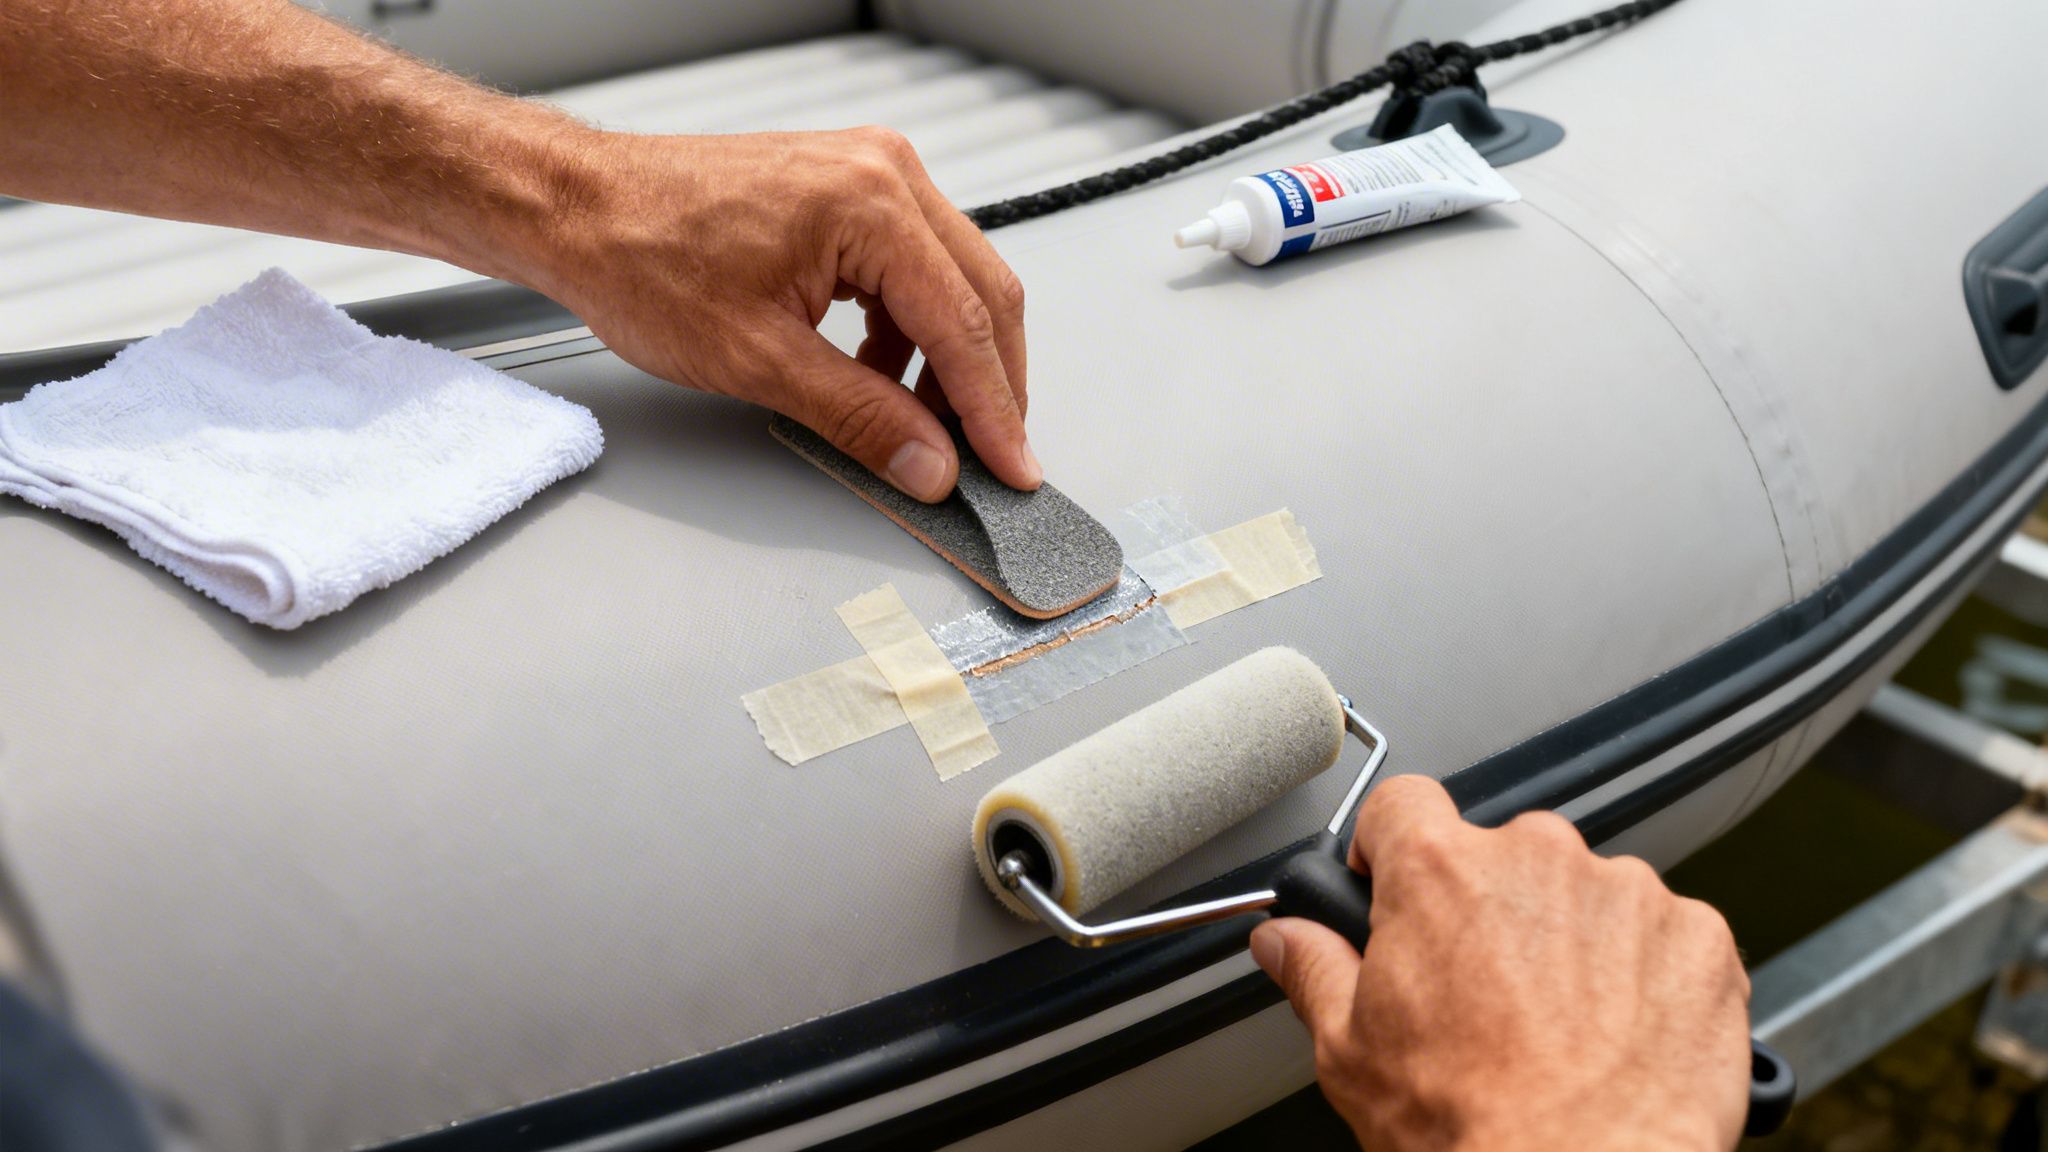
Once clean and dry, it’s time to scuff up the surfaces. This creates a microscopic, rough texture that the adhesive can lock onto. Using a medium-grit sandpaper (around 120-grit is perfect), lightly sand the underside of the patch and the traced area on the boat. You’re just aiming to dull the shiny finish, not grind away the material. When you’re done, wipe away all the dust with a new, dry cloth.
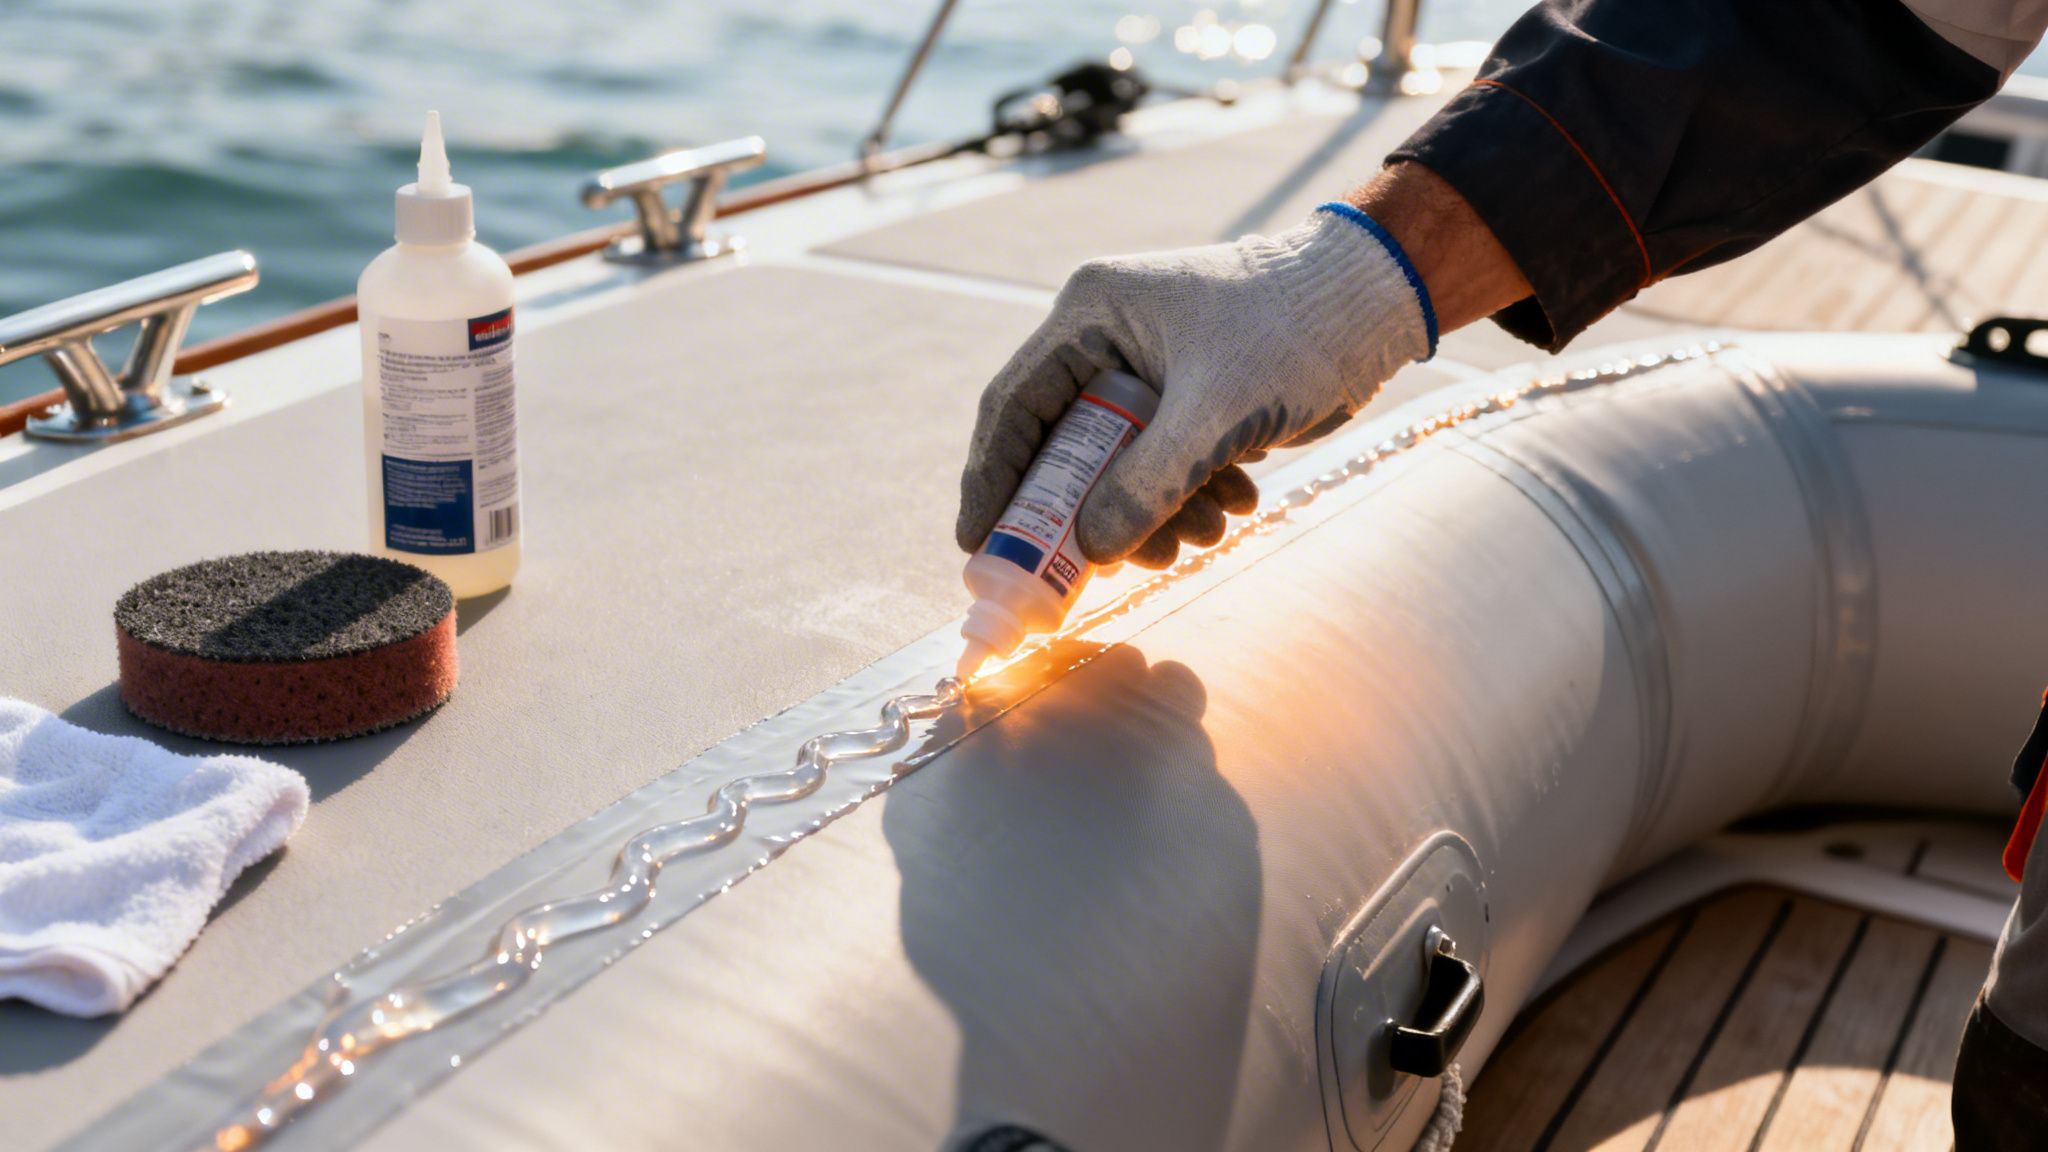
With your surfaces ready to go, it’s time to mix your high-temperature adhesive. If you’re using a two-part polyurethane, you have to follow the manufacturer’s ratios to the letter. Don’t just eyeball it; getting the mix right is what kicks off the chemical reaction that creates a strong bond.
Next, apply a thin, even coat of the adhesive to both the patch and the boat.
It’s a common mistake to think more glue equals a stronger bond. The opposite is true. A thick, goopy layer won’t cure properly and will result in a weak, lumpy seam. You’re aiming for a consistent, thin film.
A small, stiff-bristled brush works best for this. Many adhesives need a second coat after the first has become tacky, which usually takes 10-15 minutes. Always check the specific instructions for your product. Once that final coat feels tacky to the touch—a bit like the sticky side of masking tape—you’re ready to join the surfaces.
Getting the high temperature adhesive on perfectly is a great start, but the job is far from over. The real work—the part that creates an unbreakable, permanent bond—happens during the curing process. This isn’t just about letting the glue “dry.”
Curing is a chemical reaction that transforms the liquid adhesive into a rock-solid material. Think of it like baking a cake. You can mix the best ingredients, but if you rush it out of the oven, you’re left with a gooey mess. Your adhesive is no different; it needs the right combination of time, temperature, and pressure to reach its full strength.
A professional-grade repair doesn’t happen instantly. The bond develops in distinct phases, and knowing what to look for will stop you from stressing the patch before it’s ready.
Patience is the single most important tool you have. Rushing your boat back into the water before a full cure is the leading cause of repair failure, even when the bond feels solid to the touch.
These three elements are the pillars of a successful cure. Getting them right is non-negotiable if you want your high temperature adhesive to perform under pressure, especially in the demanding Australian climate.
Time: As we’ve covered, every adhesive has a specific cure time. Always check the manufacturer’s directions, but a good rule of thumb is to give it more time than you think you need. For most marine adhesives, waiting a full 72 hours is a safe bet.
Temperature: Most adhesives cure best in a specific temperature range, typically between 18°C and 25°C. If it’s too cold, the chemical reaction slows to a crawl, dragging out the cure time. If it’s too hot, the solvents can flash off too quickly, preventing the adhesive from forming a strong bond.
Pressure: This is the secret to a flawless bond. Applying firm, consistent pressure is what ensures the two surfaces make complete contact and forces out any trapped air bubbles. You don’t need anything fancy—a simple handheld J-roller is the perfect tool. Work from the centre of the patch outwards with firm, steady pressure. It’s far more effective than just pressing down with your hands.
Working with a powerful high temperature adhesive means you’re dealing with serious chemicals. Getting a perfect, long-lasting bond is the goal, but your safety and protecting the environment are just as important. Let’s make sure your repair project is a success from start to finish, without any nasty surprises.
The fumes from marine adhesives contain Volatile Organic Compounds (VOCs), which you definitely don’t want to be breathing in. Always work outdoors if you can, or in a space with fantastic ventilation—think a garage with the main door wide open. A simple fan isn’t enough.
Protecting yourself is simple when you have the right gear. Before you even think about opening that adhesive tin, make sure you have this kit ready to go.
Proper storage and disposal are just as critical. Keep your adhesive containers sealed tight and store them in a cool, dry place away from direct sunlight. Never, ever pour leftover adhesive or solvents down the drain. Check with your local council for their guidelines on disposing of hazardous household waste.
Having the right safety kit is a non-negotiable part of any on-water activity. For a complete rundown, take a look at our comprehensive boat safety equipment checklist.
Working with marine adhesives can feel tricky, but it doesn’t have to be. Here are a few straightforward answers to the questions we hear most often from boat owners, helping you get your repairs done right the first time.
It’s a common thought, but a standard epoxy is the wrong tool for this job. While it’s fantastic for rigid repairs, it cures into a rock-hard state that can’t handle the movement of an inflatable.
As your boat flexes, inflates, and deflates, that brittle epoxy will simply crack and fail. For a repair that lasts on PVC or Hypalon, you absolutely need a flexible adhesive, like a two-part polyurethane, that’s designed to move with the fabric.
Always start by reading the manufacturer’s instructions, but a good rule of thumb is to wait for a full cure, not just until it feels dry to the touch. This can take anywhere from 24 hours to a full week, depending on the adhesive, temperature, and humidity.
Hitting the water too soon is one of the biggest reasons repairs fail. Even if the bond feels tough, the chemical process is still working its magic internally. For those who need to hire inflatable boats for a family outing in Australia, you can rest assured that professionally maintained rentals have been properly repaired and fully cured.
Patience really is your best friend here. Rushing this final step almost guarantees you’ll be doing the same repair all over again sooner than you’d like.
More often than not, a failed repair comes down to one thing: improper surface preparation. If the surfaces aren’t perfectly clean, dry, and scuffed up (abraded), the adhesive has nothing to grip onto. Think of it like trying to paint a greasy, glossy surface—it just won’t stick.
Other common culprits we see include:
For a reliable inflatable boat that minimises the need for repairs in the first place, check out the expertly crafted range at Easy Inflatables. Discover our durable, heat-welded boats and find the perfect model for your next adventure at https://easyinflatables.com.au.