
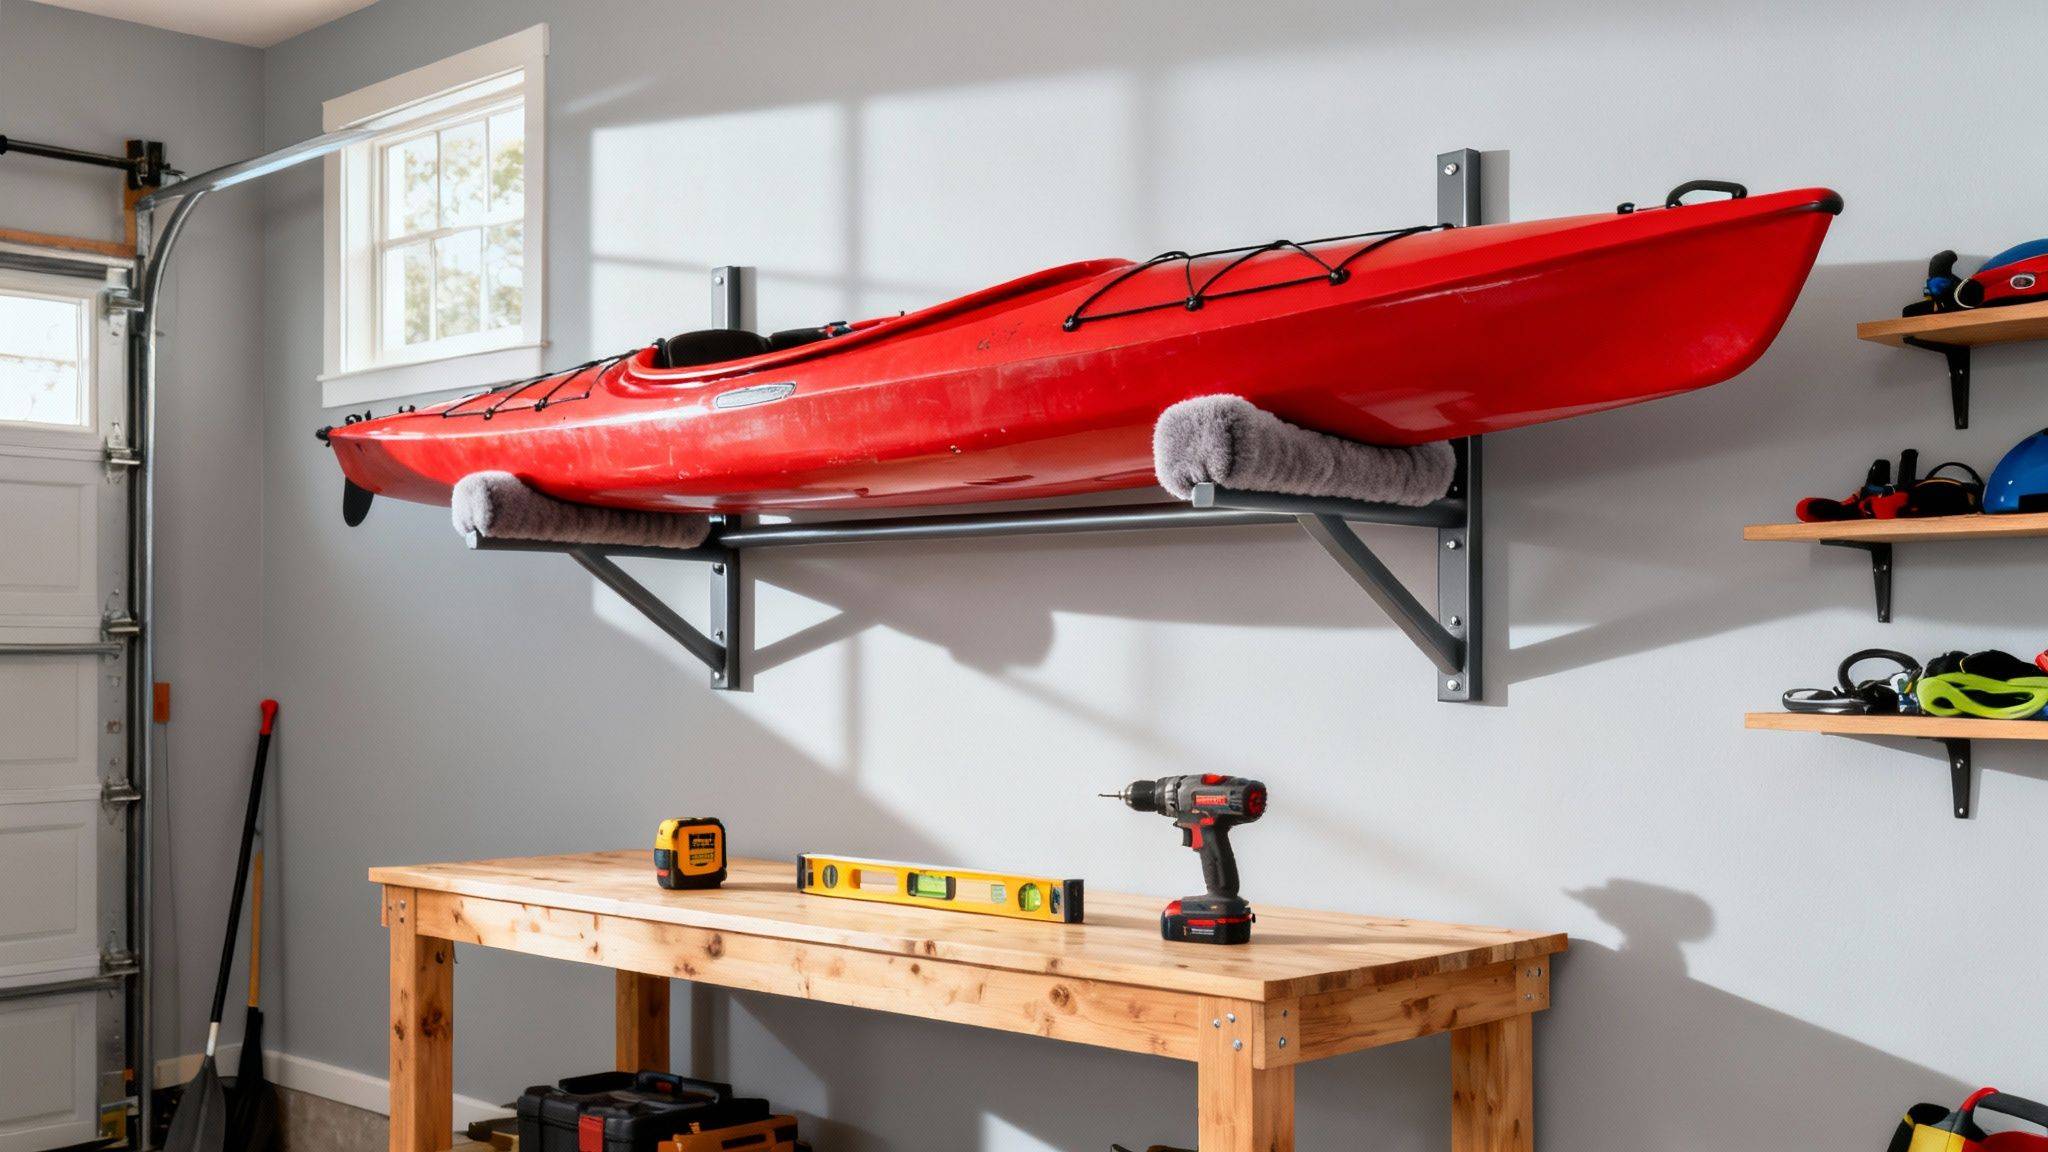
That kayak propped against the garage wall is more than just an eyesore—it’s a ticking clock on your investment. A good kayak rack wall mount is the simplest, most effective way to reclaim your space, protect your boat from damage, and make getting on the water that much faster.
Let’s be honest, that kayak leaning against the wall is an accident waiting to happen. It’s not just a clumsy obstacle course you navigate every time you grab the lawnmower; improper storage is one of the quickest ways to ruin your prized watercraft.

When a kayak just sits on the ground or leans against a surface for weeks on end, it creates constant pressure points on the hull. This can lead to warping, denting, or even cracking over time, especially with plastic kayaks that are sensitive to temperature changes. It’s also an open invitation for spiders and other critters to make a home inside the cockpit.
A dedicated kayak rack wall mount solves all these problems instantly. By getting your kayak up and off the ground and distributing its weight evenly across padded supports, you get rid of those harmful pressure points and protect its shape. But it’s about more than just protection—it’s about smart organisation. Getting your kayak off the floor frees up valuable real estate in your garage, shed, or basement.
This simple upgrade makes a world of difference:
The goal is to make your gear work for you, not against you. A well-organised storage system means less prep time and more time enjoying the water. It’s a small change that makes a massive difference in your paddling routine.
Ultimately, a proper wall mount is a smart, one-time investment to protect your bigger investment. For those exploring various ways to keep their gear safe and sound, you might be interested in our guide to different boat storage solutions. It transforms your storage space from a chaotic mess into a launchpad for your next adventure.
Picking the right kayak rack wall mount isn’t about finding a single perfect solution for everyone. It’s more about playing matchmaker between your specific kayak, your garage or shed wall, and the rack itself. Not all racks are built the same, and what works brilliantly for a long, sleek sea kayak might be a terrible fit for a wider, heavier fishing model.

As kayaking has boomed in popularity across Australia, so has the market for smart storage solutions. It’s no surprise, really. The Aussie kayak market, which includes all the essential accessories like wall racks, was valued at around AUD 120 million in 2023. That growth shows a real demand for getting our boats stored safely and out of the way.
First things first, let’s get to know the main types of wall racks you’ll come across. Each style has its own strengths, depending on your boat’s shape and how much space you’re working with.
To make things a bit clearer, here’s a quick comparison of the most common options.
| Rack Type | Best For | Pros | Cons |
|---|---|---|---|
| Padded Arm Racks | Heavier kayaks, like tandems or feature-packed sit-on-top kayak models. | Extremely sturdy and simple. Easy to load and unload. Great for storing extra gear like paddles. | Can stick out quite far from the wall, taking up more horizontal space. |
| J-Cradle Racks | Narrower kayaks or tight storage spaces where you need to maximise wall area. | Space-efficient, holding the kayak on its side. Often allows for multiple boats to be stored closer together. | Can be trickier to lift a heavy kayak into the ‘J’ shape. |
| Suspension Straps | Composite, fibreglass, or any kayak prone to hull distortion (denting). | Distributes weight perfectly, eliminating pressure points. Conforms to the exact shape of your hull. | Installation can be more involved to get the strap tension just right. |
Ultimately, the best choice comes down to your kayak’s specific needs and the reality of your storage area. A heavy fishing kayak will love the beefy support of padded arms, while a lightweight fibreglass boat is best protected by a suspension system.
The material your rack is made from is a huge deal, especially with Australia’s varied and often harsh climates.
Powder-coated steel is the tough guy in the group. It’s incredibly durable and does a great job resisting rust and corrosion, making it a solid choice if you live near the coast where salty air is a constant battle. Aluminium is another fantastic option—it’s naturally rust-proof and much lighter, which can make the installation process a whole lot easier on your arms.
When you’re looking at a rack, get hands-on. Check the quality of the welds and give the padding a good squeeze. Flimsy foam will compress and wear out in no time, leaving the hard metal frame to scratch up your hull. A well-made rack should feel solid and have a weight capacity that easily clears your kayak’s actual weight. Always, always double-check the manufacturer’s weight limit before you buy.
Before you even think about picking up a drill, taking a few careful measurements will save you a world of frustration later on. A solid kayak rack wall installation is all about good prep work. It’s about making sure your chosen spot is functional, secure, and doesn’t just create a new obstacle in your garage.
First up, let’s get the stats on the guest of honour—your kayak. Grab a tape measure and jot down three key dimensions:
With your kayak’s measurements in hand, it’s time to scout out the perfect home for it on your wall. You’re looking for a sweet spot that’s both out of the way and easy to get to.
Think about how you use the space. Will the mounted kayak stop you from opening the car door all the way? Is it going to hang right over your workbench, making it useless?
Most importantly, you absolutely have to locate the wall studs. A stud finder is non-negotiable here. Plasterboard on its own is nowhere near strong enough to hold the weight of a kayak; you have to anchor the rack directly into the solid timber studs behind it. Skipping this step is the single biggest reason installations fail.
Pro Tip: Once you think you’ve found the perfect spot, do a quick “dry run.” Get a mate to help you hold the kayak up against the wall where you plan to install the rack. This simple test immediately shows up any clearance problems you might have missed.
The size of your craft is a big factor here. The space needed for a larger boat, like a double person kayak, will be totally different from what a smaller single model requires. Always leave more room than you think you need for loading and unloading—trust me, you’ll thank yourself later.
You’ve picked the perfect spot and taken your measurements, so it’s time to get hands-on. Installing your kayak rack wall mount isn’t complicated, but doing it right is the key to a secure, long-lasting setup. Think of it less as a complex DIY project and more as a simple, satisfying task that pays off every time you grab your gear.
To get a professional-quality finish, you’ll need a few essential tools.
This is the most critical part of the job: securely anchoring the rack to the wall studs. Grab your stud finder and slide it across the wall until it signals you’ve found a stud. Mark the edges, then find the absolute centre—this is your drilling point.
Repeat this for the second bracket. Use your level and tape measure to ensure the marks for both brackets are perfectly aligned. A wonky rack isn’t just an eyesore; it can create uneven pressure on your kayak’s hull over time.
Getting the brackets perfectly level is non-negotiable. Even a slight angle can cause your kayak to shift or sit unevenly, creating stress points. Take the extra minute to double-check with your spirit level before you even think about drilling a hole.
Kayak wall racks in Australia have evolved significantly to handle our local conditions. Many Aussie brands now use high-grade, powder-coated steel to stand up to our harsh climate, from salt air to intense UV exposure. It’s common to find products tested to support up to 100 kg. You can learn more about leading kayak storage brands in Australia.
Once you’re happy with your marks, it’s time to drill pilot holes into the centre of the studs. These small starter holes make it much easier to drive the mounting bolts in straight and prevent the timber from splitting.
Now, align the first bracket over its pilot holes and fasten it loosely. Do the same for the second one. Before tightening everything down, place your level across both brackets one last time to confirm they are still perfectly aligned.
Finally, tighten all the bolts until the rack is rock-solid against the wall. For those who enjoy these kinds of projects, you might find our guide on installing a trolling motor mount useful for other DIY setups. Give the rack a good, solid tug—it shouldn’t budge at all.
Even the best kayak rack wall mount is only as good as its installation. I’ve seen my fair share of dodgy setups over the years, and learning from those common missteps is the easiest way to guarantee a secure rack that lasts. Getting it right the first time saves you from potential damage to your wall, your kayak, or even yourself.
One of the biggest blunders is choosing the wrong spot. It’s easy to get fixated on a nice, empty patch of wall and forget about how you actually use the space. You might install the rack perfectly, only to realise you can no longer open your car boot or get to your tool cabinet. Always, always check for obstructions before you even think about drilling.
Another classic error is failing to anchor properly into wall studs. So many people think plasterboard anchors are strong enough, but I can promise you, they will eventually fail under the constant weight of a kayak. You absolutely must use a stud finder and secure your mount directly into the timber frame. Don’t skip this.
Mounting the rack at an awkward height is another one of those easily avoidable mistakes. Go too high, and you’ll be straining your back every time you try to lift the kayak into place. Go too low, and it becomes a permanent trip hazard for anyone walking past.
Here’s a simple trick I always recommend: test your lifting comfort before drilling any holes. Grab a friend and hold your kayak at the height you plan to store it. If you’re straining, it’s too high. Adjust until you find that sweet spot where you can comfortably lift and place the boat without a struggle.
This quick visualisation shows the core steps for a secure installation.

The graphic breaks it all down into three simple but crucial actions—Mark, Drill, and Mount. These really are the foundation of a successful installation. By paying close attention to these common pitfalls, you’ll make sure your new storage solution is both safe and convenient for years to come.
Even with the best instructions, a few questions can pop up when you’re staring at a wall rack, a drill, and your beloved kayak. We get it. Below, we’ve tackled some of the most common queries paddlers have, giving you those final bits of know-how for a confident and secure installation.
Absolutely not. This is a recipe for disaster and something we strongly advise against.
A kayak, even a lighter one, puts a surprising amount of pulling force on its mounts. Plasterboard simply isn’t designed to take that kind of load. Relying on plasterboard anchors is asking for them to rip right out of the wall, sending your kayak crashing down. The result? A damaged boat, a trashed wall, and a serious safety risk. Always, always use a stud finder and bolt your rack directly into the solid timber studs.
The sweet spot is a balance between keeping the kayak safely out of the way and still being able to grab it without a struggle. A good starting point is to position the lower rack arm around your waist or chest height.
Here’s a simple trick: before you drill a single hole, grab a mate to help you hold the kayak against the wall at your chosen height. Go through the motion of lifting it onto an imaginary rack. If it feels awkward or you’re straining, adjust the height until it’s comfortable. This little test saves you a lot of future backache.
Most decent wall racks come with dense foam or rubber padding on the arms to cushion the hull. But if yours is a bit basic, or the padding wears out over time, the humble pool noodle is your best friend.
Seriously—just slit a pool noodle lengthwise and wrap it snugly over each rack arm. It’s a cheap and brilliant DIY fix. For a slightly tougher option, you can find pipe insulation foam at any hardware store that works just as well. If you’re using a strap-style system, just make sure any buckles have protective covers or are positioned so they can’t make direct contact with your kayak’s hull. Keeping your boat pristine is easy with the right setup and a few extra kayak accessories to keep all your gear in top nick.
Ready to find the perfect inflatable boat or kayak for your next adventure? At Easy Inflatables, we specialise in high-quality, durable, and portable watercraft designed for Australian conditions. Browse our full range and get on the water sooner. https://easyinflatables.com.au