
A boat centre console kit is a pre-fabricated unit that lets you add a proper helm station to an open-hull boat, like a tinnie or an inflatable. It’s a brilliant modification that centralises your steering, controls, and electronics, turning a basic boat into a much more functional and organised craft for fishing, family days out, and exploring the coast. If you're looking to compare prices and features of inflatable boats in your area, upgrading an existing one with a console kit is a smart option to consider.
Upgrading your boat with a centre console kit is one of the single best things you can do to boost its practicality and value. This isn't just about looks; it's about real-world advantages that completely change how you use your boat.
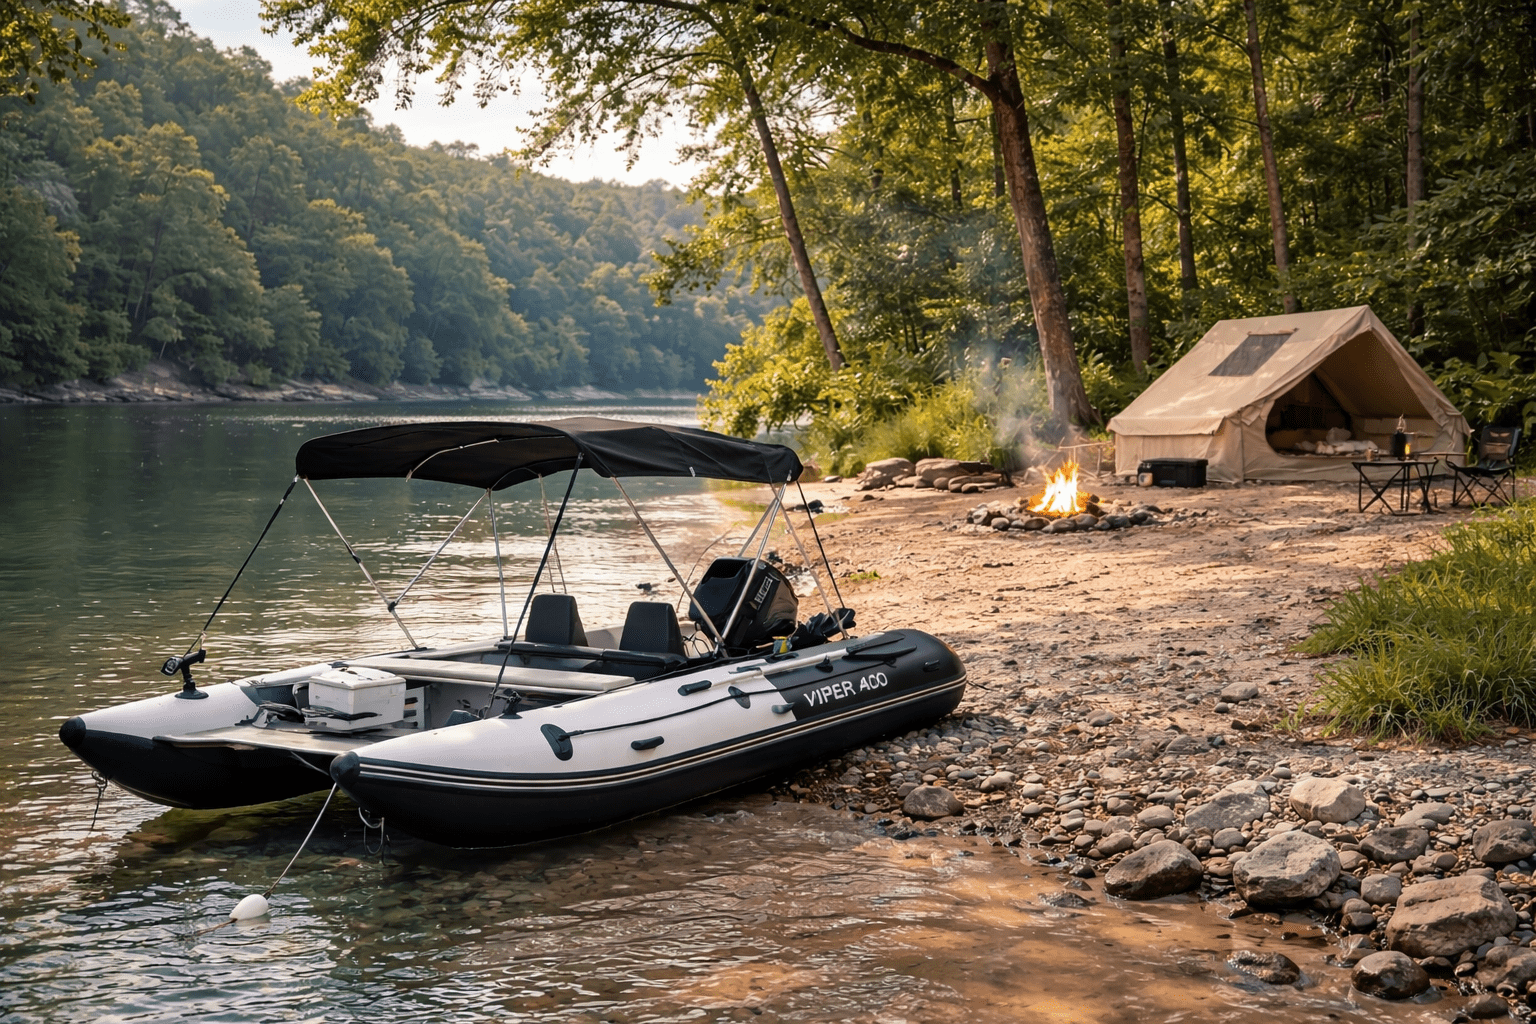
Think about it. You can transform a simple tinnie or a spacious inflatable from a basic tiller-steer setup with gear scattered everywhere into a slick, capable vessel with a dedicated command centre. For control and comfort, it’s an absolute game-changer, especially for those seeking the best inflatable boats for recreational use.
Having a central helm position massively improves your handling and visibility. When you're standing or sitting at a console, you get a clear, unobstructed view over the bow, making it much easier to spot hazards, navigate tight channels, and keep an eye on everyone on board.
The intuitive wheel-based steering gives you far more precise control than a tiller, especially when you’re dealing with a bit of chop or manoeuvring at low speeds. It just makes docking, trolling, and general navigation feel more professional and a lot less physically demanding.
Modern boating runs on tech, but open-deck boats have nowhere safe to put your expensive gear. A boat centre console kit solves that problem instantly by giving you a dedicated, dry spot to mount all your essential electronics.
This centralised layout doesn't just protect your investment; it makes your electronics way easier to use. Australia's vibrant recreational boating scene has spurred huge growth in marine equipment, showing just how much boaties value these kinds of practical upgrades. If you're looking to hire inflatable boats for a family outing in Australia, you'll often find that professionally rigged boats with consoles offer a superior and safer experience.
By creating a single point of control, a centre console declutters your deck space. This results in a safer, more organised environment with fewer trip hazards, allowing for freer movement around the boat.
For many owners, especially those with inflatable boats, adding a console is a smart, cost-effective way to get a better boat without buying a new one. It unlocks so much more potential from the vessel you already own, making it more versatile for everything from serious fishing trips to relaxed family days on the water. To really get why this upgrade is such a perfect match for these boats, it's worth exploring the benefits of buying an inflatable boat in our detailed guide.
With a fantastic range of options on the market, picking the perfect boat centre console kit can feel a bit overwhelming. But it doesn't have to be. Breaking it down into a few key decisions makes the whole process straightforward.
It’s all about matching the kit to your boat, your budget, and how you plan to hit the water. This is a crucial step when you're looking to compare prices and features of inflatable boats and potential upgrades in your area.
The first major choice you’ll face is the material. This decision will influence everything from durability and weight to the final cost of your project, so it’s worth getting right.
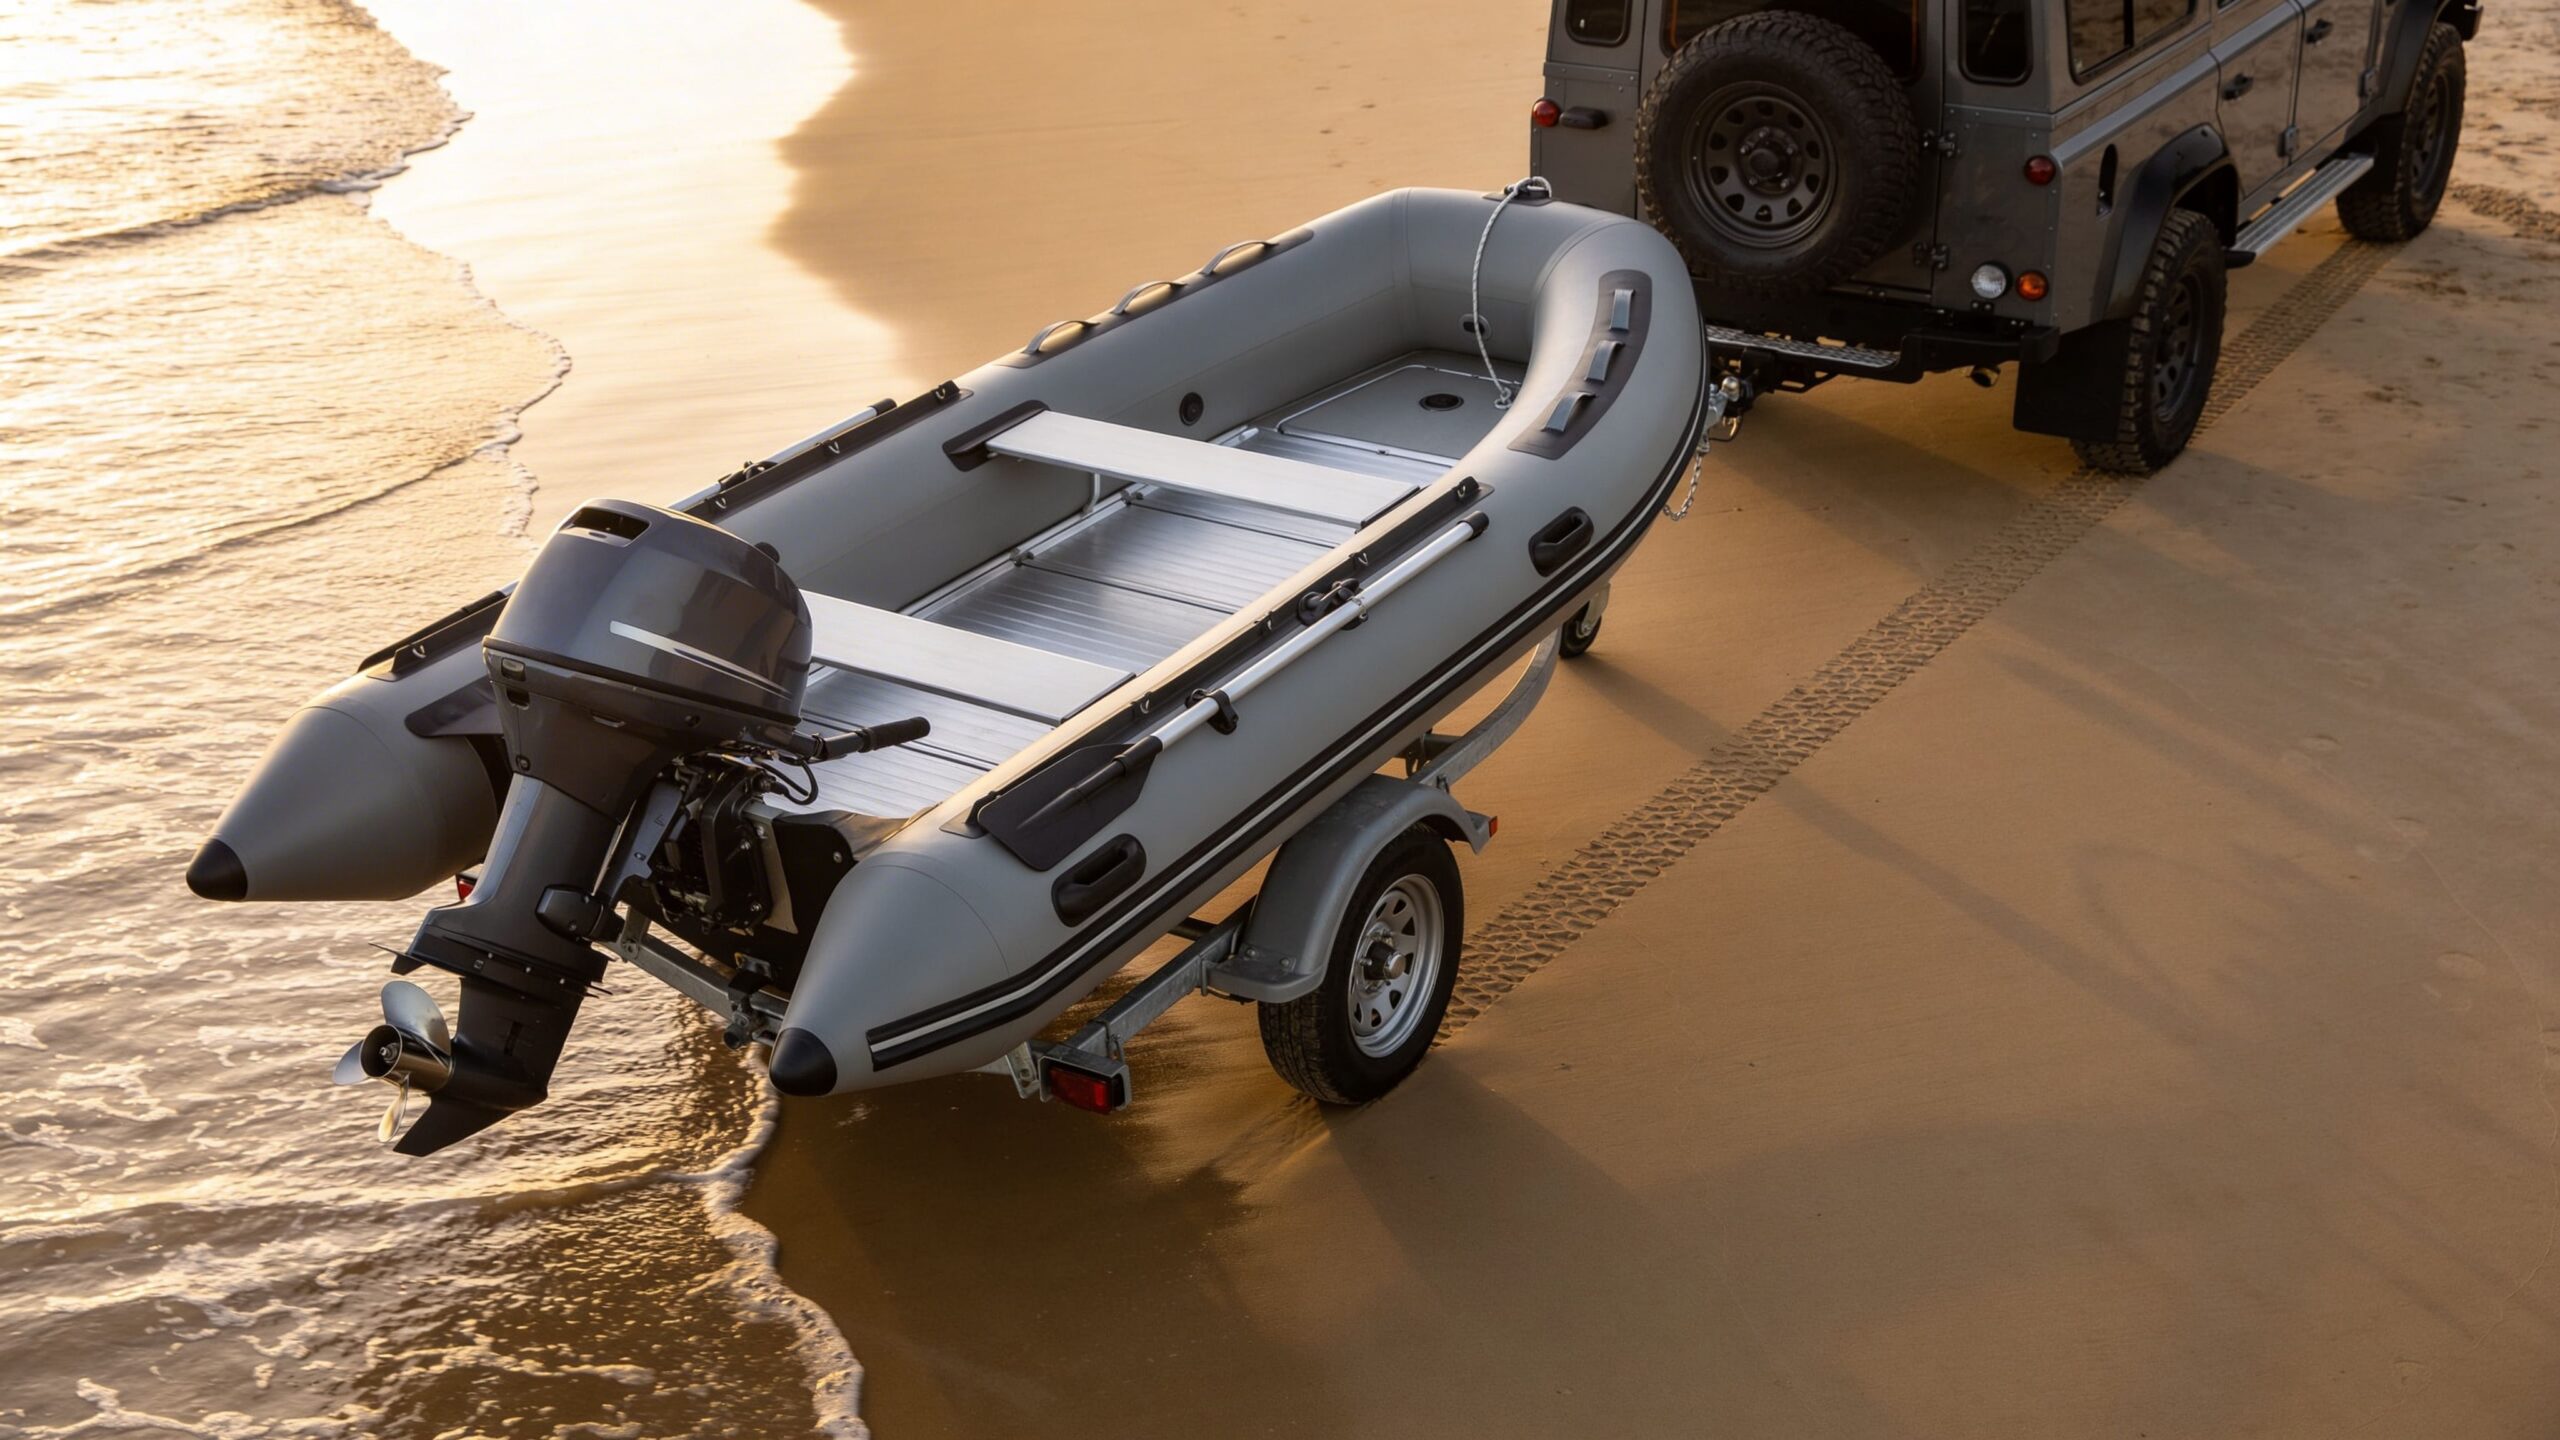
The two most common materials for console kits are aluminium and fibreglass, and each has its own tribe of loyal followers. An aluminium console is tough, lightweight, and incredibly resistant to corrosion, making it a fantastic choice for rugged use, especially in saltwater. It’s no surprise many Aussie tinnie owners prefer aluminium—it matches their boat’s construction and can handle a few bumps and scrapes without complaining.
Fibreglass, on the other hand, offers that sleek, moulded finish that can be shaped into more complex, ergonomic designs. Think integrated storage, cup holders, and smooth, rounded edges. While generally a bit heavier than aluminium, fibreglass consoles provide a premium look and are surprisingly easy to repair if you get a chip or a scratch.
The Australian market for these kits is quite specialised, valued at around USD 15 million. This reflects our passion for getting out on the water. There's a clear preference for kits with local safety certifications, and durable aluminium models hold a significant market share—hardly surprising given their proven corrosion resistance in our coastal waters. You can dig into more of the trends and cost-effectiveness data on boat console kits at Accio.com.
To help you weigh it up, here's a quick look at how the common materials stack up.
Here’s a quick comparison to help you decide what's best for your budget, environment, and how you use your boat.
| Material | Key Advantages | Best For | Average Cost |
|---|---|---|---|
| Aluminium | Lightweight, extremely durable, corrosion-resistant | Saltwater use, tinnies, fishing boats, rugged environments | Mid-range |
| Fibreglass | Sleek finish, design flexibility, easy to repair minor damage | A premium look, complex layouts, family/leisure boats | Mid to High |
| Polyethylene (Plastic) | Very tough, UV-resistant, low maintenance, affordable | Small boats, budget-conscious boaties, freshwater use | Low to Mid |
| Marine Plywood | Highly customisable (DIY), lightweight, budget-friendly | DIY projects, boaties who want a custom fit and finish | Low |
Ultimately, the best material comes down to personal preference. An aluminium console might be the practical workhorse, while a fibreglass one adds a touch of class.
Before you even think about adding a kit to your cart, grab a tape measure. The single biggest mistake people make is buying a console that’s too big or too small for their boat’s deck.
This isn't just an old saying; it's the golden rule of boat customisation. Properly measuring your available deck space is non-negotiable.
A great way to do this is to mark out the potential footprint of the console with masking tape right on the deck. This helps you actually see how much room it will take up. It’ll show you how it affects your ability to move around the boat, especially when you're fighting a fish or handling lines in a hurry.
Keep these key measurements in mind:
Finally, think about what you actually need the console to do. A well-designed boat centre console kit should be more than just a box to mount your wheel on; it should be a functional command centre for your vessel.
Look for kits with pre-wired electronic bays or easy-access panels. These features make installing your GPS, fishfinder, and switch panels a whole lot simpler down the track. Built-in storage lockers are also invaluable for stowing safety gear, tackle, and personal items, keeping your deck clear and uncluttered.
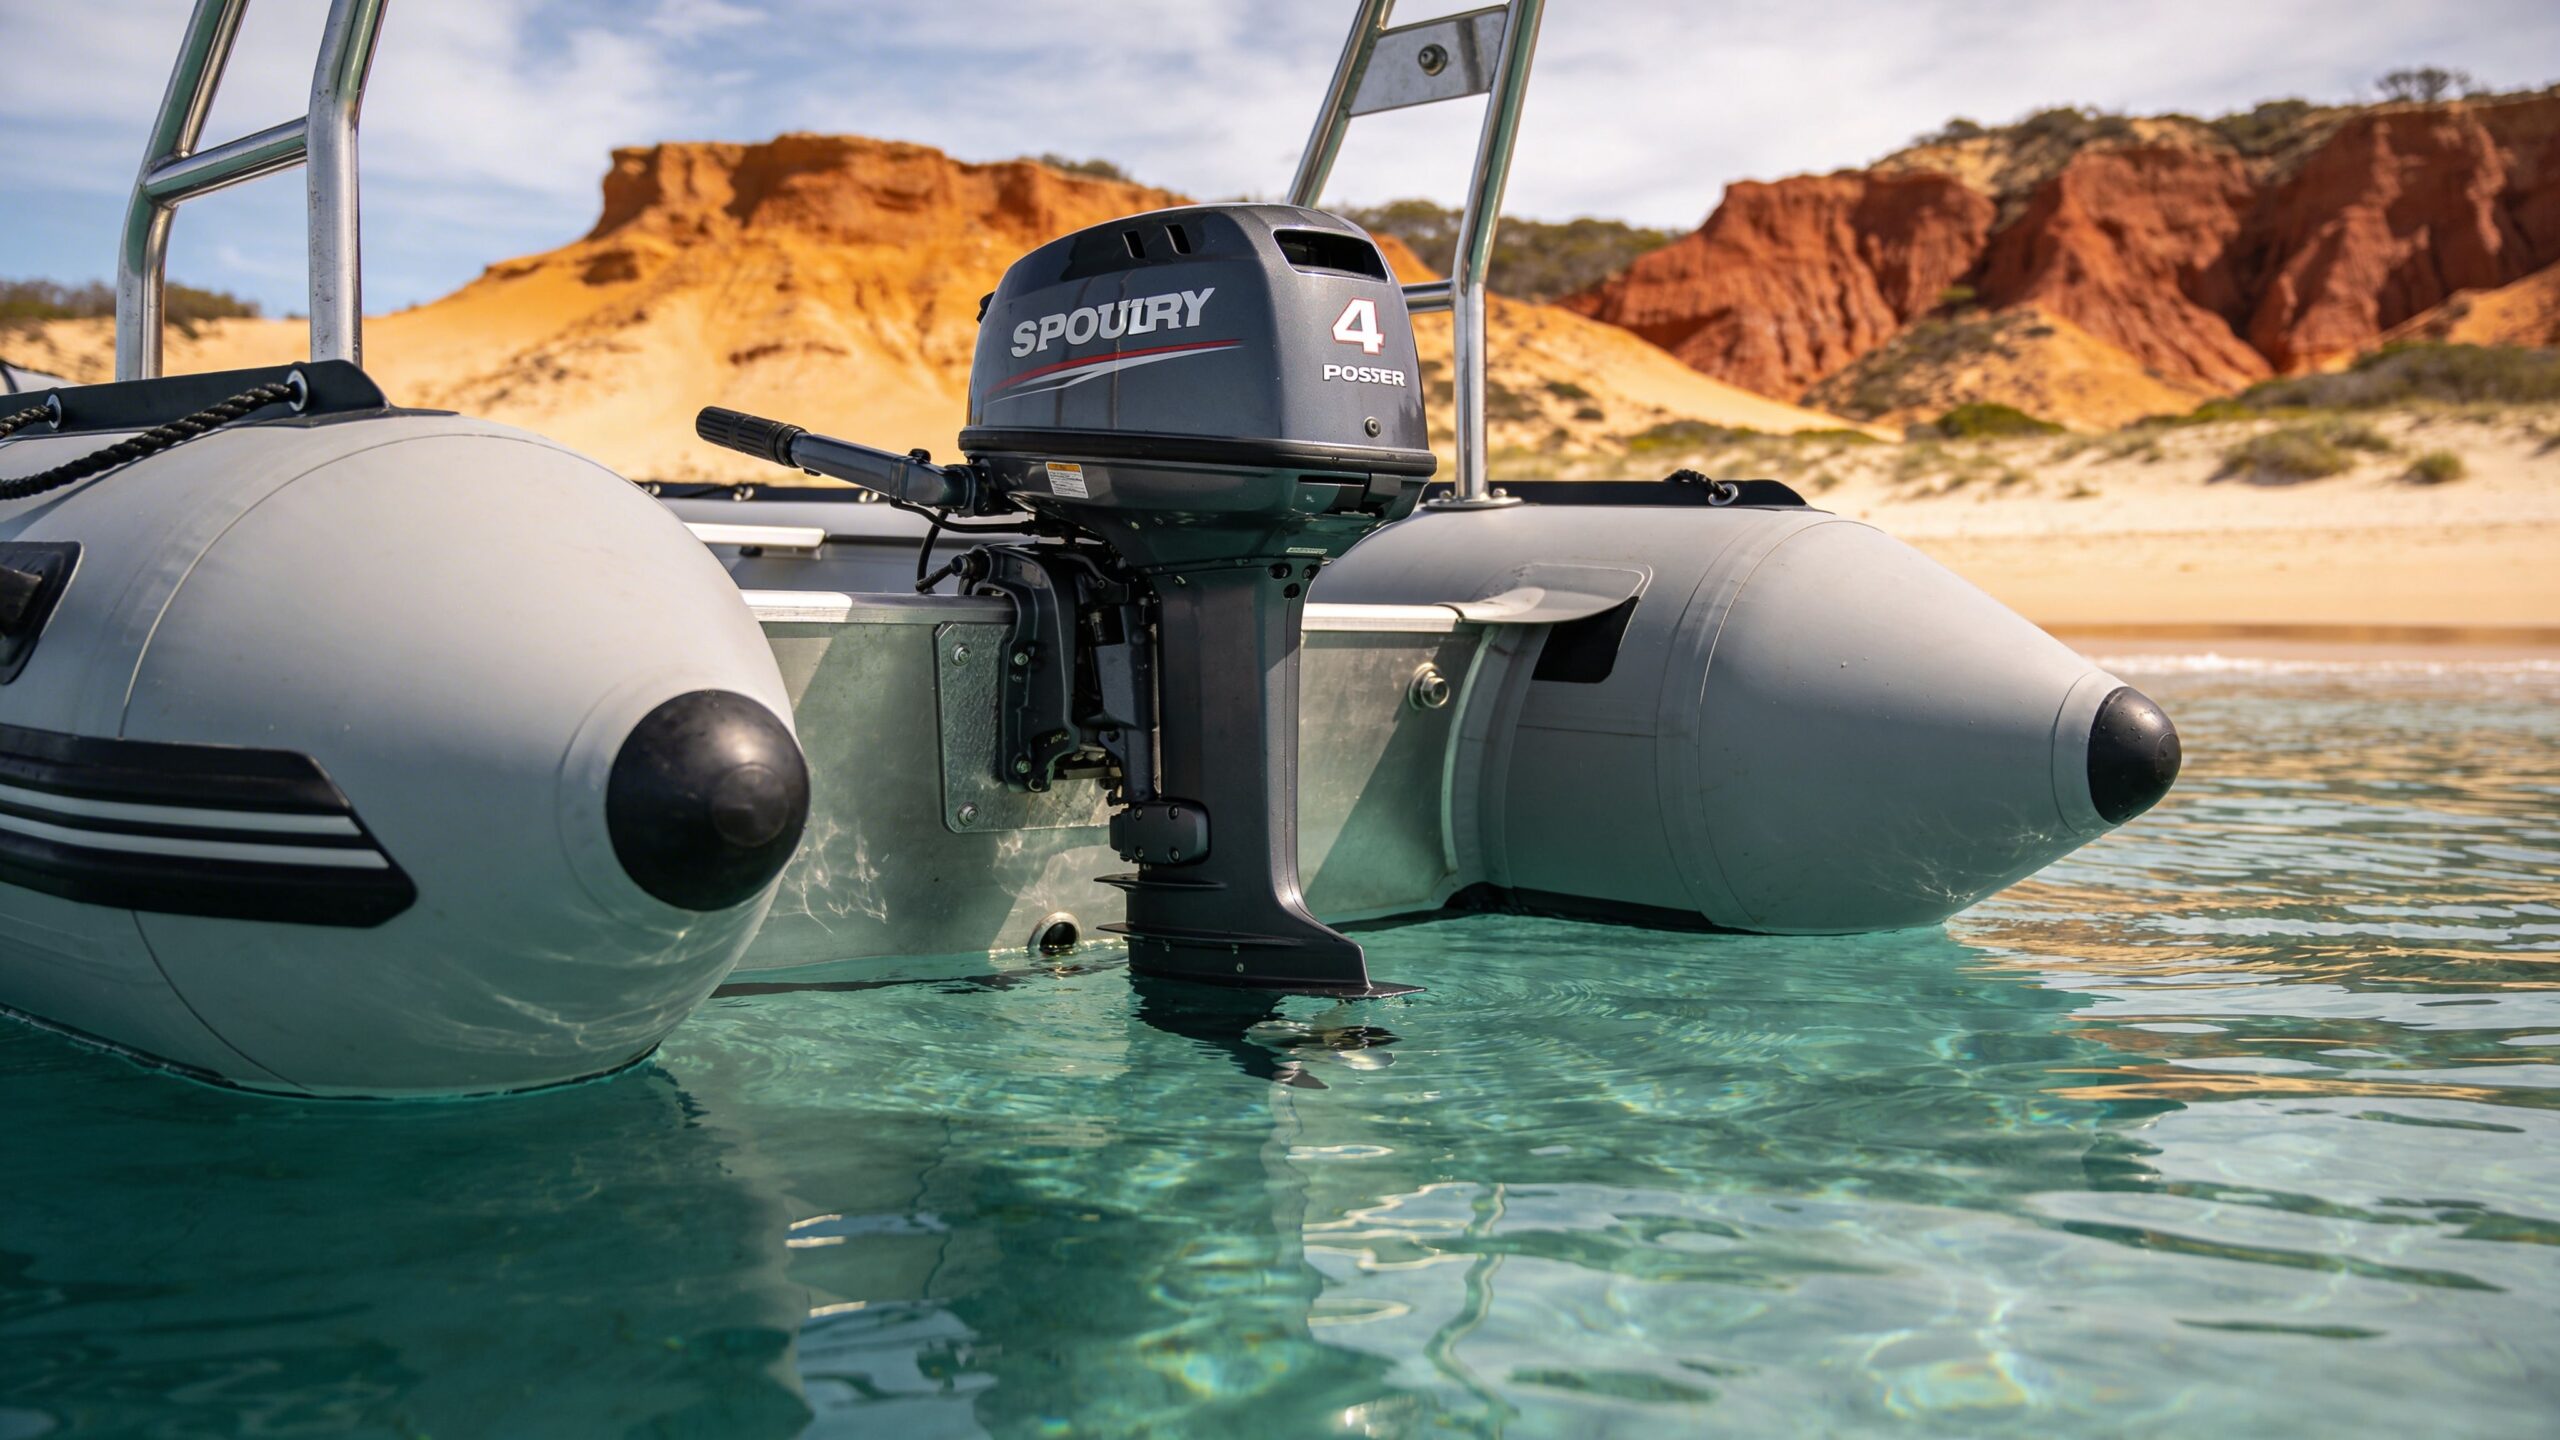
Also, double-check that the console is compatible with your chosen steering system and that there’s enough dash space for your engine gauges and any other electronics you plan to add. The right console also complements your power source, and if you're considering an upgrade, you might be interested in our guide on choosing the best electric outboard motors in Australia.
A smooth, professional-looking centre console installation all comes down to the work you do before you even pick up a tool. Get the prep work right, and you're setting yourself up for a secure, water-tight finish that will last for years. Skip it, and you’ll be regretting it on your first trip out.
First things first, let's get that deck surface ready. The spot where your console will sit needs to be perfectly clean, dry, and completely free of any grime, old sealant, or wax. I usually give it a good wipe-down with acetone or a quality degreaser. This gives the new marine-grade sealant a clean, grippy surface to bond to, which is critical for a strong, lasting seal.
Once the deck is prepped, it's time to figure out exactly where the console is going to live. This isn't just about aesthetics; it's about ergonomics and the balance of your boat. A badly placed console can make driving feel awkward and can seriously mess with your boat's performance on the water.
A simple trick I always use is to mark out the console’s footprint on the deck with masking tape. This gives you a clear visual of the space it will occupy and lets you test everything out before you commit.
The goal here is to find that sweet spot—the perfect balance between driver comfort, passenger movement, and the boat's overall stability. Seriously, take your time with this. Moving a console after it's been sealed and bolted down is a job nobody wants to do.
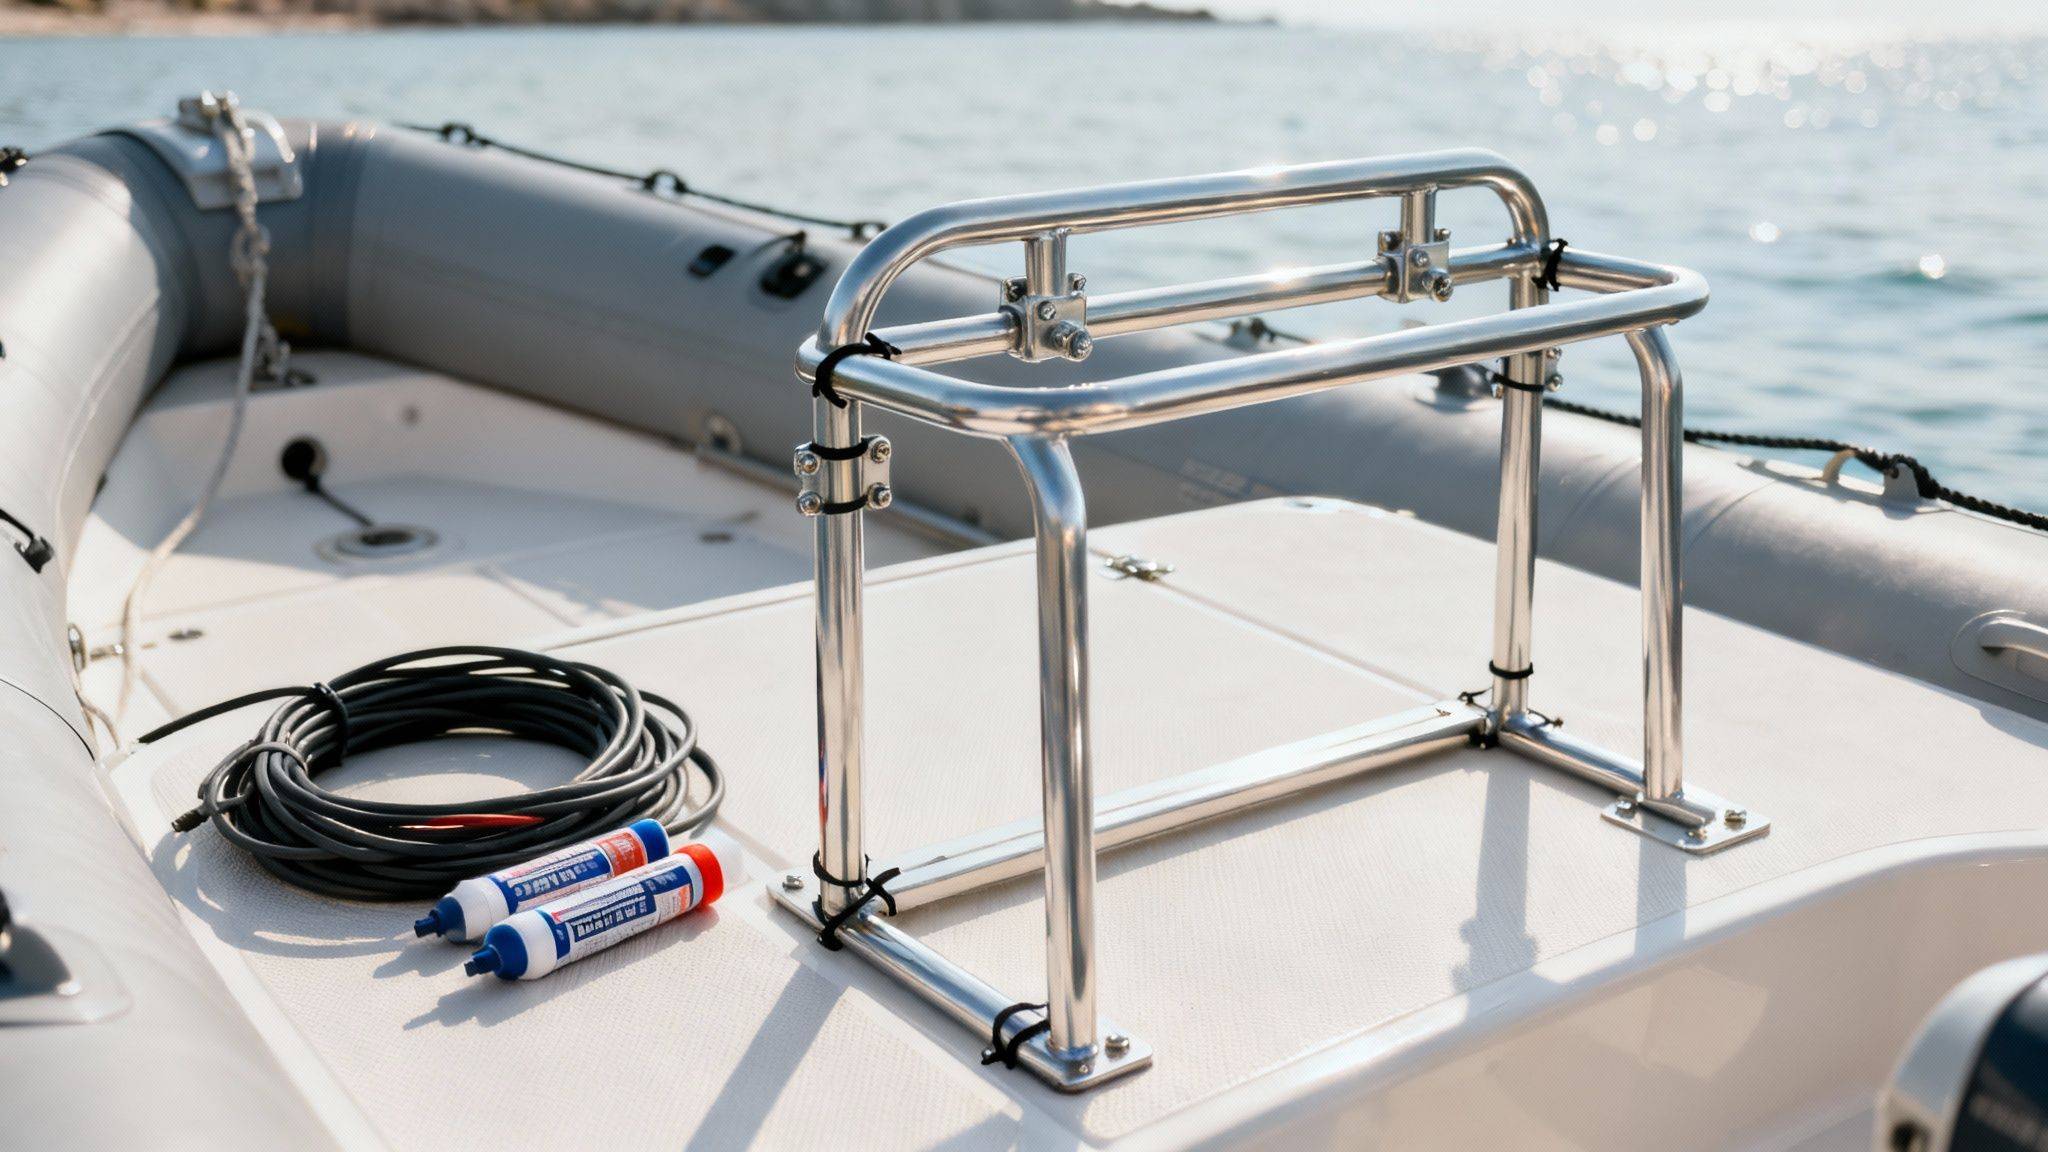
Before you even think about drilling a single hole, get all your tools and materials laid out and ready to go. Having everything within arm's reach makes the job flow smoothly and stops you from having to scramble for a tool mid-sealant-application. A tidy workspace is a safe one, especially when you’re dealing with power tools and chemicals.
Your basic kit for this job should include:
You’ll also want to think about any other systems you're integrating. If you’re hooking up electronics, you'll need wire cutters, crimpers, and connectors. This is also the perfect time to give your existing systems a once-over. Our essential bilge pump float switch guide is a great resource to make sure everything is shipshape before you start adding new gear to the mix.
With your deck prepped and your spot marked, it’s time for the main event. This is where all that planning pays off and your open-deck boat really starts to take shape. Getting the console physically mounted and the steering system hooked up is a hugely satisfying part of the project—it’s the moment it starts looking and feeling like a proper centre console boat.
The key here is to take a methodical approach. I’ve seen people rush this stage and end up with misaligned holes or a weak, leaky seal. Just take your time, double-check every measurement, and focus on getting a secure, professional finish. A solid installation isn’t just about looks; it's about safety and long-term durability out on the water.
Once you've triple-checked the final position of your console, the next step is drilling the mounting holes. For a lot of people, this is the most nerve-wracking part of the whole job. I get it—drilling into your perfectly good boat can feel totally wrong! But with the right technique, you can get clean holes without damaging your deck.
If you’re working with a fibreglass boat, the big worry is cracking the gelcoat. A simple trick to prevent this is to start with a small pilot hole. Then, switch to your final bit size and run the drill in reverse for a few seconds. This gently scores the gelcoat before you drill through, creating a clean entry point and minimising the risk of chipping.
Before you bolt the console down for good, lay down a generous bead of high-quality marine-grade sealant (something like 3M 5200) around the base and each bolt hole. This creates a permanent, watertight bond that stops water from seeping underneath and causing problems later on.
My number one tip for a rock-solid installation: always use backing plates or oversized washers under the deck for each bolt. This spreads the clamping force over a much wider area, which prevents the bolts from pulling through the fibreglass or aluminium under stress. It's especially crucial if you're planning on taking the boat out in rough conditions.
With the sealant applied, carefully lower the console into place and just loosely tighten the bolts. Don’t crank them down right away. You want to let the sealant squeeze out and start to cure first. Give it about 24 hours, then you can go back and give the bolts their final torque.
A solid installation process always starts with good prep, which this visual guide lays out perfectly.
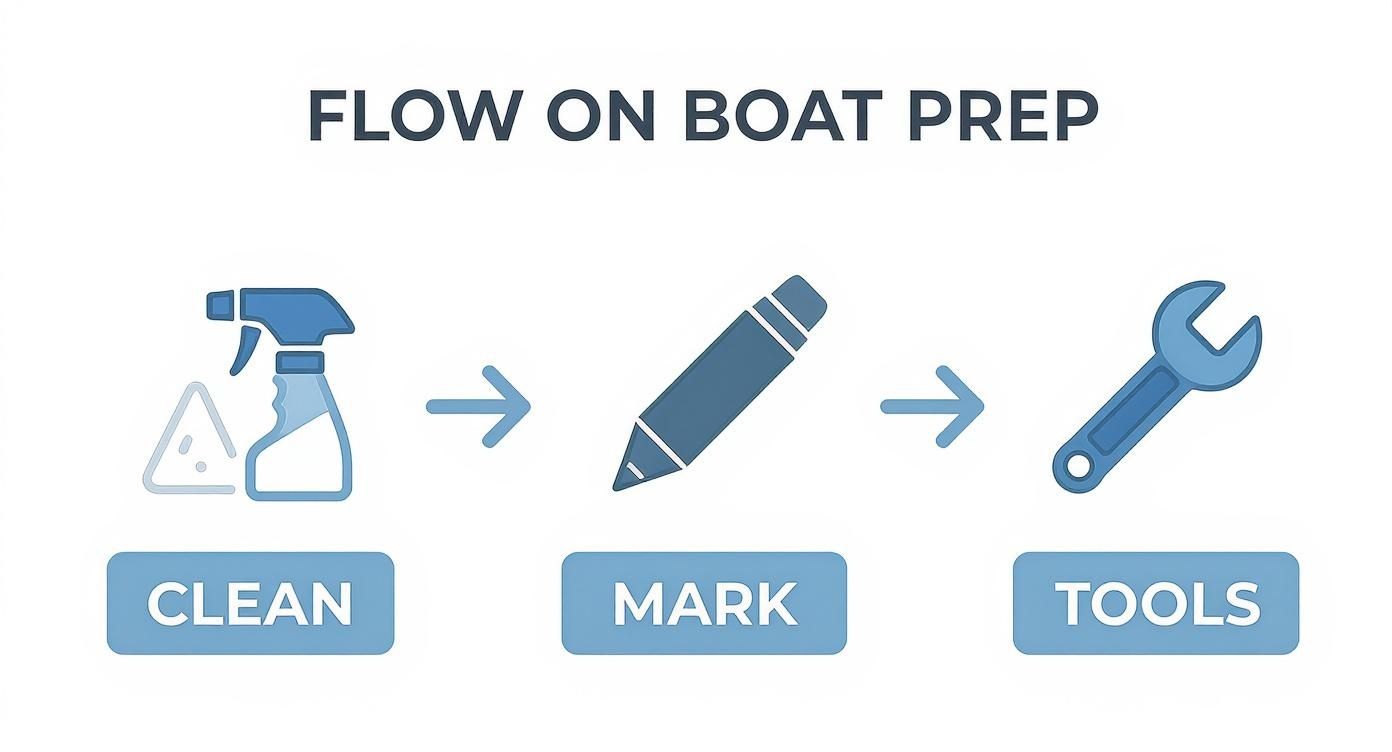
As you can see, the whole process flows from having a clean surface and precise markings to having the right tools on hand. Get these foundational steps right, and the installation will be trouble-free.
With the console firmly in place, you can now shift your focus to the heart of the system—the steering. This involves fitting the helm, running the steering cable to the outboard, and hooking up the throttle and shift controls. A neatly organised system doesn't just look better, it functions more reliably too.
Most boat centre console kits rely on a mechanical push-pull cable steering system. Here’s a quick rundown of what’s involved:
Making sure all your engine connections are in top shape is vital for reliability. You can learn more about keeping things in order in our detailed article on your outboard engine fuel line.
Once everything is connected, give the steering wheel a turn from lock to lock. It should move smoothly without catching or binding anywhere. Double-check that the engine turns the right way—turning the wheel to starboard (right) should make the back of the engine move to port (left), which in turn, steers the boat right. Proper tension and a clear, unobstructed path for your cables are the secrets to responsive and reliable control on the water.
Alright, with the console securely fastened, the real fun begins. This is your chance to rig out your new command centre and make it perfectly suited to your style of boating.
A well-customised console transforms your boat from a basic setup into a highly functional hub for all your adventures on the water. This is where you really make it yours.
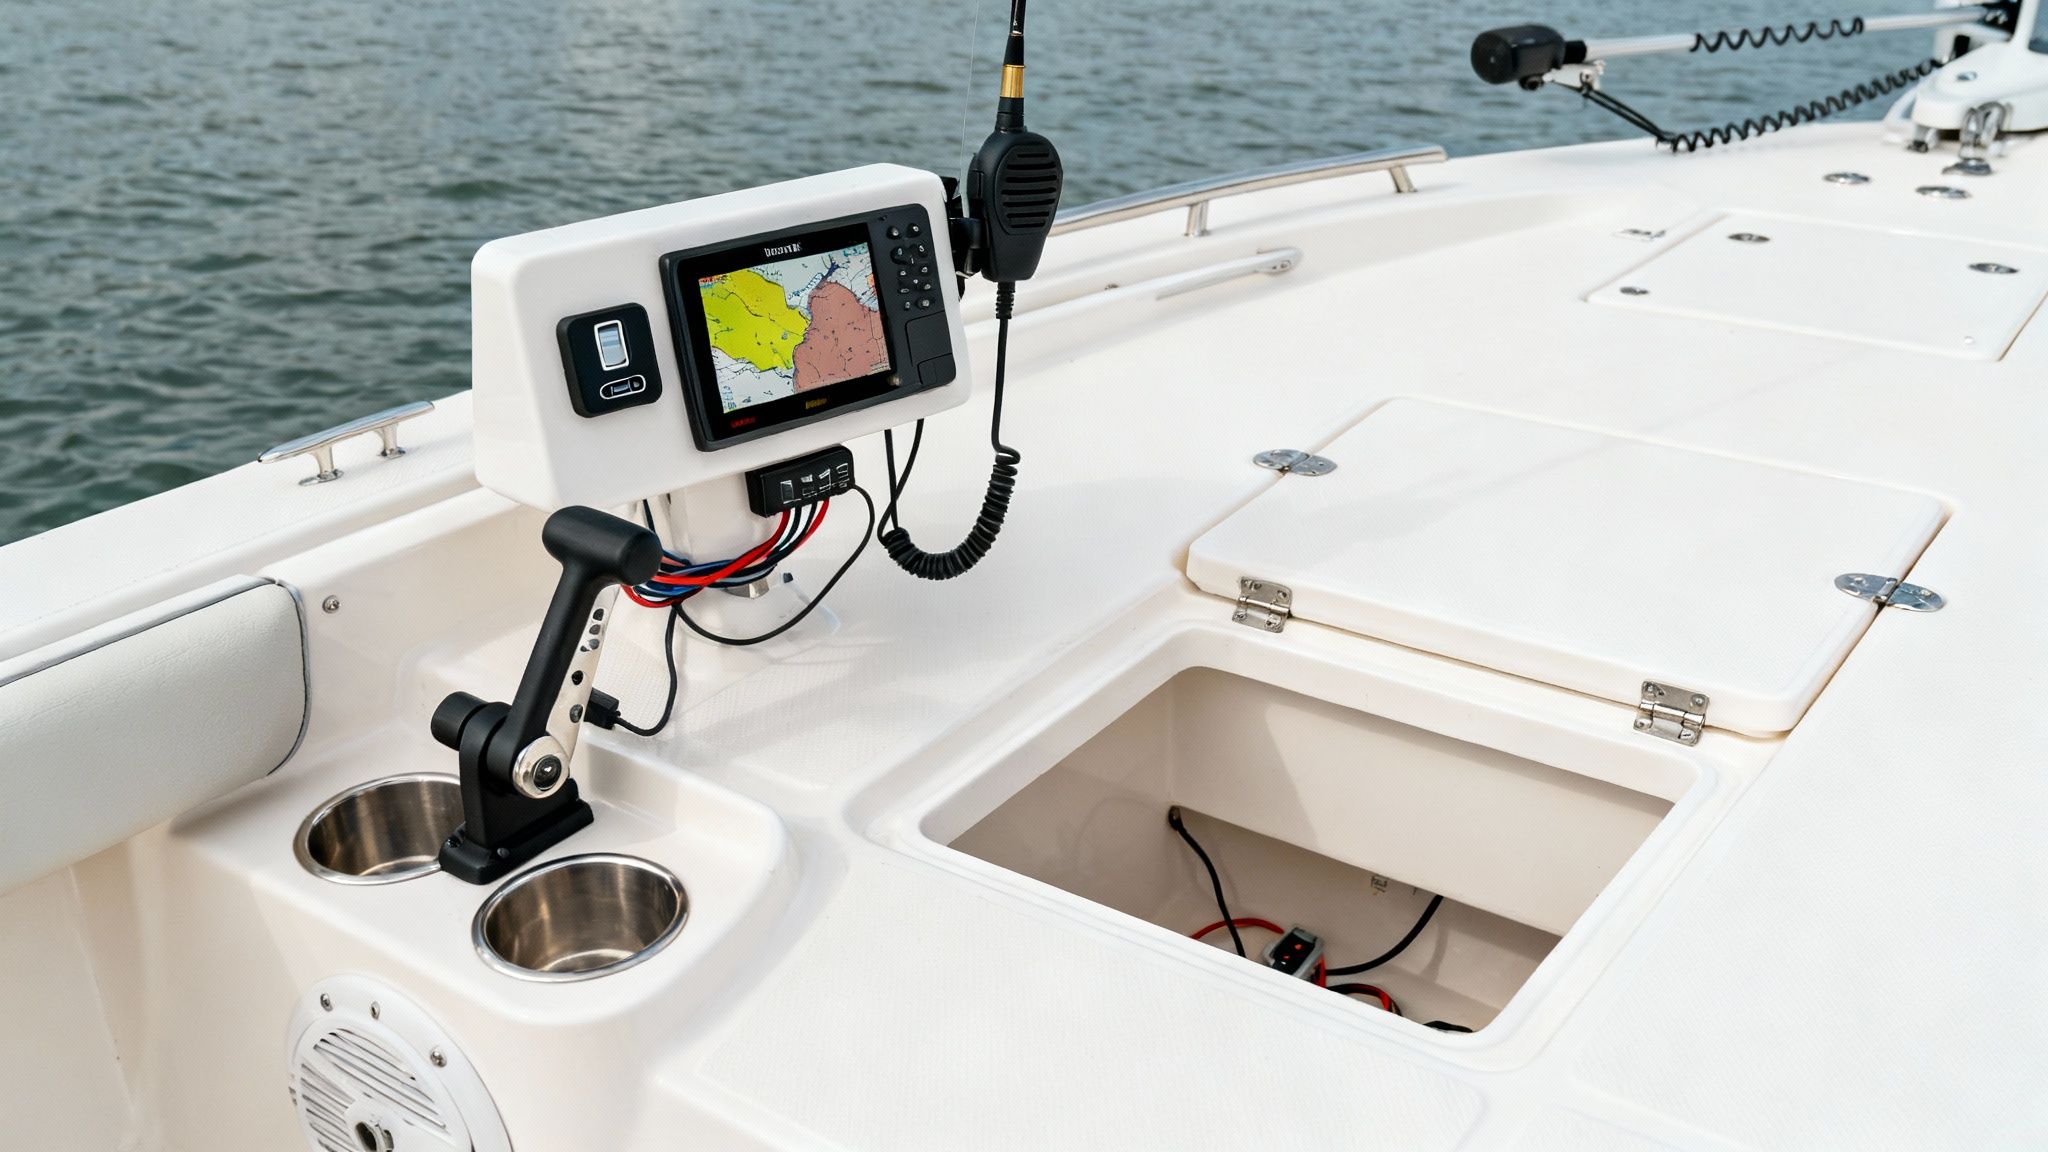
For most boaties, the first job is fitting out the electronics. Your console's dashboard is prime real estate, so you want to get the layout just right for navigating safely and finding the fish.
A GPS chartplotter and fishfinder combo is usually the centrepiece. You've got two main ways to mount it: flush-mounted for a slick, integrated look, or bracket-mounted for more flexibility. Flush-mounting looks fantastic but requires some very careful cutting. Bracket-mounting is much simpler and lets you tilt the screen or even remove the unit for security.
The Aussie appetite for this kind of tech is huge. The local centre console market is projected to grow from AUD 120 million in 2023 to over AUD 190 million by 2030, driven largely by our love for advanced gadgets. Multi-function GPS/fishfinders and electric steering are now found in about 25% of local kit sales, a rate well above the global average. It just shows how much we value functionality and safety on the water.
Beyond the high-tech gear, it's often the simple, practical additions that make the biggest difference to your day out. These are the bits and pieces that keep your deck organised, safe, and comfortable.
Here are a few popular additions that are always worth the effort:
These small touches add up. For more ideas on kitting out your vessel, check out our guide to some nifty inflatable boat accessories you must have.
A clean, reliable electrical system is the backbone of any modern console. When you're wiring up your accessories, think organisation and safety from the get-go. Run everything to a central fuse box or switch panel – it protects your gear and makes troubleshooting a thousand times easier down the track.
Pro Tip: Always use marine-grade tinned copper wire. It's far more resistant to corrosion than standard auto wire. Also, do yourself a massive favour and label every single wire at both ends. Your future self will thank you when it's time to add something new or fix a problem.
Don't forget the essentials like a VHF radio for communication and a few USB charging ports. Having a reliable way to charge phones on board isn't a luxury anymore; for many, it's a key part of their safety plan.
Even the most well-thought-out plan can hit a snag. When you're tackling a project like fitting a boat centre console kit, a few questions are bound to pop up. Getting them sorted beforehand can save you a world of time, money, and headaches down the track.
Let’s run through some of the most common queries we hear from boat owners.
One of the first things people ask is about compatibility. It’s a great question, because not every boat is a straightforward candidate for this kind of upgrade. The success of the whole project really hinges on your boat's existing structure and design.
Yes, you absolutely can—and it's a fantastic upgrade that creates some of the best inflatable boats for recreational use. However, you have to do it right. You can't just bolt a console onto the inflatable tubes and call it a day; it needs a solid, unmoving foundation to work.
This means your inflatable boat must have a rigid floor system, like aluminium or fibreglass panels. Many kits are actually designed with inflatables in mind, but the key is securing the console firmly to that rigid deck. Always double-check the kit manufacturer’s guidelines to confirm it’s a match and make sure your floor can handle the stress and extra weight.
For most DIYers, the two jobs that cause the most grief are the electrical wiring and sorting out the steering cables. These are the steps where precision and patience really pay off.
Getting all your electronics wired to a fuse box, making sure every connection is waterproof, and creating a neat circuit takes some serious attention to detail. It's the same story with routing the steering cables; getting them through the hull so they move smoothly without catching or binding takes a bit of finesse. My advice? Follow the instructions to the letter here.
The most common pitfall is underestimating the weight. A small fibreglass console might only add 15-20 kg, but a larger, fully-equipped aluminium model can easily add over 100 kg to your boat.
This really comes down to how comfortable you are with this sort of project. Plenty of boat owners with good practical skills can knock over a boat centre console kit installation in a weekend. The instructions are usually clear and the whole process is pretty logical.
However, if the thought of drilling holes into your boat’s hull makes you nervous, or you’re not confident with marine electrical systems, getting a professional in is a smart move. An expert will make sure the job is done safely, correctly, and is structurally sound, which gives you complete peace of mind when you're out on the water.
Ready to transform your vessel with a premium, durable console setup? Explore the customisable range of inflatable boats and accessories at Easy Inflatables, where you can find the perfect foundation for your next adventure. Check out our options at https://easyinflatables.com.au.