
Heading out for a day on the water in your inflatable boat should be all about fun, adventure, and relaxation. But before you even think about casting off, a quick but thorough check of your safety gear is non-negotiable.
Think of it like a pilot’s pre-flight inspection. It’s a simple routine that makes sure you’re ready for the unexpected, turning any potential anxiety into pure confidence on the water. This isn’t just about ticking boxes to dodge a fine—it’s about looking after everyone on board.
For anyone with a versatile vessel like an inflatable catamaran or a compact tender, a solid inflatable boat safety checklist is your best mate. It streamlines your prep and makes damn sure crucial items are never left behind on the jetty. To make it even easier, we’ve split the essentials into two clear categories.
First up are the items mandated by Australian maritime law. These are the absolute must-haves. Getting caught without them can land you some serious penalties, and rightly so.
The second category covers gear that, while not always legally required for every single situation, comes highly recommended by seasoned boaters. This is the stuff that adds an extra layer of safety and gives you genuine peace of mind.
This graphic gives you a quick visual summary of what’s required versus what’s just plain smart to have.
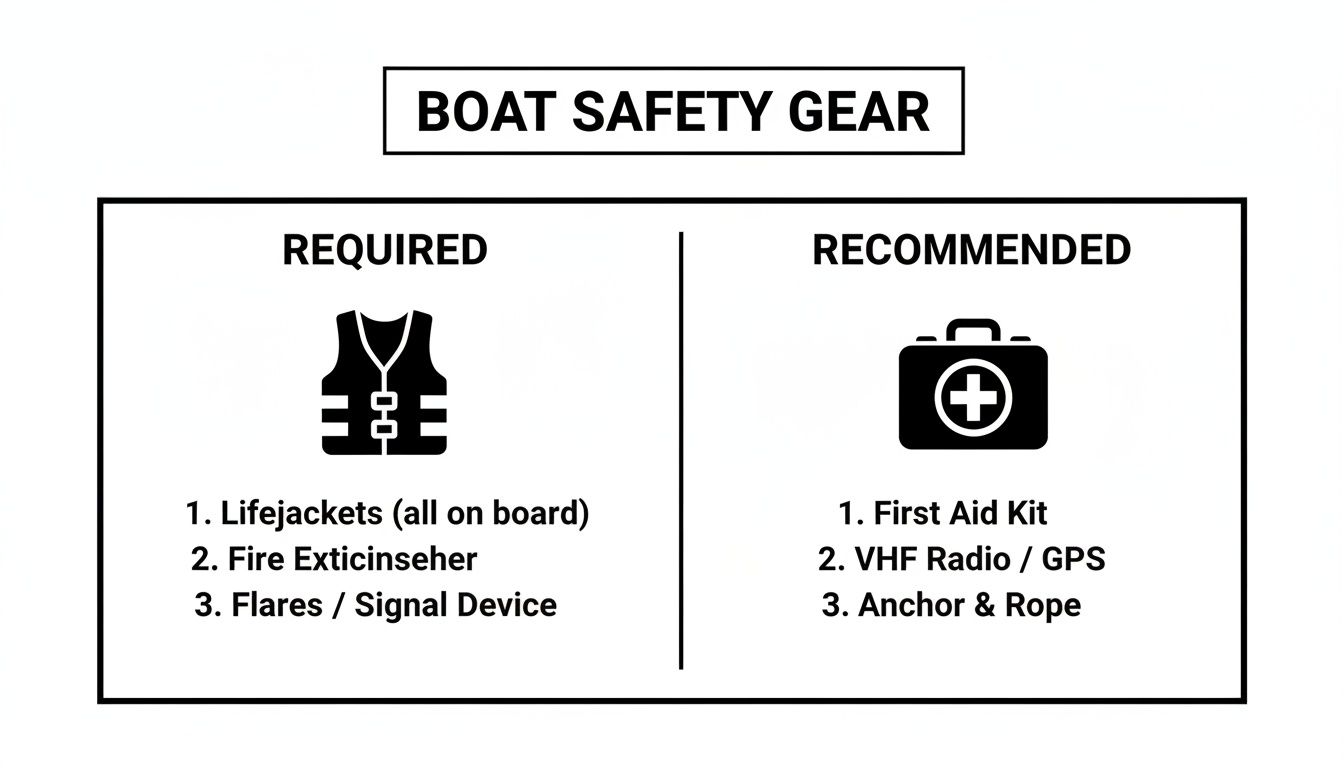
You can see how the legal stuff forms the baseline, while the recommended gear prepares you for a much wider range of real-world situations.
A well-prepared boat is a safe boat. Your safety gear is your insurance policy on the water—you hope you never need it, but you’re incredibly glad it’s there if you do.
Knowing what you need is the first step, but making sure it’s all in working order and stowed correctly is just as important. For a deeper dive, our guide on inflatable boat setup tips for safety gives you more context on prepping your vessel before you launch.
Here’s a summary of the key mandatory and recommended safety equipment for a typical recreational inflatable boat in Australian waters. Use it to quickly assess how prepared you are for your next trip.
| Equipment Category | Legally Required (Varies by State & Waterway) | Highly Recommended for Every Trip |
|---|---|---|
| Personal Flotation | PFD (Life Jacket) – One for every person on board, correctly sized. | Spare PFDs, especially for children or non-swimmers. |
| Signalling | Visual Distress Signals (Flares, V-Sheet), Sound Signal (Horn/Whistle). | EPIRB or PLB (especially offshore), waterproof torch. |
| Fire Safety | Fire Extinguisher – Accessible and in-date. | Fire blanket. |
| Bailing/Pumping | Bailer or Bilge Pump. | A second manual bailer (like a bucket). |
| Navigation & Comms | Basic navigation lights (if operating at night). | VHF Radio, fully charged phone in a waterproof case, compass. |
| General Safety | Anchor with appropriate rope/chain. | First-aid kit, multi-tool, spare fuel, paddle/oars. |
Ultimately, the goal is to build a safety habit that becomes second nature. Running through your checklist before every single trip creates a routine that protects you, your passengers, and your boat. For an even more detailed guide, check out The Ultimate 2025 Boat Safety Checklist for NZ Waters.
Now, let’s take a closer look at each piece of equipment to understand not just what to bring, but why it’s so critical.
Out of everything on your boat safety equipment checklist, one piece of gear stands out as the ultimate lifesaver: the Personal Flotation Device (PFD), or as most of us call it, a lifejacket. It might seem straightforward, but picking the right one involves more than just grabbing the first one you see off the shelf. It’s all about matching the PFD to the person and the conditions you’ll be facing.
Think of it like buying a car seat for a child. You wouldn’t put a toddler in a seat built for a ten-year-old, and the same logic applies here. An ill-fitting or inappropriate lifejacket can be just as dangerous as not having one at all.
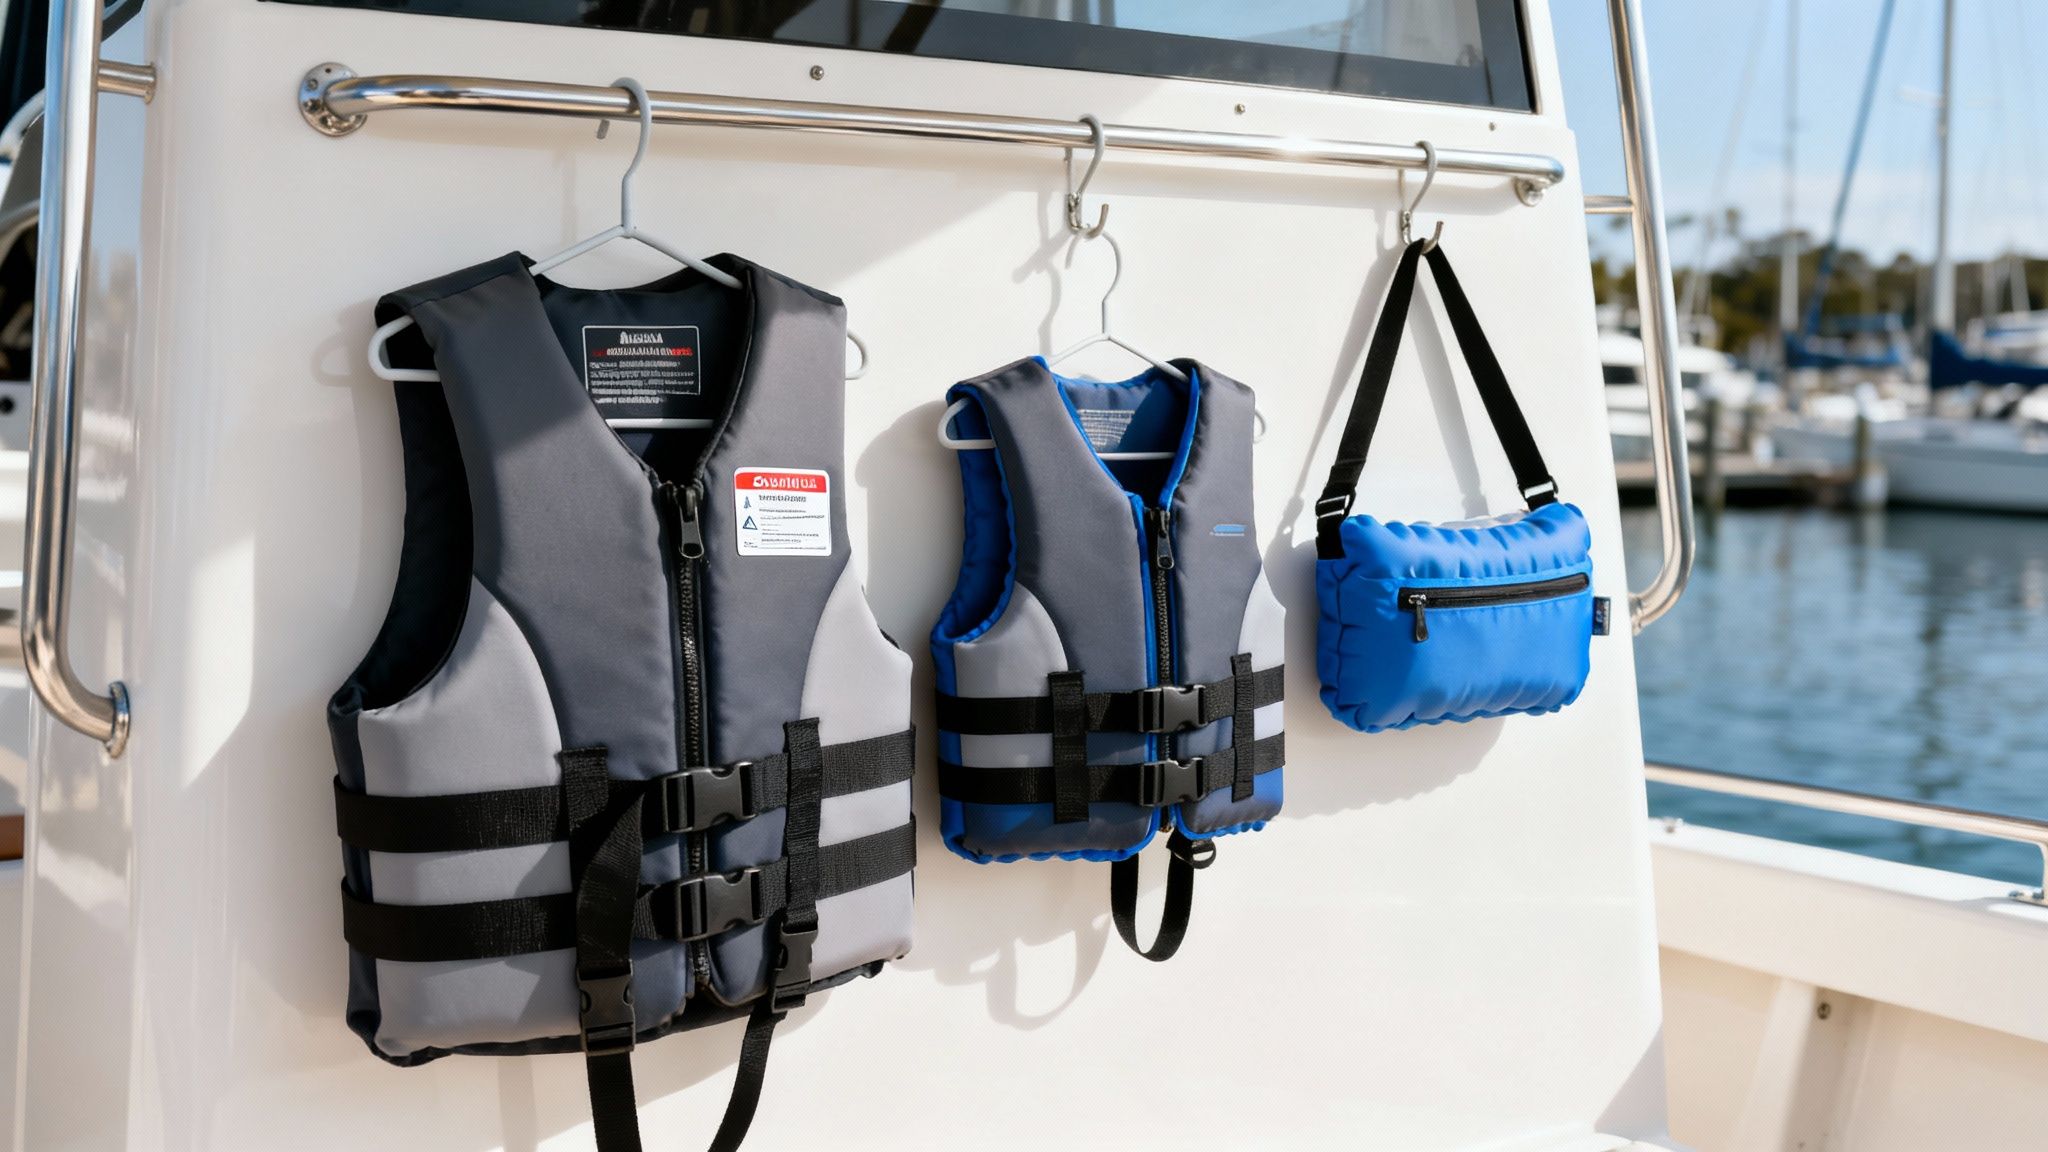
This is especially true for inflatable boats. They sit closer to the water and can be more prone to sudden movements, so having the right PFD is non-negotiable. It ensures that if someone does end up in the water unexpectedly, they’ve got the best possible chance of staying afloat until they’re safely back on board.
In Australia, PFDs are sorted into different levels, each designed for specific water conditions. Getting your head around these levels is the first step to making a smart choice for your inflatable catamaran or tender.
The right choice comes down to what you’re planning to do. A quiet family outing on a calm estuary might only call for Level 50 PFDs. But the moment you decide to cross a bar or head out along the coast, you absolutely must upgrade to Level 100 for safety.
A PFD is useless if it isn’t worn correctly. A jacket that’s too loose can slip right off over your head in the water, while one that’s too tight can be restrictive and dangerous.
To nail the fit, just follow these simple steps:
The stark reality is that even with rules in place, compliance can be an issue. Royal Life Saving Australia reports an average of 49 annual drowning deaths from boating, with most involving small craft. In a recent analysis of 69 cases, only one victim was confirmed to have been wearing a lifejacket. Furthermore, recent vessel checks in South Australia found 40% of boats were non-compliant, often due to missing or expired PFDs. You can explore more about these recreational boating safety findings and see why diligence matters.
Your PFDs aren’t a ‘set and forget’ item; they need a bit of TLC to stay reliable. After every use, especially in saltwater, give them a good rinse with fresh water and let them air dry completely, but keep them out of direct sunlight.
Give them a regular once-over, looking for signs of wear and tear like faded fabric, frayed straps, or broken buckles. For inflatable PFDs, you’ll want to inspect the CO2 cylinder and firing mechanism at least once a year.
A well-maintained PFD is one you can trust when you need it most. It’s also smart to complement your PFDs with other key gear; have a look at our recommendations for essential inflatable boat accessories to build out your complete safety kit.
https://easyinflatables.com.au/essential-inflatable-boat-accessories/
When you’re out enjoying the stunning Australian coastline, mobile phone reception can quickly become a distant memory. What happens if your engine fails and you’re drifting out of sight? This is where your communication and distress signalling gear transitions from being just part of a checklist to becoming your most vital lifeline.
Relying solely on a phone is a gamble you can’t afford to take. True on-water safety means having dedicated, reliable equipment designed to cut through the silence and call for help when you need it most. These tools are your direct link to shore, other vessels, and rescue services, turning a potential crisis into a manageable situation.
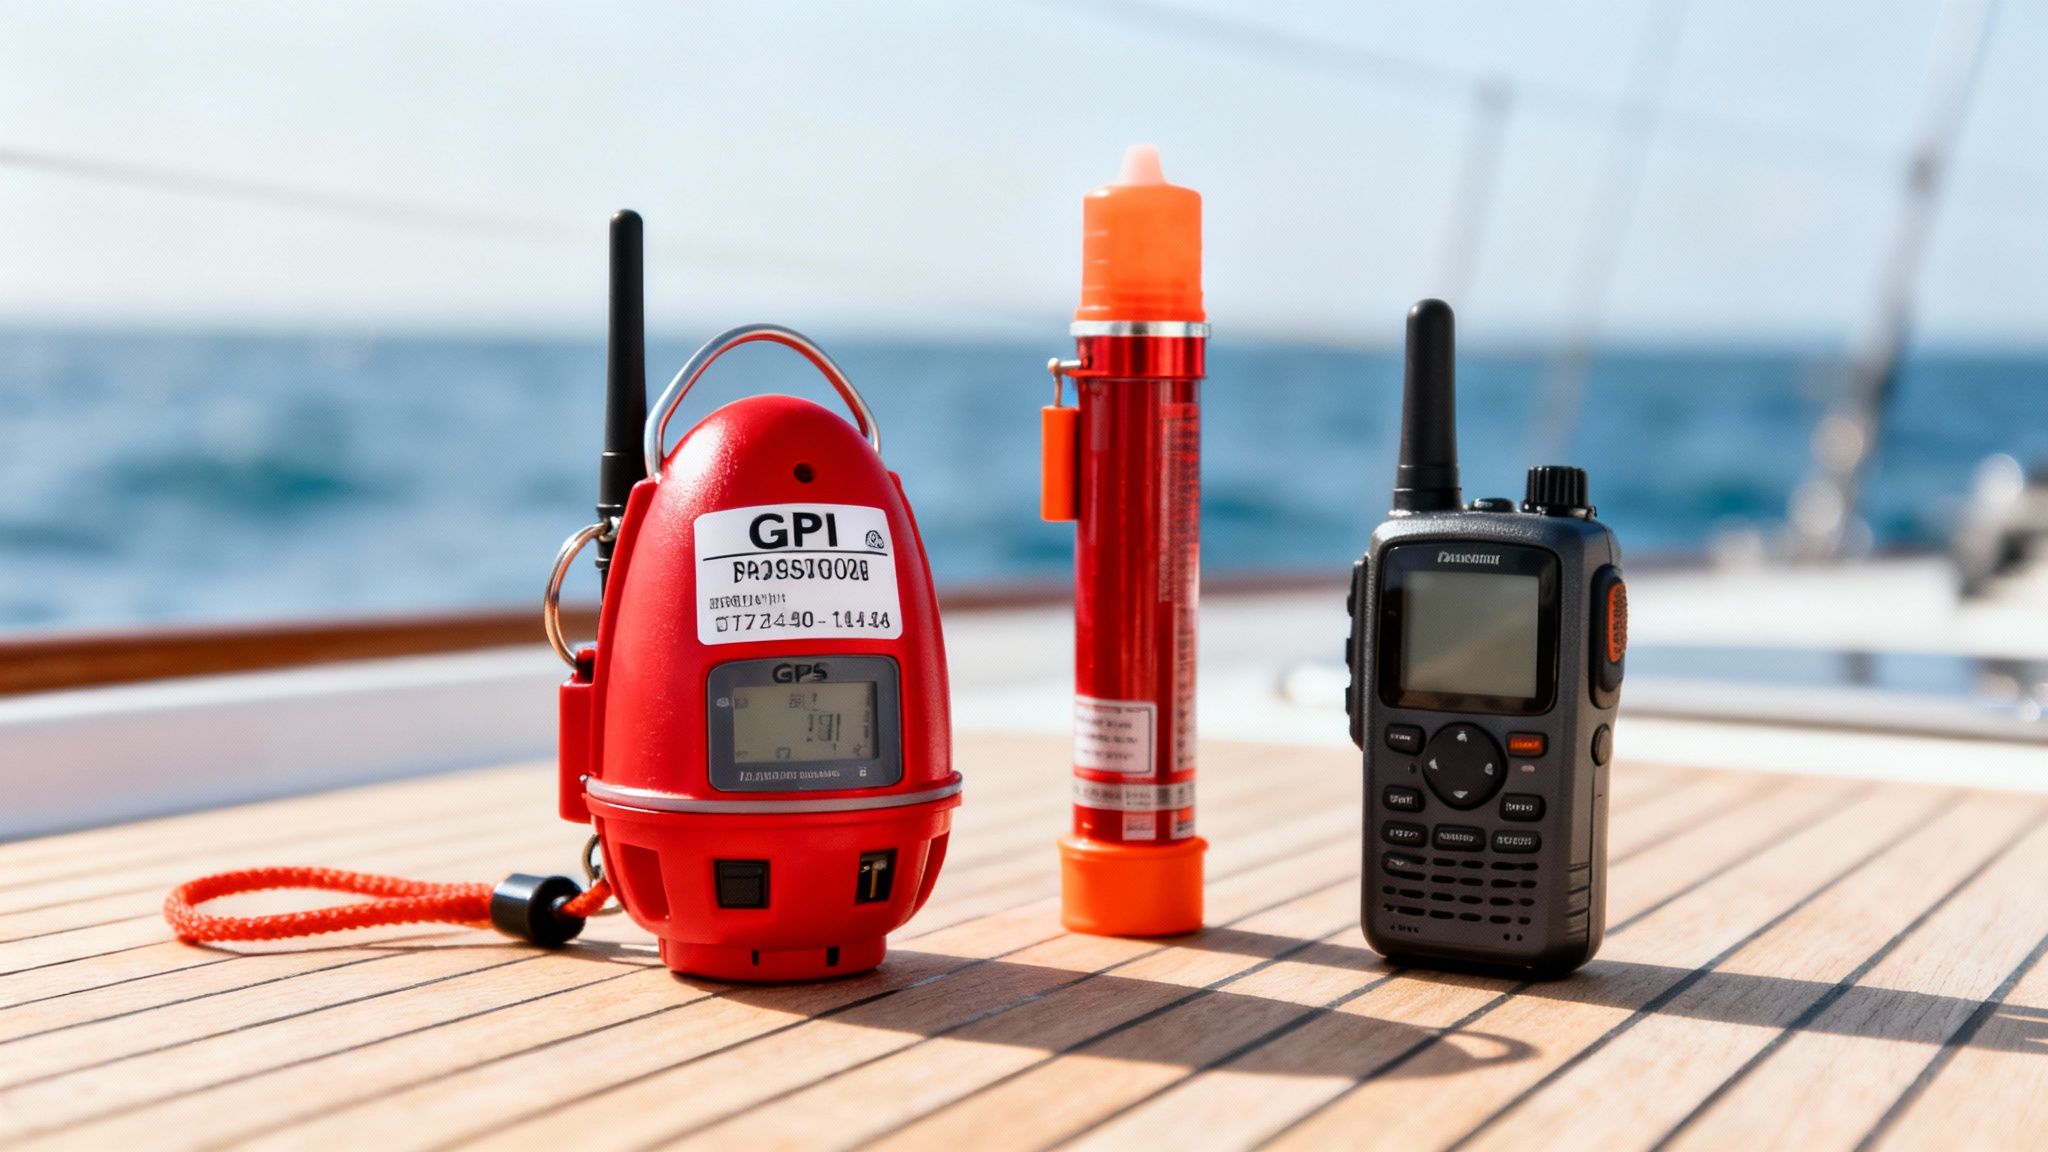
From simple visual signals to sophisticated satellite beacons, understanding how to use each piece of equipment correctly is just as crucial as having it on board. Let’s break down the key items that will keep you connected and safe.
Flares are the most universally recognised visual distress signal on the water. They are simple, effective, and designed to attract attention over vast distances, but you need to know which one to use and when.
Using a flare is a one-shot deal, so timing is everything. Wait until you have a reasonable chance of being seen before deploying one.
If you find yourself in grave and imminent danger, the Emergency Position Indicating Radio Beacon (EPIRB) is your most powerful tool. Once activated, this device transmits a coded distress signal via satellite directly to rescue coordination centres.
Think of it as a direct line to emergency services that works anywhere on the planet. When you activate it, there’s no ambiguity; rescuers know you’re in serious trouble and will be given your precise location.
An EPIRB with built-in GPS is a true game-changer. It can narrow the search area for rescuers from several square kilometres down to the size of a footy field, drastically reducing rescue time when every minute counts.
For small, portable vessels like inflatable catamarans, which are perfect for RV travellers exploring remote areas, Australian regulations often mandate carrying a 406 MHz GPS-enabled EPIRB in coastal zones. This requirement is a direct response to safety data; in South Australia, for example, proposals are being considered to make EPIRBs mandatory for all motorised vessels travelling more than 3.7km offshore, addressing a critical gap where drowning fatalities are most common.
Before heading out, always ensure your EPIRB is properly registered with the Australian Maritime Safety Authority (AMSA). An unregistered beacon can delay a rescue effort. For those looking to invest in this critical gear, exploring options like the ACR Rescue Beacon can provide a reliable solution for your vessel.
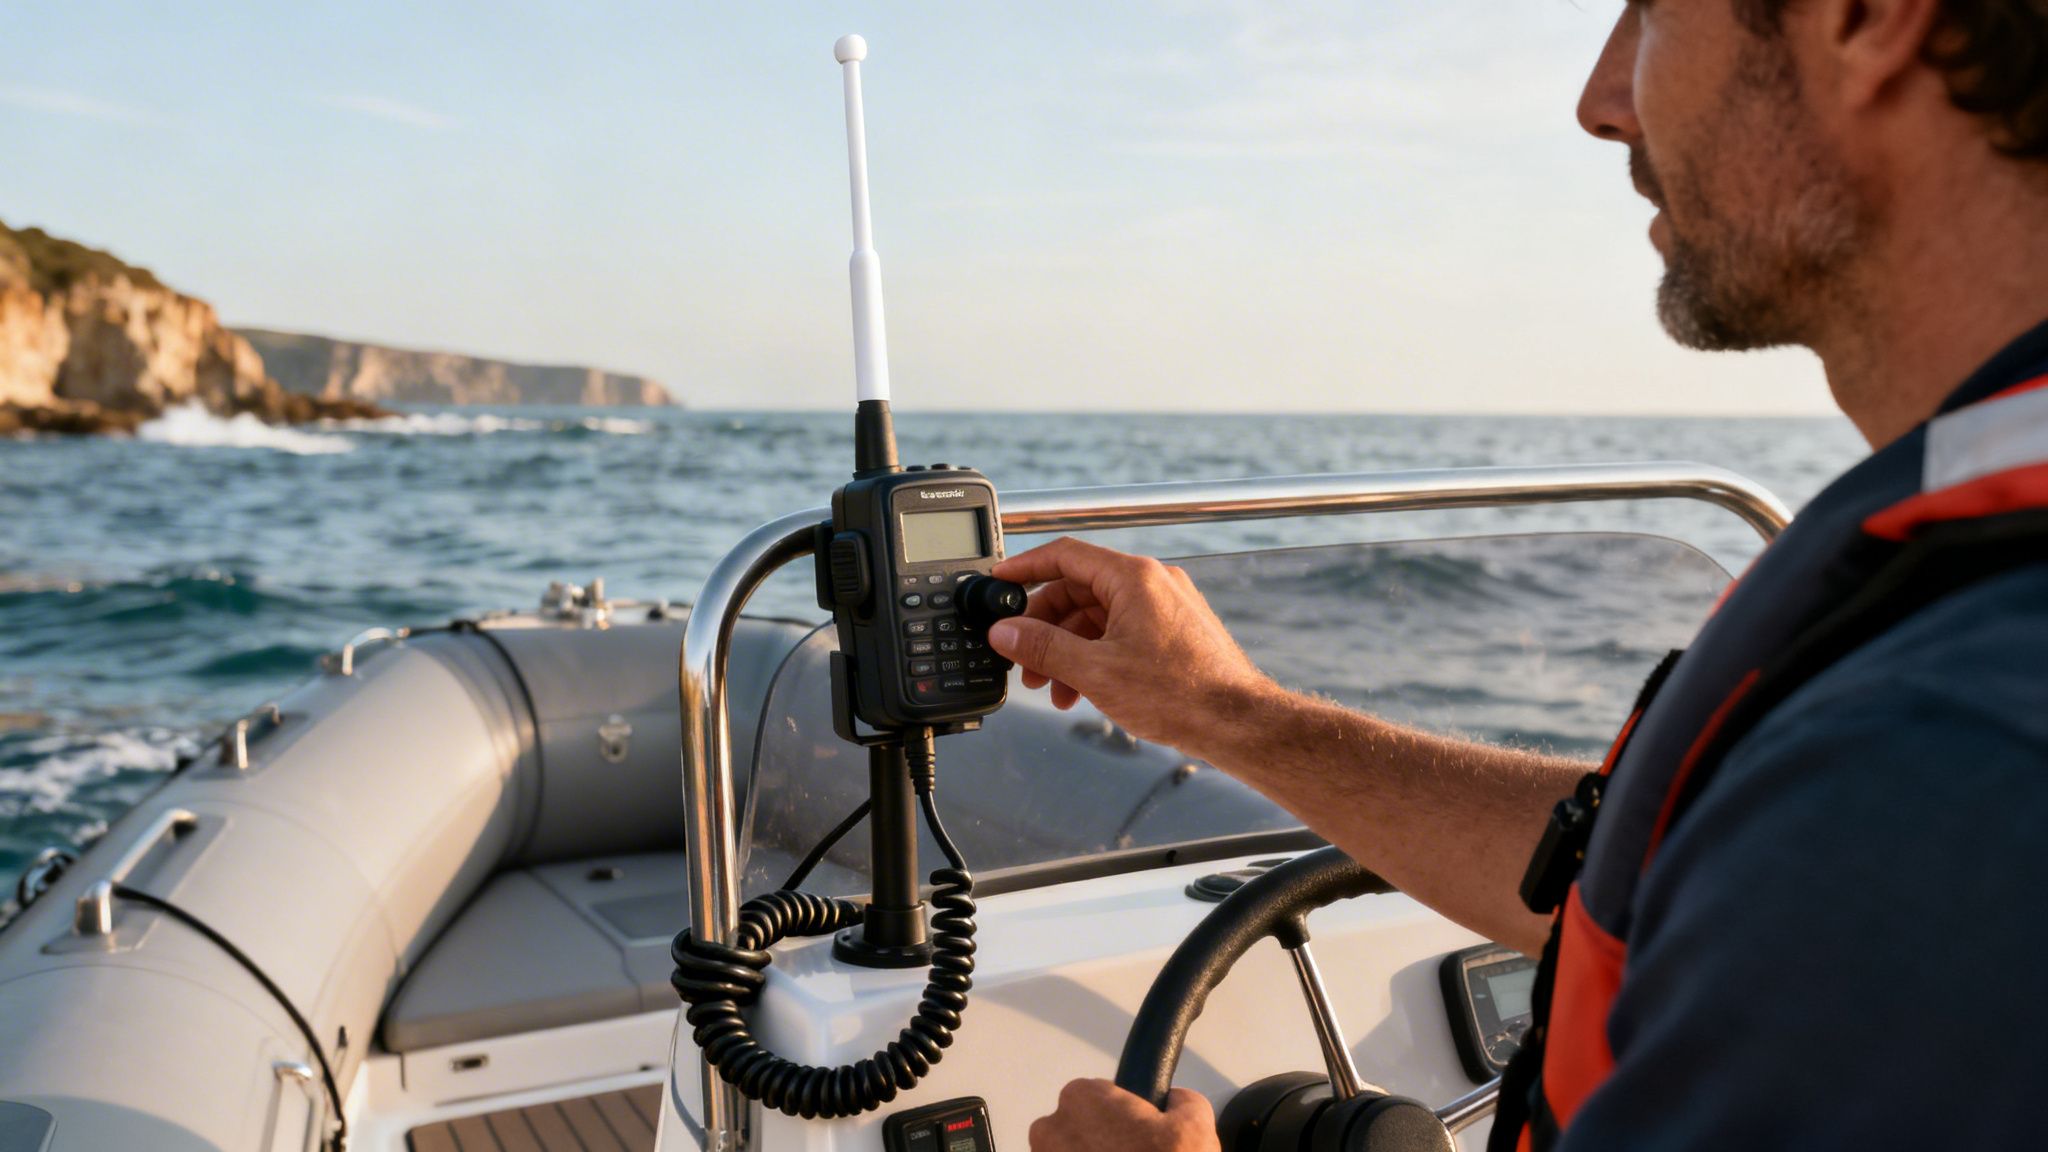
While an EPIRB is for life-threatening emergencies, a waterproof VHF marine radio is your workhorse for everyday communication. It’s an indispensable tool for staying informed and connected on the water.
With a VHF radio, you can:
Unlike a mobile phone, a VHF radio is built for the harsh marine environment and doesn’t rely on patchy coastal phone towers. It’s a fundamental part of any comprehensive inflatable boat safety checklist, keeping you in the loop and in control.
While personal gear like lifejackets and distress signals are brilliant for calling for help, the equipment on your boat is what gives you the power to handle an emergency yourself. Having the right tools stowed correctly means you can keep control of the situation, stop a minor issue from turning into a major one, and keep everyone safe until help arrives.
This part of your safety checklist is all about the hardware that tackles common onboard hazards, from a sudden fire to a stalled engine. Think of these items as your first line of defence. They’re the practical tools that let you act decisively when something goes wrong, making sure your inflatable boat is a safe, self-reliant platform for adventure.
The combination of fuel, electrical systems, and a hot engine in a small space makes fire a very real risk, even on an inflatable boat with an outboard. A small electrical short or a fuel leak can become a serious problem in seconds. This is why carrying the right fire extinguisher isn’t just a box to tick for the authorities—it’s pure common sense.
For most recreational inflatable boats, a dry chemical extinguisher with a B:C rating is what you’ll need. This type is designed to fight fires involving flammable liquids (like petrol) and electrical faults, which are the most likely fire hazards you’ll ever face out on the water.
When it comes to placement, accessibility is everything.
A quick glance at the pressure gauge before each trip will tell you if it’s charged and ready. If the needle is in the green, you’re good to go.
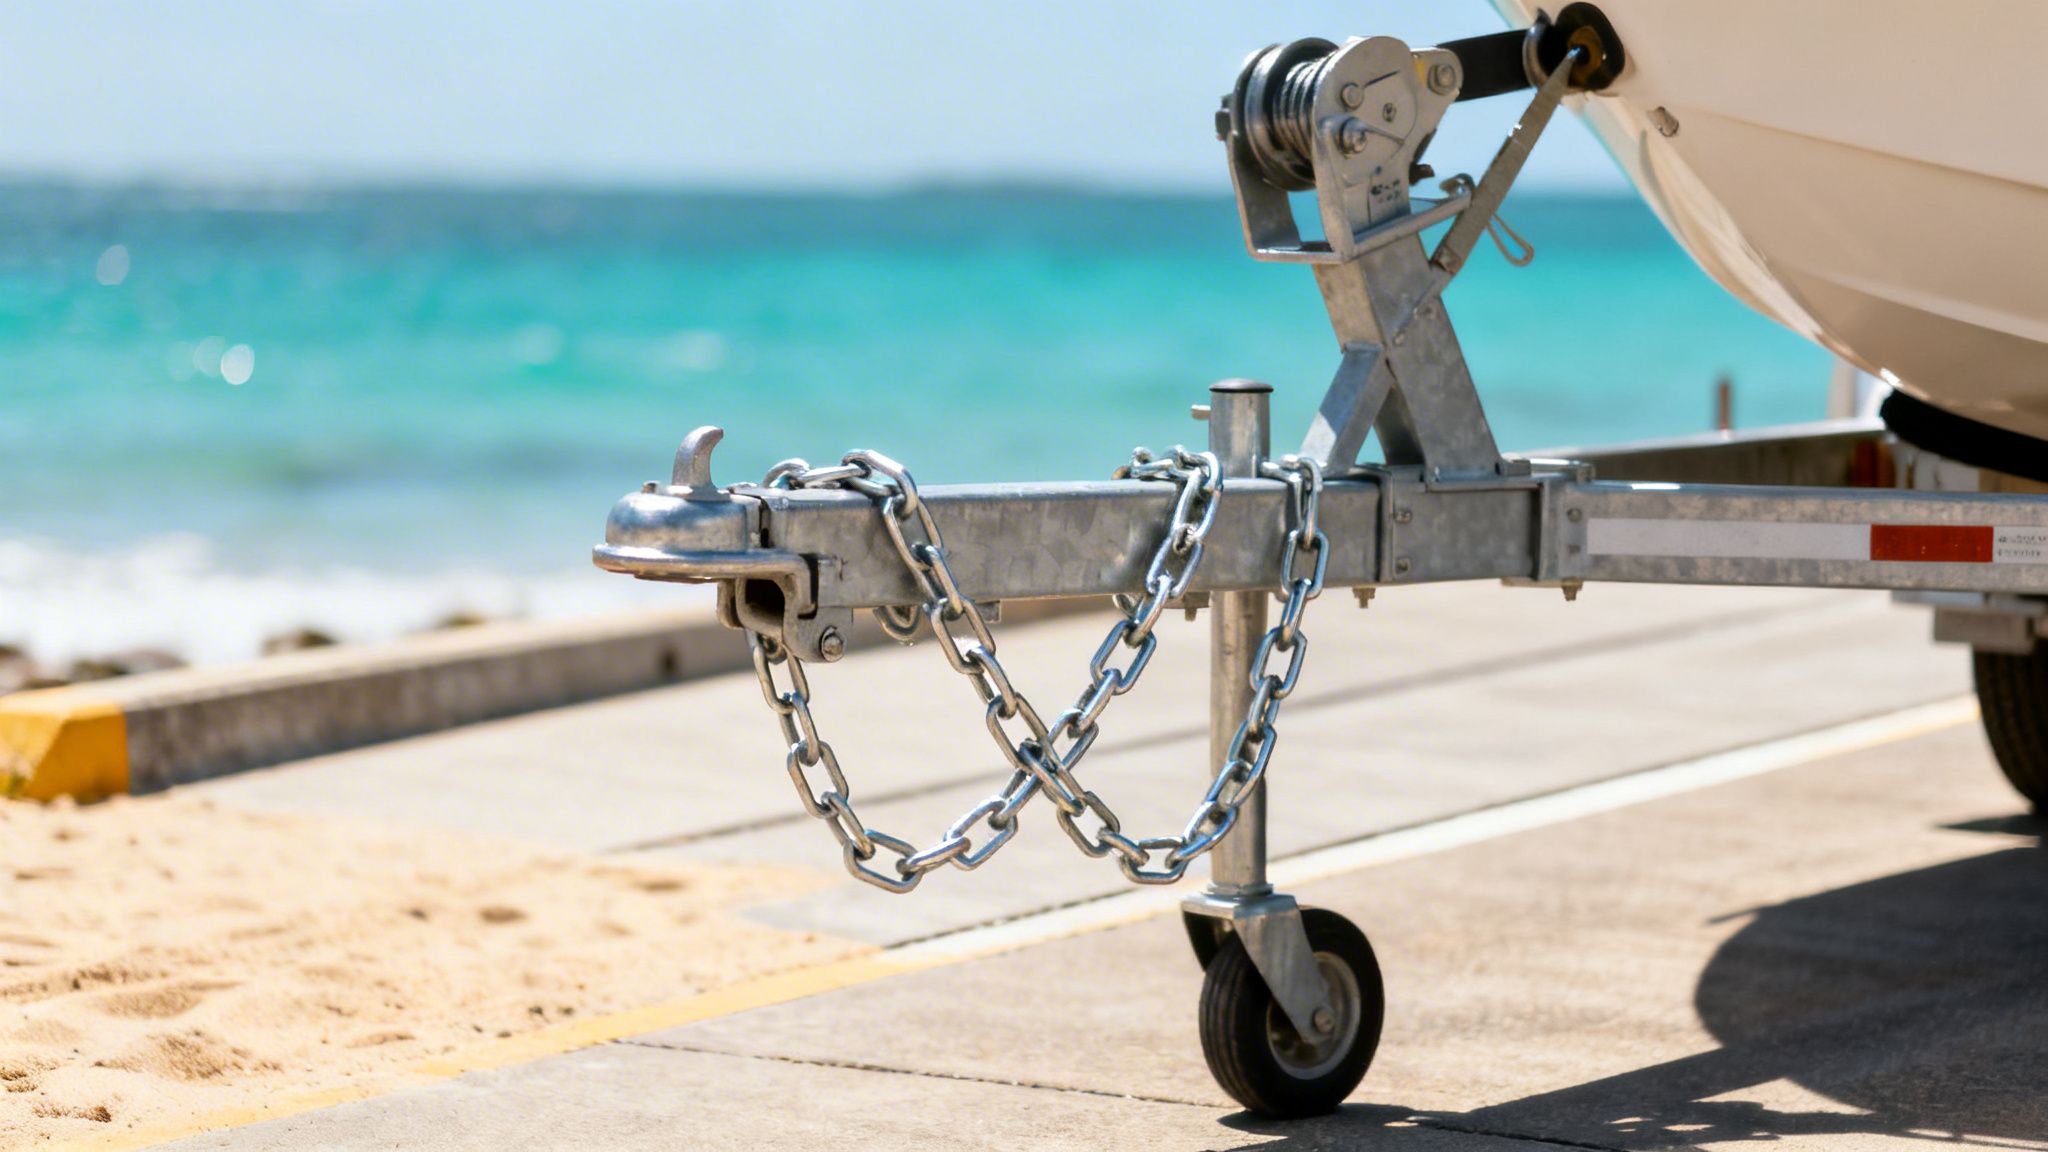
Most boaters see an anchor as a tool for fishing or swimming, but its most critical job is actually a safety one. If your engine suddenly cuts out in open water, an anchor is the only thing stopping you from drifting helplessly into shipping lanes, onto rocks, or further out to sea.
Dropping anchor immediately buys you precious time. It holds your position, giving you a stable platform to troubleshoot the engine, call for help, or just wait for assistance without the situation getting worse by the minute. Make sure your anchor is tied to a decent length of rope (or rode)—a good rule of thumb is a ratio of at least 5:1 of rope length to water depth.
An anchor acts as your emergency brake on the water. In the event of engine failure, it’s the single piece of equipment that keeps a bad situation from becoming a dangerous one by preventing uncontrolled drift.
Even the toughest inflatable boats can take on water, whether from a big wave over the bow or a sudden downpour. Getting that water out quickly is crucial for staying stable and buoyant. While bigger boats often have electric bilge pumps, every single boat should have a manual backup.
A simple bucket or a hand-operated bailer is a must-have. They’re dead reliable, need no power, and can shift a surprising amount of water in a short time. For a bit more convenience, learning about the benefits of an automatic bilge pump for inflatable boats can add another layer of protection.
Finally, never, ever underestimate the value of a backup way to move. A sturdy pair of paddles or oars should be on every inflatable boat, no matter its size. If your engine gives up the ghost close to shore, a paddle might be all you need to get yourself back to the ramp, turning a potential rescue situation into a minor inconvenience and a good story.
A safe trip begins long before your boat ever touches the water. The best way to guarantee a smooth, worry-free day out is to build a solid pre-departure routine. Think of it like a pilot’s final checks before takeoff—it’s a simple, systematic process that catches small issues before they snowball into serious problems.
This isn’t about adding another chore to your list; it’s about building a habit that breeds confidence. By running through a structured inflatable boat safety checklist every single time, you eliminate guesswork and the risk of a costly oversight. It lets you launch your inflatable boat, RIB, or inflatable catamaran with total certainty that you’re ready for whatever the day throws at you.
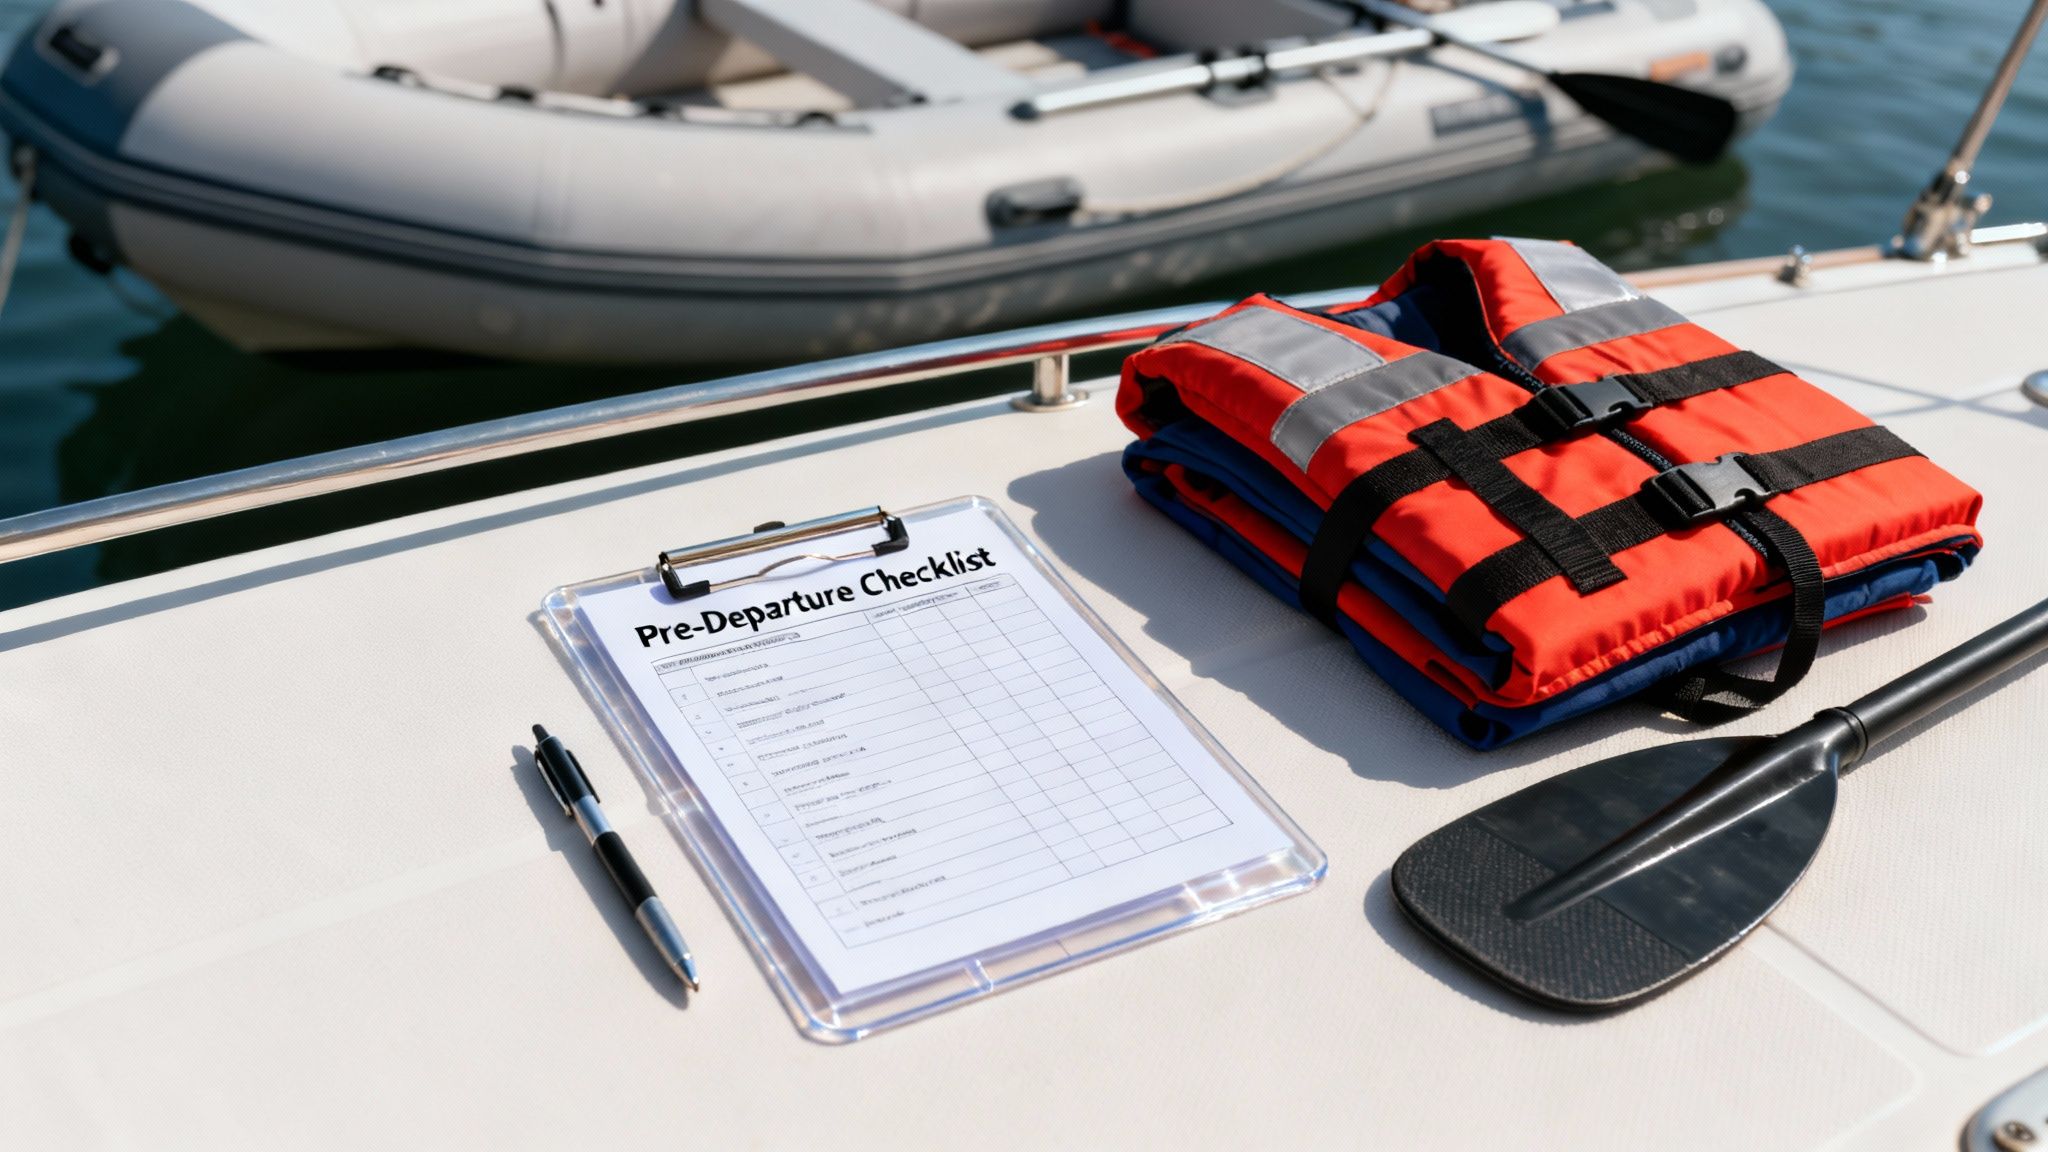
We’ve broken this process down into four logical steps. Following them in order will help you create a reliable and efficient pre-launch ritual that becomes second nature.
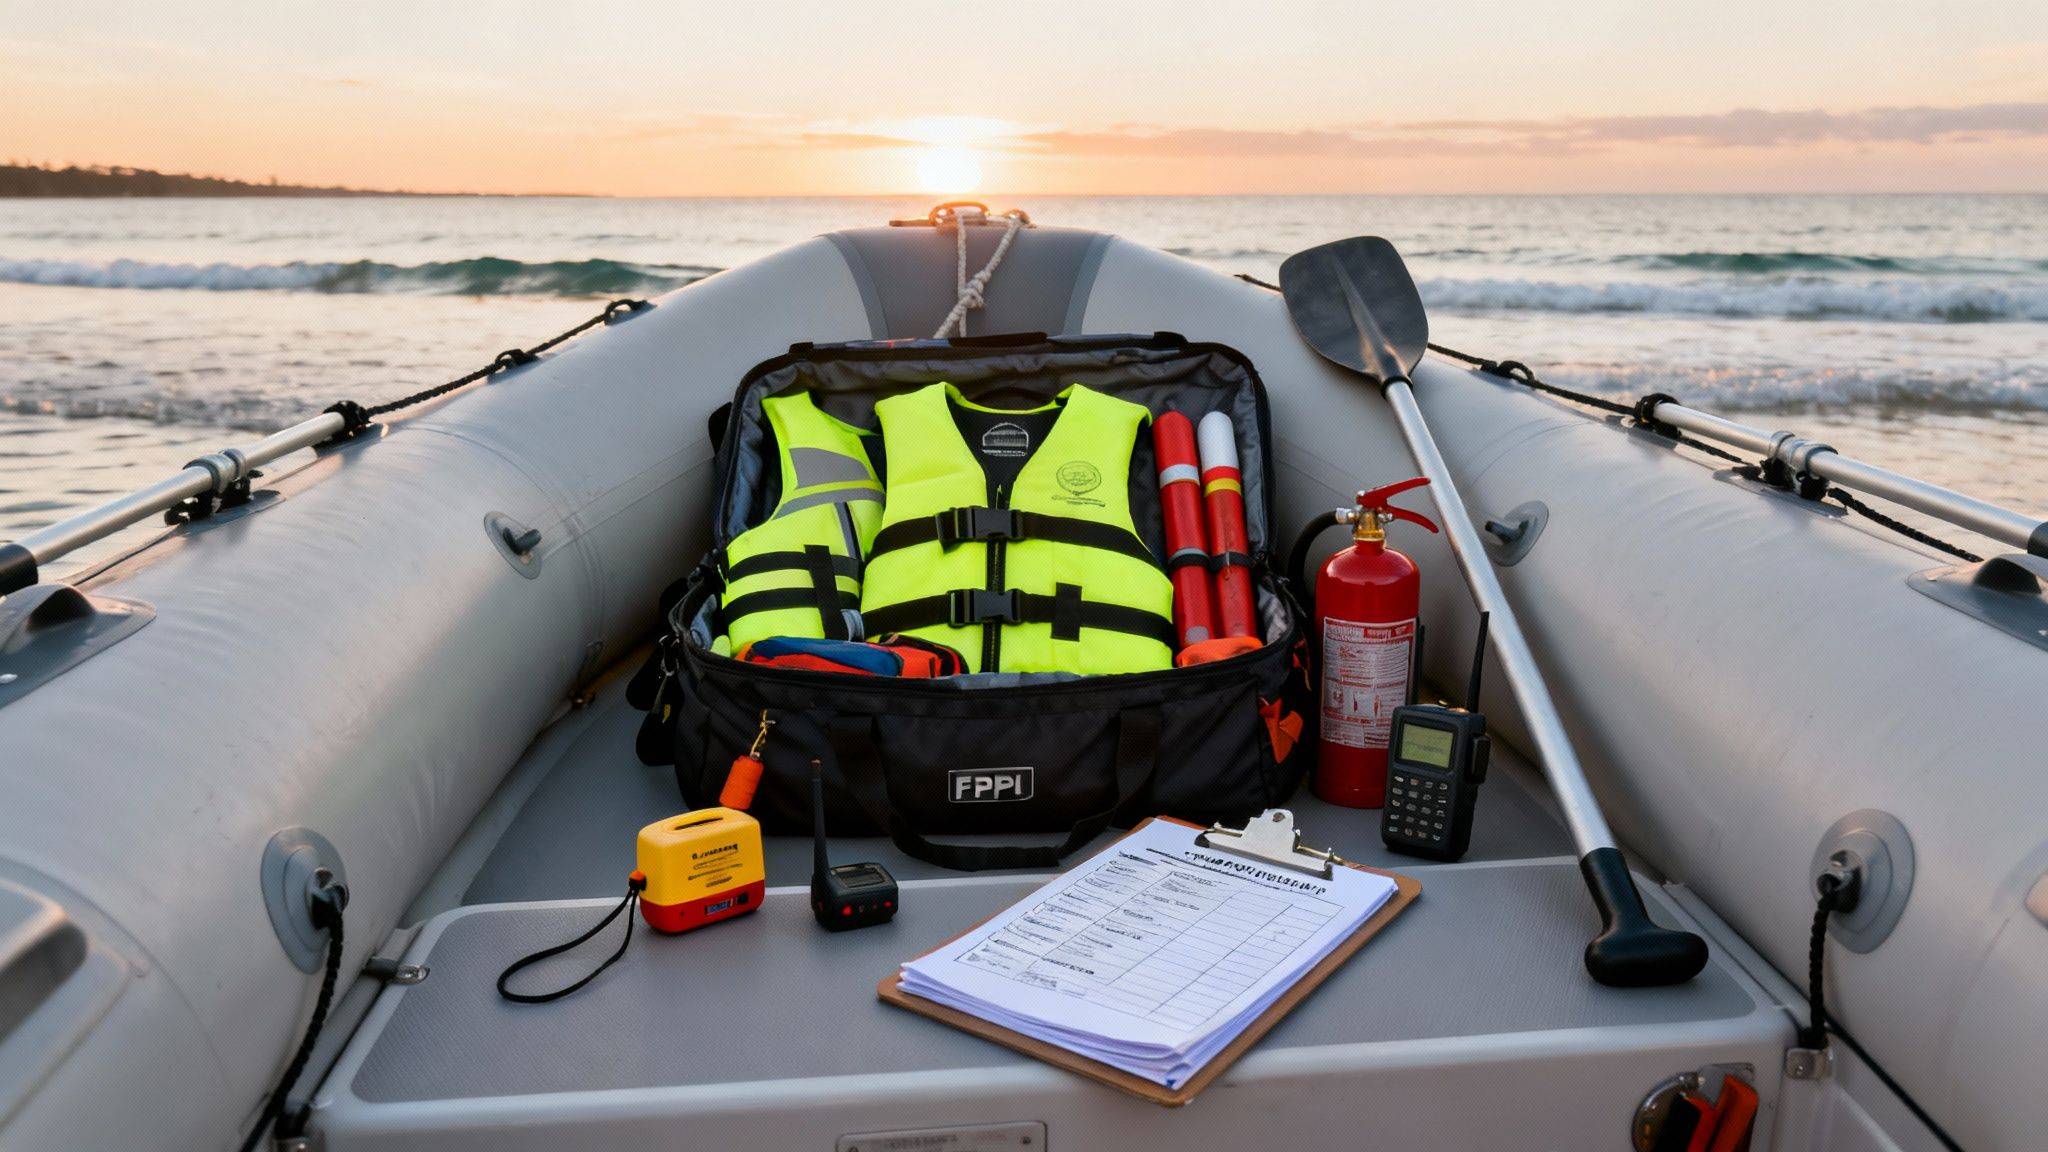
Before you do anything else, give your lifesaving equipment a thorough once-over. This gear is your ultimate backup plan, and you need to know it’s ready to perform flawlessly at a moment’s notice.
Next, turn your attention to the boat itself. For an inflatable, this means checking the hull’s integrity and making sure the engine is ready to go. A quick inspection here can prevent a frustrating breakdown out on the water.
Start by checking the inflation pressure in all air chambers; they should be firm to the touch, not soft. Run your eyes over the hull and seams for any scuffs, abrasions, or damage.
Then, give your outboard some love:
Now that your gear and boat are sorted, it’s time to look at the external factors that will shape your trip. Heading out without a proper understanding of the forecast is a risk you should never, ever take.
Always check the latest marine weather forecast from a reliable source. Pay close attention to wind speed, wave height, and any predicted changes. A beautiful, calm morning can quickly turn into a dangerous afternoon if a front is moving in.
Your trip plan is a critical safety tool. Always tell a reliable person on shore where you are going, how many people are with you, what your boat looks like, and when you expect to return. This simple action is the fastest way to get a search started if you don’t return on time.
Finally, do a quick double-check to make sure you have all the necessary supplies for a comfortable and safe journey. This covers your personal items and ensuring everything is stowed securely so it doesn’t become a hazard.
Once everything is packed, make sure all loose items are secured. On a smaller vessel like an inflatable catamaran, loose gear can fly around and become a real hazard in choppy conditions. Adopting this pre-departure routine will make safety second nature, letting you get on with the fun part.
To make things even easier, we’ve created a simple, printable checklist you can use before every trip. Laminate it and keep it on the boat with a dry-erase marker to build a consistent and reliable routine.
| Check Category | Item to Inspect | Status (OK/Needs Attention) |
|---|---|---|
| Safety Gear | PFDs counted, inspected, and correctly sized for all passengers | |
| Flares, V-sheet, and other signals are within expiry date | ||
| EPIRB/PLB registration and battery are current | ||
| Fire extinguisher is charged (in the green) and accessible | ||
| First-aid kit is fully stocked | ||
| Anchor, rope, and chain are secure and ready | ||
| Vessel & Engine | Hull and tubes inspected for damage or leaks | |
| Air chambers are at the correct pressure | ||
| Fuel level is adequate for the planned trip (plus reserve) | ||
| Engine oil level is correct | ||
| Propeller is clear of debris | ||
| Battery is charged and terminals are clean | ||
| Steering and throttle operate smoothly | ||
| Planning & Comms | Marine weather forecast checked for wind, swell, and tides | |
| Trip plan lodged with a reliable shore contact | ||
| VHF radio is operational (radio check performed) | ||
| Mobile phone is fully charged and in a waterproof case | ||
| Navigation equipment (GPS/Charts) is ready | ||
| Supplies & Stowage | Sufficient drinking water and snacks are on board | |
| Sunscreen, hats, and appropriate clothing packed | ||
| All gear, coolers, and personal items are stowed securely | ||
| Boat registration and license are on board |
Using this checklist every time removes the guesswork and helps ensure you launch with confidence, knowing you’re prepared for a safe day on the water.
Having all the right safety gear is one thing. Knowing it will actually work when you need it most is another. Proper maintenance and smart storage aren’t just extra chores; they’re the critical final step that ensures your equipment performs flawlessly in an emergency. The harsh marine environment—corrosive salt, intense UV rays, and constant moisture—will quickly degrade even the toughest gear if it’s neglected.
Think of your safety equipment as a team of first responders on standby. You need to make sure they’re rested, healthy, and ready to jump into action. A simple routine of cleaning, inspecting, and correctly storing your items after each trip not only extends their lifespan but also gives you real confidence on the water. This is especially true for inflatable boats, where space is tight and everything is exposed to the elements.
Getting hands-on with your gear is the only way to catch small issues before they become critical failures. Different pieces of equipment need different checks, but building a consistent routine will help you stay on top of it all.
On an inflatable boat, RIB, or inflatable catamaran, every inch of space counts. This makes organised storage absolutely essential. Protecting your safety gear from the elements doesn’t just preserve it; it makes sure you can find it in a hurry. You don’t want to be rummaging through a wet locker for a first-aid kit when someone’s bleeding.
Proper storage is about more than just tidiness; it’s a core safety discipline. By giving each piece of equipment a specific, protected home, you create a system that works under pressure. You’ll be able to grab what you need without a second thought.
A brilliant solution for keeping gear dry and secure is using dedicated dry bags. They’re perfect for storing sensitive items like your EPIRB, VHF radio, and first-aid kit. To make things even faster, assign specific coloured bags for different gear—say, red for distress signals and orange for first aid—so you can identify them instantly.
For electronics, having reliable power is just as vital as keeping them dry. Our guide to choosing a marine battery and charger offers some great insights into keeping your essential systems ready to go.
By making these maintenance and storage habits part of your post-trip routine, you ensure your investment in safety gear actually pays off. It transforms your equipment from a simple checklist of items into a reliable, ready-to-deploy safety system that protects you, your passengers, and your vessel.
Boating should be about fun and freedom, not confusion over rules and gear. Let’s clear up some of the most common questions we hear from inflatable boat owners around Australia, so you can hit the water with confidence.
Yes, it’s a must-have. If your inflatable boat has any kind of motor attached—even a small electric one—Australian regulations generally require you to carry at least one fire extinguisher. It’s a vital part of your inflatable boat safety checklist for tackling a fuel or electrical fire before it becomes a serious problem.
Flares come with a strict use-by date, typically three years from the day they were made. It’s a legal requirement to carry flares that are in-date, so don’t let this one slide. Make checking the expiry date printed on each flare part of your pre-launch routine and get them replaced well before they expire.
Absolutely, and this is one to take seriously. In most states, kids under 12 must wear a PFD at all times when an open boat is moving. The key is a proper fit; a lifejacket must be specifically designed for a child’s weight, otherwise it won’t work correctly when they need it most.
While everything on your inflatable boat safety checklist has a purpose, the one item most likely to save your life is a properly fitted Personal Flotation Device (PFD). If you end up in the water unexpectedly, a lifejacket is your best friend. For boats like our stable inflatable catamarans, where you’re still exposed to the elements, making sure everyone wears a PFD is simply the smartest and safest way to boat.
Ready to hit the water with confidence? Easy Inflatables has the perfect vessel for your next adventure, from versatile tenders to stable inflatable catamarans, all designed for Australian conditions. If you’re looking to compare prices and features of inflatable boats in your area, or want to find the best inflatable boats for recreational use available near you, we can help. We can even recommend a place in Australia to hire inflatable boats for a family outing.
Explore our range of high-quality, durable, and portable inflatable boats at https://easyinflatables.com.au.