
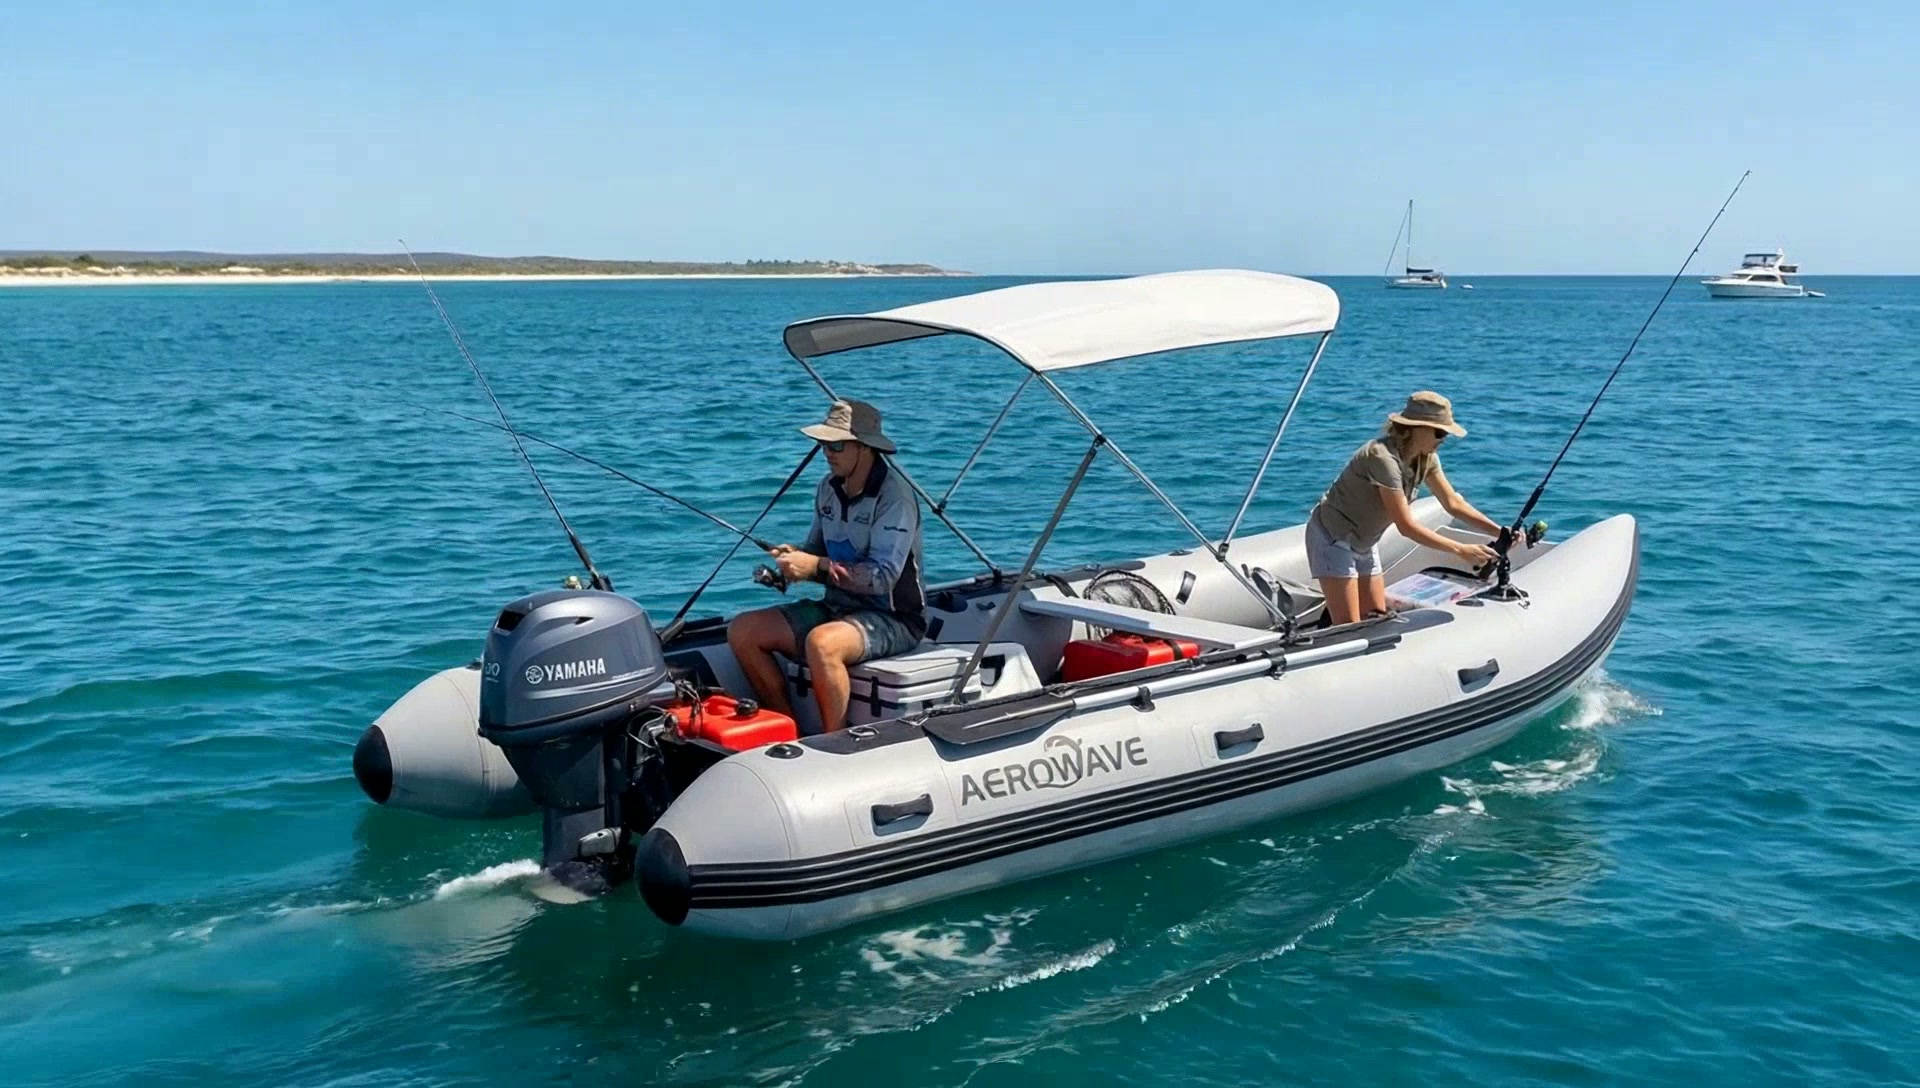
How to Set Up an Inflatable Boat Safely: First-Launch Checklist
Master Inflatable Boat Setup Tips for Ultimate Safety to ensure a thrilling yet secure boating adventure on the water.
Our recommendation
Aerowave Viper 330
1.2 mm fabric is about 33% thicker than common 0.9 mm fabric: more material between your boat and the water for everyday rubbing and knocks during beach launches. Careful handling still matters.
Length
330cm / 10'9"
Beam
165cm / 65"
Inside Beam
69cm / 27"
Tube Diameter
50cm / 19"
Inflatable Boat Setup Tips for Ultimate Safety
- Master inflatable boat setup and safety tips to ensure worry-free adventures. Learn expert guidance for assembly, handling, and staying safe on the water.

Inflatable Boat Setup Tips for Ultimate Safety
-
Master inflatable boat setup and safety tips to ensure worry-free adventures. Learn expert guidance for assembly, handling, and staying safe on the water.
Inflatable boats offer the perfect blend of convenience, portability, and performance, making them a popular choice for water enthusiasts. Whether you’re preparing for a fishing trip, a day of exploration, or a leisurely paddle, ensuring proper setup and adherence to safety protocols is crucial. In this guide, we’ll dive into the essential steps for setting up your inflatable boat and maintaining safety every step of the way.
Why Proper Setup Matters
The foundation of any successful boating experience is a well-prepared vessel. Proper setup ensures that your inflatable boat functions efficiently, remains stable on the water, and minimizes risks during use. Incorrect setup, on the other hand, can lead to instability, leaks, or even accidents. By dedicating time to correctly assemble and inspect your boat, you’re not just safeguarding your equipment but also protecting yourself and your passengers.
Pre-Setup Preparation
Before you begin assembling your inflatable boat, it’s important to have all the necessary tools and accessories on hand. A quick checklist can make the process smoother:
- User Manual: Always refer to the manufacturer’s instructions.
- Pump with Pressure Gauge: Ensures correct inflation pressure.
- Repair Kit: For emergency patching of minor leaks.
- Safety Gear: Life jackets, a whistle, and a first-aid kit are non-negotiable.
- Clean Workspace: A flat, debris-free area prevents punctures during assembly.
Having these essentials ready will streamline the setup process and reduce the risk of overlooking critical steps.
Step-by-Step Guide to Inflating Your Boat
Proper inflation is key to the stability and durability of your inflatable boat. Overinflation can cause stress on seams and material, while underinflation compromises performance.
- Unroll and Inspect: Lay the deflated boat on a clean surface. Look for visible damage such as punctures or worn seams.
- Attach Valves Securely: Double-check that all valves are properly secured and free from obstructions.
- Inflate in Stages: Inflate each chamber partially first to ensure even pressure distribution.
- Monitor Pressure: Use a pressure gauge to achieve the manufacturer-recommended PSI.
Avoid inflating the boat in direct sunlight, as heat can cause air expansion and increase internal pressure beyond safe limits.
Installing Additional Features
Many inflatable boats come with accessories like oars, seats, and outboard motors. Properly securing these components is essential for functionality and safety.
- Seats: Ensure they are firmly attached to prevent shifting during use.
- Oars: Verify that oarlocks are secure and functional.
- Motor Mounts: If using an outboard motor, double-check the stability of the mounting bracket and follow the engine’s installation guide.
A loose or improperly installed component can disrupt balance or hinder performance on the water.

Launching Safely
Launching your inflatable boat is a delicate step that requires attention to surroundings and proper handling techniques.
- Pre-Launch Inspection: Confirm that all chambers are inflated to the correct pressure and that accessories are securely attached.
- Choose a Safe Launch Site: Opt for a smooth, gradual slope free of sharp objects.
- Enter Carefully: When boarding, maintain balance by stepping into the center of the boat and avoiding sudden movements.
Taking your time during the launch minimizes risks and ensures a steady start to your adventure.
Safety Tips for Inflatable Boating
Safety on the water is paramount. Follow these best practices to protect yourself and your passengers:
- Wear Life Jackets: Ensure every passenger has a properly fitted life jacket.
- Check Weather Conditions: Avoid venturing out in strong winds, heavy rain, or rough waters.
- Limit Capacity: Adhere to the manufacturer’s weight and passenger limits to prevent capsizing.
- Stay Visible: Use reflective gear or lights to remain visible to other vessels.
Additionally, familiarize yourself with local boating regulations and carry necessary permits or identification.
Maintenance Tips for Ongoing Safety
A well-maintained inflatable boat is a safe one. After each use, rinse the boat with fresh water to remove salt, dirt, and debris. Dry thoroughly before storing to prevent mold growth. Periodic inspections for leaks and wear and tear can catch minor issues before they become serious problems.
Emergency Preparedness
Despite all precautions, emergencies can still occur. Being prepared can make a significant difference in such situations:
Carry a Whistle: Useful for signaling for help.
Pack a First-Aid Kit: For minor injuries while on the water.
Know Basic Repairs: Learn how to use a repair kit to patch small leaks temporarily.
Setting up an inflatable boat may seem straightforward, but it requires careful attention to detail and adherence to safety guidelines. Proper preparation, thorough inspection, and mindful handling ensure a secure and enjoyable experience on the water. By integrating these best practices into your routine, you can maximize the lifespan of your inflatable boat while minimizing risks. Whether you’re a seasoned boater or a beginner, a well-set-up boat is the foundation for every great adventure.
Finance this boat from $24/week
Estimate only — powered by Australian Motorcycle & Marine Finance (AMMF).
Paid upfront (AUD)
$550
10% of price
Term
5 years
60 monthly repayments
Comparison rate
9.95% p.a.
Subject to AMMF approval
Weekly
$24
Monthly
$105
Amount financed
$4,945
Indicative only. Actual repayments depend on your AMMF credit assessment, term, fees and the balloon you select. Talk to AMMF for a personalised quote on Aerowave Viper 330.
Like this guide? Get the next one in your inbox.
Owner-tested tips and Aussie boating know-how — no spam.
Ready when you are
Build your Viper 330 in under 3 minutes.
1500 GSM / 1.2 mm VALMEX® hull. Five-year limited hull warranty plus two years of extended limited structural hull cover, subject to conditions. Free freight to United States · taxes included, nothing to pay on arrival.
delivered to your door
See it for yourself
Real boats. Real owners. Real people behind them.
Plenty of what you read online these days is generated. Check us out properly — the factory, the reviews and the owners are all one click away. Why we use AI, and how to check we’re real
How our boats are built
Walk the production line: thermo-welded seams, 1.2 mm VALMEX Heavy Plus hulls, over-pressure relief valves on every chamber.
See the buildGoogle Maps reviews
Real Australian owners, five stars, published on our Google Business Profile with the map — read them there, not just on our own site.
Open Google Maps reviewsOwner stories
Boats in use — offshore, on rivers, on rescue duty. Photos and words from the people who actually own them.
Read owner stories
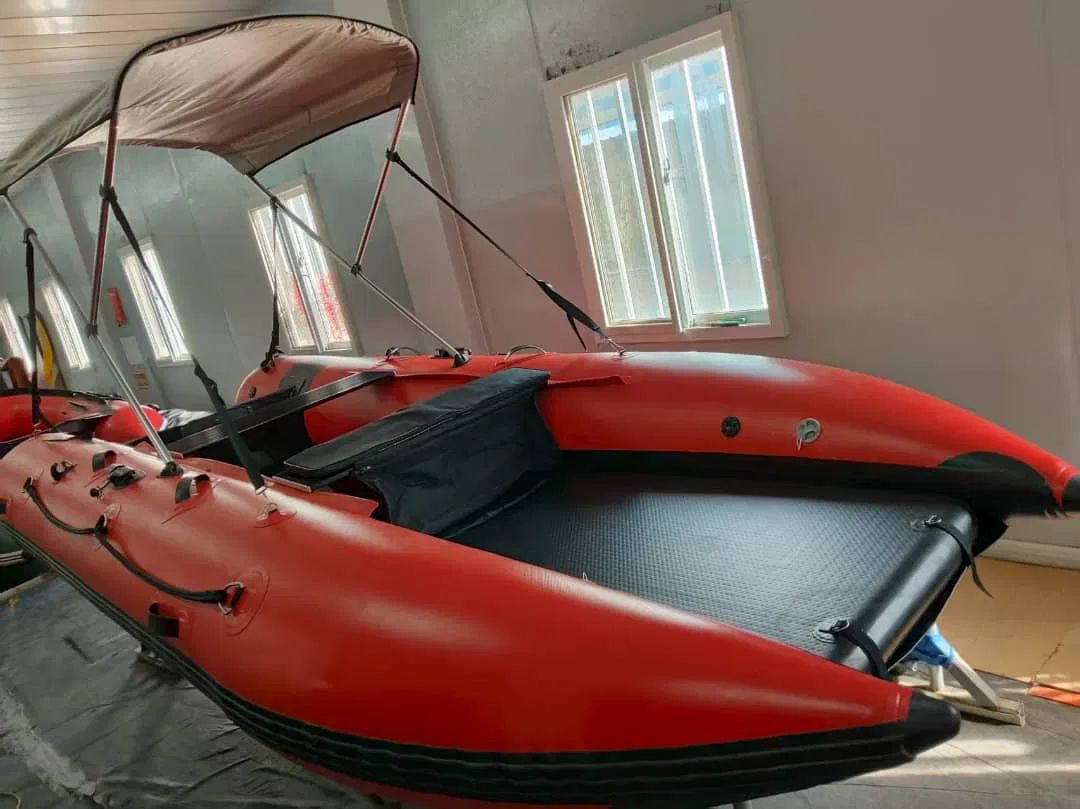
Aerowave Viper 330
US$4,187 USD · delivered to your door