
Alright, let’s get one thing straight: proper outboard motor support is the single best thing you can do to protect your boat’s transom and your motor. This isn’t just about ticking a box; it’s about preventing the kind of slow, costly damage that can end your season early and lead to a world of hurt for your wallet.
Think of it as cheap insurance for your entire setup. Looking for the best inflatable boats for recreational use available near you? Ensuring they have proper motor support is step one.
Every time you trailer your inflatable, the journey itself puts a huge amount of stress on your transom. An outboard, especially a heavier four-stroke, acts like a long, heavy lever. Every bump, pothole, and vibration on the road gets amplified, sending jolts directly into the transom.
Over time, this constant bouncing leads to stress cracks, transom fatigue, and in the worst-case scenario, total failure.
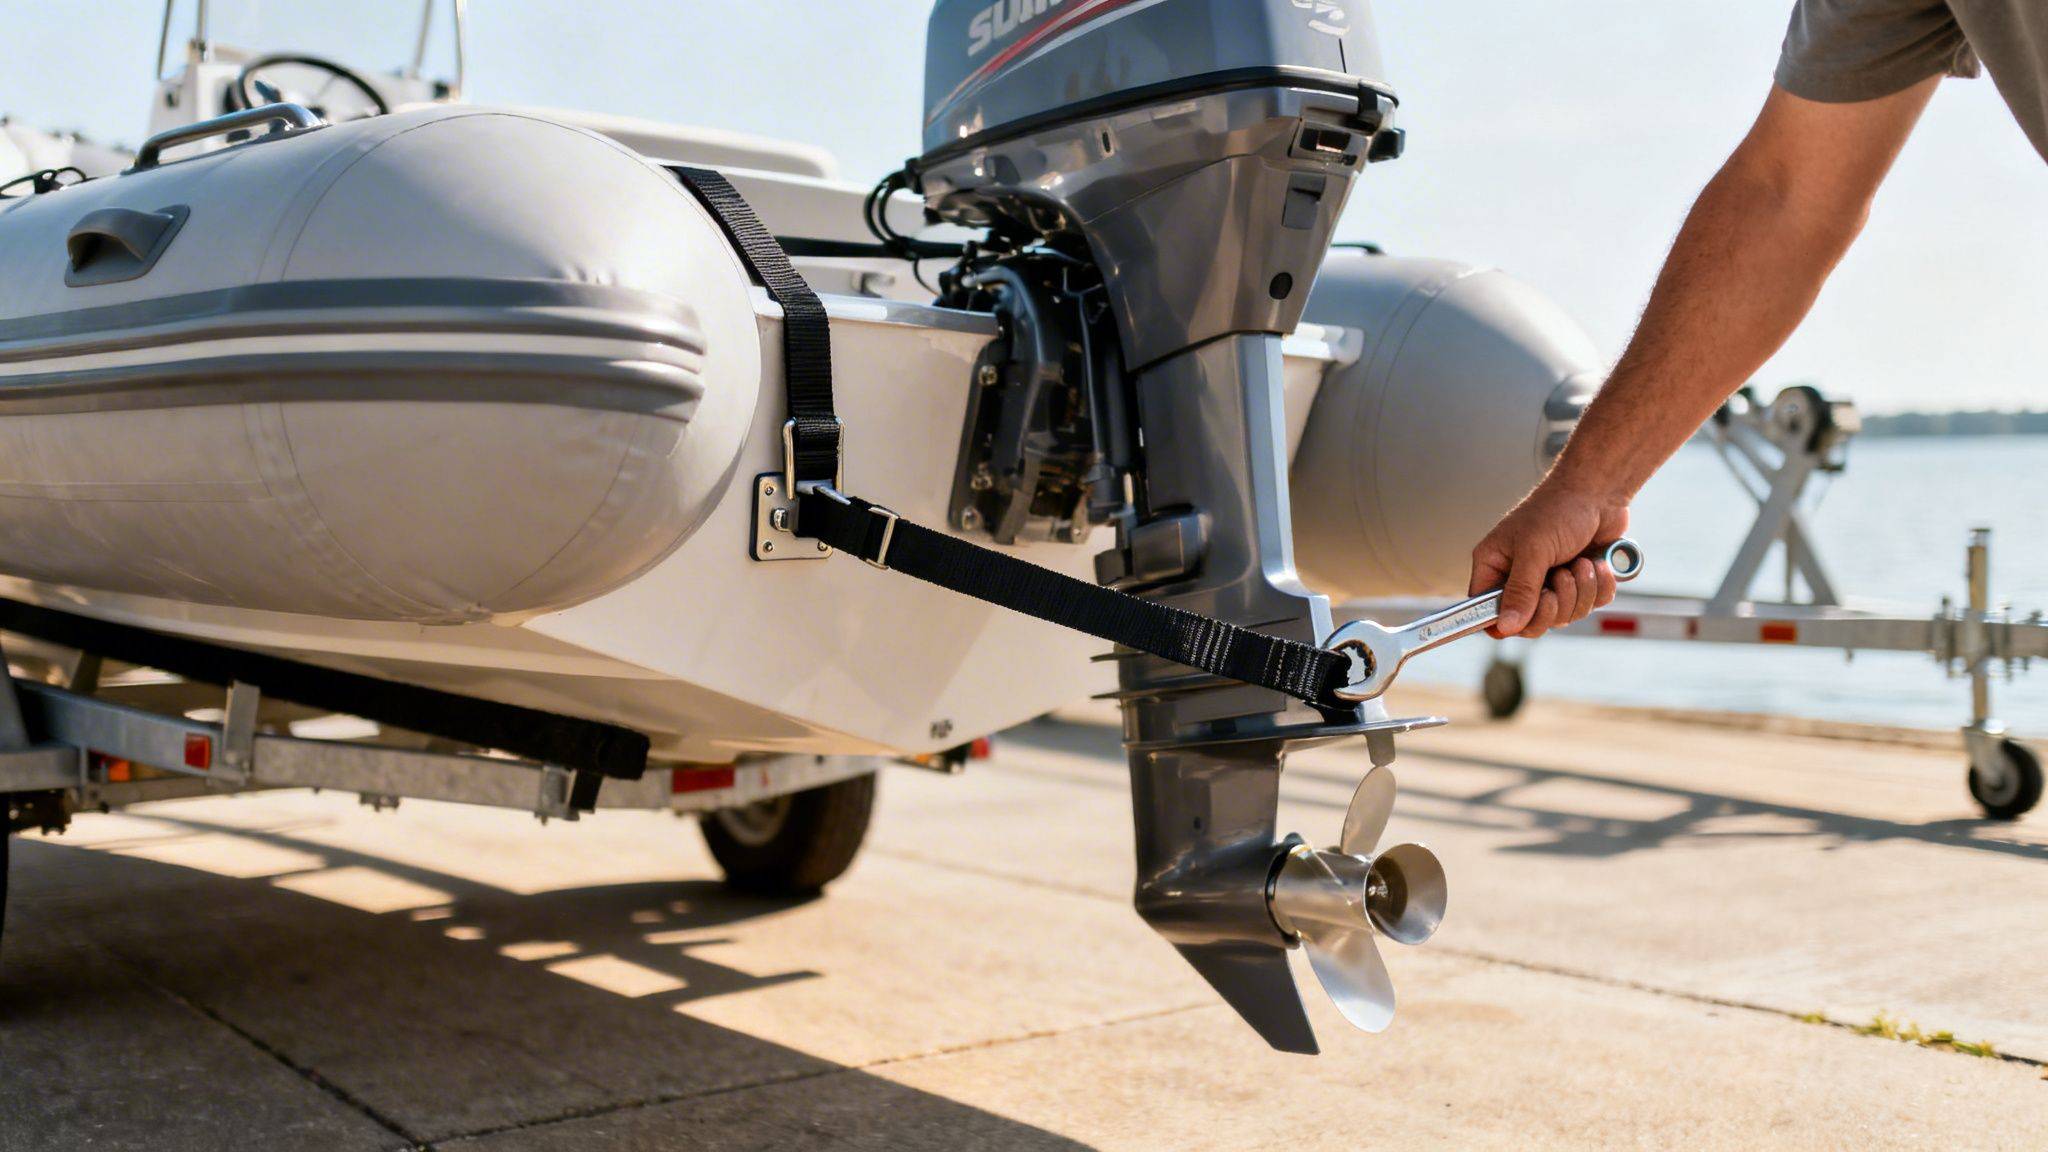
This is where a proper support system, often called a transom saver, comes in. It’s a simple but brilliant device that braces the motor, transferring all that stressful road shock from your transom to the trailer frame—which is built to handle it. It stops the motor from violently bouncing around and safeguards your whole investment.
The idea is pretty simple: create a rock-solid link between your motor and your trailer. Here are the main bits of kit you’ll come across.
If you own a lighter boat like a small tender or an inflatable catamaran, a basic transom saver might be all you need. But as soon as you get into bigger outboards, a more robust solution is non-negotiable. Keeping your engine secure is just one part of responsible boating—you can find more must-have items in our complete guide to boating safety equipment.
Investing in a quality outboard motor support system is one of the smartest and most affordable insurance policies for your boat. It directly prevents the kind of structural damage that can end a boating season prematurely and lead to expensive repairs.
To make it clearer, here’s a quick rundown of how these systems compare and where they fit best with inflatable boats.
| Support Type | Primary Function | Best For | Key Benefit for Inflatables |
|---|---|---|---|
| Transom Saver | Transfers motor stress from the transom to the trailer frame during transport. | All trailered boats, especially those with heavy four-stroke outboards. | Prevents transom flex and stress cracks on aluminium or composite transoms. |
| Reinforcement Bracket | Strengthens the transom itself to better handle motor weight and thrust. | Boats with higher horsepower motors or older transoms needing extra support. | Adds rigidity and distributes the motor’s operational force more effectively. |
| Motor Lock/Clip | Secures the motor in the tilted position, preventing movement. | A secondary support used in conjunction with a transom saver. | Stops the motor’s trim system from bearing the full load during transit. |
Each of these plays a role in protecting your boat, but the transom saver is the real hero for anyone trailering their inflatable. It’s a small investment that delivers massive peace of mind on the road.
Picking the right support for your outboard isn’t a one-size-fits-all job. The setup you’d use for a small Hidea outboard on a tender is world’s apart from what a big 60HP motor needs on a recreational boat. Getting it right comes down to a few key things: your motor, your boat, and where you plan on taking it. If you’re looking to compare prices and features of inflatable boats in your area, remember to factor in the cost and type of motor support needed.
The main things to think about are your motor’s weight and horsepower, your boat’s transom design, and the kind of trips you have planned. A quiet day fishing puts different strains on your gear than a family day out, loaded up with people and supplies.
First things first, look at the weight and power of your outboard. A lightweight 2.5HP motor barely puts any leverage on the transom. But a hefty 60HP four-stroke? That creates some serious force, especially when you’re towing it down a bumpy road.
Our Aerowave boats have tough aluminium transoms built for the long haul, but even the strongest transom needs the right support. For those heavier outboards, a frame-mounted transom saver that connects the motor’s lower unit straight to the trailer frame is a very smart move. For the smaller motors, a simpler roller-mounted style will probably do the trick.
Think of it this way: you wouldn’t carry a heavy backpack with just one shoulder strap. A proper two-strap system spreads the load evenly and saves you from a sore back. A transom saver does the exact same thing for your motor, shifting the stress from the transom to the trailer itself.
The kind of inflatable you have makes a difference, too. An inflatable catamaran, with its twin-hull design, spreads weight differently than a classic V-hull. This unique shape can change which support system gives you the best protection, a key consideration for fans of the versatile Inflatable Catamaran.
How you use your boat is just as important.
The whole idea is to create one solid, rigid unit out of your boat, motor, and trailer. This stops everything from moving independently and absorbs the shock that would otherwise go straight into your transom.
This focus on reliability is something we’re seeing across the board. Trends in the Australian outboard motor market show a clear move towards dependable four-strokes, which lines up perfectly with our Hidea outboard bundles for fishing and family fun. While other parts of the world are chasing high horsepower, the Aussie market is solid, with over 25,000 new outboards registered each year. A massive 65% of these are four-strokes—a huge jump from just 20% back in 1990. It shows a clear preference for engines you can count on. You can read more about the history and trends on Wikipedia’s outboard motor page.
Deciding between the two main types of transom savers really comes down to your motor’s size and your trailer.
Frame-Mounted Savers:
Roller-Mounted Savers:
At the end of the day, investing in the right outboard motor support is all about protecting your gear. By taking a moment to think about your motor, your boat, and how you’ll be using it, you can choose a system that delivers total reliability. For a bit more advice on matching the perfect engine to your boat, you might want to check out our guide on choosing a motor for inflatable boats. A little bit of careful planning now will mean countless stress-free days out on the water.
Having the right outboard motor support is one thing, but a perfect installation is what will truly protect your boat and motor for years to come. This is where we get into the nuts and bolts of mounting your outboard and its support system correctly on your inflatable. It’s all about getting the details right to create a secure, watertight setup that’s ready for anything Aussie waters can throw at it.
This quick visualisation shows how your motor, boat, and the way you use it all tie together, which is crucial for a successful installation.
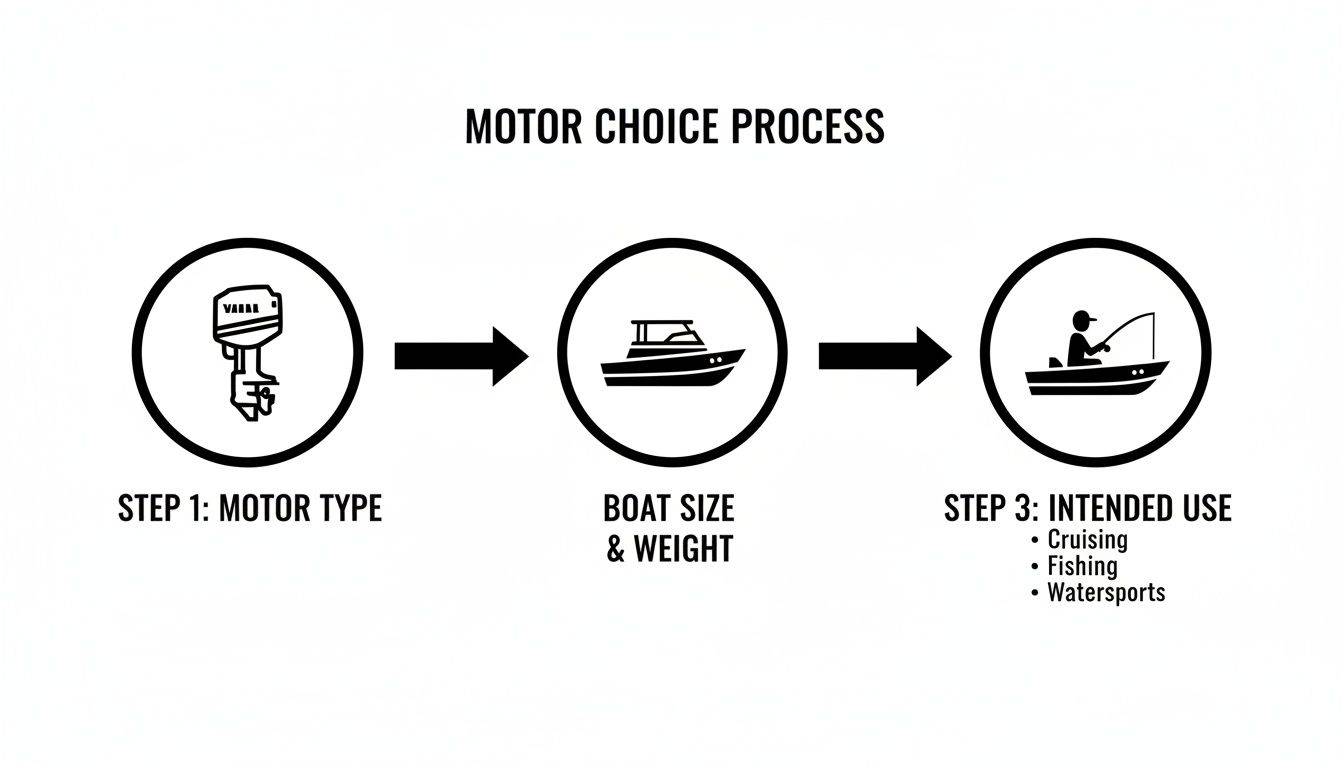
Think of these three things—motor, boat, and use—as interconnected. Your installation has to account for all of them to work properly.
Before you even pick up a drill, a clean and prepped transom is an absolute must. For our Aerowave boats with their tough aluminium transoms, a quick wipe-down with a degreaser is all you need to remove any lingering oils or grime from the factory. This simple step ensures your sealant can create a perfect, watertight bond.
If you’re working with an older boat or reinforcing an existing transom, check the surface carefully. Any soft spots, cracks, or signs of delamination must be fully repaired before you even think about hanging a heavy motor on it. Bolting a motor to a compromised transom is just asking for a very bad, and very expensive, day on the water.
This is the part where precision is everything. The old saying, “measure twice, drill once,” couldn’t be more true here. Your bolt pattern needs to align perfectly with the motor’s mounting bracket, so take your time. Use a high-quality, sharp drill bit designed for metal or composites to get clean holes without splintering or damage.
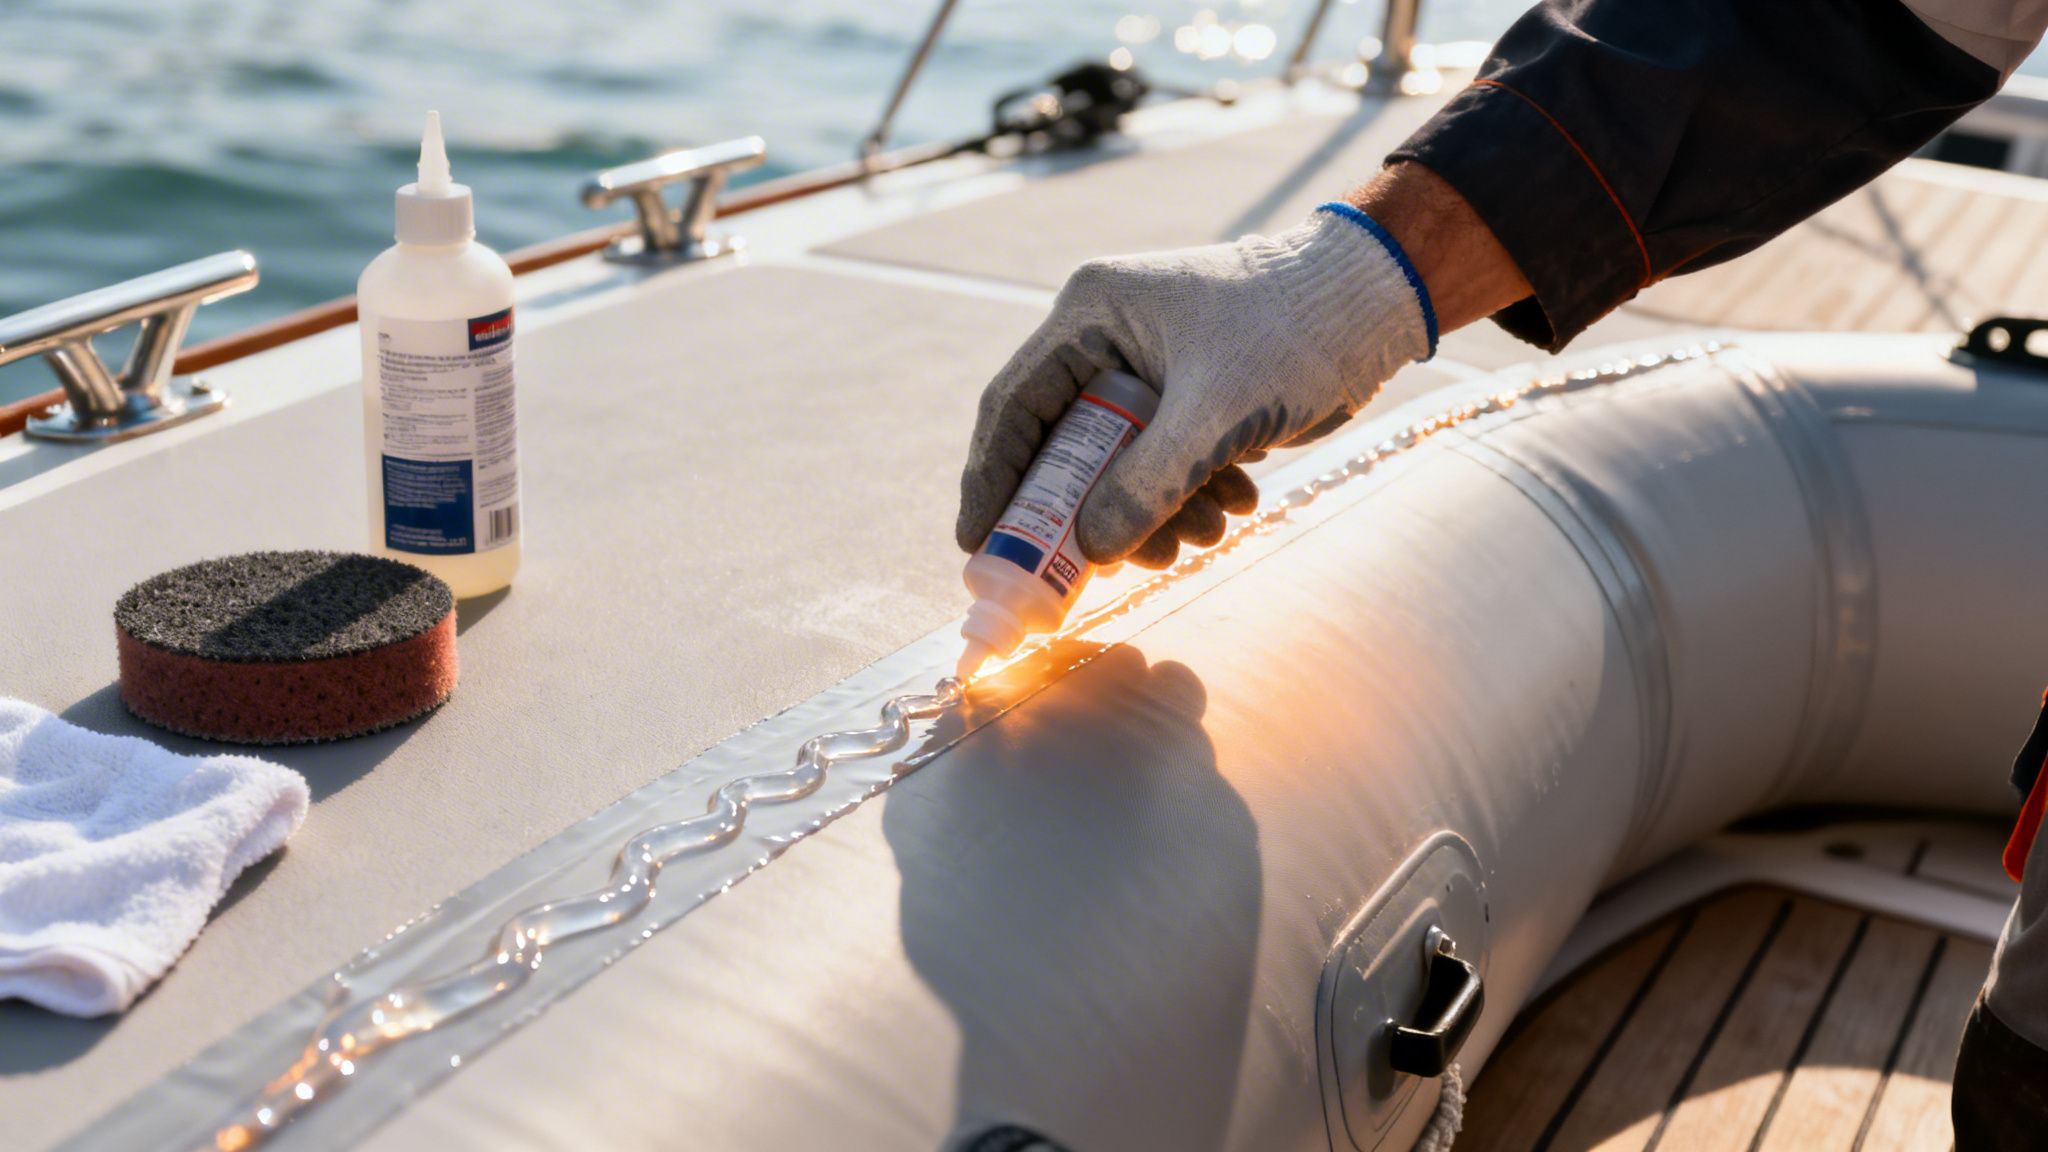
Sealing isn’t optional—it’s critical. To stop leaks and prevent water from getting into the transom’s core, you have to use a top-shelf marine-grade sealant.
A proper seal isn’t just about keeping water out. It’s about preventing the slow, silent rot and corrosion that can destroy a transom from the inside out. Spending an extra five minutes here can genuinely add years to your boat’s life.
When it comes to getting the motor into position, don’t break your back. A simple tool can make all the difference. Our guide on using a boat motor trolley has some great tips for moving the engine around safely and easily.
Getting the motor sitting at the right height on the transom is crucial for performance. If it’s too low, you’ll create a heap of drag and spray. Set it too high, and the propeller can suck in air, a problem known as ventilation, which causes it to lose grip on the water and the engine to over-rev.
The sweet spot is usually when the anti-ventilation plate (that’s the flat plate just above the prop) sits level with, or just a centimetre or so below, the bottom of the boat’s hull. It might take a bit of trial and error on the water to get it absolutely perfect for your specific boat and motor combination.
The logic behind fitting a motor securely is surprisingly similar to other mechanical jobs, like choosing and replacing rear hatch lift supports on a car. Both demand the right fit and a secure installation to function properly and last a long time.
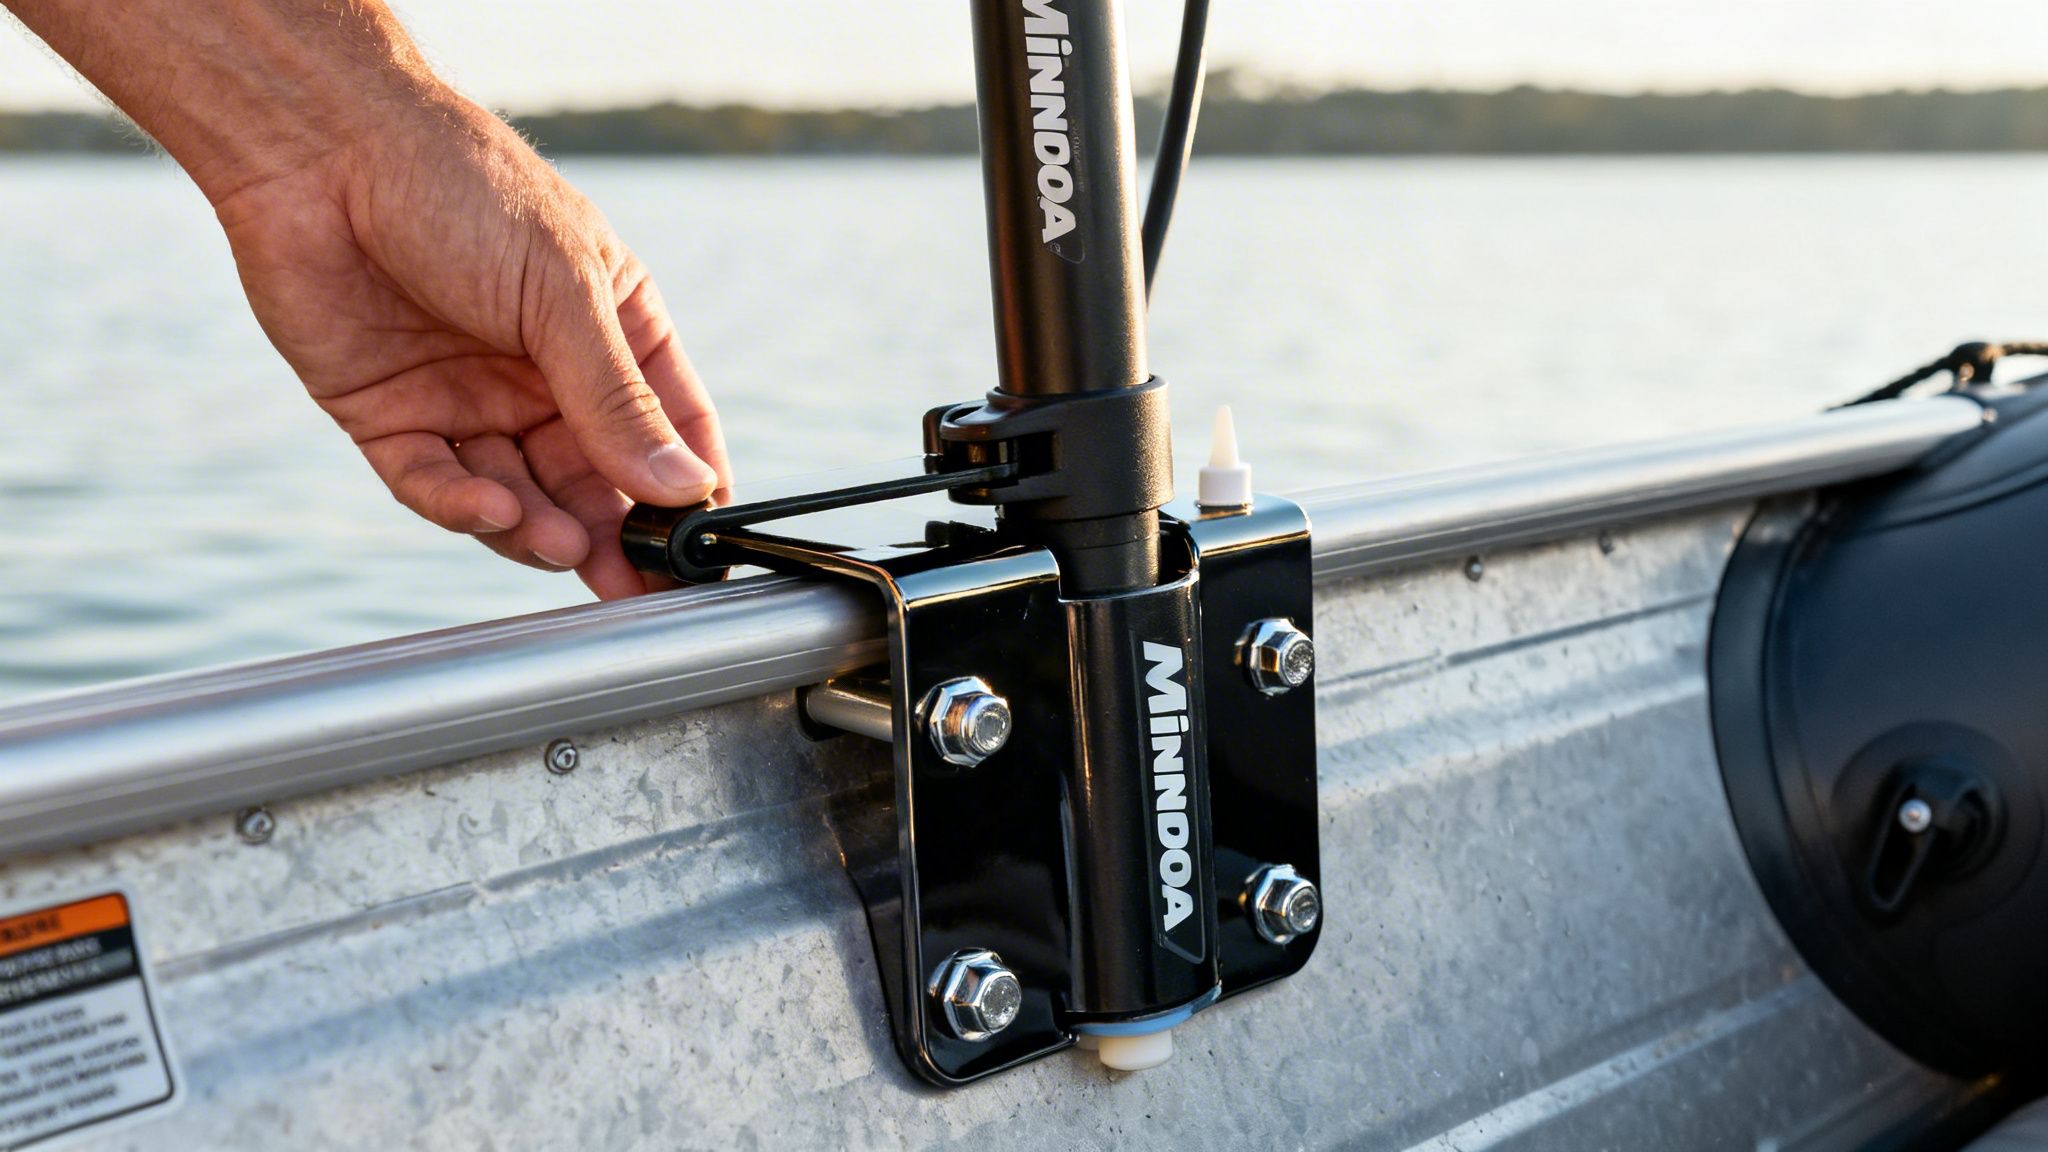
Here’s a bit of wisdom learned the hard way: do not over-tighten the mounting bolts. It’s easy to think “tighter is better,” but cranking down with all your might can crush the transom’s core material. This can seriously compromise its structural strength.
Instead, tighten the nuts evenly, alternating between them just like you would when changing a car tyre, until they are good and snug. Always use large washers to spread the load and nylon-locking nuts to prevent them from vibrating loose. After you’ve tightened everything, wipe away any excess sealant for a pro finish. It’s also a smart idea to re-check the bolt torque after your first couple of trips out, just to make sure nothing has settled or loosened up.
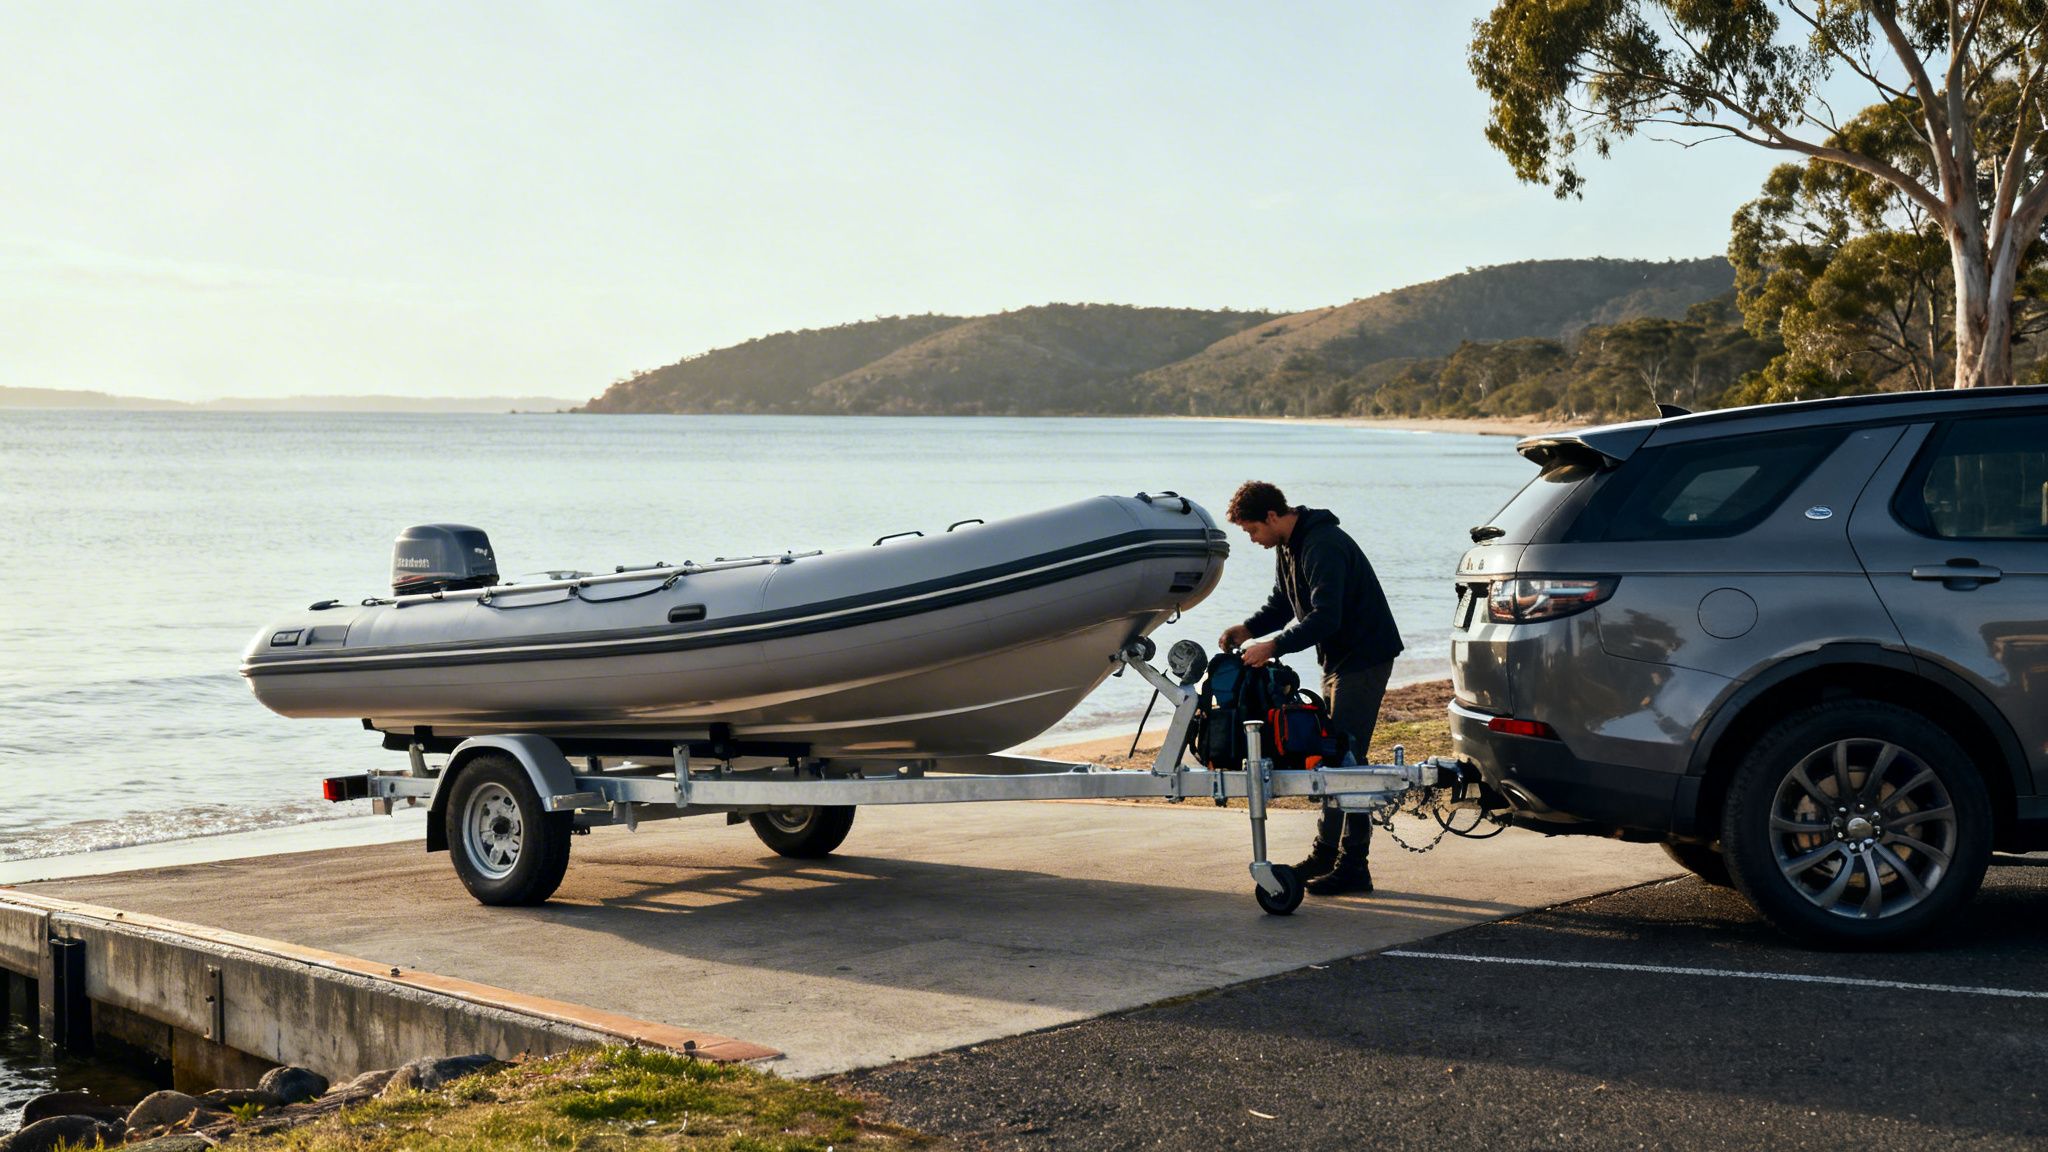
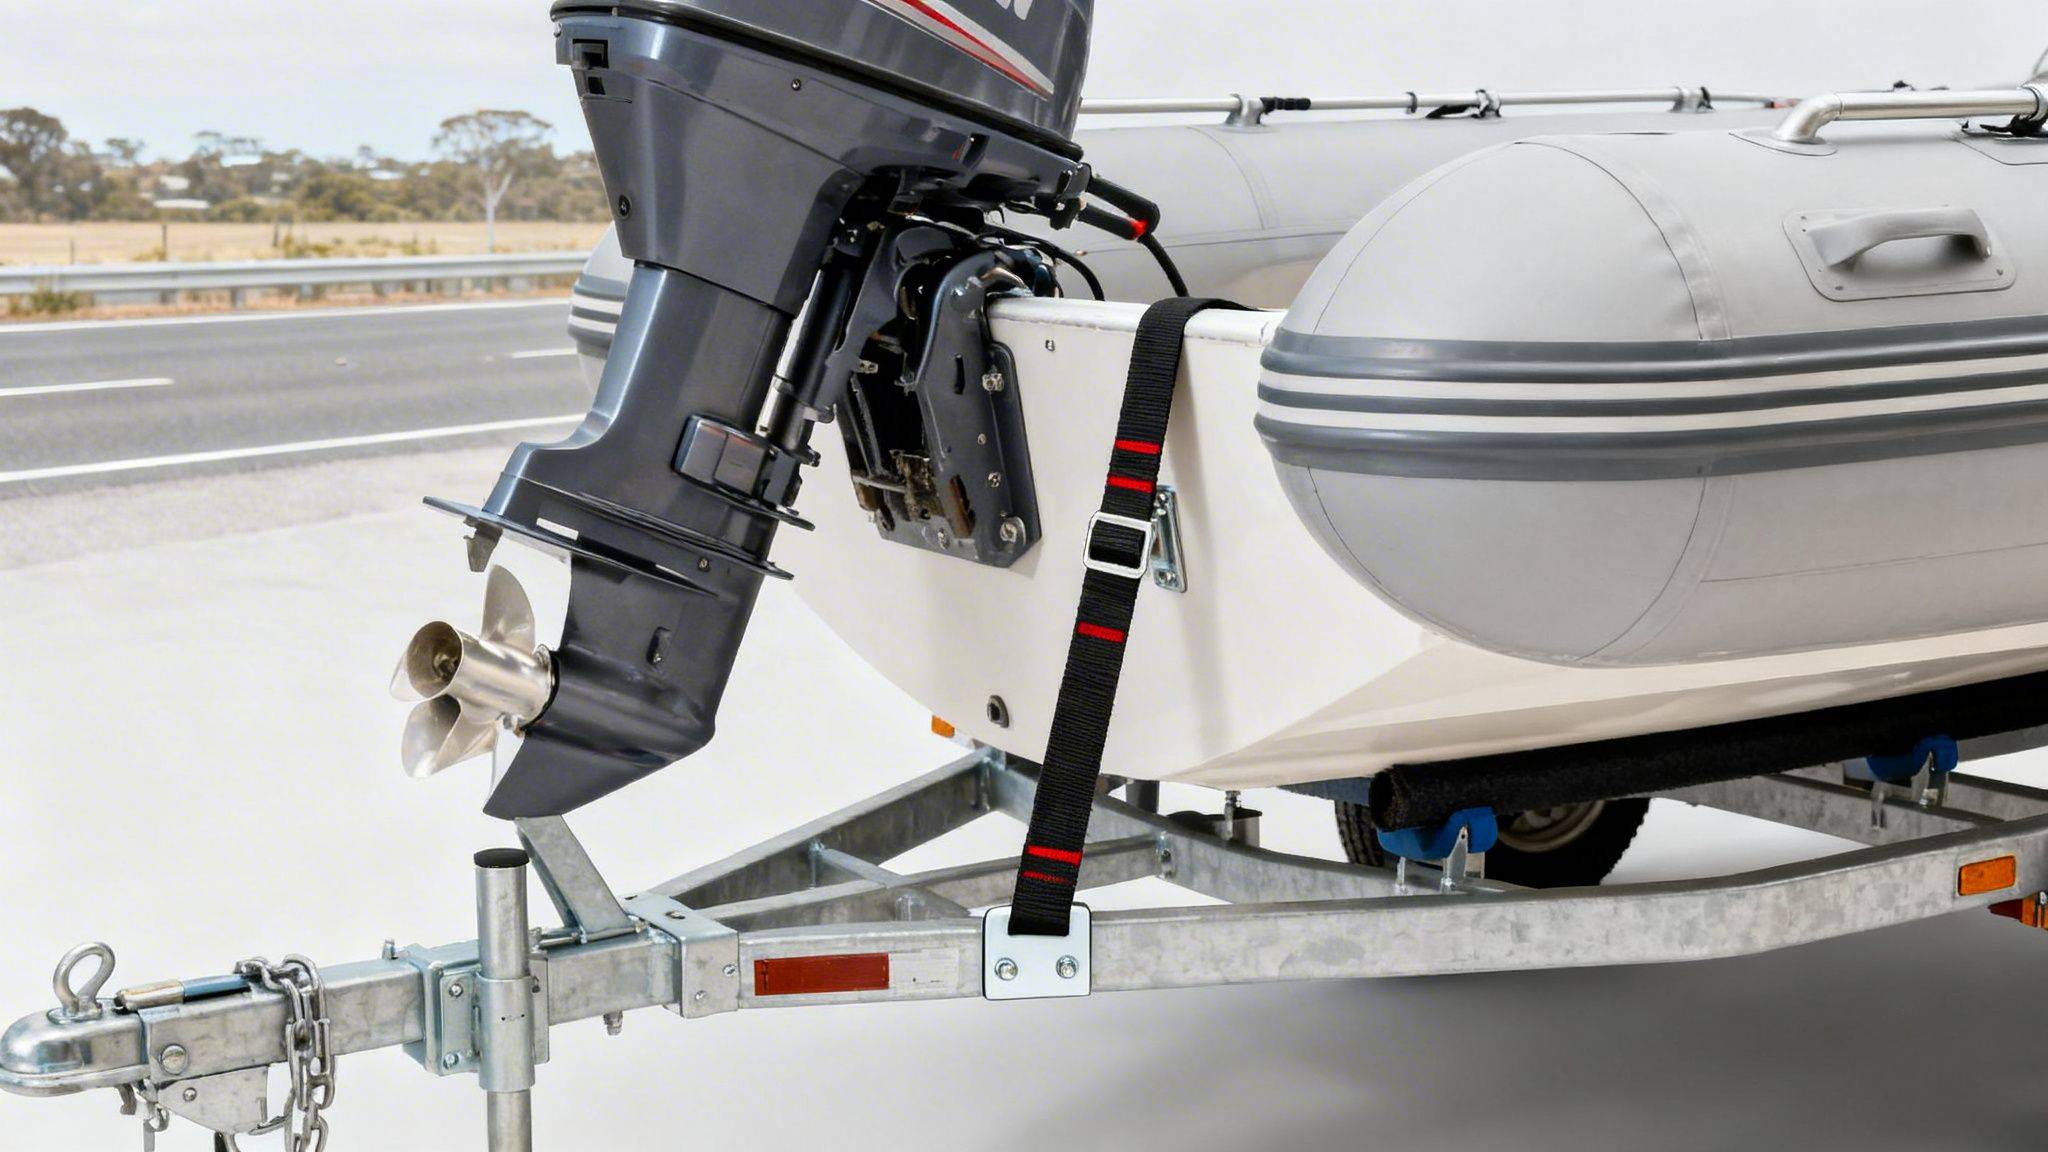
Hitting the road for a day on the water is what it’s all about, but that drive can be harder on your inflatable than the water itself. Every pothole, speed bump, and stretch of corrugated track sends jolts right through your rig, putting a huge amount of stress on the transom. Trailering with an outboard clamped on requires a smart approach to prevent damage, especially across our tough Aussie roads.
This is where a proper outboard motor support—often called a transom saver—becomes your best mate. It’s a non-negotiable piece of kit designed to brace the motor and soak up those jarring road vibrations. A good support transfers the damaging forces away from your transom and channels them into the trailer frame, which is built to take that kind of punishment.
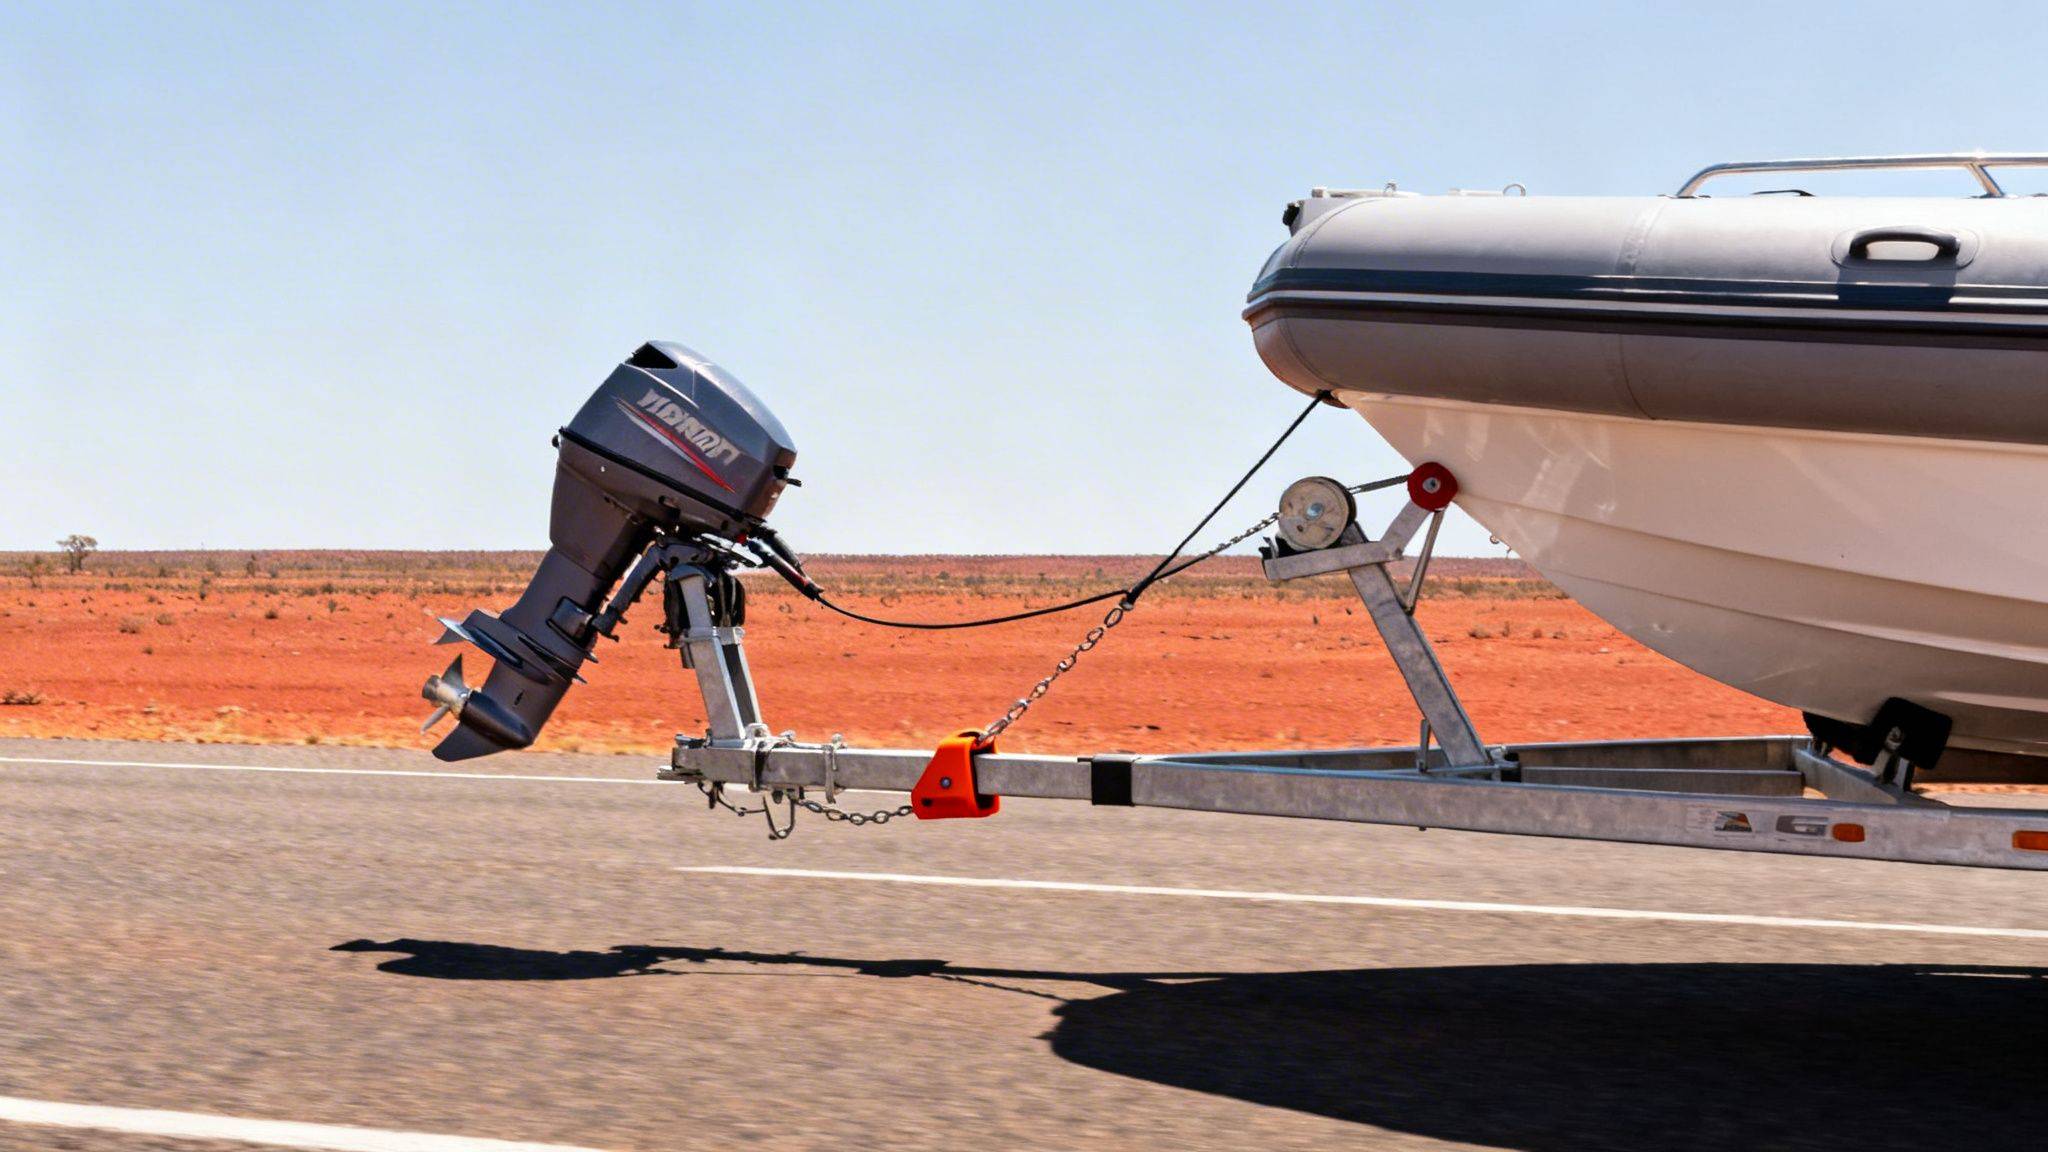
One of the most common questions we get is how to position the motor for travel. It’s a classic balancing act between ground clearance and leverage. You need to tilt the motor high enough to clear nasty speed bumps and steep driveways, but not so high that it puts a heap of strain on the transom.
A motor tilted way up acts like a heavy pendulum, amplifying every bounce and putting immense pressure on your boat’s structure. The sweet spot is tilting it just high enough for clearance, then fitting the outboard motor support snugly. This creates a solid, stable link that stops the motor from bouncing around, protecting both the transom and the motor’s own hydraulic trim system.
Remember, the goal is to make your boat, motor, and trailer act as one solid unit. A correctly positioned and supported motor won’t bounce independently, which is the key to preventing long-term stress damage.
The need for durable outboard support has grown right alongside the engines themselves. Ever since Honda’s first four-stroke in 1964, motors have gotten heavier, making proper support essential. Today, four-strokes make up 70% of the market, having slashed pollution by 60% and noise by 25%, according to AMSA tests. For families, the proof is in the experience: statistics confirm 88% satisfaction with properly supported portable motors—a simple measure that helps prevent a portion of the 15,000 annual strandings. Find out more about the fascinating history of outboards and their development.
Getting your weight distribution right is non-negotiable for a safe trip. A poorly balanced trailer can lead to dangerous swaying or put far too much weight on your tow hitch. When you compare prices and features of inflatable boats in your area, also ask about trailer options and how they impact towing stability.
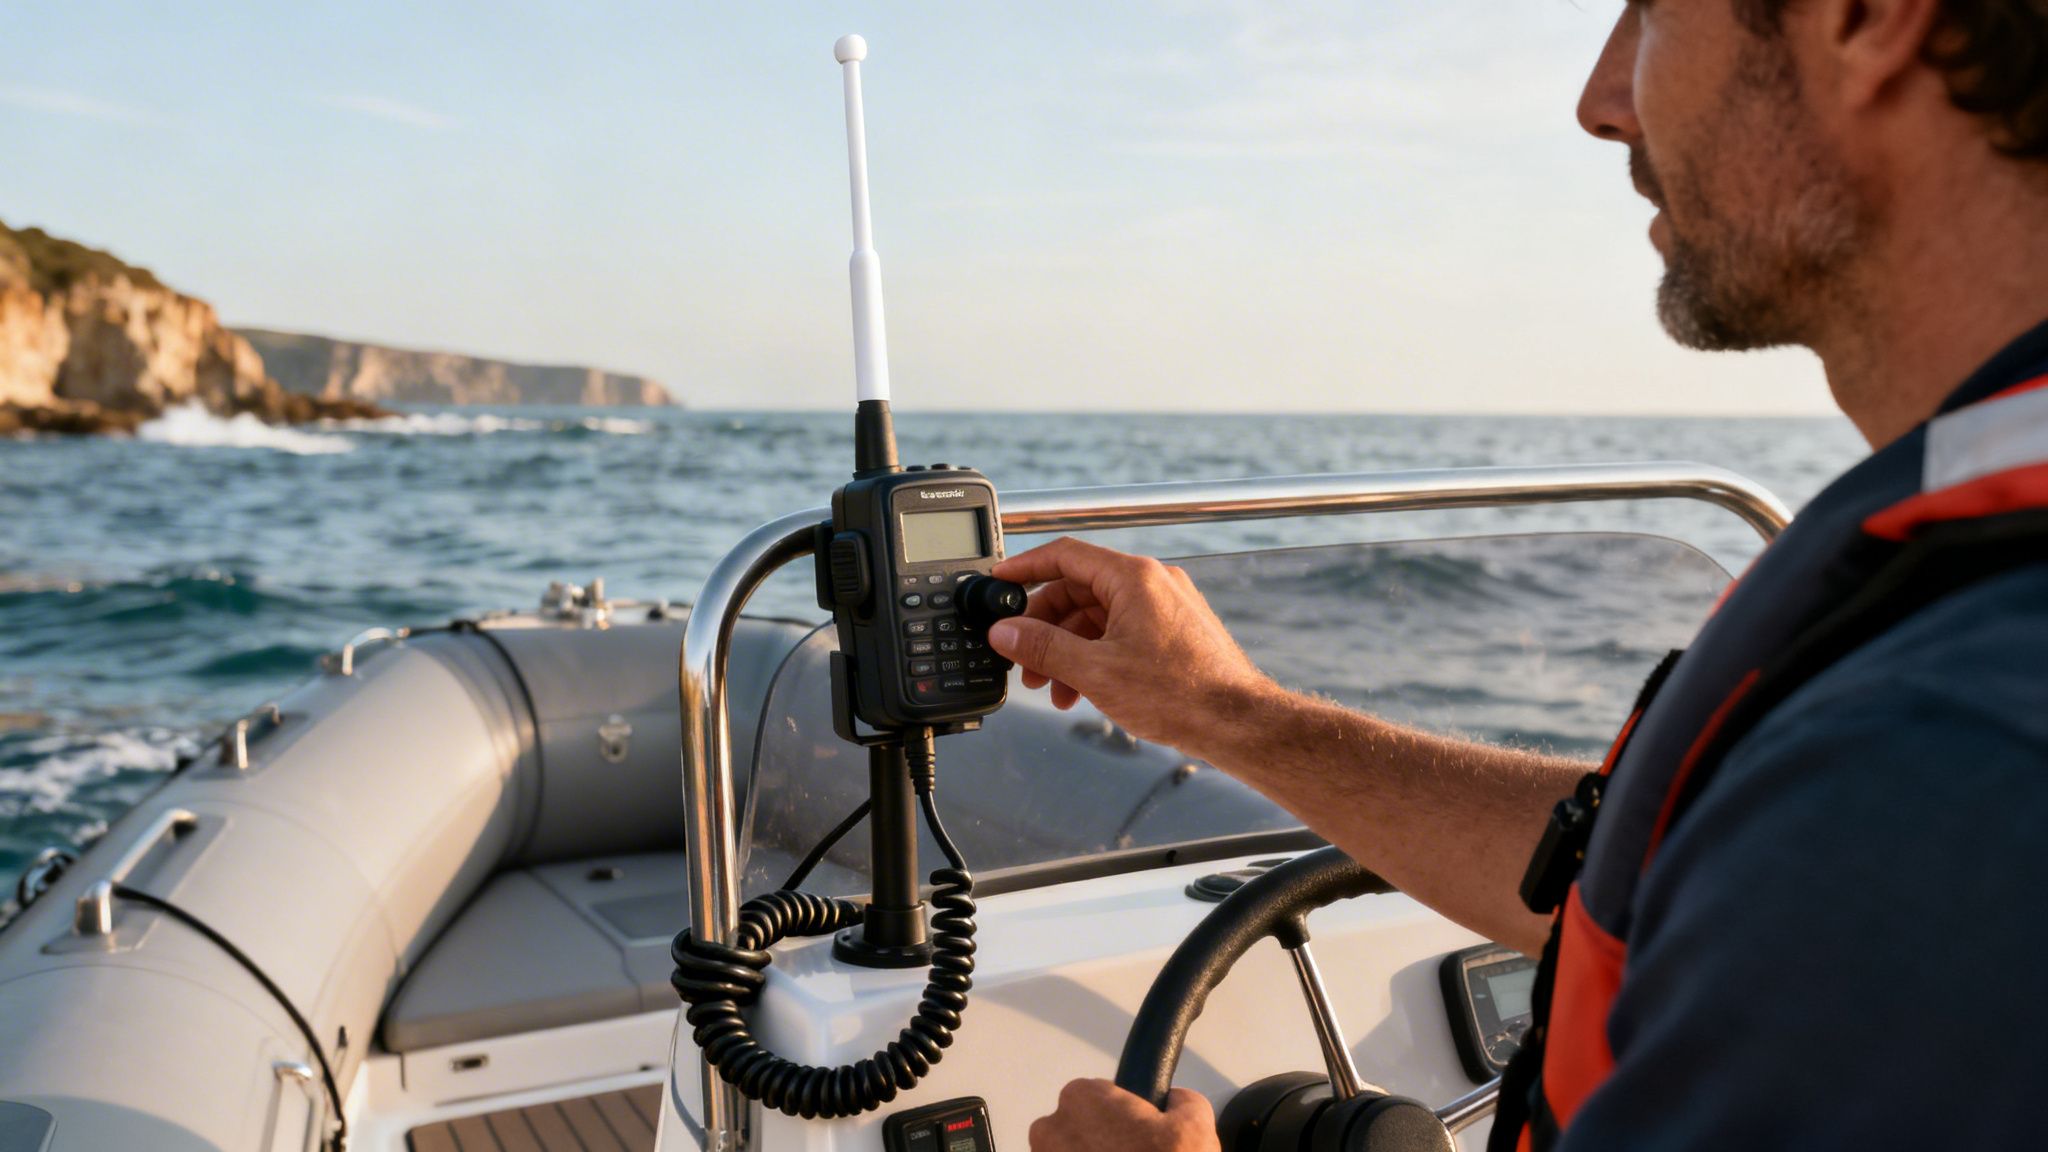
Beyond physical support, make sure your investment is protected. When you’re gearing up for big trips, having the right Boat Insurance provides crucial financial cover against anything that might happen on the road or on the water.
Before you hit the bitumen, a quick five-minute check can save you a world of trouble down the track.
Getting your boat and trailer to work together in harmony is vital. For anyone chasing the ultimate portable setup, our guide on choosing the right collapsible boat trailer is a great place to start.
Your outboard motor support isn’t a ‘set and forget’ piece of gear. Just like the rest of your rig, it needs a bit of regular attention to make sure it’s doing its job properly, especially out here in the tough Australian environment.
A few minutes of prevention can save you from a world of hurt, including catastrophic failure and expensive repairs down the track. This simple maintenance routine is dead easy to follow and will help you catch small problems before they become big headaches.
The easiest time to check your outboard motor support system is right there at the boat ramp—before you launch and after you get back. Make it a habit. A quick “walk-around” inspection should be part of your routine every single time.
These checks take less than a minute but are your best line of defence against road-induced damage.
A well-maintained support system is a sign of a well-maintained boat. It shows you’re on top of your safety and protecting your investment, making sure your boat is always ready for the next adventure.
A couple of times a year, or definitely after a long trip on rough corrugated roads, it pays to do a more thorough inspection. This is your chance to spot developing issues that a quick glance might miss.
Start by taking the transom saver off completely. Check its adjustment mechanisms, pins, and locks to make sure they all work smoothly. Clean off any grime and inspect the metal for any signs of corrosion or bending.
Next, turn your attention to the transom itself. With the motor tilted up (but not resting on its support), try to gently rock the motor from side-to-side. There should be zero movement at the mounting bolts. Any wiggle or flex here is a massive red flag—it means the bolts are loose or, even worse, the transom core could be compromised.
Finally, give all the metal fittings a good look over, especially if you’re a saltwater regular.
The Aussie coast is a boater’s paradise, but saltwater is absolutely relentless on metal. It will actively eat away at aluminium and other fittings if you let it.
An engine that’s looked after is less prone to problems all around. You can learn more about its other crucial components in our guide on the outboard engine fuel line.
Following this simple routine ensures your motor support system keeps protecting your boat effectively, trip after trip. It’s a small price to pay for keeping you and your family safe on the water.
We get a lot of questions from Aussie boaters about getting their setup just right. It’s smart to ask—a secure motor means a safer and more enjoyable day on the water. Here are some clear, expert answers to the most common queries we hear.
Yep, you absolutely do. When you’re searching for the best inflatable boats for recreational use available near you, consider the transom saver a mandatory accessory. While the transoms on modern inflatables are incredibly tough—especially the aluminium ones on our Aerowave boats—the constant bouncing and vibration from trailering on Aussie roads can cause long-term fatigue.
That repeated stress can lead to micro-cracks or even delamination over time. A transom saver, a critical piece of outboard motor support, redirects all that force away from your transom and onto the trailer frame itself. Think of it as a small investment to protect your boat and motor from thousands of dollars in potential damage.
The goal here is to find the perfect balance. You need to tilt the motor up high enough to get good ground clearance over speed bumps and steep driveways, but not so high that it creates too much leverage on the transom.
Once you find that sweet spot for clearance, adjust your transom saver to securely brace the lower unit against the trailer. This creates a single, solid unit and takes the strain off the boat’s transom and the motor’s trim system. It’s always a good idea to check your motor’s manual for any specific recommendations, too.
A correctly supported motor shouldn’t move independently from the boat and trailer. When you shake the motor, the whole rig should move as one. That’s the sign of a secure and safe trailering setup.
You should get into the habit of doing a quick visual check every single time you head out. Before launching, just give the motor a firm shake to make sure the bolts are tight and nothing feels loose or out of place. It only takes a second.
It’s also wise to schedule a more thorough inspection a few times a season, or especially after a long trip on rough roads. During this check, look closely for any fine stress cracks around the mounts, check for any flex in the transom, and ensure the support itself isn’t showing signs of wear. Catching small issues early is always the best approach.
Ready to find the perfect inflatable boat for your adventures? Easy Inflatables offers a wide range of durable and portable Aerowave boats, inflatable catamarans, and Hidea motor packages designed for Australian conditions. Explore our collection and get expert advice.