
The short answer? Yes, you can absolutely repair a minor windscreen scratch yourself with a good DIY kit. This is especially true for those light surface scuffs that your fingernail glides right over.
But if you're dealing with deeper gouges, calling in a professional is always the safer and more effective bet. They have the tools and experience to restore both the clarity and, more importantly, the structural integrity of your glass. Just like when you're looking for the best inflatable boats for recreational use available near you, choosing between a DIY fix and professional service depends on the complexity of your needs.
That first scratch on your car's windscreen feels like more than just a cosmetic flaw, doesn't it? It’s a distraction and a potential safety issue that can mess with your view of the road.
Before you can figure out the best way to tackle a windscreen scratch, you need to know exactly what you’re up against. Not all scratches are created equal, and the fix depends entirely on the type and severity of the damage.
The culprits are usually everyday things. Worn-out wiper blades are a classic one, dragging grit across the glass and leaving behind those fine, arc-shaped marks. Then you have flying road debris from trucks or unsealed roads, which can cause deeper, more isolated gouges. Even something as simple as wiping your windscreen with a dirty cloth can create a web of tiny surface scratches.
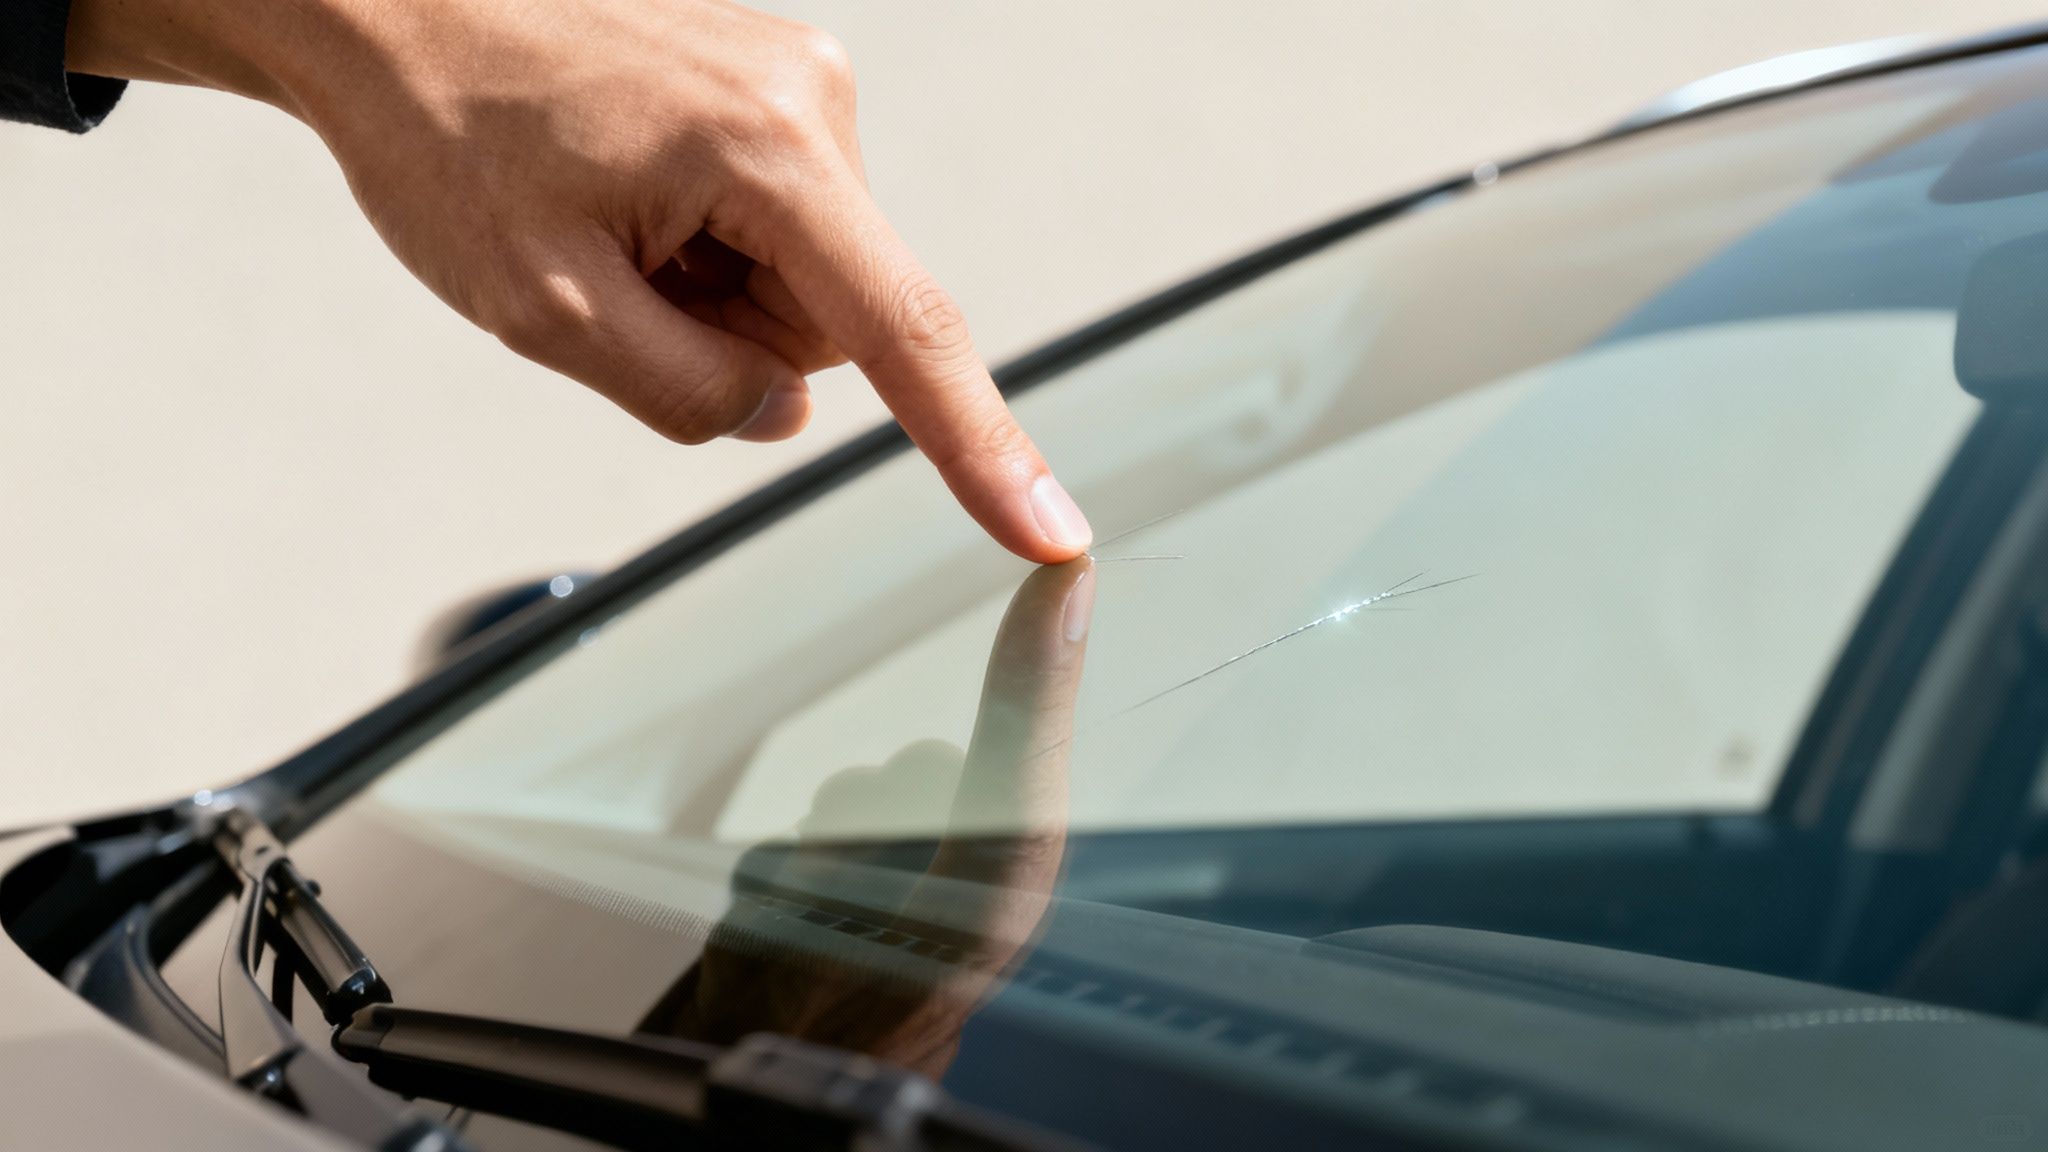
Here’s a simple but surprisingly effective way to gauge how deep a scratch is: the fingernail test. Just run your fingernail gently across the damaged area.
This initial assessment is genuinely the most important step you'll take. It tells you whether a DIY approach is realistic or if you’re better off getting an expert involved. Trust me, trying to polish a deep scratch can sometimes make the area look even worse by creating a distorted, wavy patch on your windscreen.
A compromised windscreen weakens your vehicle's entire structure. In a rollover accident, the windscreen provides up to 45% of the cabin's structural support, so even minor damage is something you shouldn't ignore.
Ignoring damage, no matter how small it seems, is a huge risk. A tiny scratch or chip can expand into a massive crack overnight with a bit of temperature fluctuation, turning a simple fix into a costly full replacement.
In Australia, repairing a minor windscreen chip usually costs between AUD 60 and AUD 120—a small price for restoring safety and peace of mind. Acting early is a smart financial move, especially when a full replacement can set you back anywhere from AUD 300 to over AUD 1,000 on modern vehicles. Just like with your car, proper upkeep is key for all your gear; our guides on general maintenance and care can help you protect all your equipment.
To make it even easier, here's a quick reference table to help you identify the scratch on your windscreen and decide on the best course of action.
| Scratch Type | How to Identify It | Recommended Action |
|---|---|---|
| Light Scuff | Cannot be felt with a fingernail. Visible in direct light. | DIY glass polishing kit is usually effective. |
| Moderate Scratch | Fingernail catches slightly in the groove. Clearly visible. | A high-quality DIY resin repair kit may work. |
| Deep Gouge | Fingernail gets stuck. Damage is deep and obvious. | Professional repair is strongly recommended. |
| Crack or Chip | Distinct star, bullseye, or line-shaped fracture. | Call a professional immediately to prevent it from spreading. |
Getting this first step right saves you time, money, and a lot of frustration down the track.
So, you’ve done the fingernail test and confirmed the scratch doesn’t need a professional call-out. Great! Now it's time to gear up for the DIY fix. Walking into an auto parts store can feel a bit overwhelming with all the options on the shelf, but picking the right windscreen scratch repair kit is actually pretty straightforward once you know what you’re looking for.
The secret is matching the product to the type of damage you're dealing with. Just as you'd compare prices and features of inflatable boats in your area to find the right one, you need to assess repair kits to match your specific windscreen issue.

In Australia, you’ll generally find two main kinds of kits. Your choice comes down to one simple question: are you polishing out a light scuff or filling a more noticeable scratch?
For those annoying, shallow scratches—the ones you can see but can't really feel—a cerium oxide polishing compound is your go-to. This stuff is the industry standard for a reason. It's a super-fine powder that gently abrades the glass surface, levelling it out until the scratch simply disappears.
These kits are perfect for marks left by tired old wiper blades or other light abrasions. Think of it less like filling a gap and more like buffing out a minor imperfection. It does take a bit of patience and elbow grease, but the crystal-clear finish you get is well worth the effort.
If your fingernail catches in the scratch, a polishing compound just won't cut it. This is where resin-based repair kits step in. They are specifically designed to fill deeper grooves and chips, which not only restores the clarity of your windscreen but also its structural integrity.
A typical kit will come with a special acrylic resin and an applicator that often uses suction cups. This clever little tool creates a vacuum over the damage, pulling the resin deep into the scratch for a solid fill. Once filled, the resin hardens under UV light, bonding with the glass to create a permanent, transparent repair. The principle of using a dedicated kit for a specific repair is universal, and if you work with other gear, you might find our overview of a handy inflatable boat repair kit interesting for other projects.
A good quality kit will always have clear, step-by-step instructions. If the manual looks vague or poorly translated, that's often a red flag for a cheap product that will probably give you a disappointing result.
No matter which type of kit you land on, there are a few non-negotiable components you should look for to ensure a successful repair. A good, comprehensive kit should always contain:
Honestly, choosing the right kit upfront is 90% of the battle. A quality product doesn't just give you the right materials; it guides you through the process, helping you sidestep common mistakes and achieve a finish that makes your windscreen look good as new.
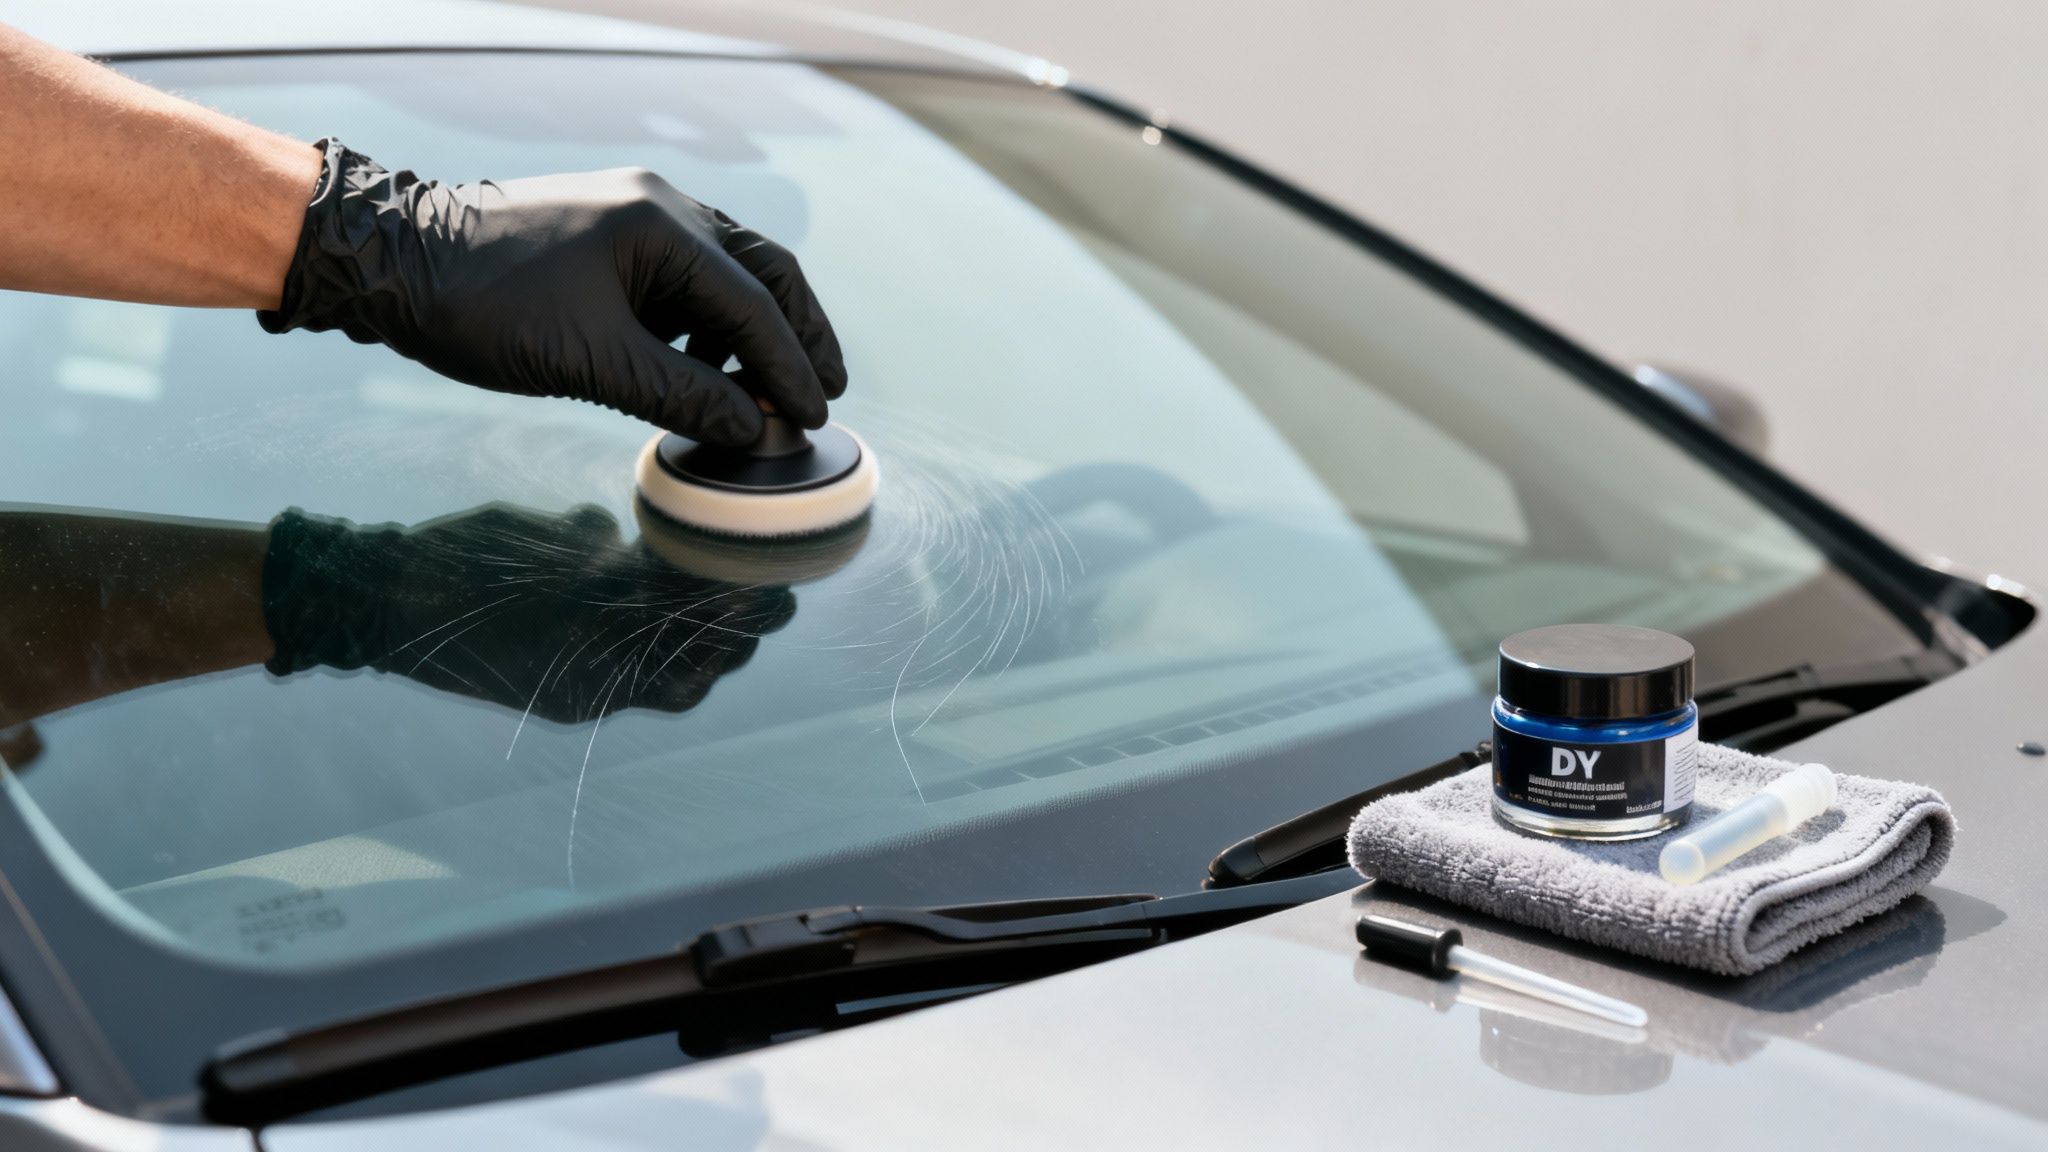
Right, let's get our hands dirty. If you've run your fingernail over the scratch and it glides right over without catching, you're in luck. A good quality polishing compound is going to be your best friend here. The whole idea is to patiently buff the glass until its surface is perfectly smooth again.
Getting a professional-looking result at home is absolutely achievable. It just comes down to the right technique, a bit of patience, and some careful prep work. Before you even think about touching the polish, that windscreen needs to be spotless.
First things first: preparation is everything. Even the tiniest speck of dust or grit left on the glass can get dragged around by your polishing pad, creating a whole new network of scratches. That's the last thing you want.
Start by giving your windscreen a proper clean with a quality glass cleaner and a fresh microfibre cloth. Once it’s dry, slide your hand over the surface. If it doesn't feel completely smooth, grab a clay bar to lift off any stubborn, bonded-on grit.
Next, mask off the area around the scratch with painter's tape. This is a crucial step to protect your car's paintwork, rubber seals, and any plastic trim from the polishing compound, which can be a real pain to remove once it dries on those surfaces.
Cerium oxide is what the pros use for glass polishing, and for good reason. It's an incredibly fine abrasive that gently grinds the glass surface down to the same depth as the scratch, effectively making it disappear.
Most kits provide cerium oxide as a powder, so you'll need to mix it with a little water to form a paste. You’re aiming for a consistency like a thin slurry or runny glue—not too watery, but not thick and clumpy either.
Pro Tip: Always mix your compound in a separate container, never directly on the windscreen. This gives you far better control over the consistency and stops you from accidentally spilling dry powder all over your car's paint.
Once your paste is ready, dab a small amount directly onto your polishing pad. If you're using an electric drill with a pad attachment, start it on a low speed. Going too fast generates a lot of heat, which can distort or even crack the glass.
Begin working the compound into the scratch using firm, consistent pressure. Move the polisher in slow, overlapping circular motions. It’s vital to keep the pad moving constantly to avoid creating a low spot or a 'lens' effect in the glass. Don't just zero in on the scratch itself; feather your polishing out into the surrounding area to create a smooth, blended finish.
Polishing out a scratch is a gradual process, not an instant fix. After buffing for a few minutes, stop and wipe the area clean with a fresh, damp microfibre cloth. This clears away the compound residue so you can actually see what you're doing.
Hold a light at an angle to the glass and check if the scratch is fading. You’ll probably need to repeat the process a few times, so just be patient. Keep applying small dabs of the compound and buffing until the scratch is gone.
Once you’re happy with the result, the final step is a thorough clean-up. Wipe away all the leftover residue with your damp cloth, then switch to a dry one to get rid of any streaks. Peel off the painter’s tape and give the entire windscreen one last spray and polish. This kind of meticulous approach is needed for other specialised gear, too, a concept we dive into in our guide to simple inflatable boat maintenance. By taking your time, you can successfully repair a windscreen scratch and get that flawless clarity back in your line of sight.
If you can run your fingernail across the damage and feel it catch, you know a simple polish just isn't going to cut it. This is where you need to bring out the big guns: a dedicated windscreen resin repair kit. These kits are designed specifically to fill in those deeper gouges, restoring not just your clear line of sight but the structural integrity of the glass itself.
The whole process might look a bit technical, but trust me, it’s surprisingly straightforward with a bit of patience. Unlike polishing, which is all about removing a thin layer of glass, this method involves adding a special transparent acrylic resin that chemically bonds with the existing glass. The result is a seamless, strong, and permanent repair.
First things first, precision is everything. Give the damaged spot a thorough clean with an alcohol wipe to get rid of any lingering oils, dirt, or debris. Once it's spotless, it's time to position the applicator. Most kits will give you a suction-cup bridge or a small pedestal that you’ll need to centre directly over the scratch.
This little device is your key to a professional-looking repair. It creates a stable, sealed platform that lets you inject the resin with pinpoint accuracy, forcing it deep into the scratch without trapping any annoying air bubbles. Take a moment to make sure the suction cups are sealed tight against the glass. A good seal is crucial.
The infographic below shows the basic principles for any hands-on repair job—it all starts with a clean surface.
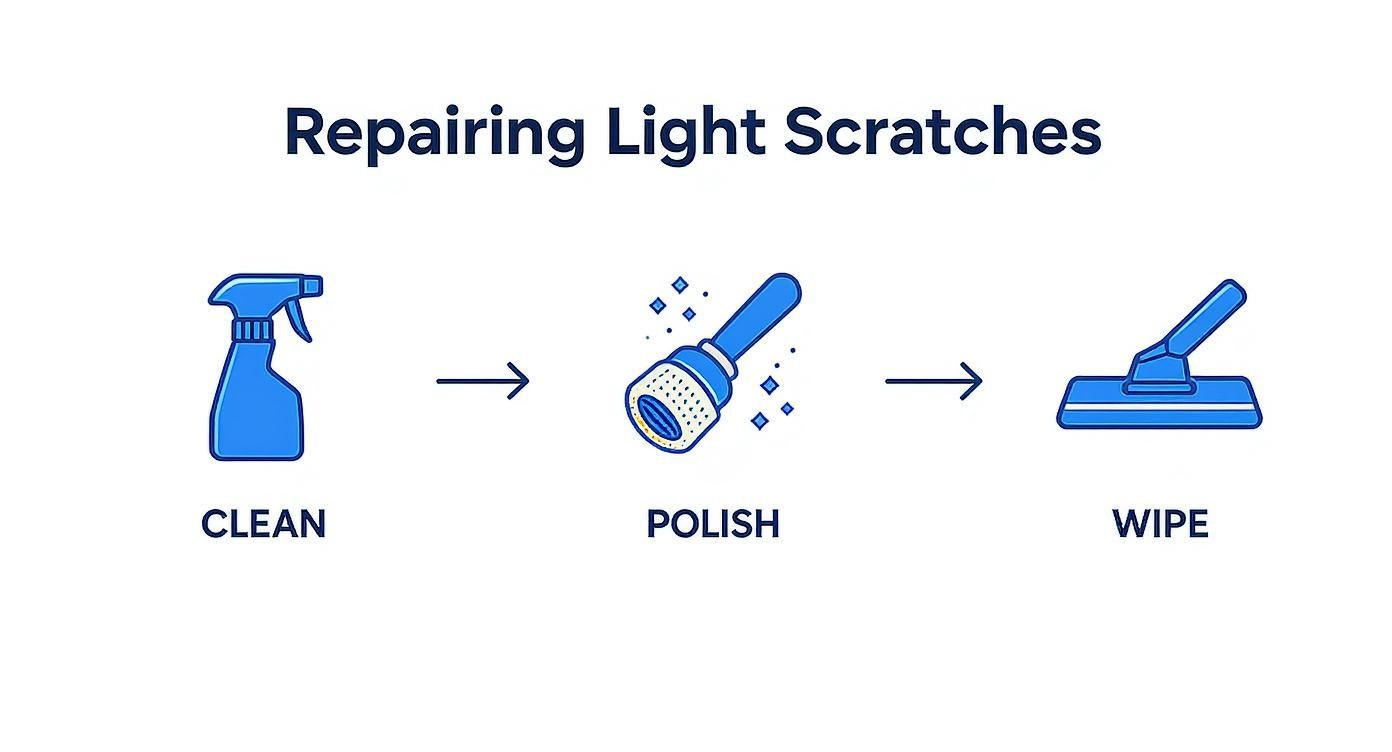
This just goes to show that proper prep and a clean finish are just as important as the repair itself.
With the applicator locked in place, you’re ready to carefully inject the resin. Your kit will likely have a syringe or a threaded pressure driver for this. The trick here is to apply slow and steady pressure. You want to fill the scratch completely from the inside out, which helps push out any trapped air.
I’ve seen this happen a hundred times: people apply way too much resin. It just creates a messy overflow that’s a pain to clean up and can leave a visible blemish on the glass. A few drops is usually all it takes.
Once the scratch is full, you’ll place a clear curing strip over the wet resin. This little bit of plastic film might seem insignificant, but it does two critical jobs: it holds the resin in place while it sets and creates a perfectly smooth, flat surface as it hardens. It’s a small detail that makes a huge difference to the final finish.
Now for the magic part: curing. The acrylic resin hardens under ultraviolet (UV) light. If you’re working on a bright, sunny day, you can just park the car in direct sunlight for about 15-20 minutes. On an overcast day or if you’re in a garage, you’ll need to use a UV lamp to get the resin to cure properly.
After the resin has fully hardened, you can gently peel back the curing strip. You’ll almost certainly find a small, slightly raised bump of excess resin on the surface. Don’t panic—this is completely normal.
Your kit should have a small, single-edge razor blade included for this exact step. Hold the blade at a shallow 45-degree angle and carefully scrape away the excess resin. Keep the blade flat against the windscreen to avoid making any new scratches. This final touch, much like the careful work needed to maintain an outboard engine fuel line, requires a delicate hand to get right without causing more problems.
To finish, give the area a quick wipe-down with a good glass cleaner and a clean microfibre cloth. When you’ve done it right, that once-deep scratch will be virtually invisible, and your windscreen’s strength will be back to normal.
While tackling a minor windscreen scratch yourself can be satisfying, knowing the limits of a DIY kit is absolutely vital for your safety. Some types of damage are clear signals that it's time to put down the tools and pick up the phone to a professional. Being honest about the severity of the damage is the smartest move you can make. It's similar to knowing when to hire inflatable boats for a family outing from a professional service in Australia versus buying one yourself.
Trying to patch up the wrong kind of damage can often make the problem worse. More dangerously, it can compromise the structural integrity of the glass. Your windscreen provides a surprising amount of strength to your vehicle's frame, so a failed repair isn't just cosmetic—it's a genuine safety risk.
There are a few scenarios where a DIY approach just isn’t the right call. If you spot any of the following on your windscreen, it's a non-negotiable sign to seek expert help:
Your car insurance policy might be your best tool here. Many comprehensive policies in Australia cover the full cost of a professional windscreen repair without any excess, making it the safest and most financially sensible option.
Modern cars bring another layer of complexity to the table. Many new vehicles are equipped with Advanced Driver-Assistance Systems (ADAS), which rely on cameras and sensors mounted directly behind the windscreen.
This technology is what powers features like lane-keep assist and automatic emergency braking. A simple windscreen replacement on these vehicles isn't so simple anymore; it requires a precise recalibration of the ADAS to ensure these safety systems function correctly. This is a highly specialised job that only a professional can perform.
The Australian automotive safety glass market is set to grow significantly, projected to reach USD 94.40 million by 2033, largely due to the increasing prevalence of this ADAS technology. The need for recalibration can add AUD 300 or more to the final bill, highlighting just how complex windscreen services are becoming.
Making the right call between DIY and professional help is key to a safe and lasting solution. Just as specialised skills are needed for modern car repairs, the same applies to other equipment—for instance, you can explore our resources on specific tasks like outboard motor repair.
When it comes to fixing your windscreen, there are a lot of questions floating around. You’ll hear everything from old wives’ tales about household remedies to genuine concerns about safety and roadworthy certificates. Let's clear the air and tackle some of the most common queries so you can get started on your DIY repair with total confidence.
This is one of those persistent myths you’ll see all over the internet, but let's be clear: do not use toothpaste to repair a windscreen scratch. The short answer is no, it doesn’t work.
While toothpaste is a mild abrasive, it's formulated for tooth enamel, which is a world away from automotive glass. At best, you’ll just make a mess. At worst, the gritty particles in the paste will create a fine web of new micro-scratches, leaving you with a hazy, smeared patch that looks even worse than the original damage. Always stick to products designed specifically for glass, like a proper cerium oxide polishing compound.
When you do the job right with a quality kit, the fix is permanent.
For deeper scratches and chips that you've filled with a resin kit, that acrylic resin chemically bonds to the glass. It becomes a permanent part of the windscreen, restoring its strength and clarity for good.
If you're dealing with lighter surface scratches, the fix is also permanent because you’ve physically polished and smoothed the glass surface down. You're not just filling the scratch—you're removing it entirely, so it can't come back.
In Australia, this really comes down to two things: the quality of the repair and where it’s located on the windscreen. The number one priority for inspectors is ensuring the driver’s view isn't compromised in any way.
A repair that sits right in the driver's primary line of sight is a red flag and more likely to fail an inspection, no matter how well it’s done. Repairs outside this critical area are usually fine, as long as they’re smooth and don’t distort your vision.
The windscreen repair industry here in Australia is a mixed bag, with plenty of small operators alongside the big names, so the quality of professional work can vary. It’s an industry that’s slowly modernising with new digital tools to lift the standard of customer service, as highlighted in insights about the glazing services industry on ibisworld.com.
To be absolutely certain, it's always a good idea to check the specific roadworthy guidelines for your state or territory before you start.
For all your boating needs, from durable tenders to family fun packages, trust the experts at Easy Inflatables. Explore our range of high-quality inflatable boats and accessories at https://easyinflatables.com.au.