
Imagine this: you're enjoying a perfect day out, miles from shore, when a rogue wave swamps your tinny or a through-hull fitting starts weeping faster than you'd like. Your automatic pump isn't keeping up, or worse, your battery just died. This is the exact moment a simple manual bilge pump transforms from a piece of gear into your most reliable crew member, ready to work without needing a single volt of power.
When modern systems fail, simplicity is king. An automatic, electric bilge pump is a fantastic first line of defence, but it has one glaring vulnerability: it’s completely dependent on your boat's battery. A dead battery, a loose wire, or a blown fuse can render it useless. That's a dangerous scenario when you're far from help.
This is where the non-negotiable role of a manual bilge pump comes in. It's a purely mechanical device, operated by your own strength, guaranteeing you always have a way to dewater your vessel. Its function is straightforward—move water from inside your boat to the outside—but its value in an emergency can’t be overstated.
A manual pump is your ultimate backup plan. Think of it like the spare tyre in your car; you hope you never need it, but you'd be mad to leave home without it. It's the difference between a minor inconvenience and a full-blown emergency. For Australian boaters, this isn’t just a good idea; it’s a core component of maritime safety.
The infographic below really drives home the key differences, showing why having a power-free option is so crucial.
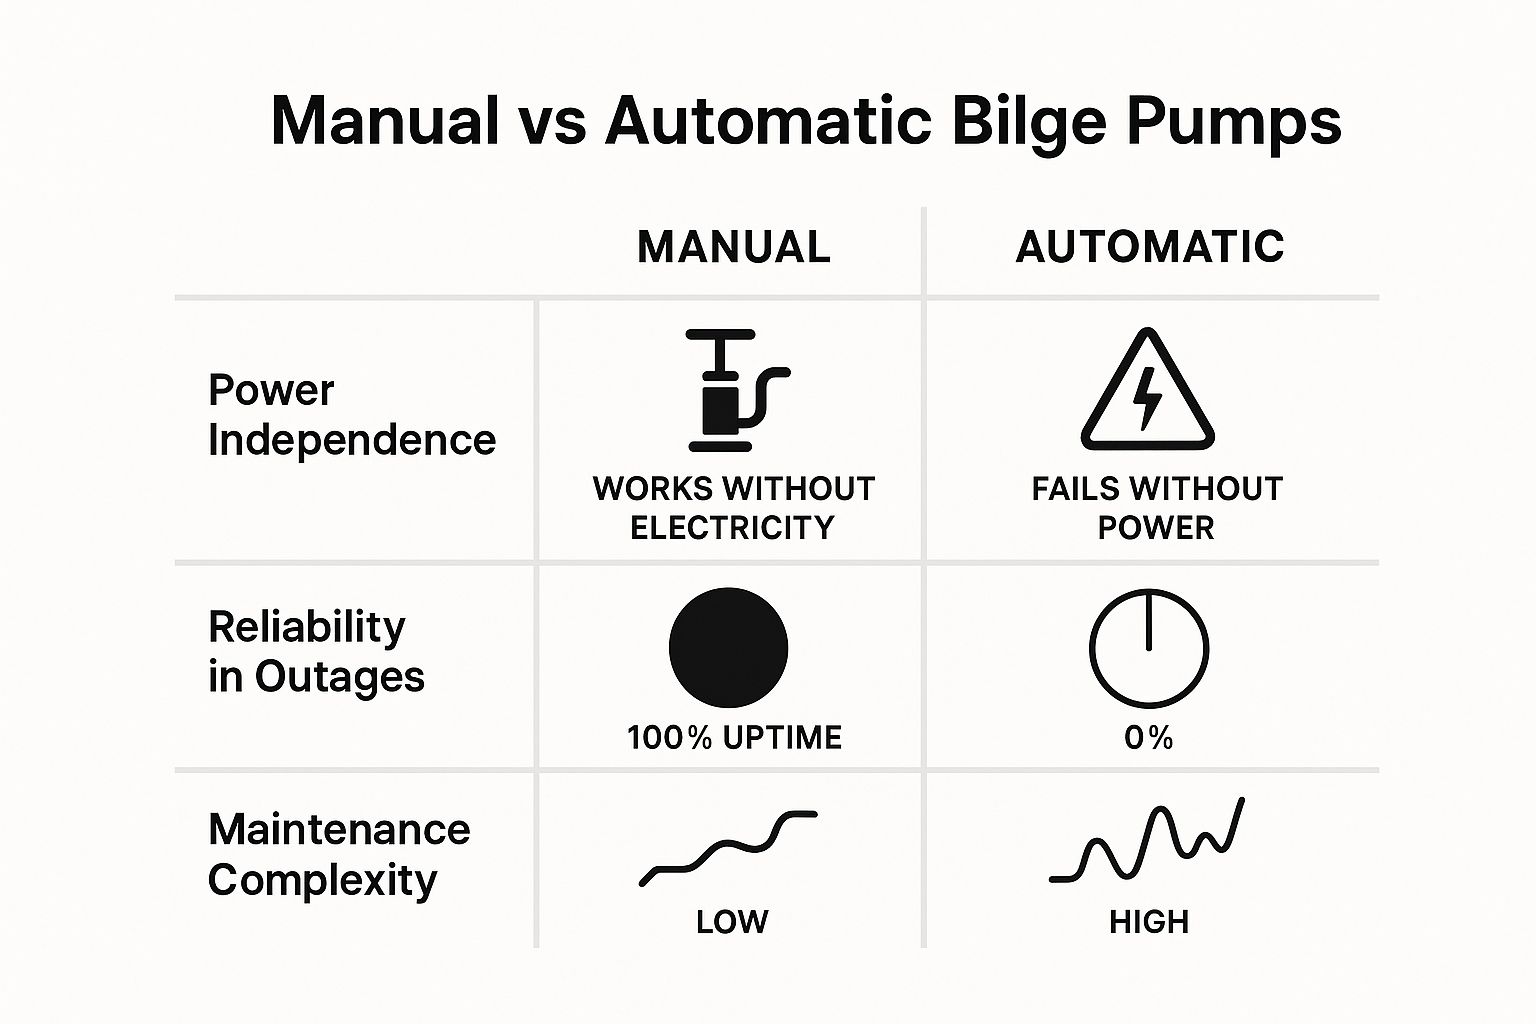
As you can see, the manual pump's greatest strengths are its complete independence from your boat's electrical system and its beautifully simple design, making it the one thing you can count on when the lights go out.
It's for this very reason that manual bilge pumps have long held a key place in Australian maritime safety regulations. According to official marine safety guidelines, many vessels are required to carry at least one manual bilge pump with a minimum capacity of around 37.8 litres per minute. This rule ensures boaters always have a mechanical, fail-safe method to remove water.
Having a robust, well-maintained manual pump isn't just about ticking a box for compliance; it's about giving yourself the tools to manage a crisis. Imagine you've hit a submerged log and have a slow leak. A manual pump buys you precious time to find the leak, make a temporary repair, or call for assistance while keeping the water at a manageable level.
Ultimately, this simple device provides priceless peace of mind. For more on preparing your vessel, have a look at our guide on essential inflatable boat setup tips for safety. It's not just about the hardware; it's about building your confidence on the water.
The idea behind a manual bilge pump is refreshingly simple: get water out of the boat. But the mechanics that make it happen are pretty clever. Knowing how they work isn't just for gearheads; it helps you pick the right one for your vessel and troubleshoot it in a pinch.
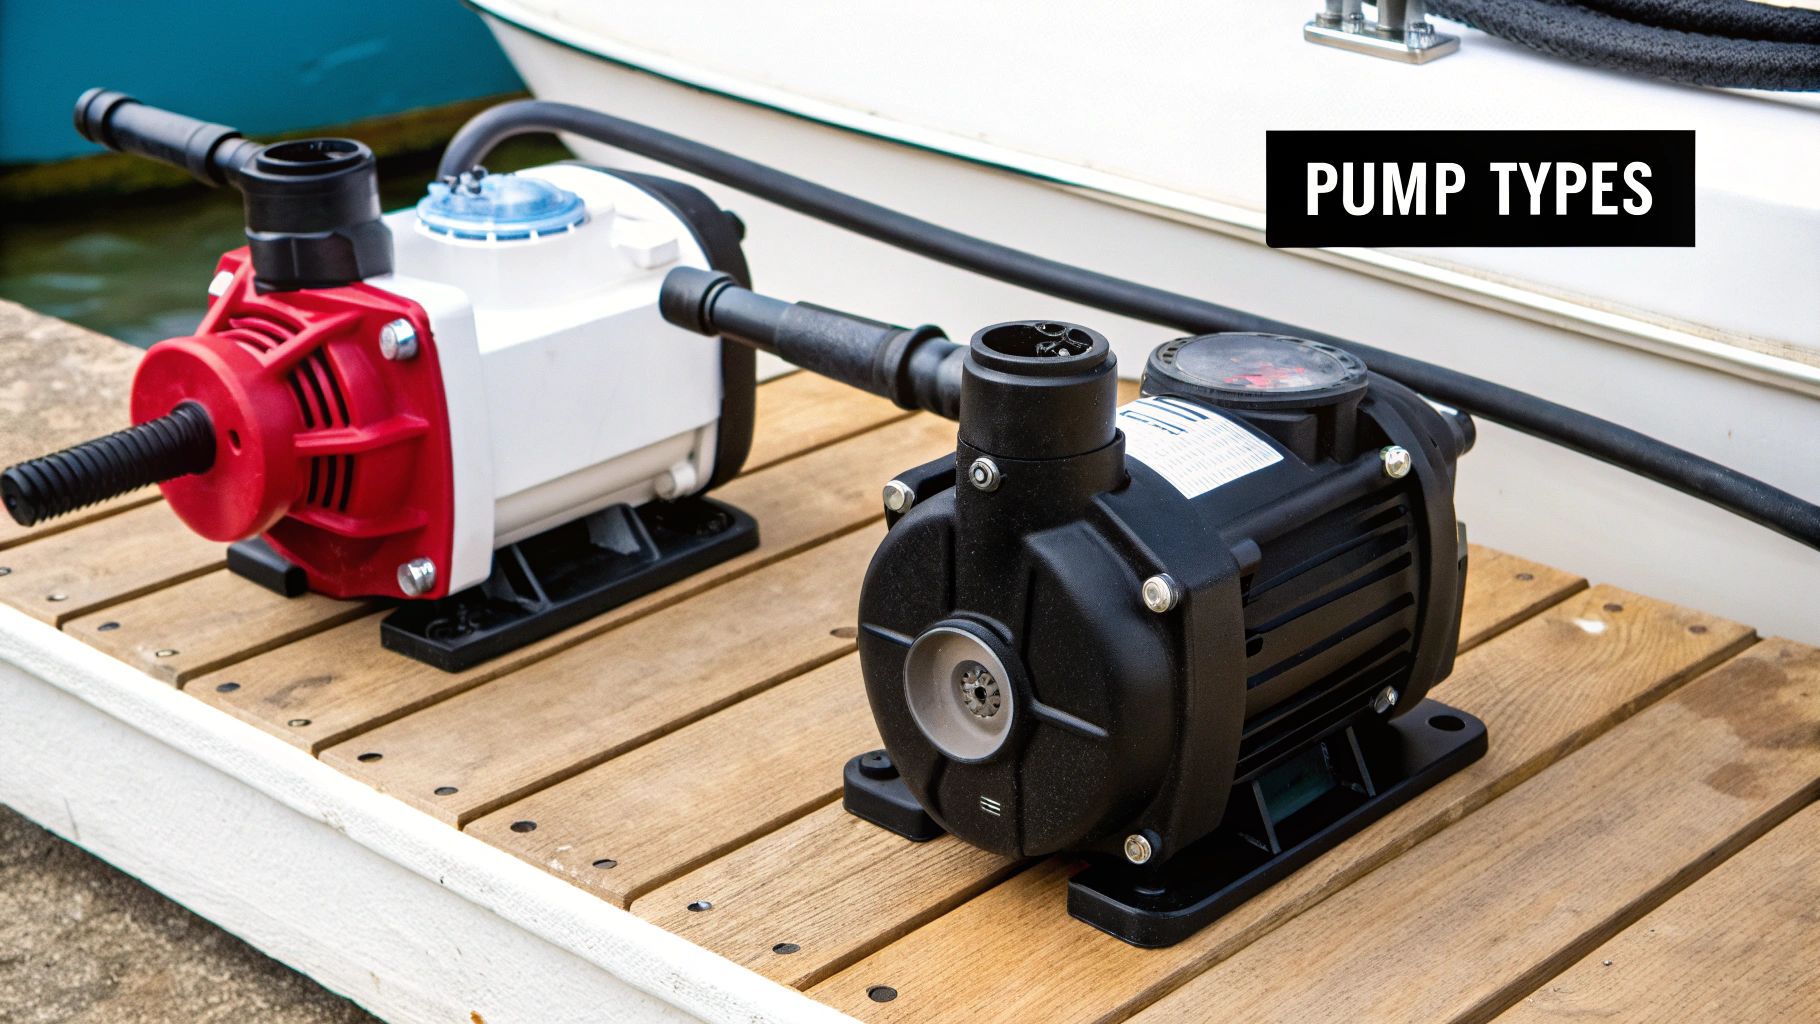
At the end of the day, almost every manual bilge pump you'll come across uses one of two core designs: the diaphragm pump or the piston pump. Each has a unique way of creating suction to lift water from the bilge and send it overboard.
Think of a diaphragm pump as the tough, reliable heart of your boat’s dewatering system. Inside, a flexible rubber sheet—the diaphragm—is pulled up when you lift the handle. This creates a vacuum in the chamber, sucking water in through a one-way inlet valve.
When you push the handle down, the diaphragm is forced down, pressurising the chamber. This snaps the inlet valve shut and forces an outlet valve open, pushing the trapped water out. It’s a simple, rhythmic action that just keeps on working.
One of the biggest advantages of this design is its ability to handle a bit of muck. If you've ever had sand, leaves, or a bit of stray fishing line in your bilge, you'll appreciate this. Because the pathway through the pump is fairly open, small bits of debris that would jam other pumps can often pass right through.
The forgiving nature of a diaphragm pump means it keeps working even when the bilge water isn't perfectly clean. This reliability is why it's the most common type you'll find on recreational vessels.
Now for the piston pump. If the diaphragm pump is a heart, the piston pump is more like a powerful bicycle pump or a giant syringe. It works with a plunger (the piston) that moves up and down inside a rigid cylinder.
When you pull the handle up, the piston rises, creating a strong vacuum that draws water into the cylinder through an inlet valve. Push the handle down, and the piston descends, forcing that water out through a discharge port. This mechanism generates serious suction, making it fantastic for lifting water from very deep bilges, like those in a narrow-keeled sailboat.
This powerful suction is the piston pump’s main claim to fame. The trade-off? They are generally less tolerant of debris. A single grain of sand can score the cylinder wall or damage the seal, reducing its efficiency.
To help you decide which is best for your needs, here's a quick breakdown of how these two workhorses stack up against each other.
| Feature | Diaphragm Pump | Piston Pump |
|---|---|---|
| Mechanics | A flexible diaphragm creates suction and pressure. | A sliding piston creates powerful suction. |
| Debris Tolerance | High. Can pass small debris without jamming. | Low. Prone to jamming from sand or grit. |
| Suction Power | Good, but generally less powerful than piston pumps. | Excellent. Ideal for lifting water from deep bilges. |
| Common Use | All-purpose dewatering on most recreational boats. | Portable pumps and applications needing high lift. |
Ultimately, both are effective, but if your boat is an open tinny used for fishing and beach trips, the debris tolerance of a diaphragm pump is a clear winner.
Beyond the inner workings, you also need to think about how the pump is installed on your boat. The right setup depends entirely on your boat's layout.
For situations requiring hardware that can stand up to the tough marine environment, a durable stainless steel water pump can be a great solution for various onboard needs beyond just the bilge. Understanding these core designs and mounting options will ensure you pick a manual bilge pump that truly fits your boat and your safety plan.
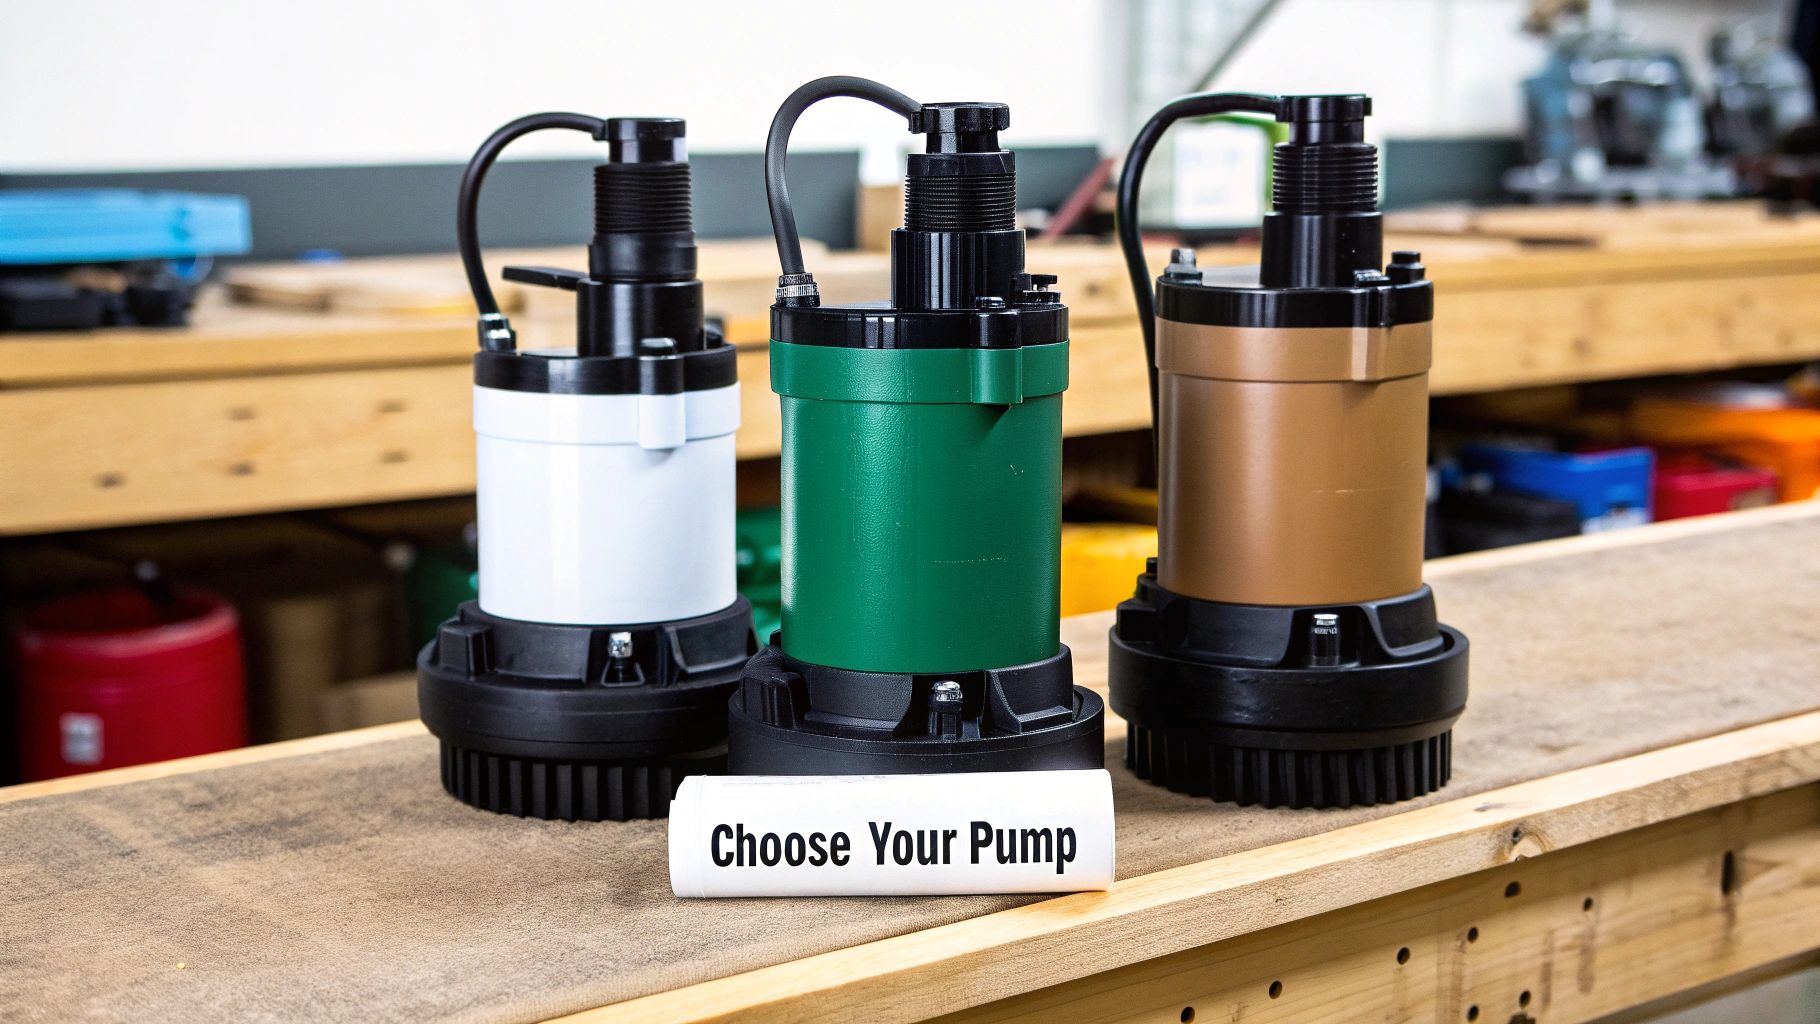
Choosing the right manual bilge pump isn’t just about grabbing one off the shelf; it’s a calculated decision that directly impacts your safety. Let's walk through the essential factors so you can make a confident purchase, ensuring you have a reliable tool when you need it most.
The first step is figuring out how much water the pump actually needs to move. This is measured in Litres Per Minute (LPM). While regulations provide a minimum standard, your specific needs depend heavily on your boat's size and design.
A small tinny or an inflatable tender might only need a basic, low-capacity pump for bailing out rainwater or small splashes. On the other hand, a larger keelboat with a deep bilge needs a much beefier pump to handle a real emergency, like a leaking through-hull fitting.
The general rule is simple: bigger boat, bigger pump. A higher LPM rating means you can dewater the bilge faster, which could be the critical factor that buys you enough time to locate and fix a leak before things get serious.
Remember, if you frequently head offshore, opting for a higher capacity than recommended for your boat size is a wise investment in your safety.
Australia's harsh saltwater environment is famously tough on marine gear. The materials your pump is made from will determine its lifespan and reliability. You'll typically find pumps made from plastic, aluminium, or bronze.
Manual bilge pumps remain a crucial piece of safety equipment. In Australia, they account for approximately 12-15% of the regional marine pump market, a figure that has stayed consistent thanks to regulations requiring them on many vessels. You can find fellow boaties discussing their pump choices and experiences on forums like SailNet.
| Material | Pros | Cons |
|---|---|---|
| Marine-Grade Plastic | Lightweight, corrosion-proof, and affordable. | Can become brittle over time with UV exposure. |
| Anodised Aluminium | Strong and relatively lightweight. Good corrosion resistance. | The anodised coating can be scratched, exposing it to corrosion. |
| Marine Bronze | Extremely durable and highly resistant to saltwater corrosion. | The heaviest and most expensive option. |
For most weekend boaters, a high-quality, UV-stabilised plastic or an anodised aluminium pump offers a great balance of performance and value. However, for a serious offshore cruiser, the "buy it once, buy it right" reliability of a bronze pump is hard to beat.
Beyond the raw specs, think about how you'll actually use the pump. Picture this: you’re tired, cold, and trying to pump in rough seas. The design of the handle can make a massive difference.
A long, removable handle provides excellent leverage, making each stroke less tiring. This is a must-have for fixed-mount pumps on larger boats where you might need to pump for a long time. For a small trailer sailer or dinghy, a compact, integrated handle is more practical as it's easier to store.
The best pump is one you can operate comfortably from a safe position, like the cockpit. You should never have to go below deck into a potentially flooding cabin to operate your primary manual bilge pump.
Finally, don't overlook the plumbing. A pump is only as good as the hoses connected to it. Using the wrong size or length can cripple its performance.
This attention to detail ensures your whole system works as it should. Selecting the right pump is just one part of outfitting your vessel; for more ideas, check out our guide on nifty inflatable boat accessories you must have.
Choosing the perfect manual bilge pump is only half the battle. Installing it correctly is what turns a piece of equipment into a reliable safety system. A poor installation—like a loose clamp or a kinked hose—can cripple even the best pump.
This guide will give you the confidence to either tackle the job yourself or supervise a professional to ensure it’s done right. Every step is critical in an emergency.
Before you drill a single hole, map everything out. The single most important consideration is accessibility. In rough seas, the last thing you want is to be fumbling below deck in a flooding cabin just to find the pump handle.
Position the pump handle where it can be used safely from the cockpit or helm. This lets one person steer and keep watch while another pumps. Imagine being able to start dewatering immediately without leaving your post—that's the goal.
A well-placed pump handle can be the difference between controlling a situation and being overwhelmed by it. The goal is to be able to start pumping within seconds of spotting a problem, without putting yourself in a dangerous position.
Having the right gear on hand makes the whole process smoother and guarantees a professional result. A dodgy hose clamp or the wrong sealant is a failure waiting to happen.
Here’s a checklist of what you'll typically need:
If you value straightforward setups, explore our range of products designed for easy installation to get you on the water faster.
With your plan locked in and your tools ready, it's time to get to work.
1. Mount the Pump Body: Secure the pump body on a bulkhead or another solid surface. It needs to be rock-solid and not flex under the strain of vigorous pumping.
2. Position the Intake Strainer: The intake hose has to reach the lowest point of the bilge where water will collect. Attach a strainer to the end to stop debris from being sucked in. Secure the hose so the strainer stays put.
3. Route the Hoses: Run your hoses as directly as possible, avoiding sharp bends or kinks that will restrict water flow. Gentle, sweeping curves are what you're after. Secure the hoses with ties to stop them from chafing.
4. Install the Through-Hull Fitting: The outlet hose needs to exit the boat through a through-hull fitting. This should be installed as high above the waterline as practical to prevent seawater from siphoning back into the boat. Use a generous amount of marine sealant to create a waterproof seal.
5. Create an Anti-Siphon Loop: If your outlet is close to the waterline or could dip underwater when the boat heels, you must include an anti-siphon loop. This just means routing the discharge hose up in a high loop—well above the waterline—before it goes down to the through-hull. This simple trick breaks any potential siphon effect.
6. Secure All Connections: This is where attention to detail pays off. Use two marine-grade stainless steel hose clamps on every connection, especially at the through-hull. Arrange them with their screws facing in opposite directions for maximum security.
Once everything is connected, test it. Pour a bucket of water into the bilge and get pumping. Check for strong, steady water flow from the outlet and inspect every connection for leaks. This final check confirms your installation is ready for action.
Having a perfectly installed manual bilge pump is one thing, but it's only as good as your ability to use it and the care you put into its upkeep. In the heat of an emergency, knowing the right technique and being confident your pump is ready to go can make all the difference.
When water is rising, your first instinct is to pump as fast as you can. But a smooth, deliberate technique is far more effective. A full, steady stroke—all the way up and all the way down—moves the most water with the least effort. Short, frantic jabs will only tire you out and can even reduce the pump's output.
A common headache is the pump losing its prime, sucking air instead of water. This usually happens if the intake strainer lifts out of the water. If you suddenly feel the resistance disappear, slow down and let the water level rise enough to cover the intake again before you get back to pumping.
The goal is to get into a rhythm. A consistent, powerful stroke is much more sustainable over the long haul, conserving your energy while effectively clearing the bilge.
Preventative maintenance is the cornerstone of reliability. A simple, consistent schedule ensures your pump will work flawlessly. Neglecting it is like leaving your spare tyre flat—totally useless when you have a problem.
This proactive approach is all part of a broader mindset of vessel care. For more tips on keeping your boat in top shape, check out our complete guide to inflatable boat maintenance made simple.
Monthly Checks:
Annual Inspection:
Even with good maintenance, things can go wrong. Knowing how to quickly diagnose and fix common problems can save you precious time.
| Problem | Likely Cause | Solution |
|---|---|---|
| Pump moves no water | Blocked intake strainer or a kinked hose. | Clear any debris from the strainer and straighten out the hoses. |
| Handle is very hard to push | Blockage in the outlet hose or a failed valve. | Check the outlet hose first. If it's clear, inspect the pump's internal valves. |
| Water flows back into bilge | The internal non-return valve has failed. | The valve is likely worn or has debris stuck under it. Disassemble and inspect. |
| Pump sucks air (loses prime) | An air leak in the intake hose or connections. | Tighten all clamps on the intake side. Check the hose for any cracks. |
Even after getting your head around the basics, it's normal to have a few questions. This section tackles the most common things boaters ask, giving you clear, practical answers.
The short answer is yes, absolutely—within limits. It’s your most critical first line of defence against a moderate leak, a failed seacock, or when your electric pumps have given up. It gives you immediate, hands-on control.
While it won’t single-handedly defeat a catastrophic hull breach, a high-capacity manual pump can definitely keep up with significant water ingress from a split hose on a typical 30-40 foot boat. This buys you invaluable time to find and fix the leak, radio for help, or prepare your grab bag.
Think of your manual bilge pump not as a magic cure-all, but as the essential tool that gives you a fighting chance. Its real power is turning a potential disaster into a manageable emergency.
Accessibility is everything. The ideal spot is in the cockpit or near the helm, where you can operate the pump safely without having to go below deck, especially in heavy seas. This strategic placement means one person can steer while another pumps.
For fixed pumps, make sure the removable handle is stowed in a clearly marked clip right beside the pump itself. The goal is to be able to start pumping within seconds, not waste precious time frantically searching for the handle in a locker full of gear.
Regular servicing is non-negotiable. Most manufacturers recommend a full inspection of the diaphragms, valves, and gaskets at least once a year. In a saltwater environment, these rubber parts can degrade and turn brittle even if they’re never used.
As a smart preventative measure, plan to replace the pump's full service kit every 2-3 years, regardless of how it looks. It's a tiny investment that guarantees your pump will work when you need it most.
Better yet, always keep a spare service kit on board with your emergency spares. This small, inexpensive package means you can make a quick repair at sea—a capability that could prove priceless.
If your pump suddenly feels like you’re trying to lift a concrete block, the resistance usually points to one of three common issues.
The most frequent culprit is a blockage. Check these first:
If the hoses are clear, the problem is likely inside the pump itself. A swollen or failed internal diaphragm can create serious resistance. If the hoses check out, the next step is to open up the pump.
Finally, consider what's happening outside the boat. If your outlet through-hull fitting is underwater because the boat is heeling over, you’re physically pushing against the pressure of the ocean. This will naturally make pumping harder.
Ready to ensure your vessel is equipped with the best safety gear? Easy Inflatables offers a complete range of high-quality inflatable boats, tenders, and essential accessories designed for Australian conditions. From durable, lightweight boats to the gear that keeps you safe, we have everything you need for your next adventure on the water.
Explore our full range of inflatable boats and accessories today at Easy Inflatables
Article created using Outrank