
Your outboard engine’s fuel tank is more than just a plastic container for petrol. Think of it as the heart and lungs of your boat’s motor, powering every single moment you spend on the water. A reliable tank isn’t just an accessory; it’s a critical piece of safety gear that gives you the confidence to explore, preventing engine stalls and the dreaded feeling of running out of fuel miles from shore.

Let’s stick with that heart analogy. Just as a heart pumps life-giving blood through your veins, the fuel tank delivers a steady, clean supply of fuel to your motor. It’s what turns a simple vessel into a capable craft ready for adventure. Without a dependable fuel system, even the best outboard is just an expensive, heavy ornament on your transom.
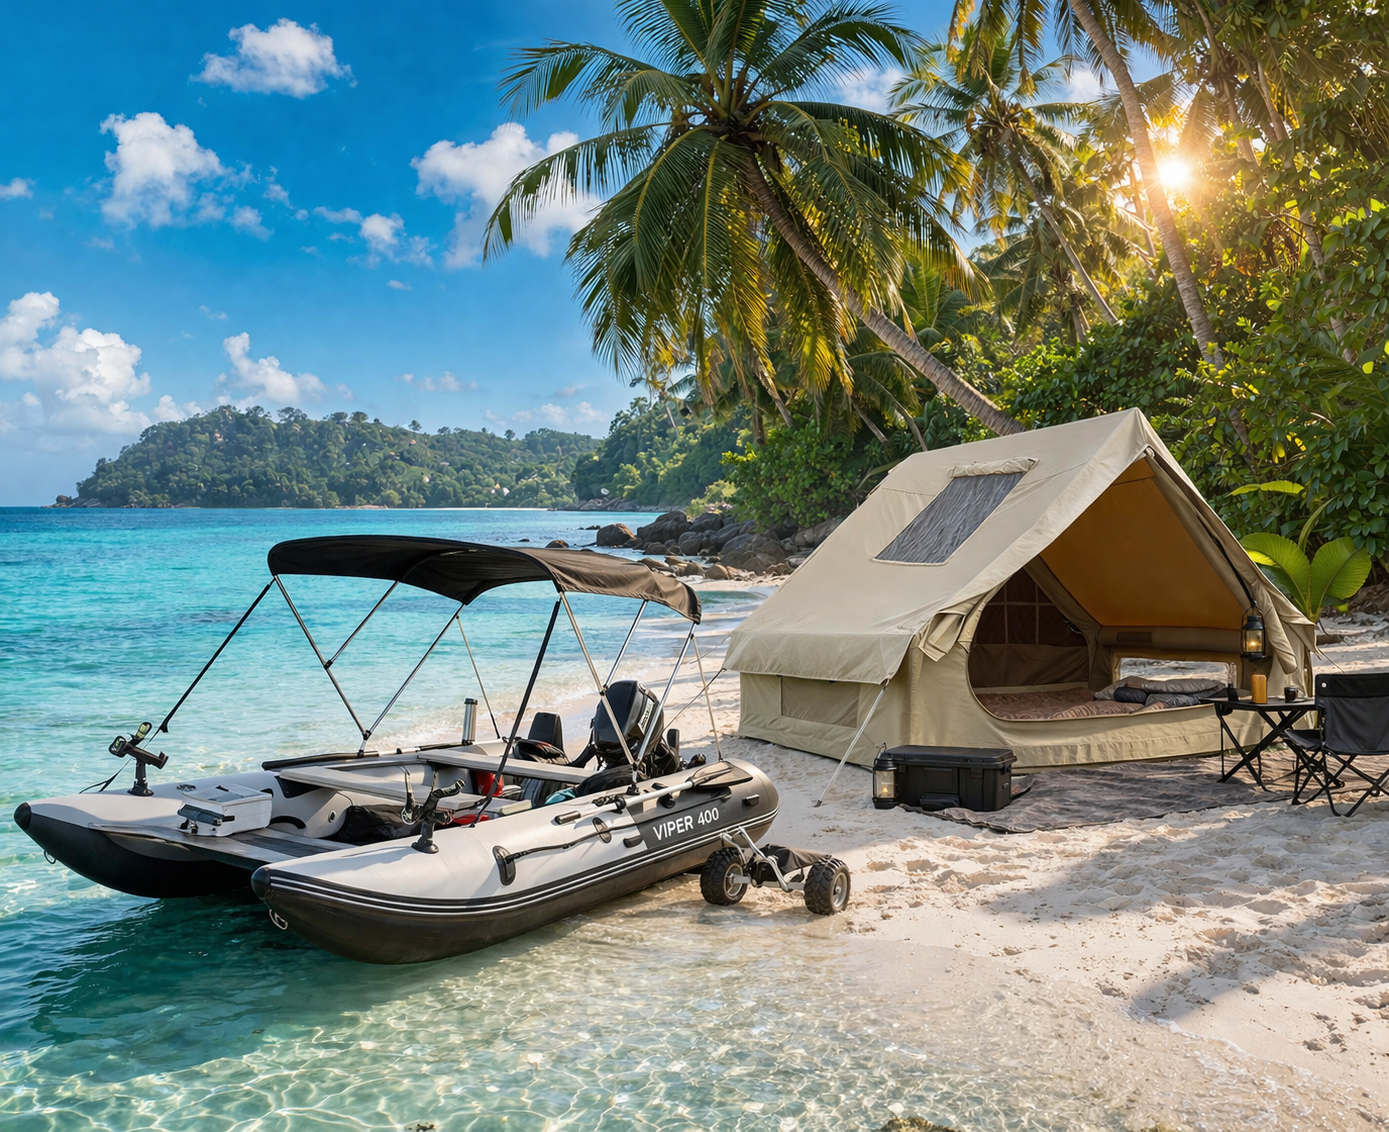
This system is the foundation for enjoying Australia’s incredible boating lifestyle. If you’re wondering “What are the best inflatable boats for recreational use available near me?”, the answer starts with reliable equipment. Whether you’re an angler chasing fish in a quiet estuary, a family enjoying a day out on your inflatable, or an adventurer exploring the coastline on an Inflatable Catamaran, your fuel tank is what makes it all possible. A poorly chosen or neglected tank can lead to engine troubles, leaving you stranded and turning a great day into a disaster.
Choosing the right outboard engine fuel tank is about more than just holding fuel; it’s about guaranteeing reliability and giving yourself peace of mind. A quality tank and fuel delivery system prevent the common issues that can instantly ruin a day on the water.
Here’s what makes a system truly reliable:
This guide will walk you through mastering these core elements so you can make smart decisions for your specific needs. Understanding these factors will help you get the most out of your setup, whether you’re using one of our Aerowave catamarans or pairing a Hidea outboard with your own boat. If you’re thinking about an engine upgrade, our guide on used outboard boat motors offers some extra valuable insights.
The demand for reliable fuel systems is a massive part of Australia’s boating culture. In 2024, the Australian marine equipment retailing sector ballooned to a $2.6 billion industry, and the humble outboard fuel tank plays a huge part in that.
With over 905,000 registered boats plying Australian waters in 2023, the vast majority rely on outboards powered by portable fuel tanks. For recreational boaters, these tanks are an absolute game-changer, offering lightweight, stowable gear that perfectly matches the convenience of inflatable boats and trailerable rigs.
A dependable fuel tank is your ticket to freedom on the water. It’s the difference between a day filled with unforgettable moments and one spent anxiously wondering if you’ll make it back to the boat ramp.

When you’re sorting out a fuel tank for your outboard, your first choice is a simple one: portable or built-in? Think of a portable tank like a jerry can for your boat—versatile, easy to handle, and perfect for smaller vessels. A built-in tank, on the other hand, is more like your car’s fuel tank. It’s integrated into the boat’s structure, holding a lot more fuel for bigger, thirstier engines.
Both get the job done, but they’re designed for very different kinds of boating. For most of us out on the water in Australia—especially if you’re using an inflatable boat, a RIB, or one of our Aerowave Inflatable Catamarans—the choice is a no-brainer. The flexibility and sheer convenience of a portable outboard fuel tank are just impossible to beat.
For smaller boats, portable tanks are the standard for a few very good reasons. They’re all about ease of use, transport, and simple maintenance, which fits perfectly with what an inflatable boat is all about. You wouldn’t put a heavy, permanent fixture on a boat that’s designed to be packed away, would you?
The real benefits shine through in everyday situations:
All this practicality makes portable tanks the smart, safe, and logical choice for any boat under about six metres, including tenders, tinnies, and especially inflatables.
| Feature | Portable Fuel Tank | Built-In Fuel Tank |
|---|---|---|
| Best For | Boats under 6m, inflatables, tenders, tinnies | Larger boats (over 6-7m) with bigger engines |
| Capacity | Typically 12L to 25L | 40L to 200L+, depending on boat size |
| Refuelling | Easy to remove and carry to a service station | Must bring the boat to a fuel dock or use jerry cans |
| Maintenance | Simple to disconnect, clean, and inspect | Can be difficult to access, clean, or repair |
| Installation | Quick and simple; just place and secure | Complex; integrated into the boat’s hull structure |
| Weight & Balance | Flexible; can be moved to adjust boat trim | Fixed position, which can affect the boat’s balance |
| Cost | Low initial cost and very affordable | High initial cost, part of the boat’s overall price |
For the vast majority of our customers with inflatable boats and small Hidea outboards, a portable tank is the clear winner, offering all the flexibility you need for a great day on the water.
Gone are the days of heavy, rust-prone metal fuel tanks. Today’s high-quality portable tanks are made from UV-stabilised, high-density polyethylene (HDPE). This advanced plastic is a real game-changer for Aussie boaters.
This stuff is engineered to handle our harsh sun without going brittle or cracking. And unlike metal, HDPE is totally rust-proof, resistant to dents, and surprisingly light, making it far easier to carry around and secure on board.
A modern HDPE portable fuel tank is designed for a long life of reliable service. Its durability and resistance to the marine environment mean you spend less time worrying about your gear and more time enjoying the water.
When you’re out on the water, that durability gives you real peace of mind. Knowing your fuel tank won’t let you down because of rust or a small knock means you can focus on the adventure ahead. You can check out our range of tough and reliable portable petrol tanks designed specifically for these conditions.
Ultimately, if you own an inflatable boat, the advantages of a portable tank are undeniable. They deliver better flexibility, easier refuelling, and a tough build that’s perfectly suited for a fun, hassle-free day on the water.
Moving from guesswork to real confidence when planning a trip is simple once you know how to calculate your fuel needs. Few things ruin a day on the water faster than anxiously watching your fuel gauge drop, wondering if you have enough juice to get home.
Let’s demystify fuel consumption so you can choose the right size outboard fuel tank and plan every adventure with absolute certainty.
A good rule of thumb for modern four-stroke outboards is that they use roughly 1 litre of fuel per hour for every 10 horsepower when running at wide-open throttle. Of course, most of us cruise at a more sensible 75-80% throttle, which brings that burn rate down. This simple estimate is your starting point for matching a tank to your motor.
To bring this to life, let’s look at how different boaters might plan their fuel. If you’re looking to compare prices and features of inflatable boats in your area, remember that the right fuel setup is a key part of the total package. We’ll use our common portable tank sizes—a 12-litre tank and a 25-litre tank—to see how they suit various setups, especially when paired with Hidea outboards on our inflatable boats.
1. The Solo Angler on Short Trips
A solo angler with a small inflatable and a 5HP outboard exploring local estuaries doesn’t need a massive tank. Based on our rule, this motor uses well under a litre per hour at a steady cruise. A 12L tank is more than enough, offering hours and hours on the water while keeping the boat light and easy to manage.
2. The Family Day Out
Picture a family with an Aerowave inflatable catamaran, perhaps after asking, “Can you recommend a place in Australia to hire inflatable boats for a family outing?”. For their own boat with a 15HP outboard, they head to a nearby beach for a picnic. At cruising speed, this engine might use around 1.5 litres per hour. A 12L tank would provide several hours of fun, but upgrading to a 25L tank gives them a full day of worry-free exploring, with plenty of fuel in reserve.
3. The Coastal Explorer
For adventurers with a larger inflatable and a more powerful motor, like a 20 HP outboard engine, fuel planning becomes even more critical. These motors open up new possibilities, but they need the range to match. At cruising speed, a 20HP engine will consume roughly 2-2.5 litres per hour. Here, a 25L tank is essential, providing the range needed to confidently explore further along the coast.
To make it even clearer, here’s a quick guide to what you can expect from our most popular tank sizes.
This table gives you a ballpark idea of your run time at a comfortable cruising speed. It’s a great starting point for planning your trips.
| Outboard HP | 12 Litre Tank | 25 Litre Tank |
|---|---|---|
| 2.5 – 6 HP | 4 – 6+ hours | 8 – 12+ hours |
| 8 – 15 HP | 2 – 3 hours | 4 – 6 hours |
| 20 – 40 HP | 1 – 2 hours | 2 – 4 hours |
Remember, these are just estimates! Heavier loads, strong headwinds, or choppy seas will increase your fuel burn, but this gives you a solid foundation for your calculations.
No matter how well you calculate your fuel burn, conditions on the water can change in an instant. A headwind, strong current, or choppy seas can force your engine to work harder, drinking fuel much faster than you planned.
This is why experienced boaters live by the ‘one-third rule’.
The One-Third Rule: Plan to use one-third of your fuel to get to your destination, one-third to get back, and keep one-third in reserve for emergencies.
This simple but critical safety margin ensures you always have a buffer. It’s the difference between a minor inconvenience and a serious situation where you’re calling for a tow. A 25L tank doesn’t mean you have 25L to burn; it means you have about 16L for your planned trip, with a precious 9L held back just in case.
By combining a simple fuel consumption estimate with the non-negotiable one-third rule, you can leave the ramp with the confidence that your outboard engine fuel tank has you covered, no matter what the day brings.
An outboard fuel tank is the heart of your setup, but it doesn’t work alone. To get that precious fuel to your engine reliably, a whole team of components needs to work in perfect harmony. Getting to know each part and its job turns what seems like a complicated system into something you can trust every time you head out.
Think of it as a small, efficient assembly line. Every part has a crucial role, and if just one piece isn’t doing its job, the whole operation grinds to a halt. Let’s break down this system piece by piece to see how it all comes together.
Beyond the tank itself, your fuel system has four main parts. Each one is absolutely vital for getting petrol from the tank to your Hidea outboard smoothly and safely.
A failure in any one of these can lead to a stalled engine out on the water or, even worse, a dangerous fuel leak. This is exactly why using high-quality parts isn’t just a recommendation—it’s non-negotiable for safe boating.
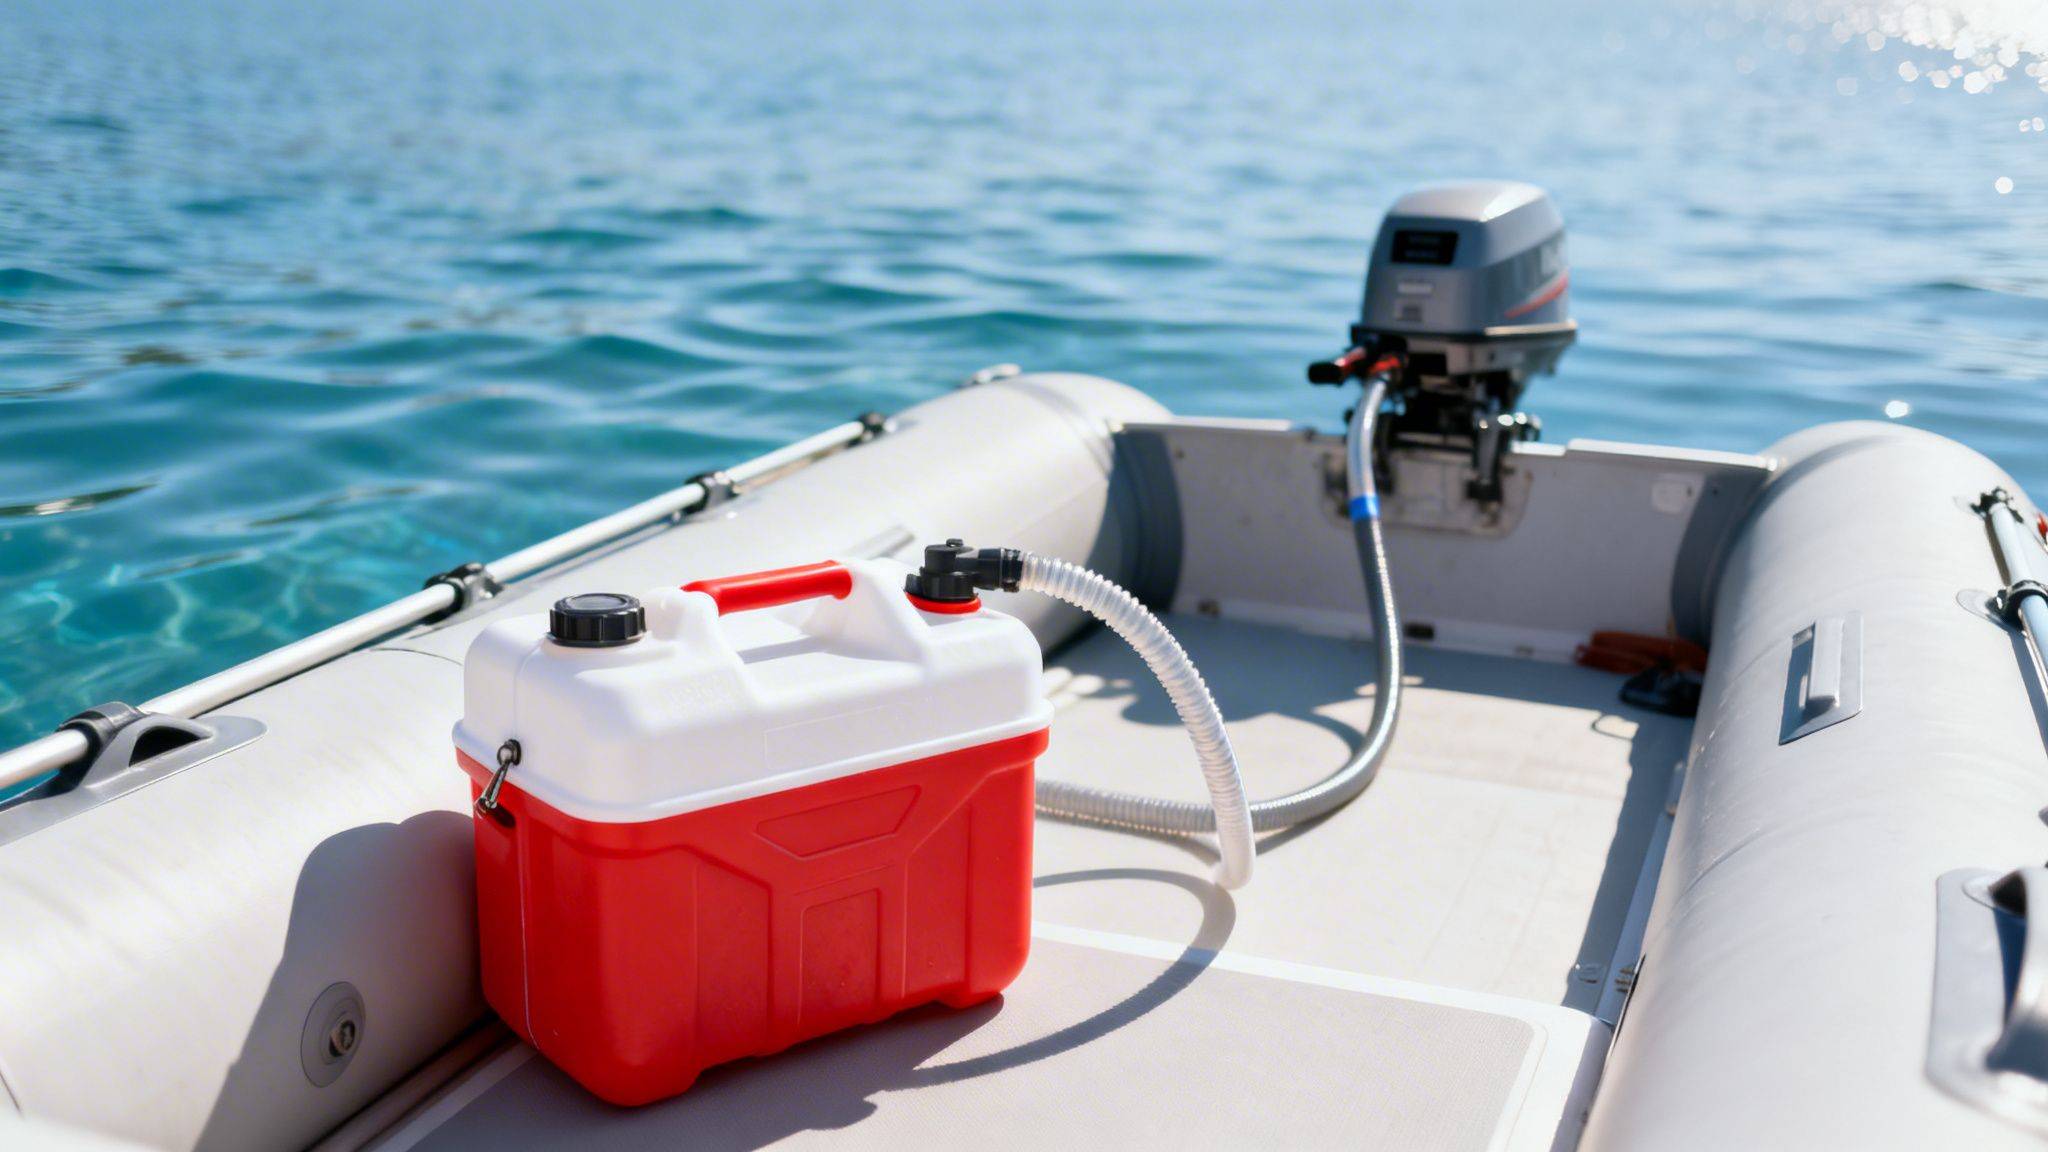
The fuel hose is the main artery of your setup, carrying the vital supply of petrol. But it’s the connectors at each end that guarantee a perfect, leak-free seal. These connectors click firmly into place, creating a secure link between your outboard engine fuel tank and the motor. Most modern outboards, including the Hidea motors we pair with our inflatables, use a common ‘Yamaha’ style connector, which makes finding spare parts a breeze.
The catch? Modern fuels, especially those with ethanol, are tough on rubber and plastic. Over time, cheap hoses can become brittle and crack, while the small O-rings inside low-quality connectors can dry out and perish.
A tiny, unseen crack in a fuel hose or a worn-out O-ring in a connector can cause a fuel leak. On a boat, that’s a serious fire hazard. Always invest in quality, ethanol-resistant fuel lines and give them a quick inspection before each trip.
This is why we always recommend buying a complete, high-quality fuel line assembly from the get-go. You can learn more about what to look for in our detailed guide to the outboard engine fuel line, which covers everything you need to know.
Next up are two components that are often misunderstood but are absolutely critical for getting your engine started easily: the priming bulb and the tank vent.
The priming bulb is that flexible rubber bulb you see in the middle of your fuel line. It acts as a manual pump. Before starting a cold engine, you give this bulb a few good squeezes. This action pulls fuel from the tank, through the hose, and fills the engine’s carburettor. Think of it as giving the system a head start, making sure fuel is ready and waiting for that first pull of the starter cord.
The tank vent is usually a small screw on top of the fuel cap or the tank itself. It’s literally the tank’s breathing tube. As your engine runs, it draws fuel out, and air needs to get in to replace that volume. If the vent is closed, a vacuum forms inside the tank. This vacuum quickly becomes strong enough to stop the engine’s fuel pump from working, starving it of petrol and causing it to stall.
The vent also lets fuel vapours escape. On a hot day, petrol expands. If the vent is closed, the tank can swell up like a balloon, creating dangerous pressure. So, always remember: open the vent before starting your engine, and close it tight for transport or storage.
“Priming the engine” might sound technical, but it’s a simple three-step process. Get this right, and you’ll have the confidence that your engine will fire up reliably every single time.
Connect and Open: First, securely connect the fuel line to both the tank and the outboard. Make sure you hear and feel the connectors click firmly into place. Then, unscrew the vent on your fuel tank cap a few turns.
Position and Squeeze: Hold the priming bulb so the arrow on it is pointing up, towards the engine. This ensures the one-way valves inside it work correctly. Now, squeeze the bulb firmly and repeatedly.
Feel for Firmness: You’ll quickly feel the bulb start to fill with fuel and become firm. Once it feels hard to squeeze any further, you’re done! The system is primed, and your outboard has all the fuel it needs to start.
Getting your fuel tank set up and maintained correctly isn’t just about making sure your outboard runs smoothly; it’s about safety, reliability, and protecting your investment. A few simple habits can prevent common headaches like fuel going bad or a tank sliding around in choppy water, ensuring your gear is ready to go every time you launch. This is especially true for the dynamic environment of inflatable boats and catamarans.
A loose fuel tank is a serious hazard. In rough seas, it can slide, tip over, or even break loose, creating a risk of fuel spills or a damaged fuel line. The fix is simple but absolutely essential: secure your tank with tie-down straps. Most inflatable boats have D-rings or other attachment points perfect for this. Always make sure the tank is held firmly, but don’t overtighten to the point where you’re squeezing or distorting its shape.
Where you place your tank matters, especially on lighter boats like inflatables. When you ask “What options do I have?”, it’s important to consider how all your gear works together. Getting the position right helps with weight distribution and how the boat sits in the water, known as its trim.
This quick step ensures your whole fuel system stays put, even when the conditions get a bit lively.
Giving your gear a quick once-over is the best way to catch small issues before they turn into big problems on the water. A few checks before each trip can save you from a massive headache later on.
For more in-depth checks, especially if you’re not confident doing it yourself, consider using professional fuel tank services to keep your system in top shape.
Petrol doesn’t stay fresh forever. It can break down over time through oxidation and water absorption, a process that gets a real kick-along from ethanol. This is a big deal in Australia, where E10 fuel is sold everywhere.
Fuel degradation can leave behind gummy deposits that clog up carburettors and fuel injectors. Worse still, ethanol is hygroscopic, meaning it attracts water. This can lead to phase separation—where a layer of water and ethanol sinks to the bottom of your tank, just waiting to get sucked into your engine and cause major damage.
To fight this, using a marine fuel stabiliser is one of the smartest things you can do, especially if your fuel might sit for more than a few weeks. Stabilisers stop oxidation in its tracks and help keep any absorbed water suspended in the fuel, allowing it to be burned off safely with the petrol.
The diagram below shows the simple journey fuel takes from your tank to your engine, highlighting how each part plays a crucial role.

This flow shows why every step—from the tank to the priming bulb and on to the engine—is essential for reliable performance on the water.
If you ever find old, sludgy fuel or debris in your tank, it’s time for a proper clean-out. Disconnect the tank, empty the old fuel into an approved disposal container, and then use a small amount of fresh petrol to give it a good rinse. Swirl it around to loosen any gunk, then dispose of that safely too. Let the tank air dry completely before refilling with fresh, stabilised fuel. This simple routine will make sure your outboard fuel tank is always ready for your next adventure.
Let’s be blunt: when you’re out on the water, safety isn’t just a suggestion—it’s everything. And it all starts before your boat even touches the water, right back with how you handle your fuel. Getting this right is one of the most important jobs of any boat owner, protecting you, your passengers, and the beautiful waterways we all love.
Following the proper steps for moving, storing, and filling your outboard engine fuel tank isn’t complicated, but it does demand your full attention. In Australia, petrol must be kept and transported in approved, compliant containers. The good news is your high-quality HDPE marine fuel tank is built exactly for this. These rules exist for a very good reason: to prevent spills and, critically, to avoid the serious risk of fire.
When you’re driving with your fuel tank, make sure it’s secured upright. The last thing you want is for it to tip over or slide around in your car. Ventilation is also key; never leave a fuel tank sealed up in a hot car boot. Petrol fumes are incredibly flammable and can build up fast.
The same thinking applies when you get home.
Nailing these simple habits minimises risk and keeps your fuel in top condition. Preparation is the cornerstone of safe boating, and you can find more great tips in our complete boat safety equipment checklist to make sure you’re ready for every trip.
Always, always refuel on land—never on the water where a spill is much harder to contain. It’s also a smart move to place the tank on the ground before filling it. This grounds the tank and prevents any static electricity from building up and creating a dangerous spark.
Here’s a golden rule, especially for boating in the hot Aussie climate: never fill your tank right to the brim.
You need to leave about 5% of air space at the top, which means only filling it to 95% capacity. Petrol expands a surprising amount as it heats up, and that gap gives it room to grow without forcing fuel out through a vent or seam.
This little habit is a lifesaver. It accounts for the temperature swing between a cool morning when you fill up and a scorching afternoon out on the water, preventing a dangerous leak.
Most modern outboards are technically rated to handle E10 (fuel containing up to 10% ethanol), but it’s far from the best choice for your motor. The problem is that ethanol is hygroscopic, which is a fancy way of saying it loves to absorb water right out of the air.
This can lead to something called “phase separation,” where a nasty water-ethanol sludge settles at the bottom of your tank. Your engine will inevitably suck this mixture up, which can cause real damage. For this reason, we always recommend sticking to premium unleaded fuel without any ethanol. It’s simply the safer, better long-term choice for your outboard.
When you’re getting set up for a day on the water, a few questions about gear always pop up. Let’s tackle some of the most common queries we get about outboard fuel tanks, giving you clear, straightforward answers to help you head out with confidence.
In many cases, yes—but it all comes down to the fuel line connector. Most brands, including the Hidea outboards we supply, use a standard ‘Yamaha’ style fitting, which makes finding compatible tanks and parts a whole lot easier.
However, some manufacturers stick to their own proprietary connectors. To prevent dangerous leaks and ensure a secure fuel supply, your best bet is to either visually match the connector on your engine or just buy a new fuel line with the correct fitting. It’s a small step that saves a lot of headaches later.
Give your tank a quick inspection before each trip. Keep an eye out for signs of wear and tear, like:
If the plastic feels brittle to the touch, or if you ever smell fuel or spot a leak around the seams or fittings, it’s time to replace it immediately. A good quality HDPE tank will give you years of service with proper care, but the harsh Aussie sun can definitely shorten its lifespan.
A well-maintained fuel tank is a reliable one. Catching signs of degradation early prevents a catastrophic failure on the water, protecting both your engine and your safety.
For any long-term storage (think a month or more), you’ve got two solid options. You can either run the tank completely empty or fill it to about 95% capacity and add a quality marine fuel stabiliser.
A full, stabilised tank is often the better choice, as it stops condensation and water from building up inside. Store it in a cool, dry, and well-ventilated spot—like a shed or garage—well away from direct sunlight and any potential ignition sources. It should go without saying, but never store a fuel tank inside your home or car.
At Easy Inflatables, we make sure our customers have all the information they need for safe and enjoyable boating. Explore our range of durable inflatable boats and reliable Hidea outboards at https://easyinflatables.com.au.