
A lot of inflatable boat owners reach the same point. The boat is sorted, the outboard is reliable, the Bimini is doing its job, and the family day on the water already feels good. Then you realise one upgrade would make the whole setup feel more complete. Clean, reliable music that survives spray, sun, beach launches, and daily pack-down.
That matters more in Australia than many people think. The recreational boating sector generated approximately AUD 15.3 billion in 2022-23, and marine audio adoption has risen by an estimated 25% annually since 2020 across the nation’s 600,000+ registered recreational vessels, driven by family outings and coastal adventures, according to this market report on marine stereo systems in Australia.
On a portable tender, RIB, or inflatable catamaran, the stereo decision is different from a fibreglass runabout. Space is tighter. Battery reserve matters more. Mounting options are limited. A bad install can turn a neat boat into a rattly tangle of cable and brackets.
Good marine boat stereo systems solve those problems without making the boat harder to launch, harder to clean, or harder to enjoy. The right setup gives you background music at anchor, clear sound during a slow troll, and enough output to cut through wind and engine noise on the run home. Even the small details help the atmosphere. Owners who like to personalise the look of their rig often add practical visual touches as well, such as a Lake Life Pontoon Boat decal for an esky, gear box, or tender accessory panel.
If you are still weighing up whether a portable boat suits your boating style at all, this breakdown of the benefits of buying an inflatable boat is a useful starting point before you commit to accessories and electronics.
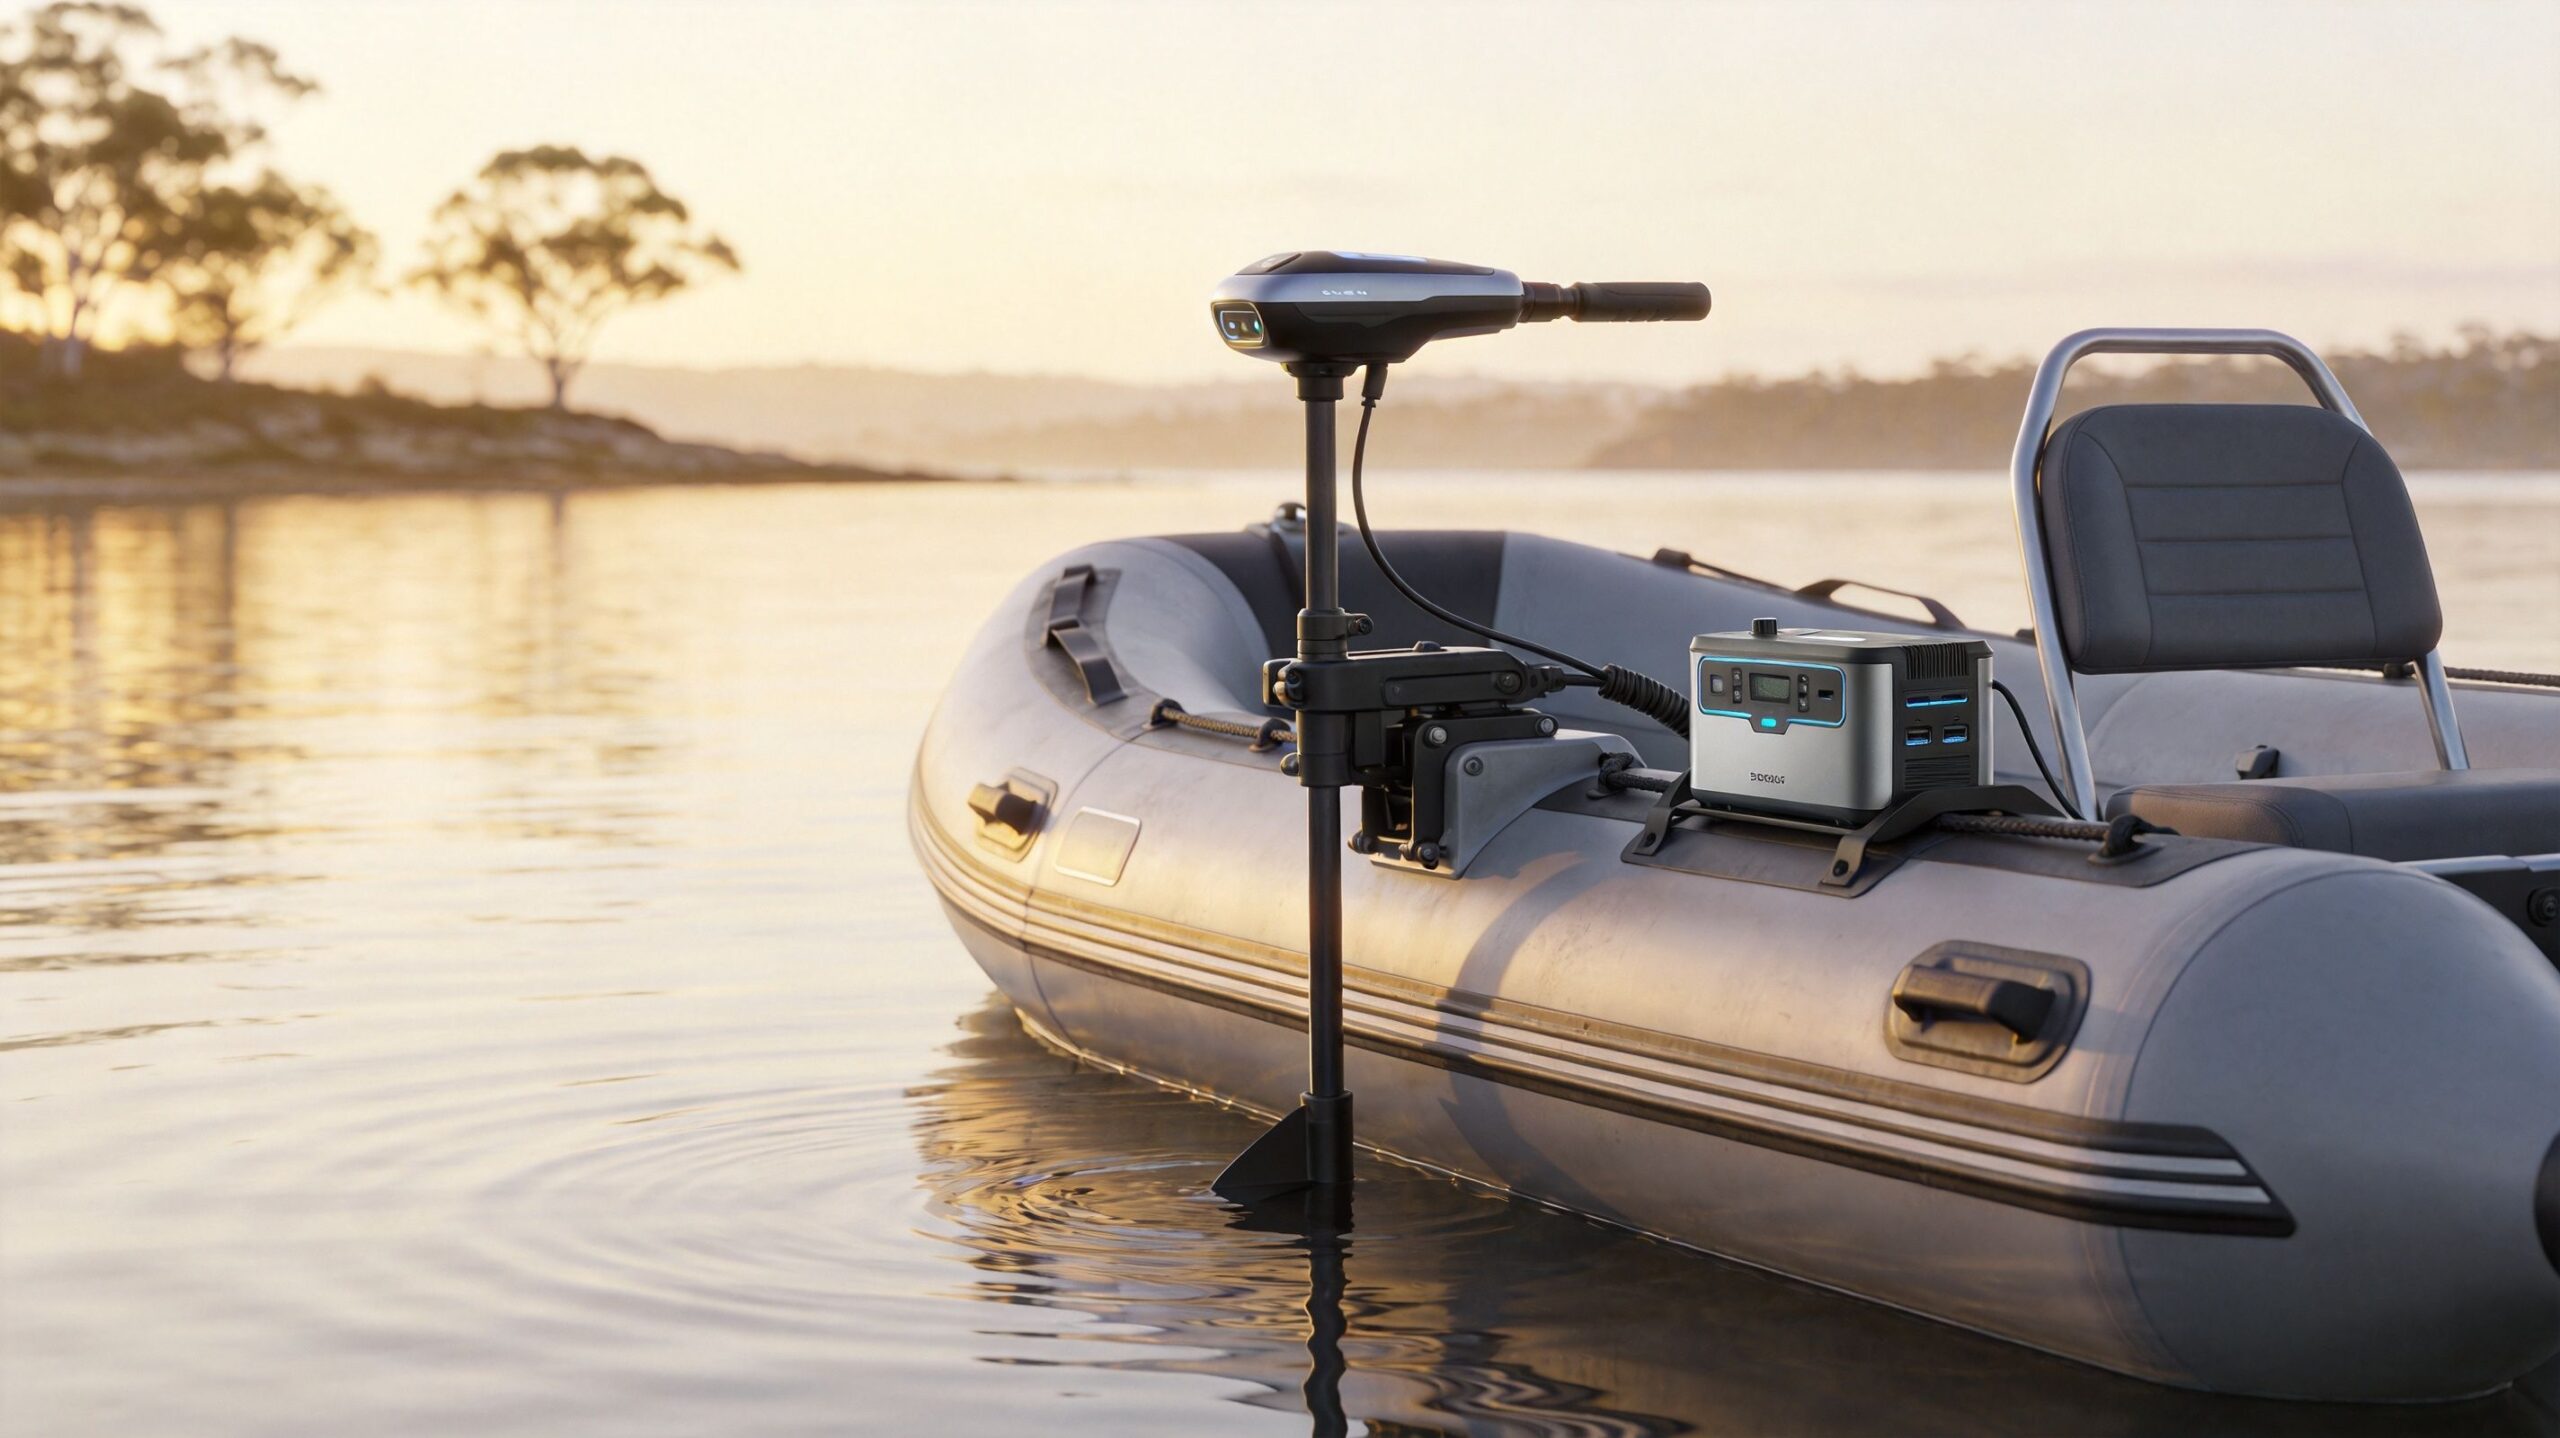
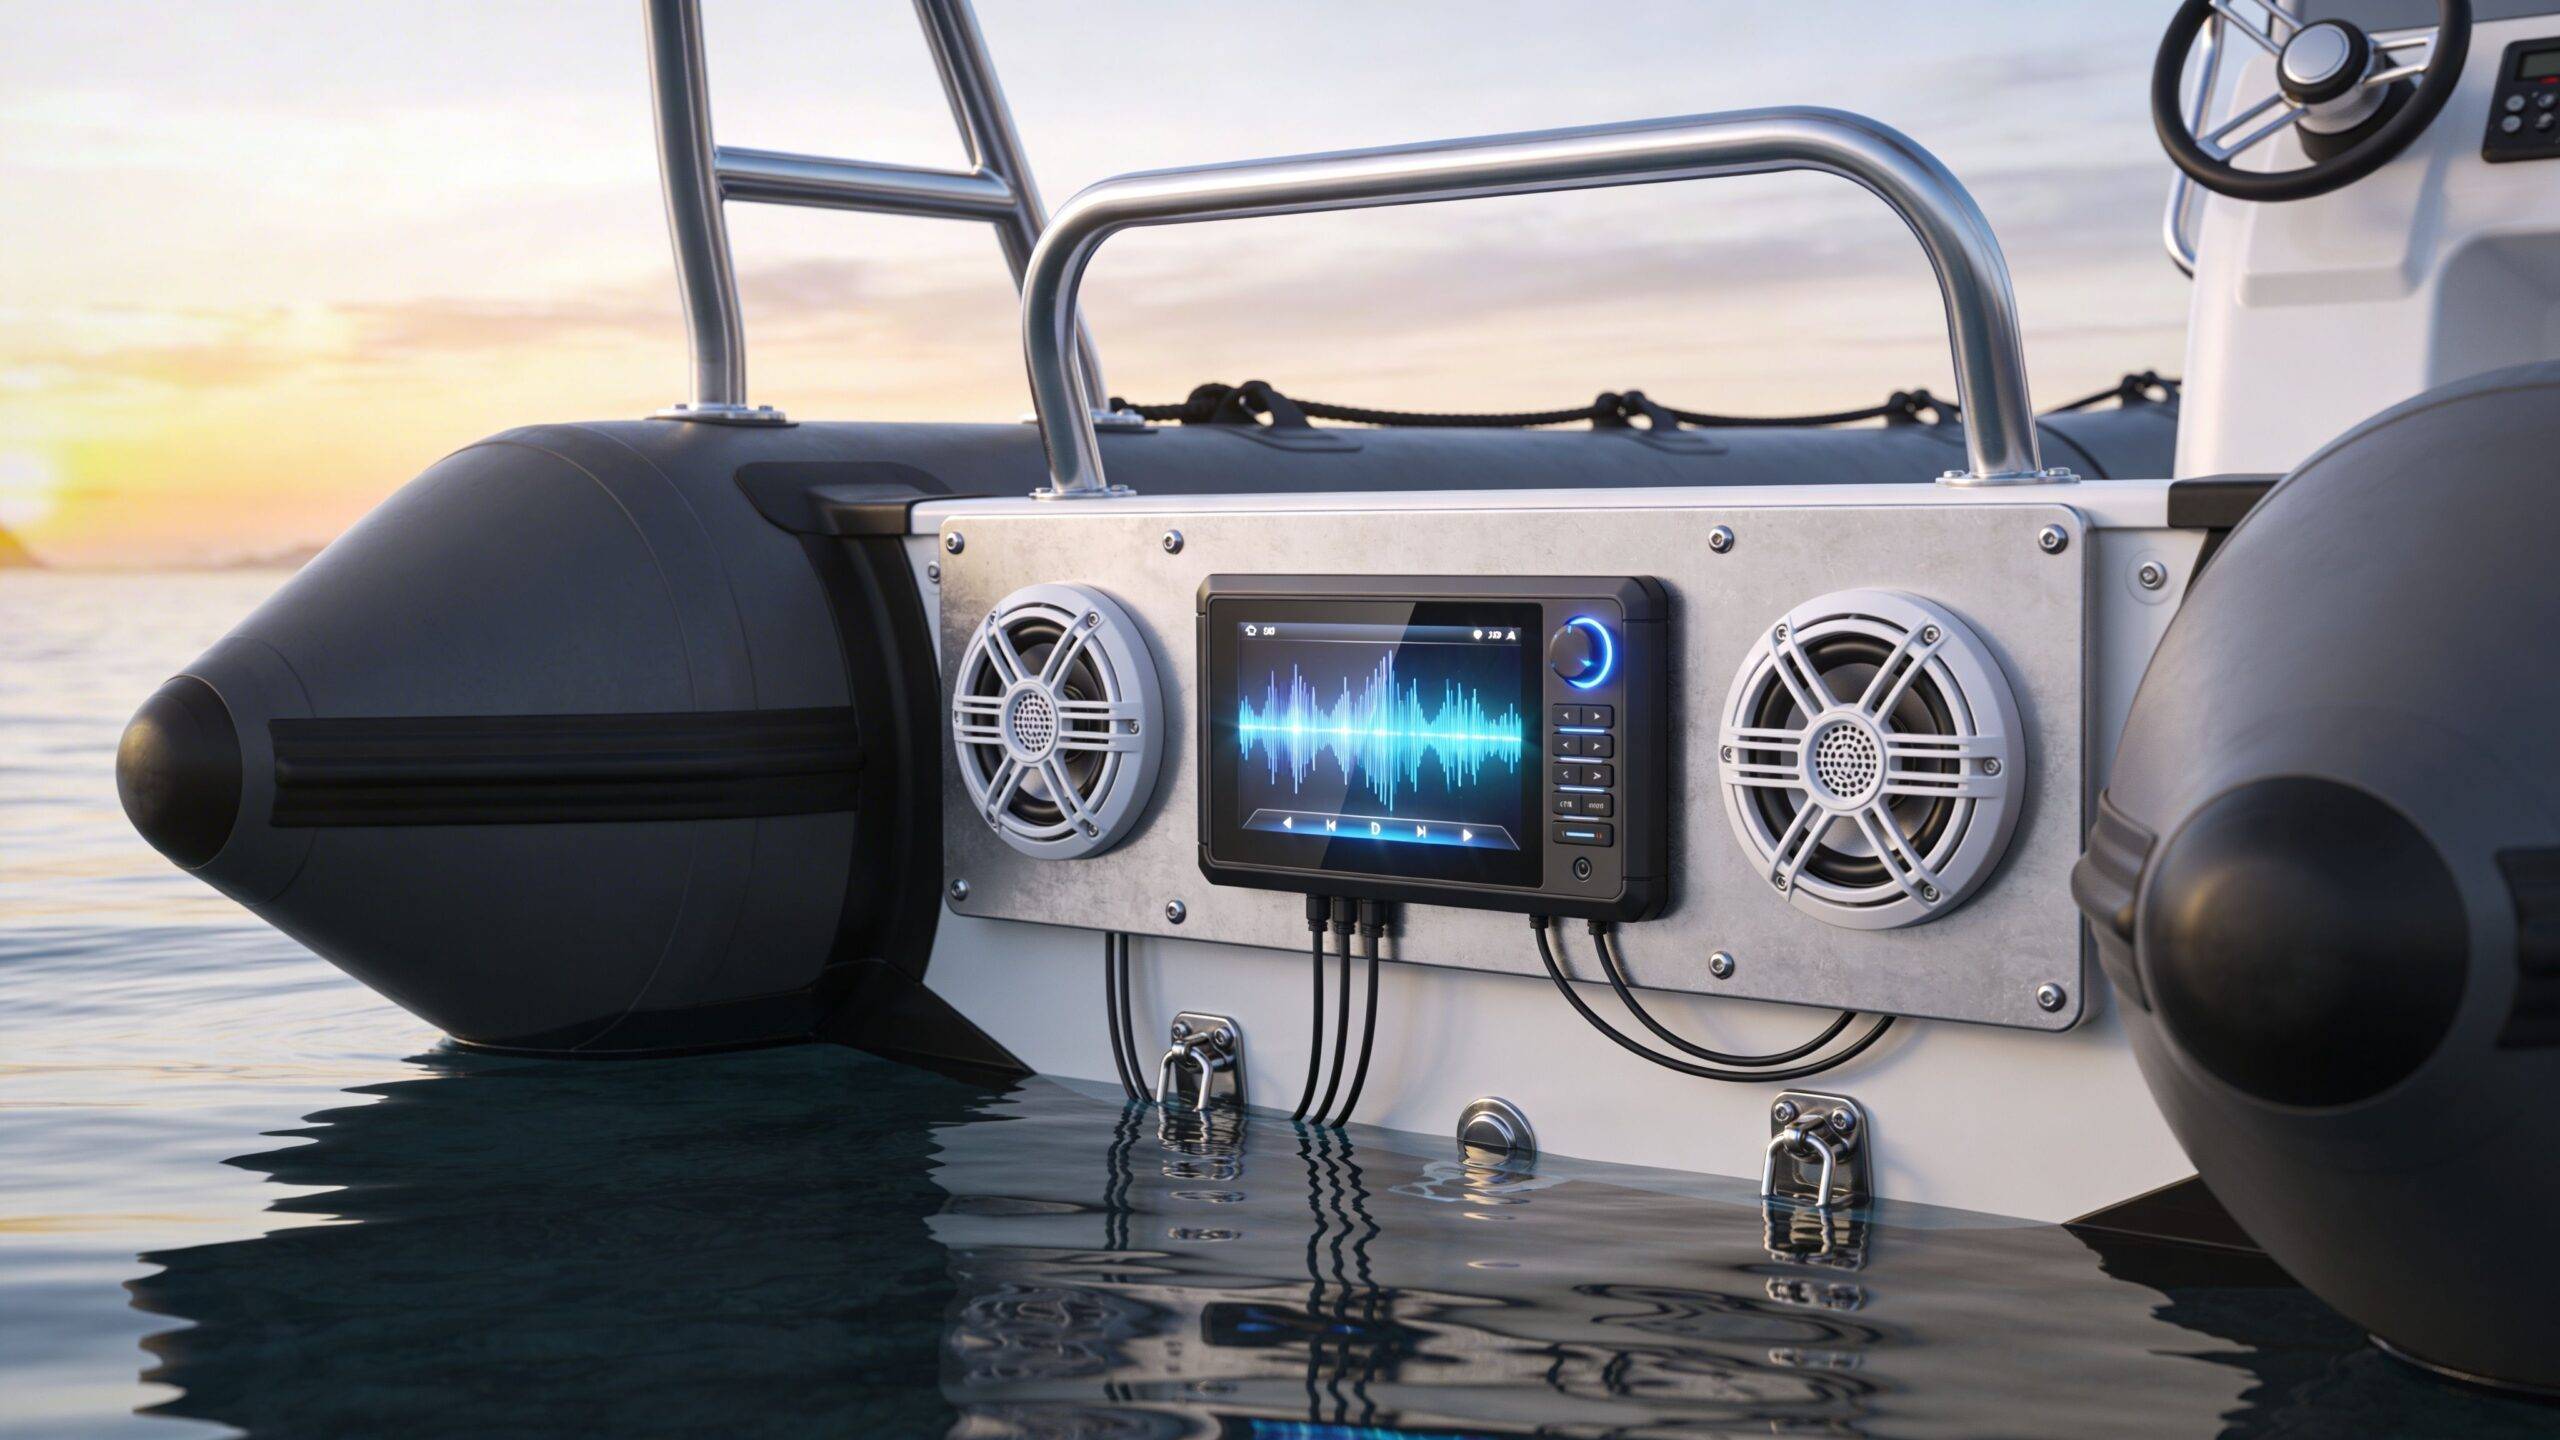
A family heads out on a calm bay in a small inflatable. The kids are settled. Someone is sorting snacks. The skipper is not chasing nightclub volume. They just want music that stays clear while moving between the ramp, the beach, and a quiet anchorage.
That is the primary use case for most small-boat audio. Not tower speakers, not oversized sub boxes, not a complex helm full of gear. Just a compact system that works every trip.
On inflatables, sound is part of comfort. It changes the feel of a beach lunch, a slow cruise along the shoreline, or an early morning run before the fishing starts. It also has to live with practical limits that bigger boats can hide with locker space and larger battery banks.
Inflatables ask more from every component. A receiver cannot just sound good. It has to resist spray. Speakers cannot just be loud. They need to hold up under UV and salt. Wiring has to stay tidy and protected because there are fewer cavities to hide mistakes.
The upside is simple. Small boats respond well to simple systems.
A compact stereo that is installed neatly and powered properly will usually outperform an oversized system that drains the battery and gets in the way.
The most common mistake is buying by headline power alone. On an inflatable, that often leads to bulky gear, poor mounting choices, and disappointing real-world sound.
The second mistake is treating the boat like a car. Open air changes everything. Wind and engine noise do not care what the box says on the shelf. Sensible component matching matters more.
Marine boat stereo systems are easier to choose once you strip them back to five parts. Think of the setup as a chain. If one link is weak, the whole system feels average.
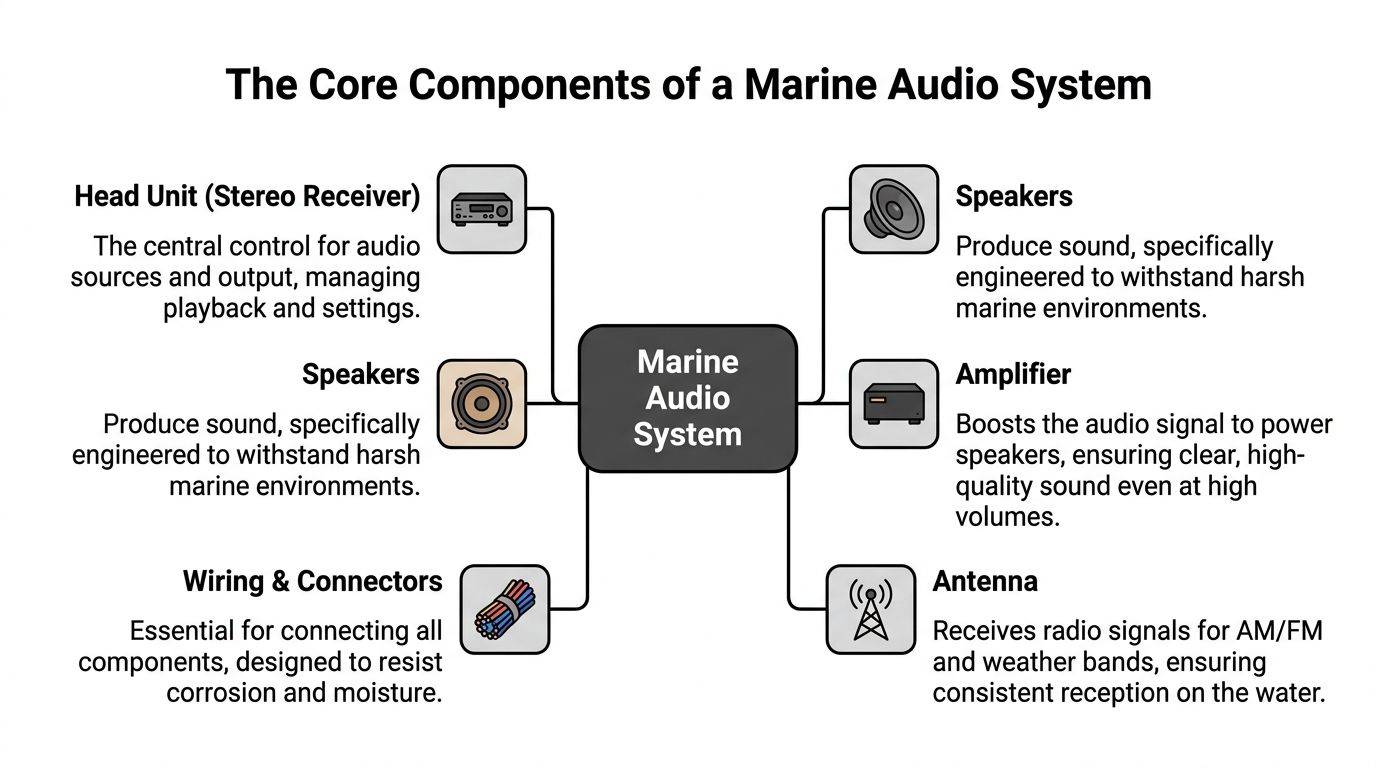
The head unit, also called the marine receiver, is the control centre. It handles source selection, Bluetooth pairing, volume, and zone control if your system supports it.
For small inflatables, compact digital media receivers make more sense than bulky old-style units. They take less room, keep the dash or console cleaner, and remove parts you are unlikely to use on the water.
What matters most:
Speakers do the hard work. On a small open boat, they must project clearly across wind, wave noise, and engine note.
Marine speakers are not just normal speakers with a different badge. The good ones use materials that resist sun exposure, corrosion, and moisture. That matters in Australian conditions, where a clean-looking speaker can still fail early if the internal parts are not protected.
A practical speaker choice starts with these questions:
| Question | Why it matters on an inflatable |
|---|---|
| Where will it mount | Tubes, consoles, seat boxes, and transoms all limit size and angle |
| How exposed is it | More exposure means more importance on sealing and corrosion resistance |
| How efficient is it | Efficient speakers sound better with modest power |
| How easy is replacement | Portable boats benefit from gear that is simple to service |
An amplifier adds output and control. It is the muscle in the system.
On a larger boat, an amp is often an obvious choice. On a compact inflatable, it is optional. Extra gear means extra weight, extra wiring, extra current draw, and one more item to mount somewhere sensible.
That is why many owners are better served by a strong receiver and efficient speakers first. If the system still needs more volume or better headroom, a compact marine amp becomes the next step.
Add an amplifier to fix a real shortfall in sound. Do not add one because a generic boat-audio guide says every system needs it.
Wiring rarely gets attention until it causes trouble. On inflatables, bad wiring shows up fast. Corrosion, loose joints, poor routing, and unprotected connections are what turn a good system into an unreliable one.
Use marine-grade cable, proper terminals, and sealed joins. Keep runs tidy and supported. A neat loom is not cosmetic. It prevents chafe, vibration damage, and maddening intermittent faults.
If you are also reviewing power options, this guide to a marine battery and charger is worth reading before you finalise current draw and charging habits.
Many small-boat owners stream audio and ignore radio until the day they want local reception offshore or around the harbour. If radio matters to you, the antenna still deserves thought.
Mount it where it will not foul movement, snag covers, or become one more fragile item to break during transport. Portable boats reward low-drama rigging.
For most small inflatables, the right audio system is not the biggest one. It is the system that matches the hull, the way you boat, and the way you pack the boat away.
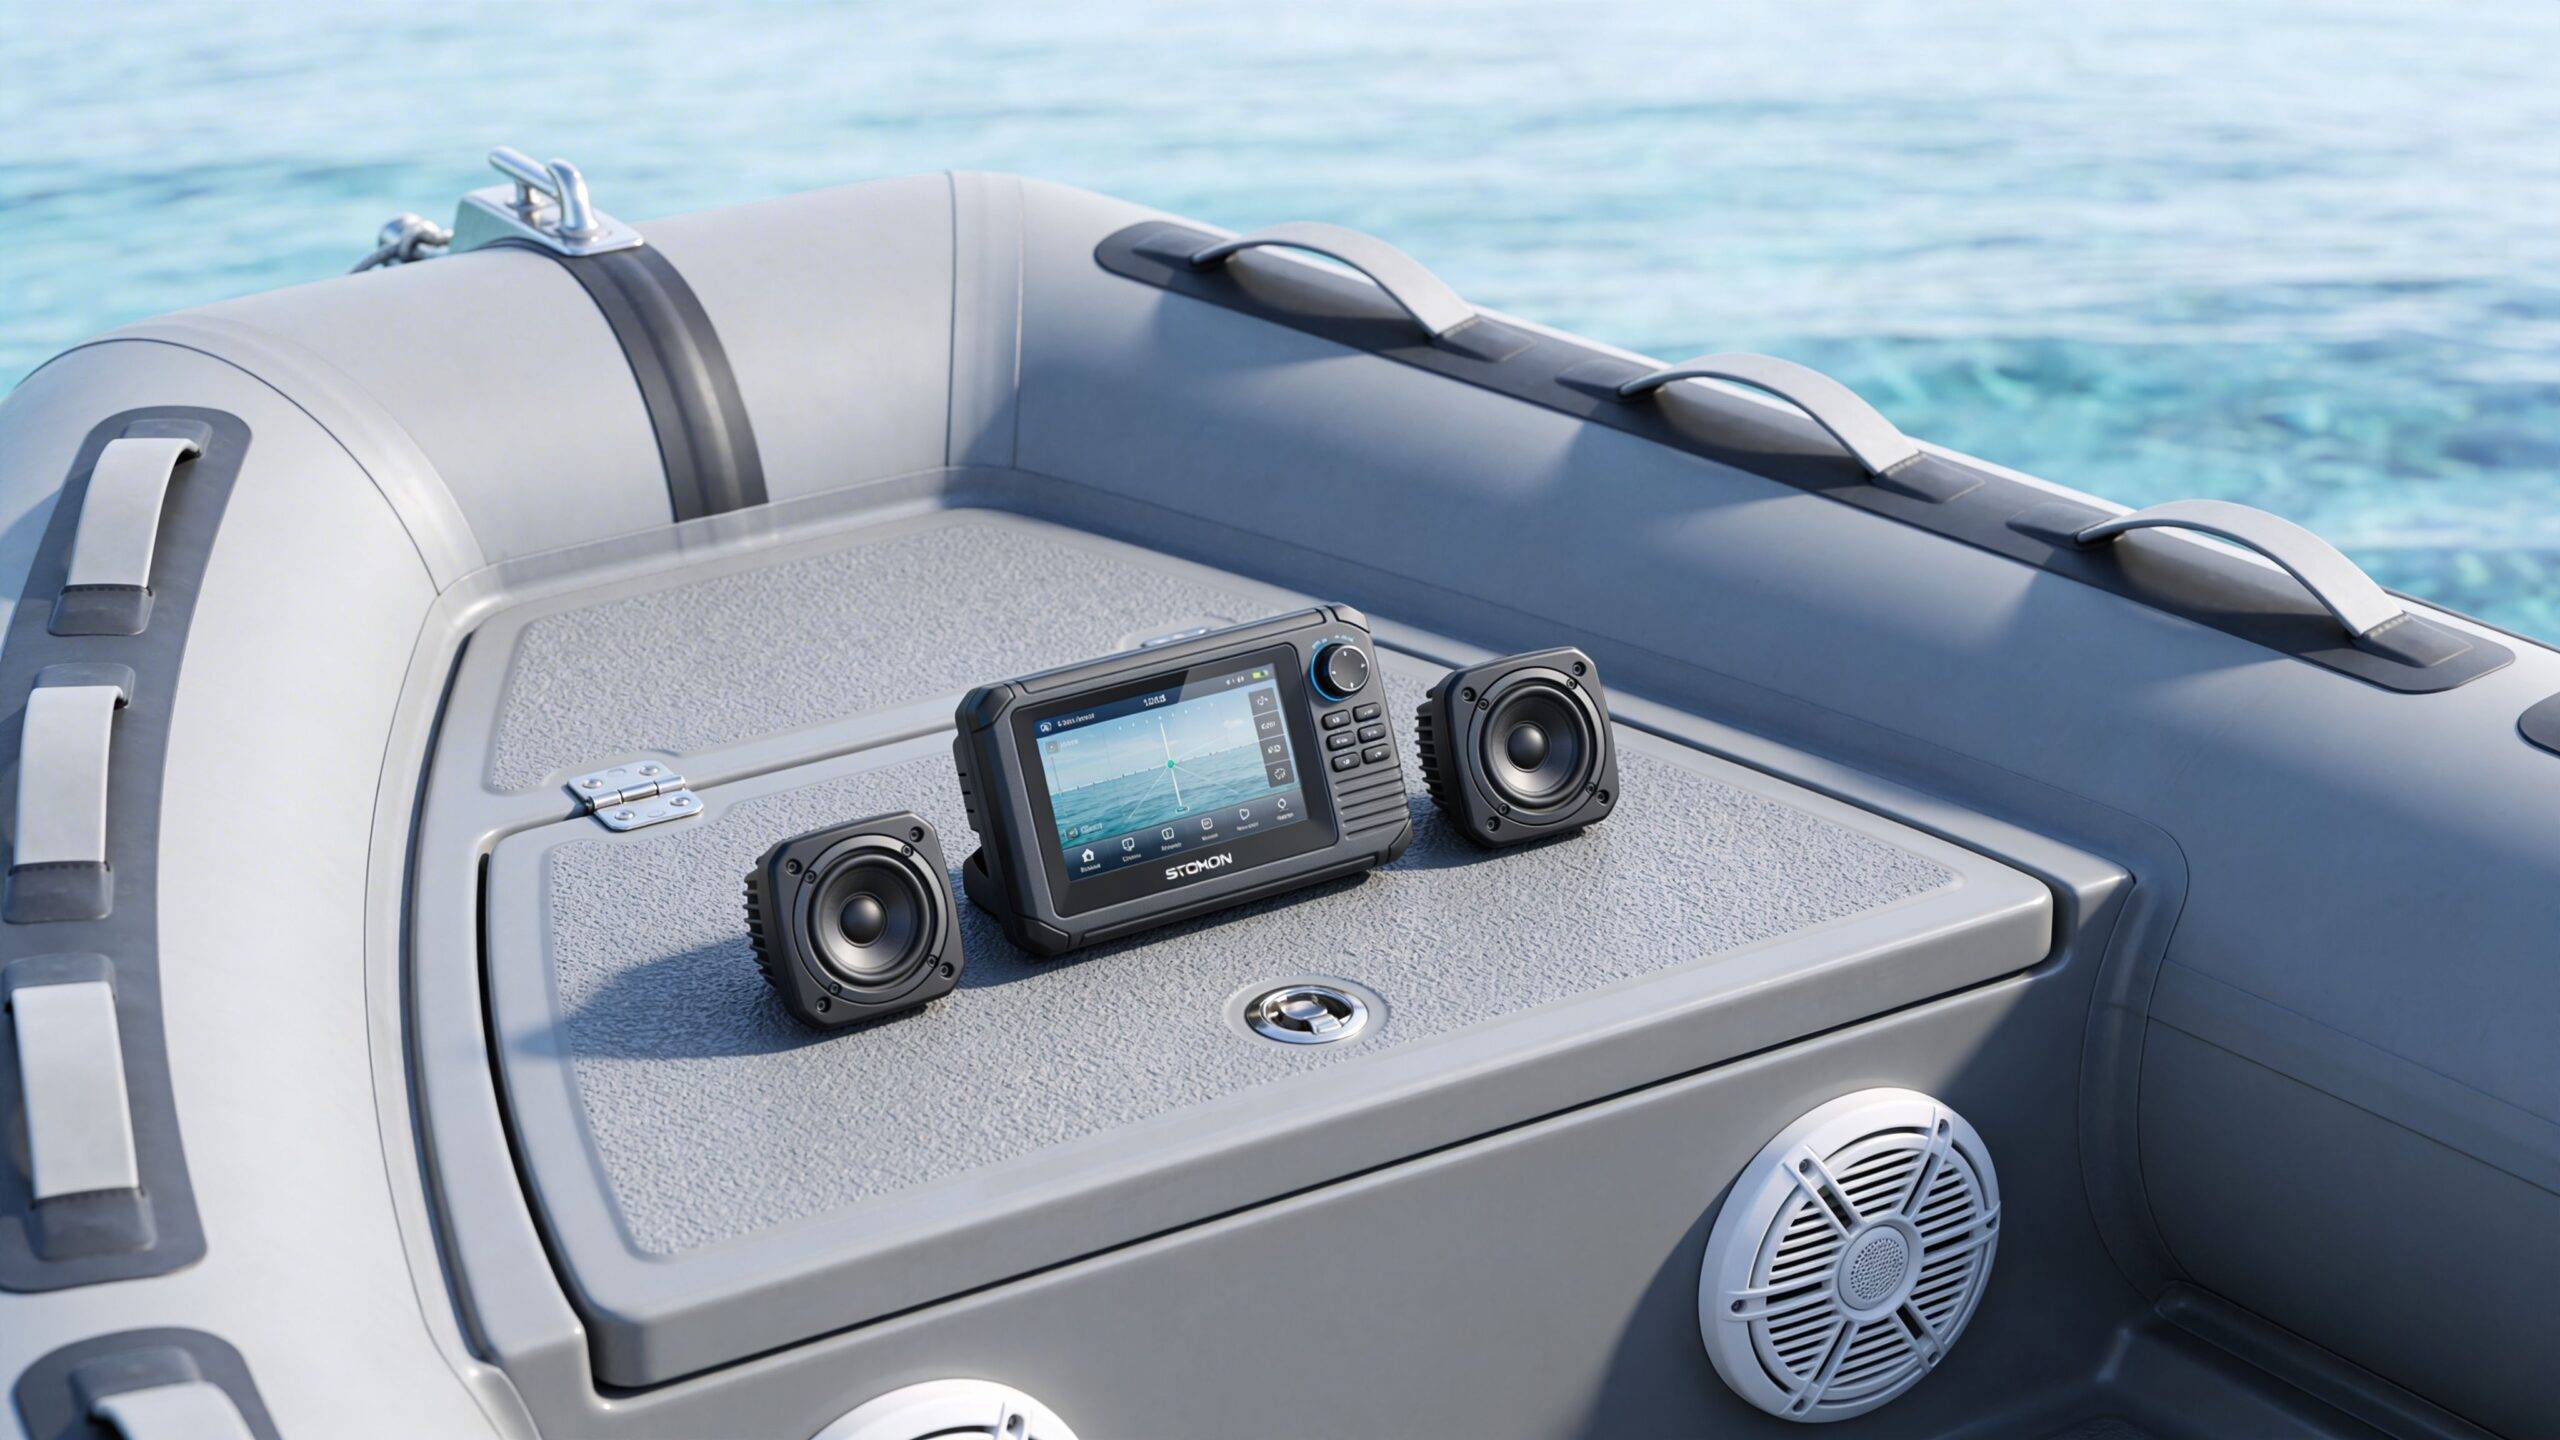
A useful benchmark exists for this category. For small inflatable boats up to 6m, a compact two-speaker system is often optimal, using 6.5-inch speakers with at least 90dB sensitivity and a marine receiver with IP66 certification and 25-28 watts RMS x 4 channels, according to Mr Boats’ guide to marine audio systems.
That one sentence saves many buyers from overbuilding.
For inflatables, the best receiver is usually one of two styles.
This is the cleanest choice for most portable boats. No disc slot. Smaller body. Less wasted space.
It suits owners who stream from a phone, want Bluetooth, and care more about reliability than extra legacy features. It is especially useful if the receiver has to fit into a small console, side box, or transom-mounted pod.
A single-DIN receiver can still work well if your console already suits it. The drawback is packaging. On many inflatables, the extra depth creates more hassle than benefit.
If room is tight, every extra centimetre behind the panel matters.
A fibreglass boat often gives you flat panels and cavities. Inflatables usually do not. That changes the speaker conversation immediately.
These look tidy and integrated when you have a real panel to cut into. A small console, seat box, or custom dash pod can suit them well.
They are a poor match if you are tempted to cut into parts of the boat that should remain simple, strong, and easy to maintain.
These make a lot of sense on inflatables. They can mount to rails, consoles, or brackets without major surgery. They are easier to reposition and easier to remove if the boat is stored in a bag or moved on a trailer.
The compromise is appearance. Some owners prefer the cleaner look of flush mounting. On a practical boat, though, pod speakers often win.
On the water, speaker sensitivity can matter more than chasing raw watt figures. Efficient speakers make better use of modest amplifier power. That is exactly what you want when battery capacity is limited.
A speaker with the right sensitivity and a sensible mounting angle often sounds better than a supposedly more powerful unit that is pointed at your knees or buried in the wrong position.
Many inflatable setups improve quickly with one simple change. Aim the speakers at the listening area, not just at the nearest spare surface.
Often, no.
Built-in amplification is enough for casual cruising, beach days, and family use if the speakers are efficient and well mounted. This keeps the install lighter, simpler, and easier on the battery.
An external amp becomes worthwhile when:
A poor reason to add an amplifier is ego. On a tender or small inflatable catamaran, oversized amplification often creates more problems than enjoyment.
Here is a practical comparison.
| Setup style | Best for | Trade-off |
|---|---|---|
| Receiver plus two speakers | Families, tenders, beach use, simple cruising | Limited upgrade headroom |
| Receiver plus four speakers | Larger inflatables with more seating area | More wiring and placement challenges |
| Receiver plus compact amp and speakers | Frequent running, anglers, owners wanting cleaner output | More battery demand and more install complexity |
A good accessory plan helps the whole boat work together. If you are outfitting beyond audio at the same time, these nifty inflatable boat accessories you must have can help you think about layout before holes are drilled and brackets are fixed.
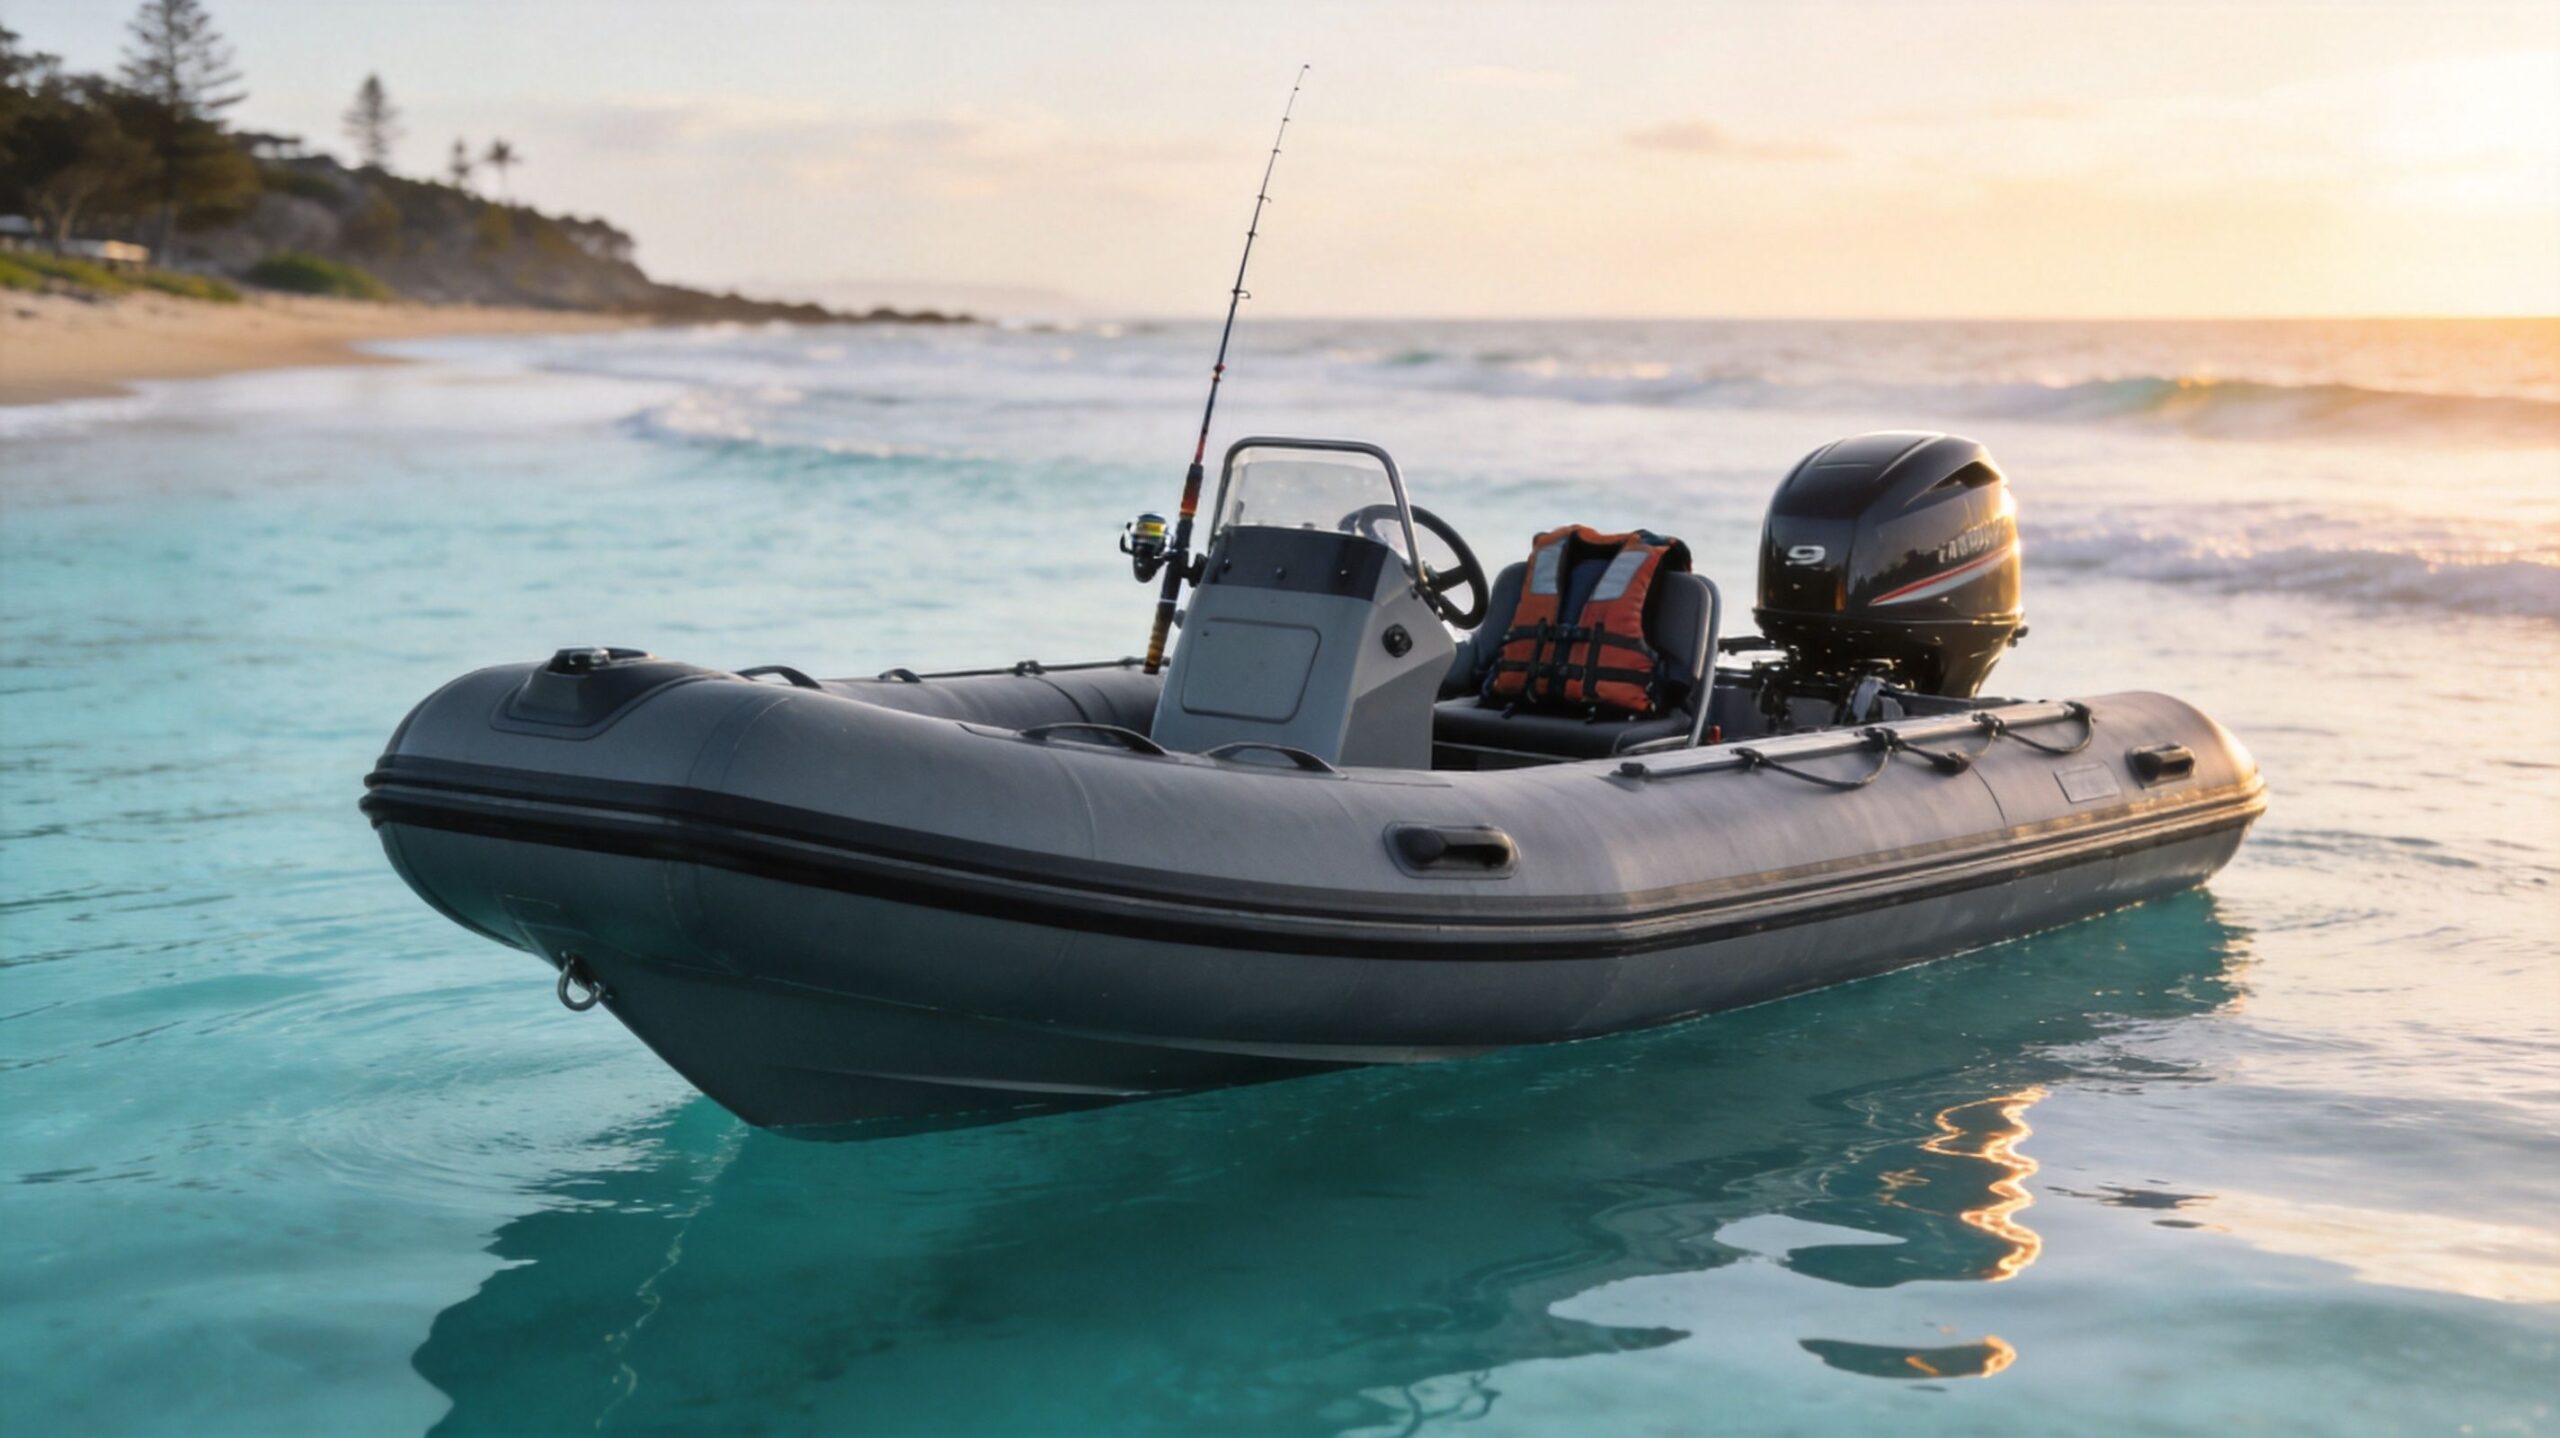
A family tender has different priorities from a fishing RIB.
For family cruising, simple controls and tidy speaker placement matter most. For anglers, the key issue is often low-speed clarity without chewing through battery reserve. For beach campers and travelling owners, removable or compact gear can matter more than ultimate output.
This walkthrough shows the sort of compact setups many owners gravitate toward once they stop trying to copy larger boats.
What works
What does not
Success or failure for most small-boat stereo projects often hinges on this. The audio gear may be good, but if power and mounting are wrong, the owner ends up with flat batteries, loose hardware, or a system that is annoying to live with.
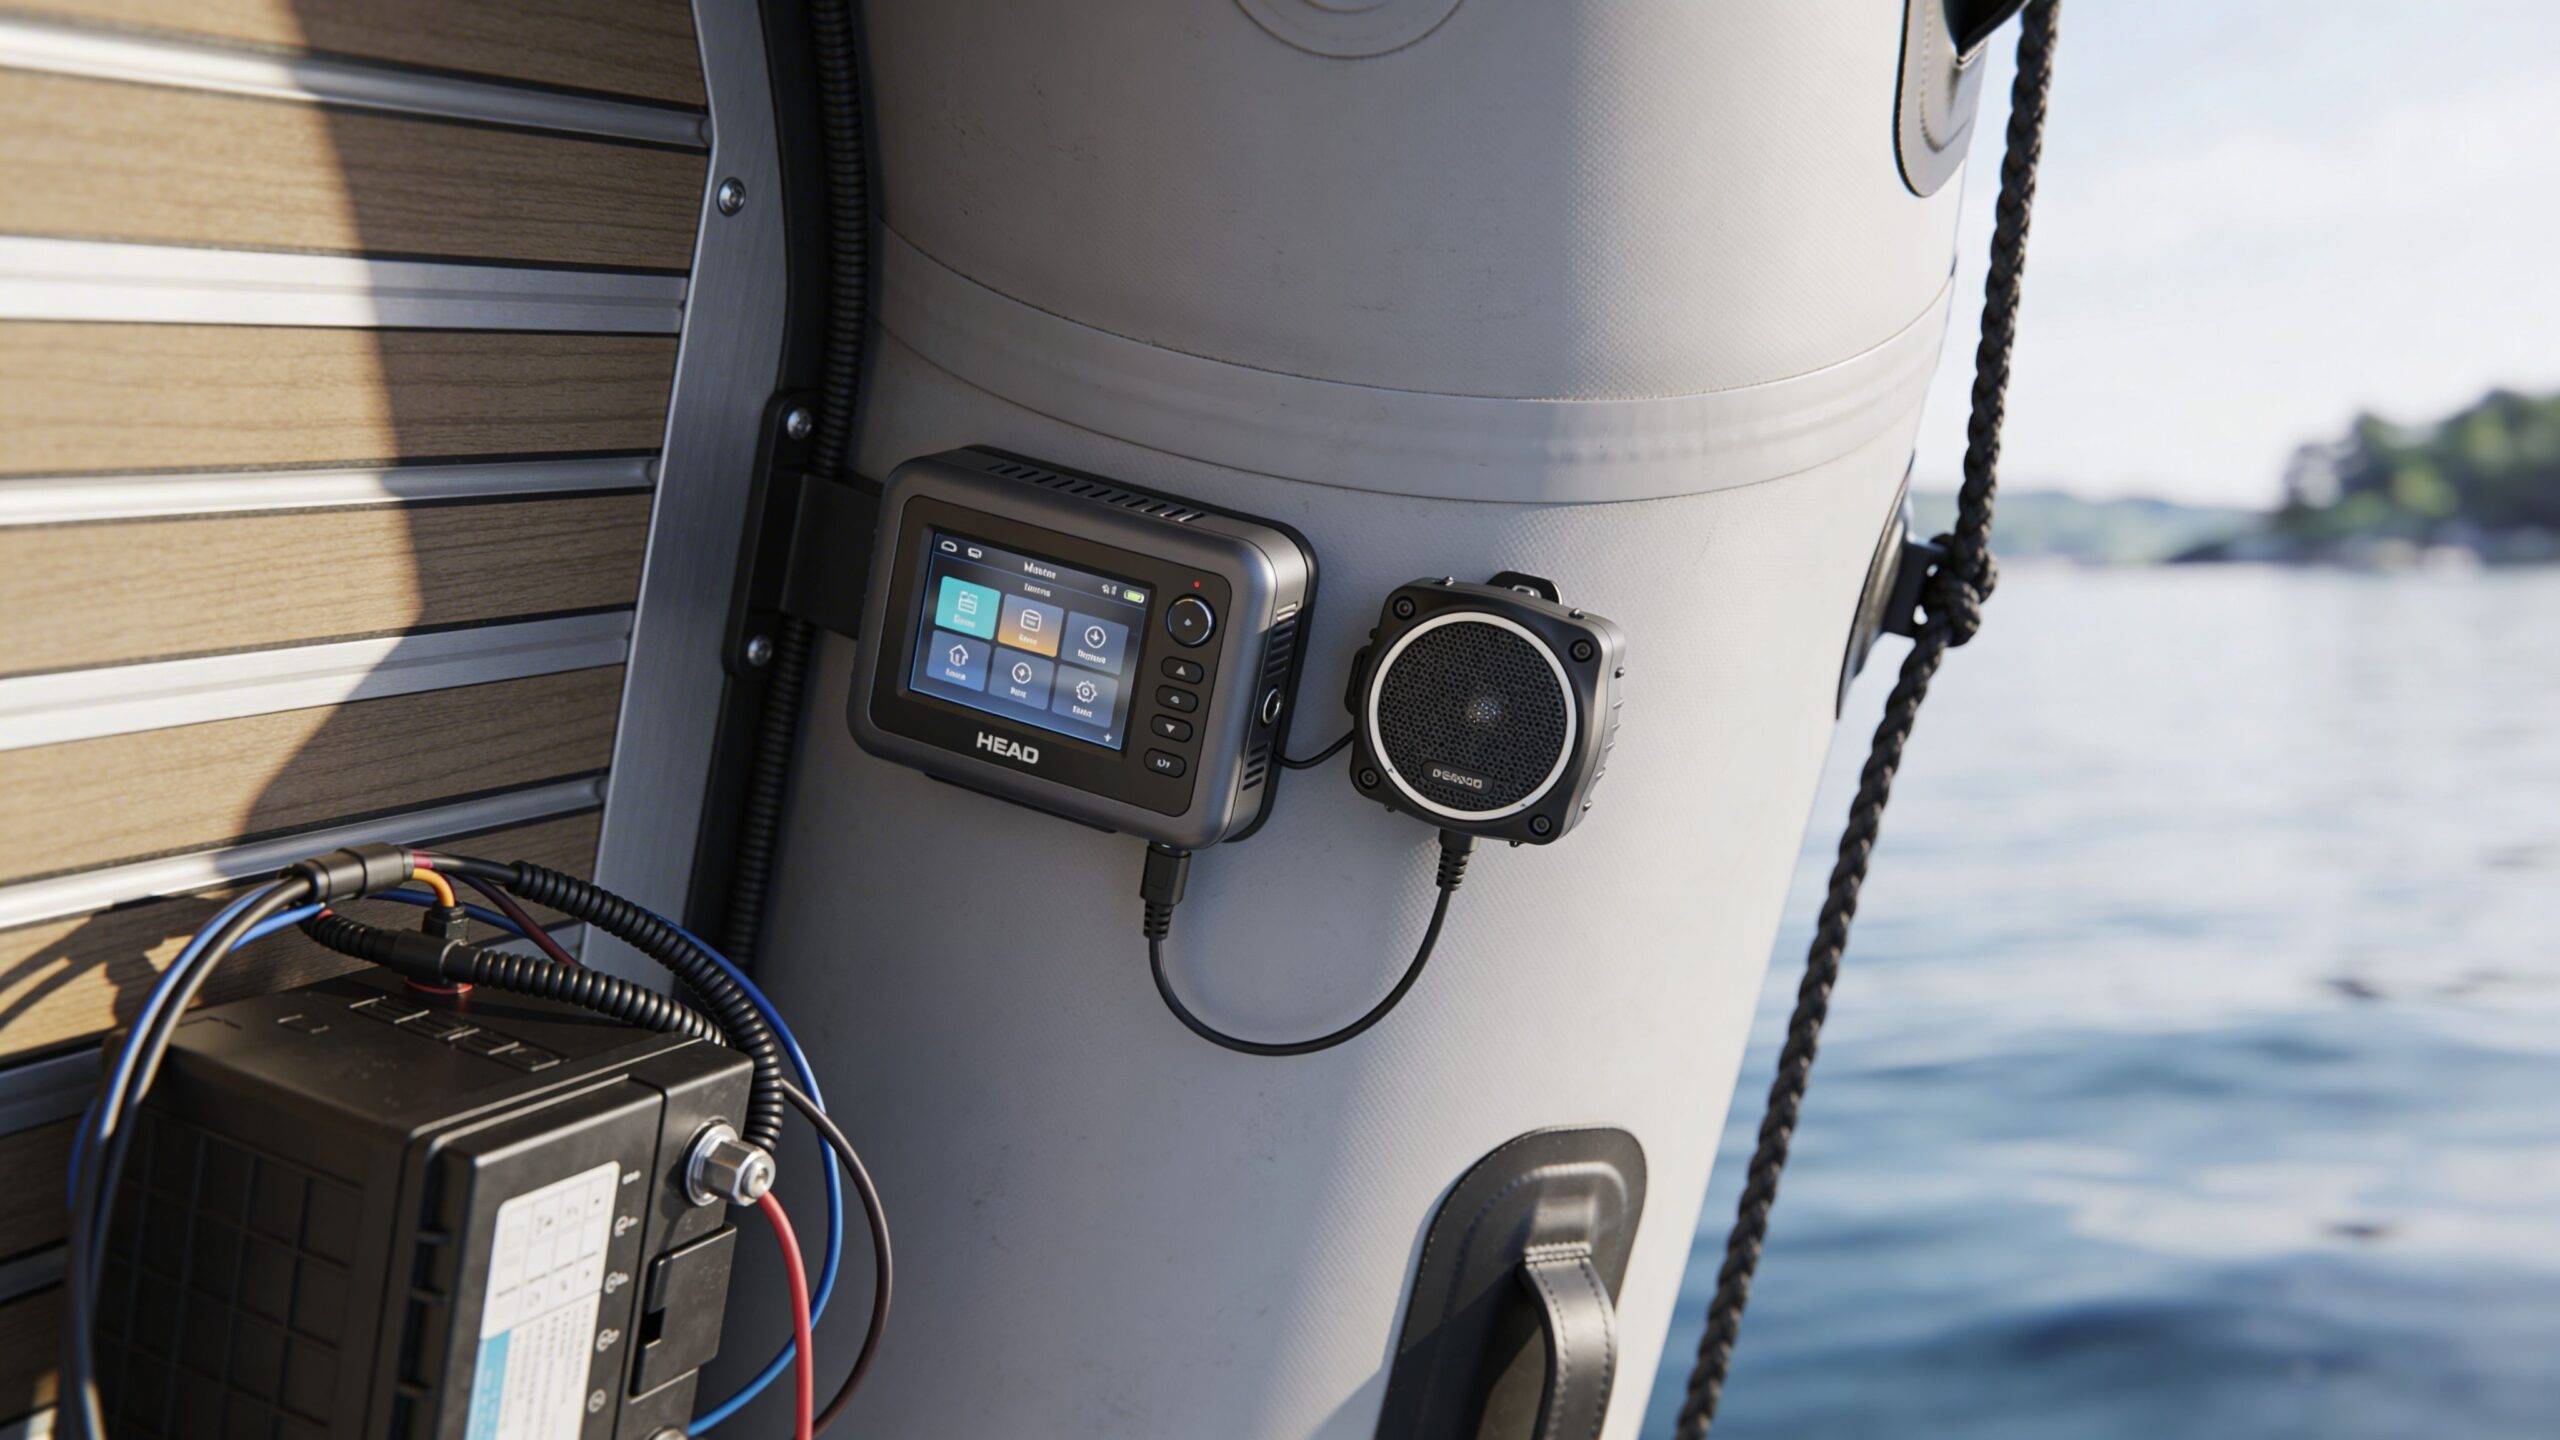
The compliance side matters too. For small vessels, AMSA compliance requires IPX6+ waterproofing and corrosion-resistant grounding, and surveys of inflatable owners in NSW found 35% cited electrical integration failures as a major issue, as noted in this marine audio installation article. That should push every buyer away from shortcuts.
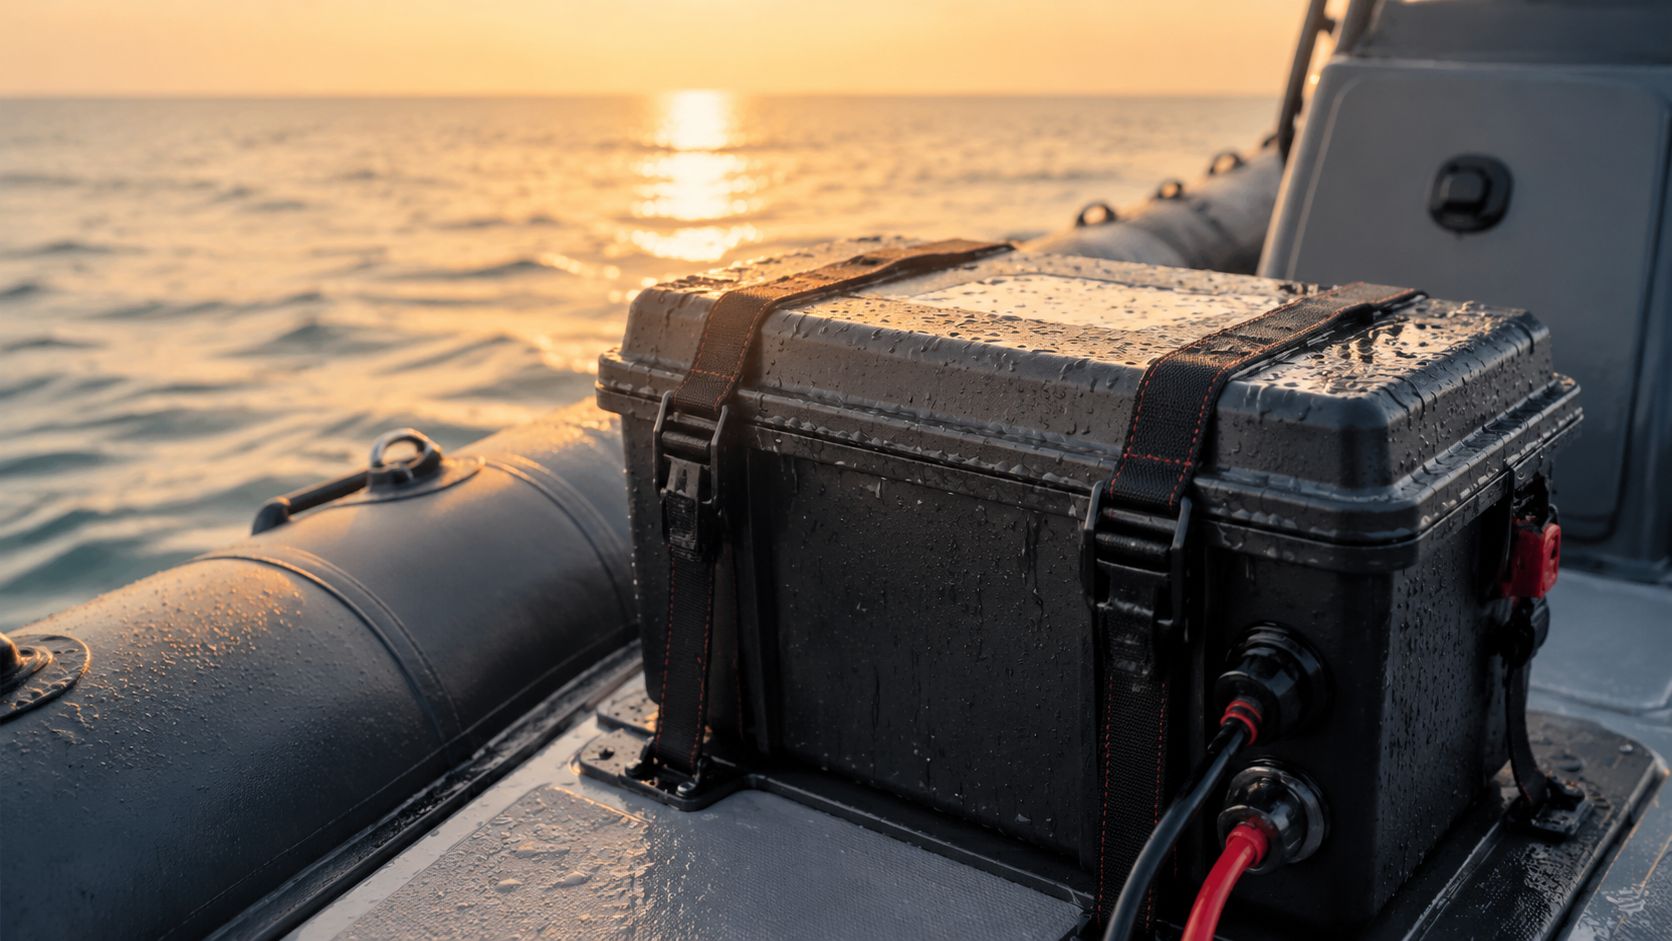
On a trailer boat with heaps of storage, adding battery capacity is easier. On an inflatable, you have to think like a packer.
Three common approaches work.
This is the most balanced option for many owners. A separate battery keeps the stereo load isolated and makes the system easier to service.
It also gives you one contained unit to secure, remove, and recharge. That is useful for people who store the boat in a garage or transport it in an SUV.
If you need a practical enclosure, a proper battery box for marine use is far better than improvising with loose straps and exposed terminals.
Some owners tap into an existing boat circuit or battery already supporting other gear. It can work, but the system has to be fused correctly and planned carefully.
This approach is less forgiving on portable inflatables because one battery may already have multiple jobs.
This suits some low-draw setups, especially where owners want easy removal and no permanent electrical system. The drawback is fitment, charging routine, and making sure the outputs and connectors are appropriate for marine use.
Inflatables punish lazy mounting. There is less dead space to hide bulky boxes and fewer places where a bad bracket can go unnoticed.
Good mounting starts with the actual structure available.
An aluminium transom is a strong, useful anchor point for selected components or brackets. It often makes more sense than trying to hang everything off softer or more exposed areas.
That does not mean loading it up with every item you bought. Keep weight balanced. Keep controls accessible. Keep cables protected where they pass through or around edges.
A compact console or equipment pod creates order fast. It gives the receiver a proper home, keeps the front of the boat uncluttered, and allows cleaner cable runs to speakers and battery.
On a practical inflatable, a small console can do more than improve appearance. It centralises electronics and makes the entire system easier to remove, inspect, and maintain.
Many inflatable owners get better long-term results from clamp, rail, or bracket-mounted speakers than from trying to force flush-mount hardware into a layout that does not suit it.
That is especially true for:
If a mounting idea looks great in the shed but makes beach launching, folding, or cleaning harder, it is the wrong idea for an inflatable.
Inflatables have fewer hidden runs, so every wire route should be chosen on purpose. Follow existing lines where possible. Support cable so it cannot flap, chafe, or sit in pooled water. Leave enough slack for movement, but not enough to snag feet or gear.
A clean inflatable install usually shares these traits:
| Good practice | Why it helps |
|---|---|
| Wires follow existing structural lines | Less clutter and lower snag risk |
| Connections are sealed | Better resistance to salt and spray |
| Fusing is close to the power source | Better protection if a fault occurs |
| Equipment can be reached without disassembly | Easier fault-finding and maintenance |
This is the core synthesis point. On inflatables, power choice, mounting style, and equipment size are not separate decisions. They are one decision.
A compact receiver, efficient speakers, a protected battery source, and mounts that respect the boat’s portability usually produce the best owner experience. The system sounds good, survives longer, and does not compromise the very reason people buy an inflatable in the first place.
A clean install is mostly won before the first hole is drilled. Owners get into trouble when they mount first and think later.
Set every component in place without fixing anything. Sit in the boat. Move around it. Open hatches or bags. Check where feet land, where rods move, where the phone sits while charging, and where water is likely to run.
If the receiver is hard to see, the speakers fire into the wrong area, or the battery box blocks movement, change the plan now.
Use marine-grade wire and sealed connectors. On a small boat, there is nowhere for poor workmanship to hide for long.
The basic sequence is straightforward:
Because it will.
Salt, spray, and humidity attack the tiny points first. A stereo can appear fine from the outside while the trouble is building inside a terminal, fuse holder, or grounding point.
The neatest-looking install is not always the best one. The best one is the install you can inspect, service, and trust after repeated wash-downs and beach launches.
Marine boat stereo systems last longer when owners do small jobs regularly instead of one major fix after a failure.
Use this checklist after outings and during storage periods:
If the boat itself needs attention too, this guide to inflatable boat maintenance made simple is a useful companion read because audio longevity often depends on the same habits that protect the rest of the rig.
A high-level install is manageable for many owners. A complicated electrical layout, multiple charging sources, or a system with expanded accessories can justify professional help.
That is not a failure. It is often the smarter decision if the boat is used often, stored outdoors, or expected to remain trouble-free through regular saltwater use.
The best buying decisions for marine boat stereo systems come from restraint. Buy the system your inflatable can support well, not the one that looks most impressive on a shelf tag.
For buyers looking ahead, there is also a clear direction in newer gear. Emerging trends for 2026 include app-controlled WiFi audio systems such as the Fusion Apollo series, which can sync music across multiple boats, and Australian tender trials showed improved audio clarity at low trolling speeds (10-15kts), according to this video covering the trend. That is especially relevant for anglers and tender owners who care about clarity without moving to a large amp-heavy install.
Use this as a pre-purchase filter.
Not every owner needs the same rig. A few combinations make practical sense.
A compact digital receiver and two well-placed marine speakers suit this role. The aim is clean sound, low fuss, and minimal intrusion into boarding and gear handling.
This type of setup benefits from simple controls and easy wash-down.
A slightly larger layout can justify four speakers if there is proper seating spread and the mounting positions are solid. A small console helps bring order to the install.
The key is keeping the deck clear. Family boats need room to move more than they need oversized audio.
A receiver with straightforward phone control and speakers aimed for low-speed clarity is often the smart play. Anglers usually value battery discipline, less clutter, and equipment that does not interfere with rod work.
Newer app-based control is particularly attractive in this context because the helm and cockpit stay cleaner.
The best stereo upgrade is the one that makes the boat more enjoyable without making any other part of ownership harder.
Before you commit, confirm these points:
| Check | What you want |
|---|---|
| Receiver type | Compact, marine-rated, easy to read and control |
| Speaker choice | Marine-built, efficient, sized appropriately for the hull |
| Power plan | Fused, secure, realistic for your boating day |
| Mounting plan | Solid, tidy, and compatible with portability |
| Wiring method | Protected, sealed, and serviceable |
| Use case | Matched to family cruising, fishing, camping, or tender duty |
For inflatable owners, that checklist beats chasing fashion every time. The right marine stereo turns a capable boat into a more enjoyable one. It should feel integrated, not bolted on as an afterthought.
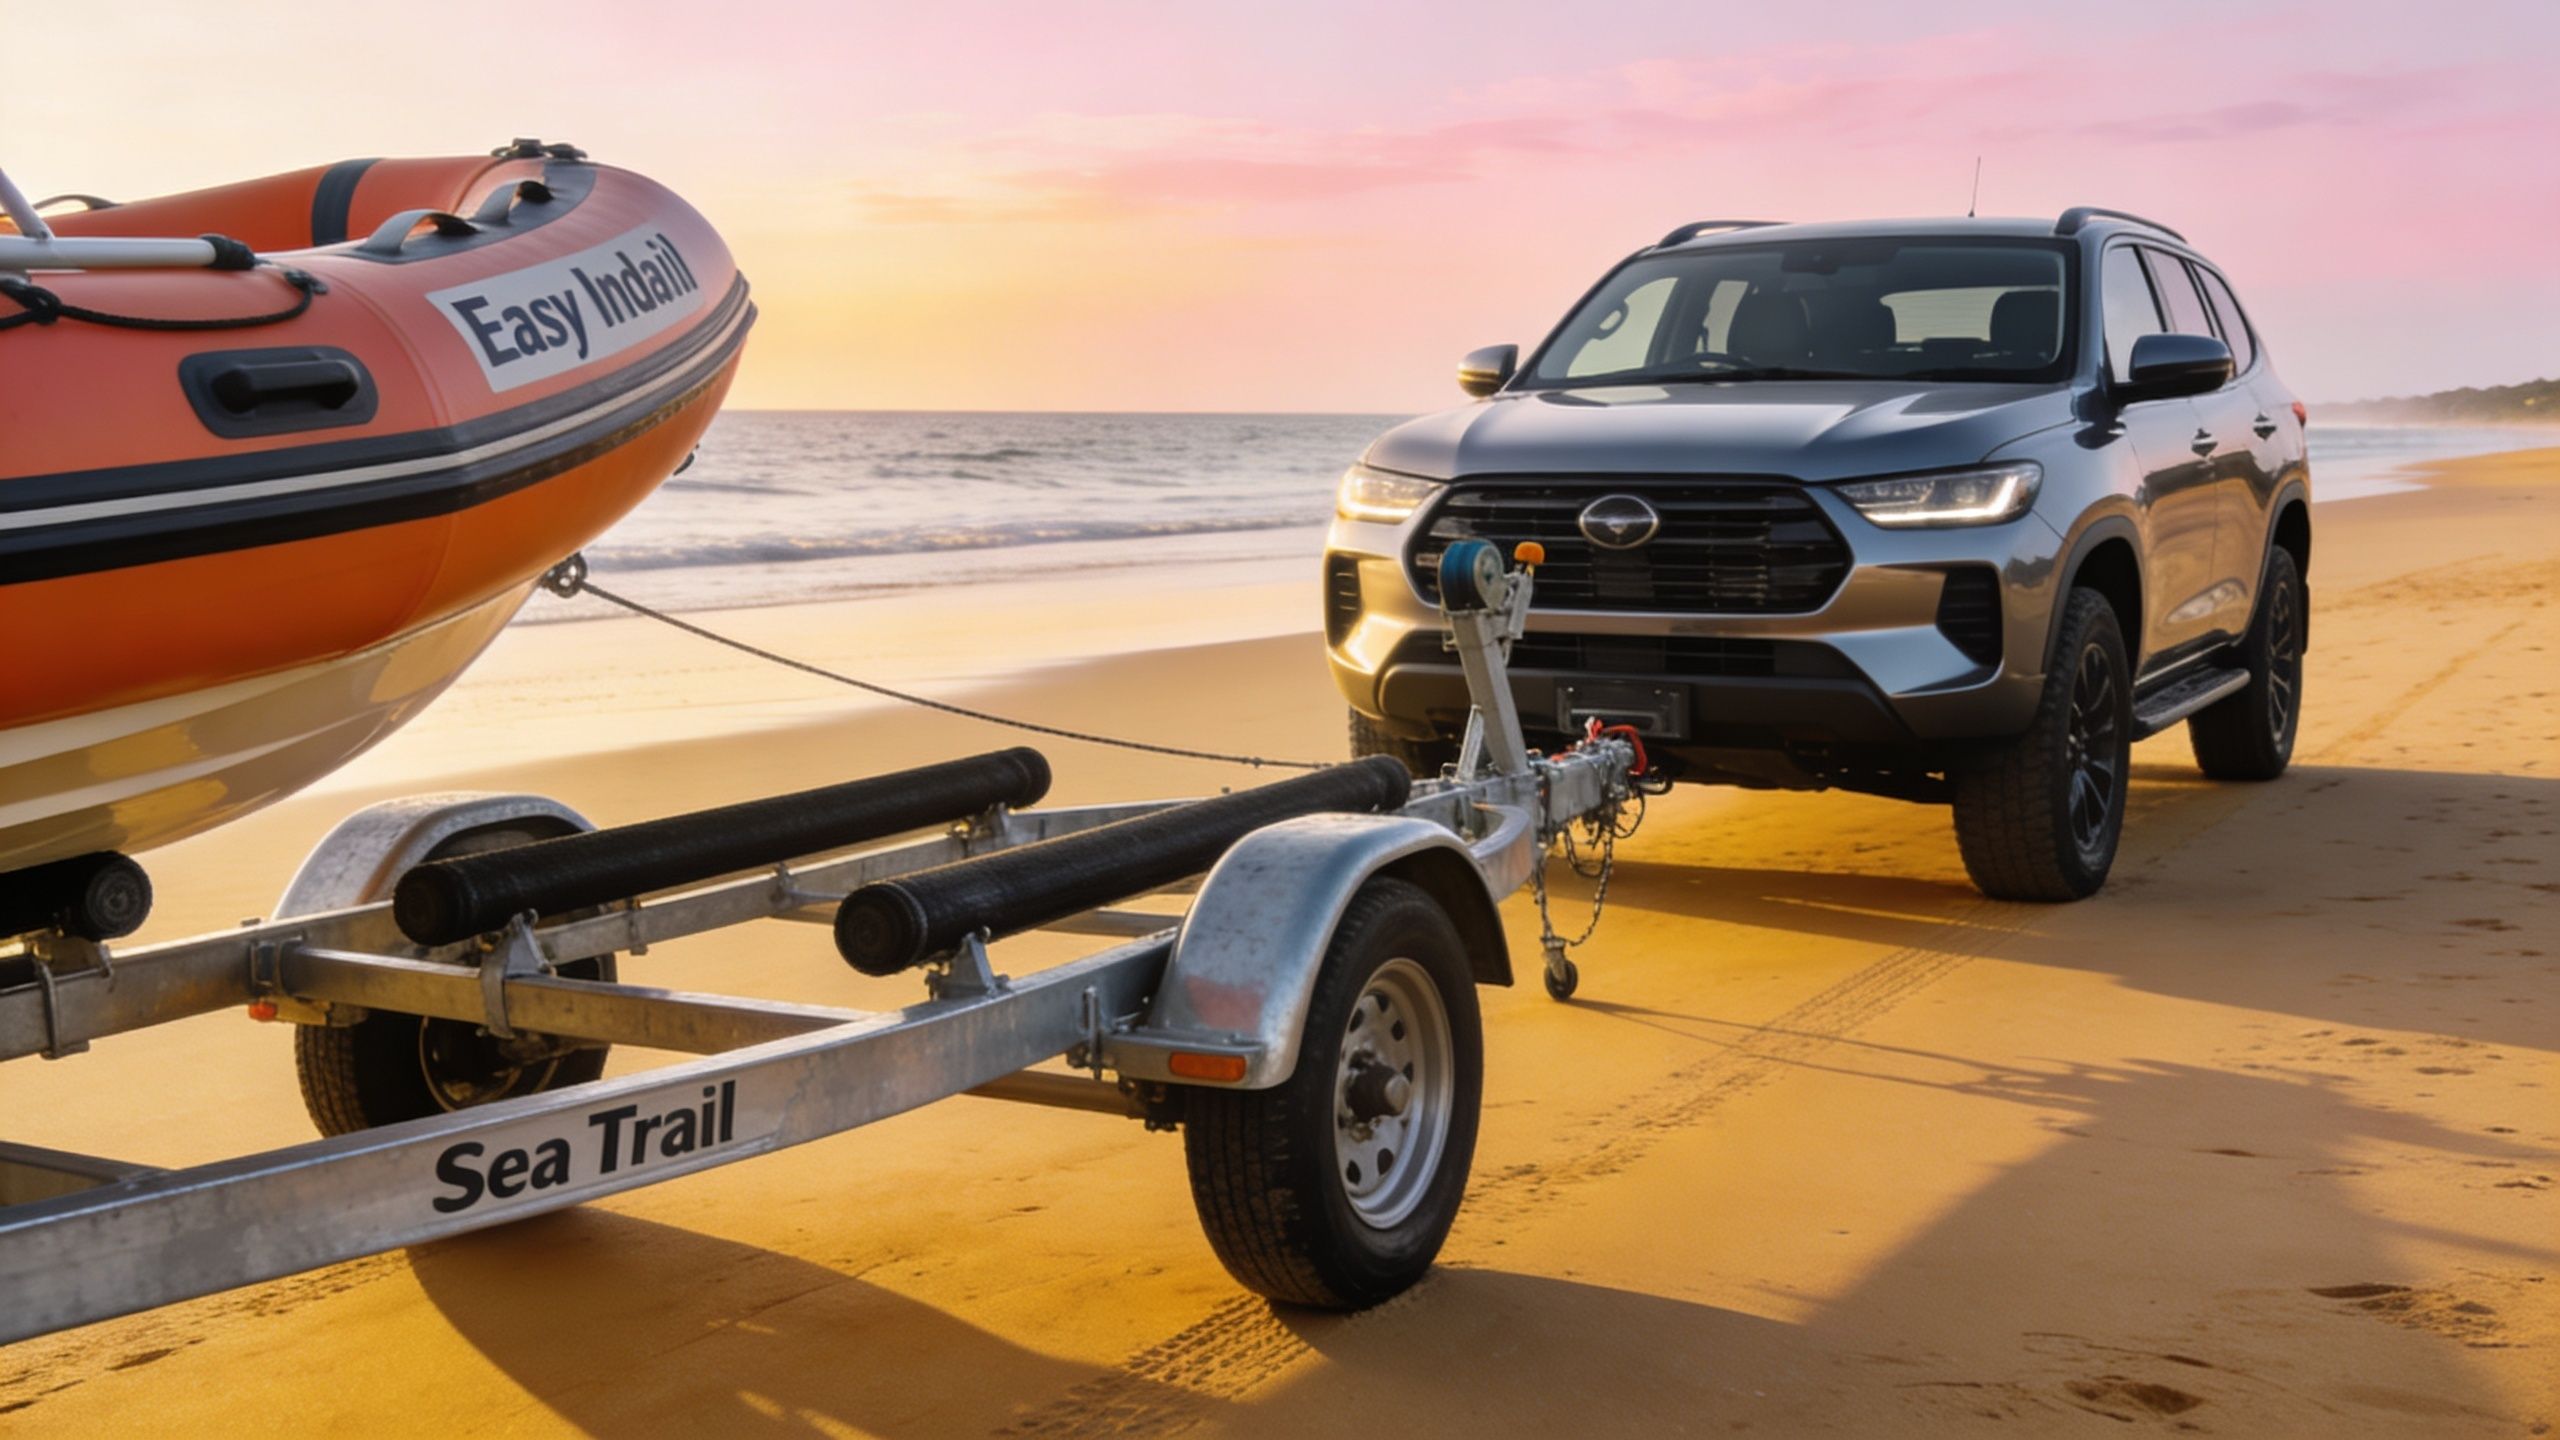
If you want a portable boat that is easy to outfit properly from the start, Easy Inflatables offers inflatable boats, RIBs, yacht tenders, inflatable catamarans, accessories, and practical support for building a rig that works effectively on Australian water.