
TL;DR: Sikaflex 291i has a skin time of 60 minutes and an open time of 45 minutes at 23°C and 50% relative humidity, according to the official Sika technical data sheet. For practical jobs, a sealed part can often be handled lightly after a few hours if you’re careful, but you must wait at least 1 week before full water immersion under the same official guidance.
A lot of boat owners only ask about cure time after they’ve already laid the bead.
That’s usually when the pressure starts. The tender is meant to go on the roof racks tomorrow, the family trip is booked, or there’s a small leak in a seam and you just want to get back on the water. Sikaflex 291i is a proven marine workhorse, but if you rush it, even a neat-looking job can fail where it matters most.
On inflatable boats, that matters more than people think. Tubes flex, transoms vibrate, fittings get loaded from odd angles, and Australian conditions can swing from sticky tropical humidity to dry winter air fast enough to change how the sealant behaves. The bead that cures nicely in a coastal shed can stay soft much longer in a cold, dry garage.
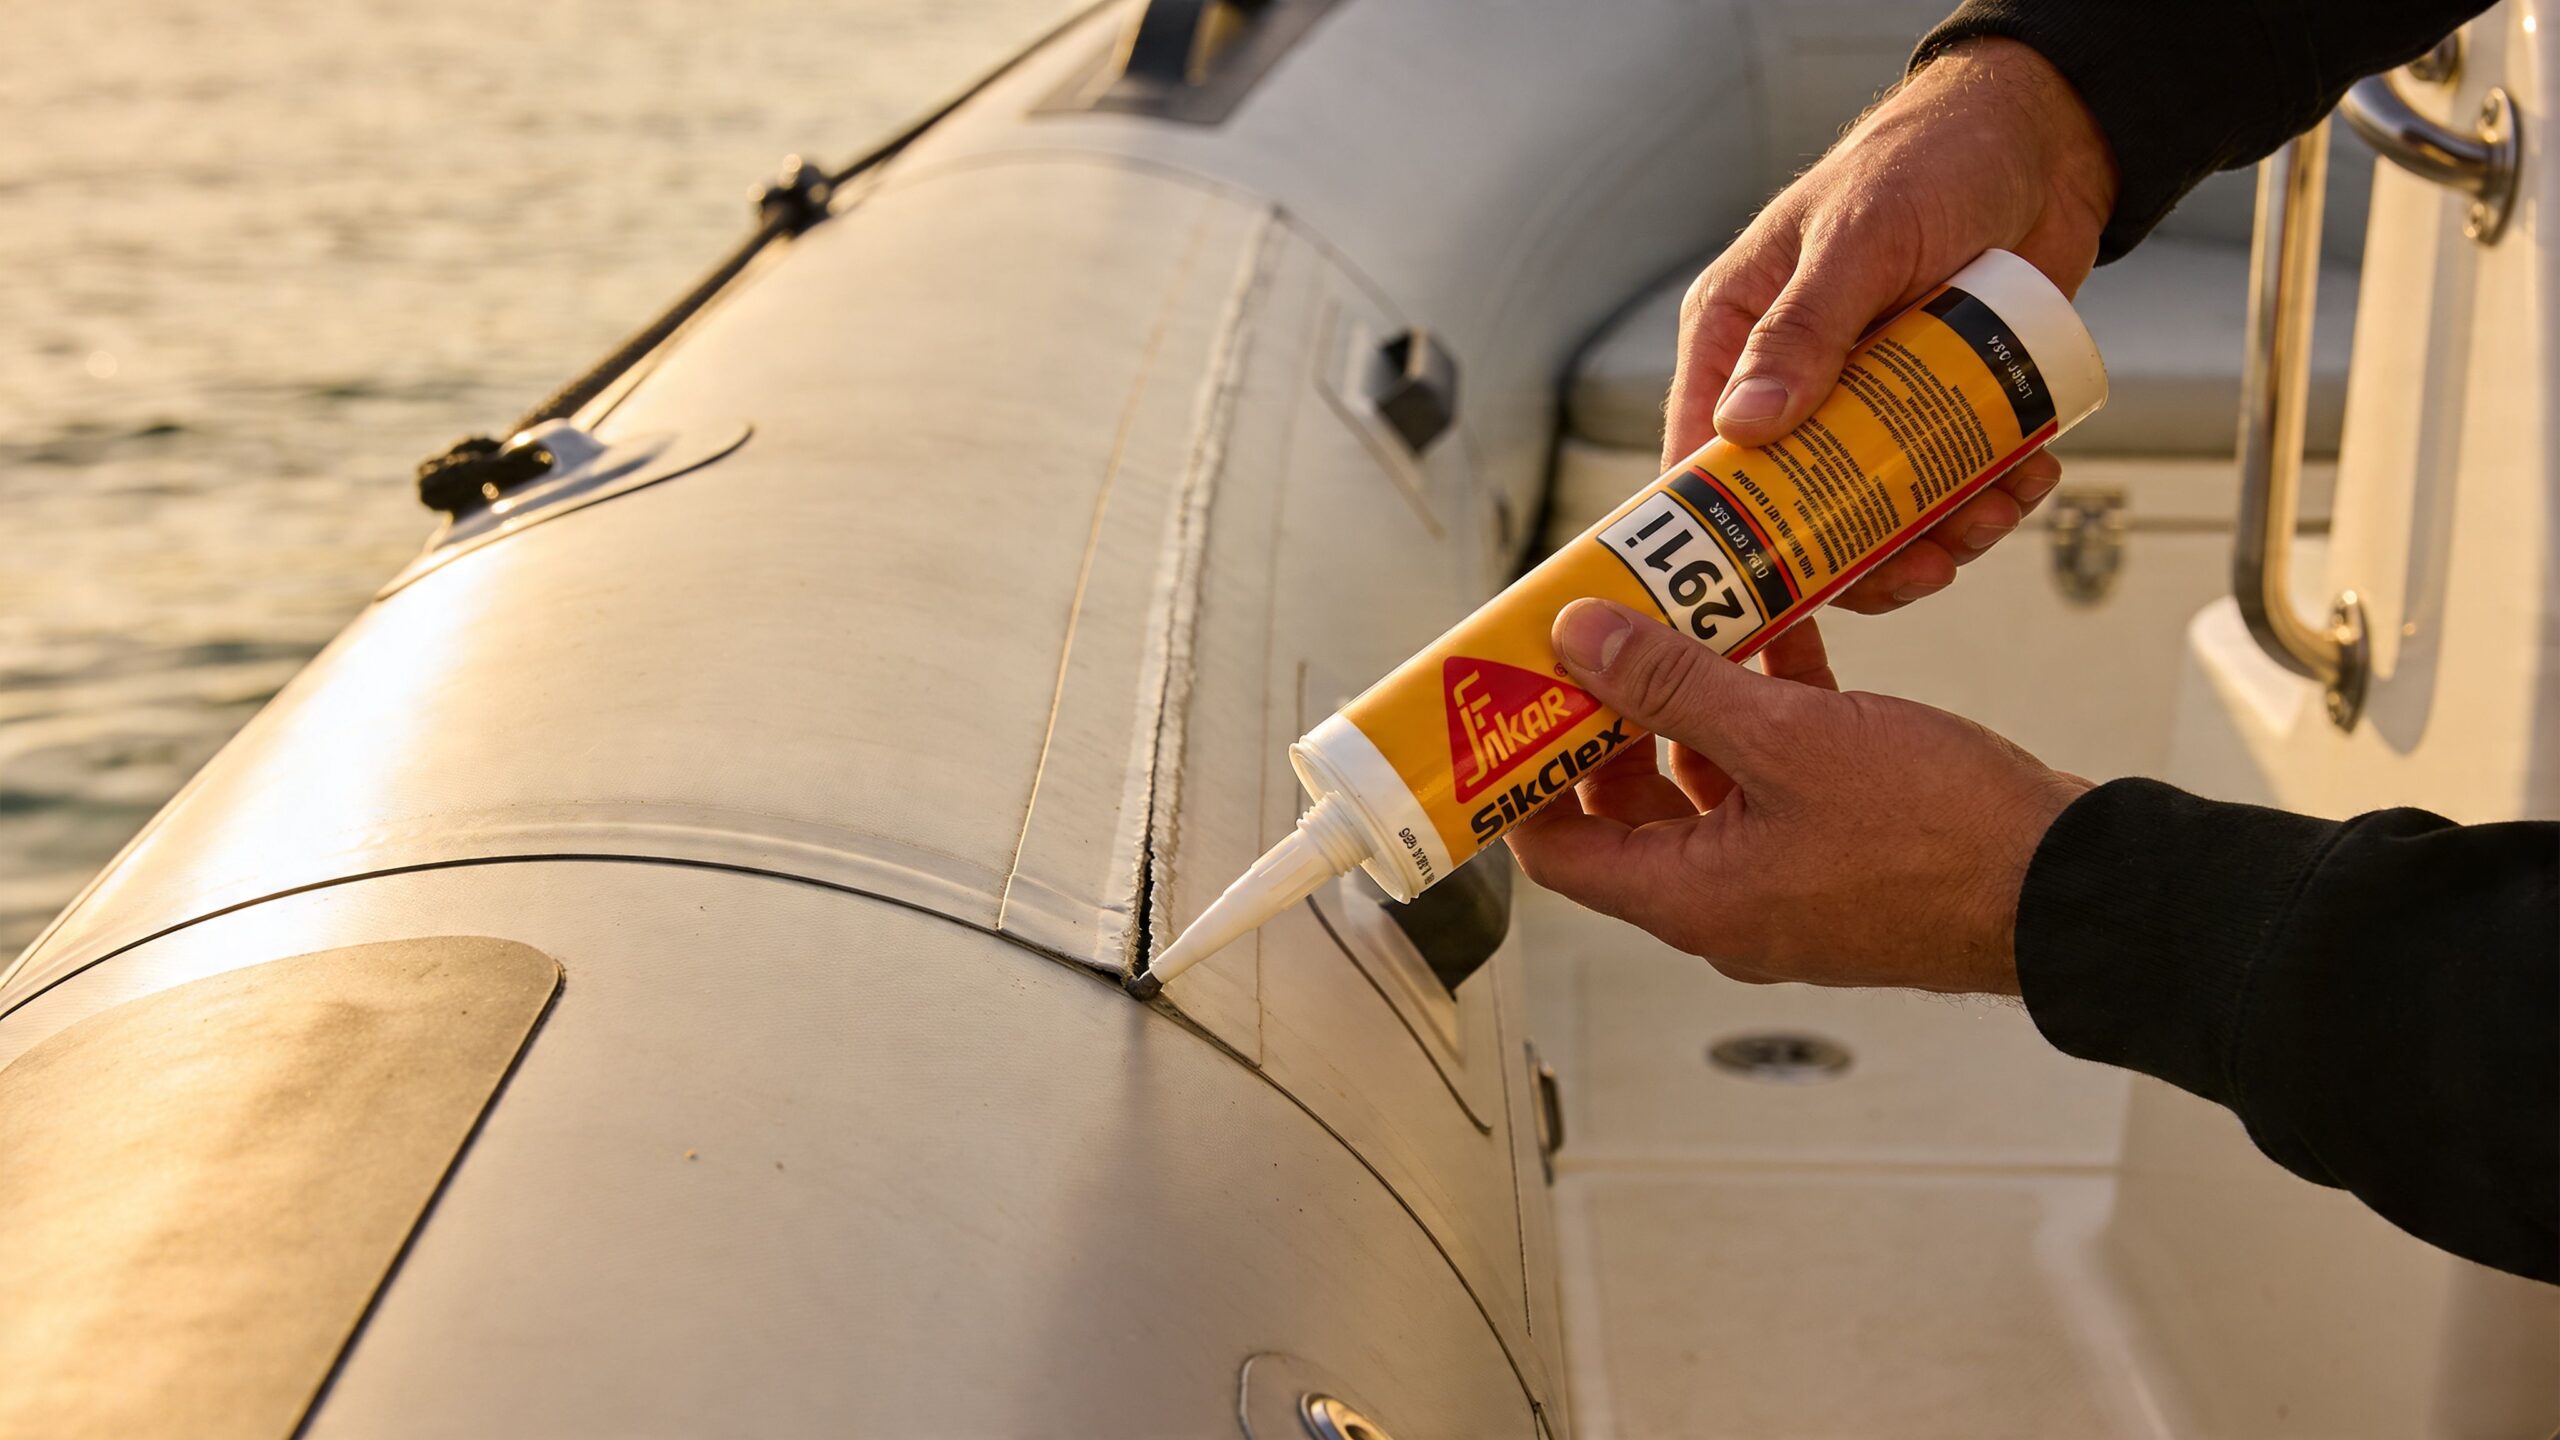
The most common real-world scenario is simple. You’ve found a leaking fitting on an inflatable, re-bedded a small deck fitting, or sealed around a transom edge on a Friday afternoon. The job itself takes minutes. The waiting is what catches people out.
The problem isn’t just impatience. Boat owners often hear one rough number, then treat it as universal. It isn’t. Sikaflex 291i might look firm on the outside fairly quickly, but that doesn’t mean the centre of the joint is ready for stress, vibration, or water.
Most failures happen because the sealant was asked to do too much too soon.
That can mean:
If the bead has stopped looking wet, that only tells you what the surface is doing. It tells you very little about the middle of the joint.
On inflatables and small tenders, this matters even more because the structure doesn’t stay rigid. Every launch, every beaching, every bit of outboard vibration asks the cured sealant to flex with the boat. If you want a repair to last, you need to think beyond “dry to touch”.
The best approach is to work backwards from when you need the boat. If the boat has to be in the water next weekend, today may be the right day to seal it. If you need guidance for loading, transport and setup around a repaired tender, these boat trailer tips for inflatable boat owners are worth reading alongside your sealing plan.
Treat cure time like part of the job, not dead time after the job. That’s how builders avoid rework.
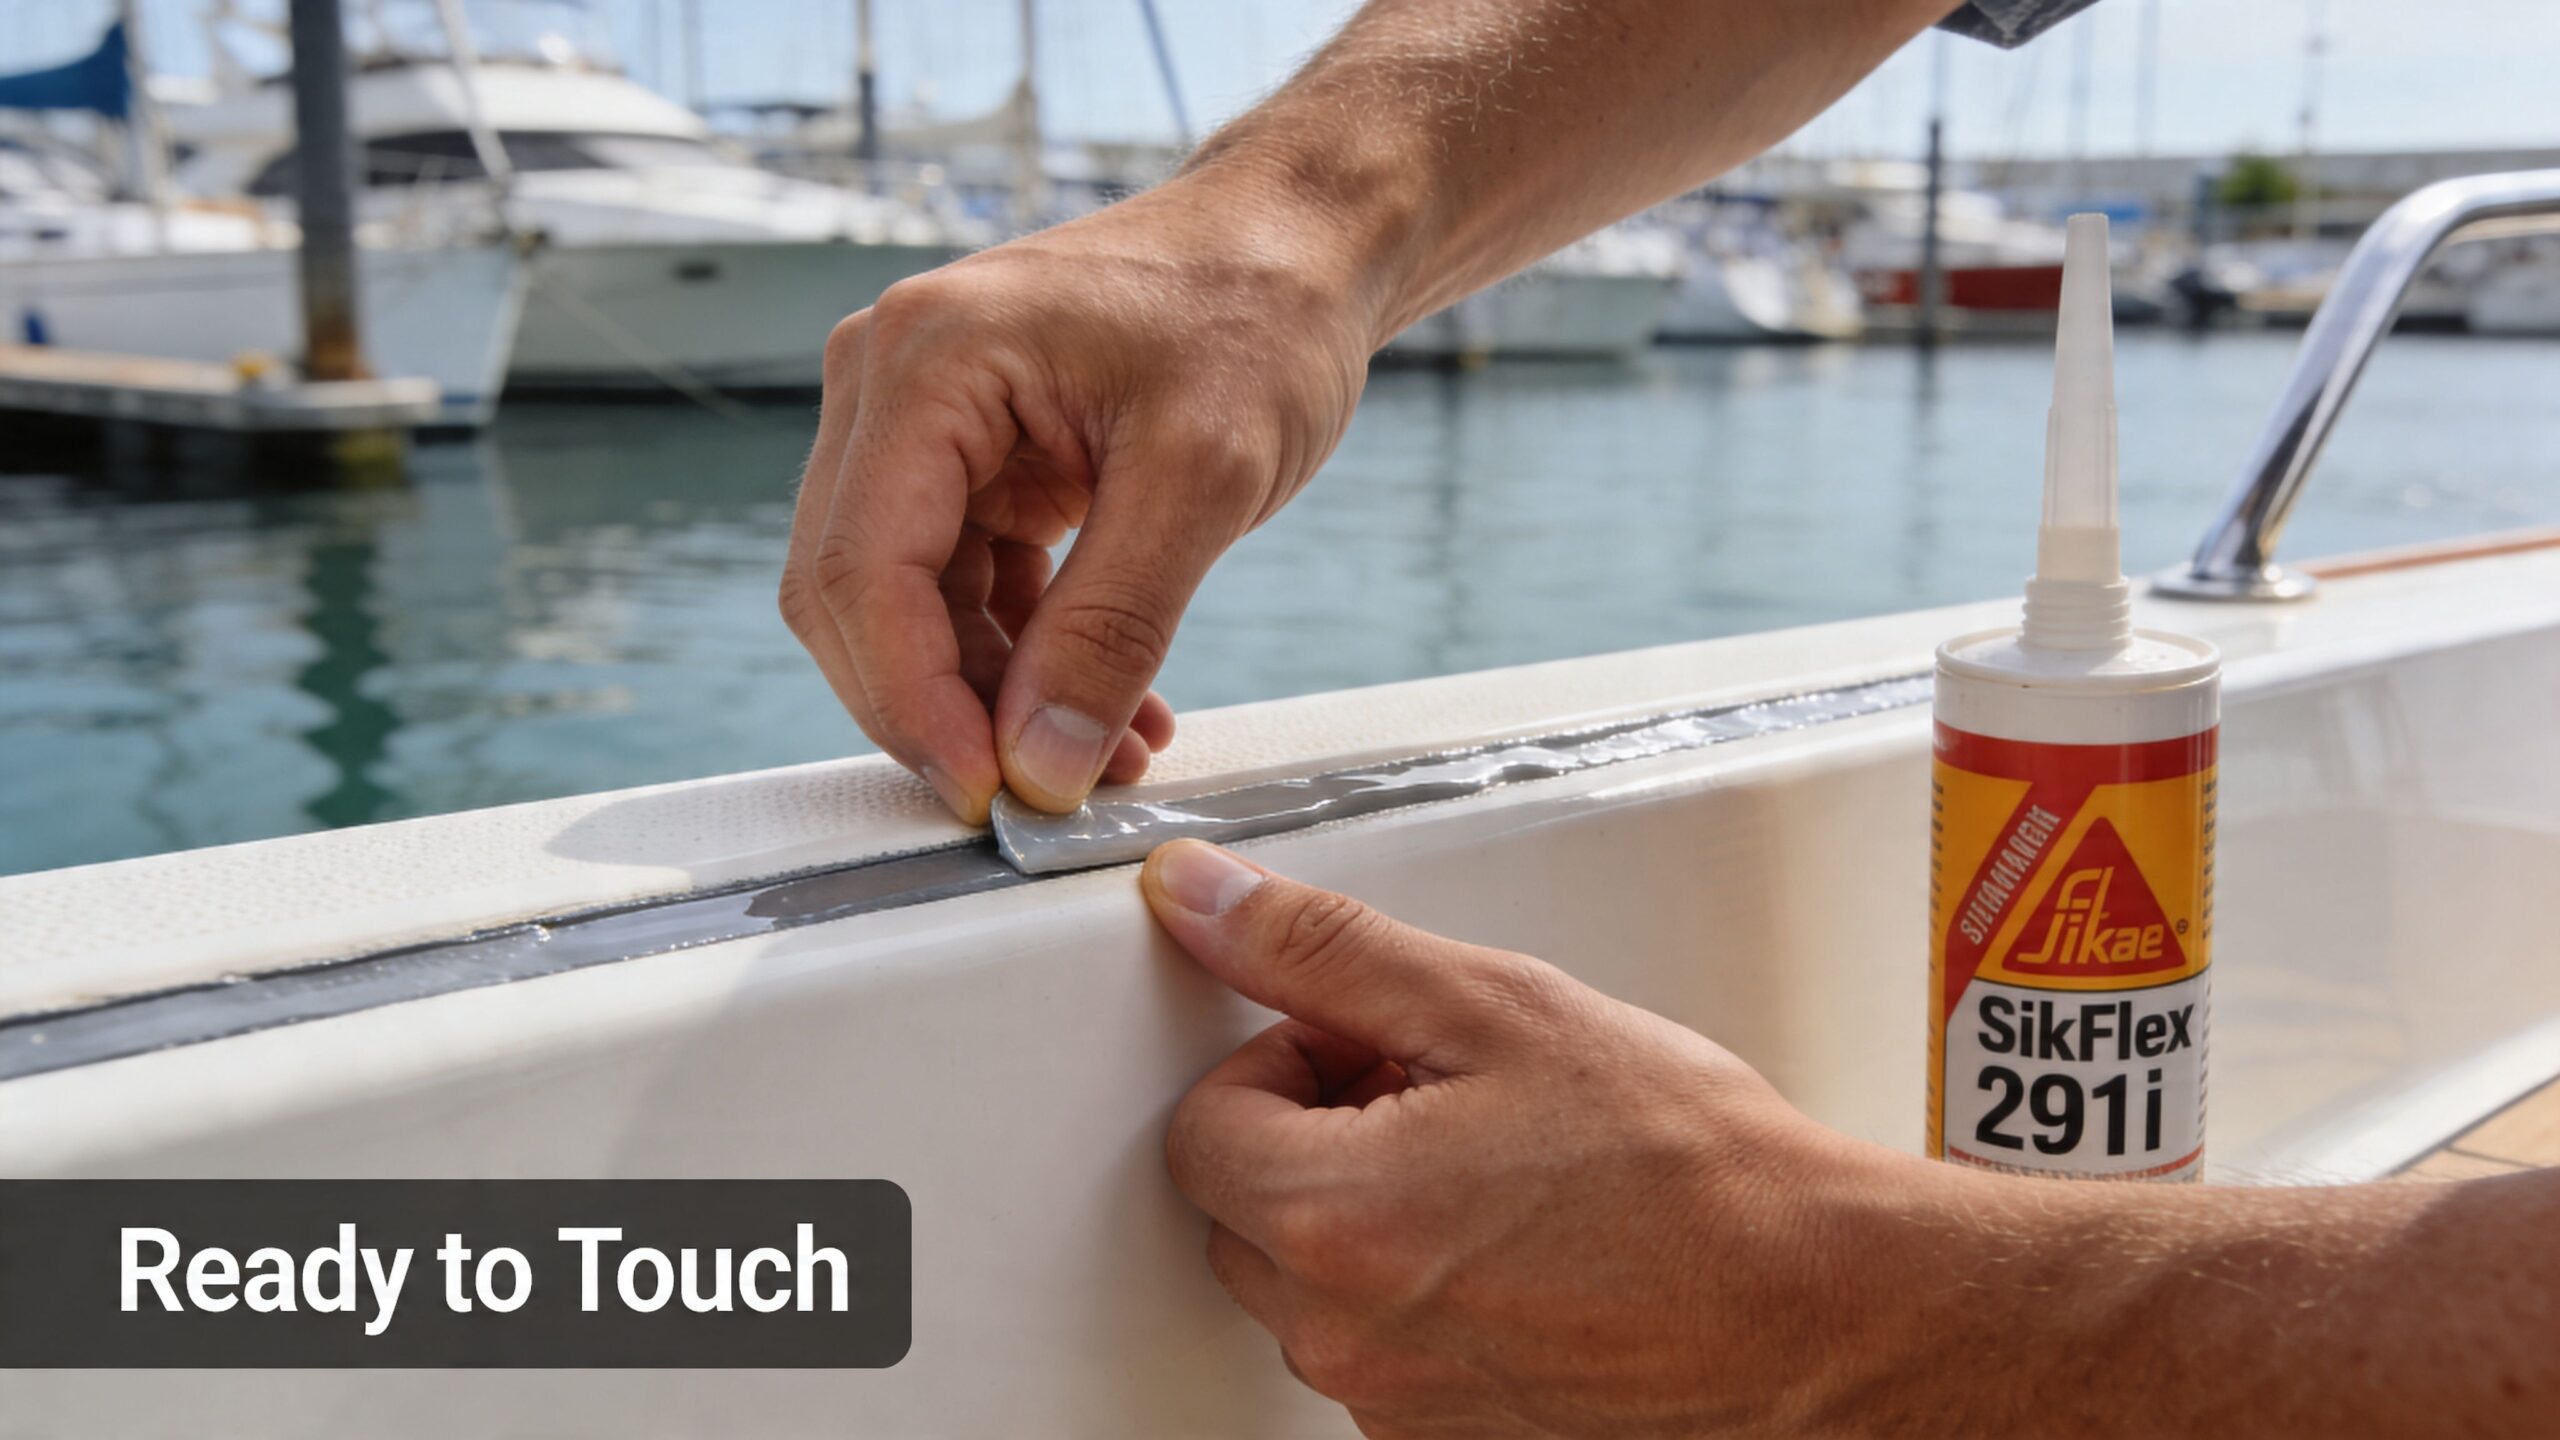
You finish bedding a transducer or resealing a fitting on Friday afternoon, the bead looks tidy by dinner, and by Saturday morning it feels firm on top. That is exactly when inflatable boat owners get caught out. Surface feel is only one part of the job.

For Sikaflex 291i, there are three separate stages to keep straight: open time, skin time, and full cure through the bead.
At the standard reference conditions noted earlier, the product gives you about 45 minutes of open time and about 60 minutes to skin formation. In plain workshop terms, that means you have a fairly short window to position hardware, tool the bead properly, and stop touching it before the surface starts to close over.
Full cure is the slow part. A 12 mm bead can take around 12 days to cure at standard room conditions. In cooler conditions, that same period may only cure to about 6 mm depth. That gap is what trips people up in Australian sheds and garages. A neat-looking surface can hide a soft centre for days.
Open time is your assembly window. Get the fitting seated, screws or bolts brought up evenly, and the excess tooled while the sealant is still wet enough to bond cleanly.
Skin time is when the surface starts resisting your finger or tooling stick. After that point, going back over the bead usually makes the finish worse and can drag a weak skin across the joint.
Cure depth decides when the seal can handle load, flex, and water exposure with some margin.
On a rigid hull, early movement is risky enough. On an inflatable, it is worse because the joint has to move with tube pressure changes, trailer vibration, beach launches, and the odd hard bounce in chop.
| Measurement | What it means in the shed | What can go wrong if you ignore it |
|---|---|---|
| 45 minutes open time | Have parts dry-fitted and ready before you cut the nozzle | Slow assembly can leave poor wetting and a messy bond line |
| 60 minutes skin time | Stop fussing with the bead once it starts to skin | Re-tooling can tear the surface and spoil the seal |
| 12 mm in 12 days at reference conditions | Thick joints need proper waiting time | The middle can stay soft long after the top looks finished |
| Much slower cure in cooler conditions | Southern winter jobs need extra patience | Early launch or transport can shift the joint before it has strength |
The trade-off is simple. A narrow bedding line around a hatch or fitting settles much sooner than a heavy fillet, but the heavy fillet is often the one people are most tempted to trust early because it looks substantial.
If you compare products across different jobs, Sikaflex 522 adhesive sealant comes up often in caravan and motorhome work for similar moisture-curing behaviour. The application is different, but the lesson is the same. Judge the wait by bead size and conditions, not by whether the top has gone off.
You can lay the same bead of Sikaflex 291i on two boats and get two very different results. A Queensland repair done in muggy coastal air will usually firm up far sooner than the same job in a cold Tasmanian shed, even if the bead size and prep are identical.
That catches inflatable boat owners out all the time, because Sikaflex 291i cures by reacting with moisture in the air. Temperature matters, but Australian humidity swings matter just as much. Generic advice from overseas often misses that.
The primary Sika technical data sheet shows cure slows sharply in cooler conditions, with shallower cure depth at 10°C than at 23°C under the same relative humidity. See the Sikaflex-291i technical data sheet from Sika. In plain workshop terms, a bead that looks fine on top can still be soft underneath if the air is cool or the joint is heavy.
That matters on boats because fresh sealant is rarely sitting in a lab. It is dealing with tube flex, fittings under tension, and sheds that are too cold in the morning and too damp by afternoon.
The pattern is predictable once you have seen it a few times.
Thick sections are the trap. The surface skins, the job looks finished, and the centre is still green.
| Condition | What usually happens | Real-world effect on an inflatable boat repair |
|---|---|---|
| Warm and humid air | Faster skinning and better early cure | Deck fitting or rubbing strake work is less likely to shift if left alone properly |
| Cool and dry air | Slower cure through the full bead | Handle patches and hardware too soon, and the bond can creep |
| Thick bead or fillet | Outside cures first, middle stays soft longer | Transom edges and corner seals need more waiting time than they appear to |
| Thin bedding layer | More even cure | Small fittings often settle sooner than owners expect |
| Stable shed conditions | More predictable result | Easier to plan follow-on jobs like antifouling bottom paint for inflatable boats and tenders |
Set the job up for the conditions you have, not the conditions you wish you had. Start later in the day if the morning is cold. Keep the boat under cover. Warm the workspace gently if needed, but do not cook the joint with direct heat. And keep bead size sensible, because extra sealant does not give extra safety if the middle cannot cure properly.
The common mistake is trusting appearance. A tidy bead in Australian coastal weather can still be too fresh for load, and a winter repair in the south can need far more patience than the cartridge label suggests.
The chemical details are less critical. A safe timeline is what’s required.
The smart way to handle sikaflex 291i cure time is to break it into milestones. Not all jobs need the same level of cure before the next step. A lightly loaded inspection hatch is different from a transom edge or a fitting that will cop vibration all day.
Light handling often becomes possible once the sealant has firmed up enough that you won’t smear or deform the bead. In practice, that’s a cautious handling stage, not a green light for rough use.
Use common sense here:
If you plan to coat surrounding areas or continue other boat maintenance, sequence matters. If the boat also needs hull prep, this guide to antifouling bottom paint for inflatable boats and tenders is best read before you lock yourself into a curing schedule.
A practical workshop order usually looks like this:
Don’t confuse “can touch it” with “can trust it”.
For immersion, the manufacturer guidance is the hard line. The official data says minimum 1 week before full water immersion under the product’s stated conditions, as noted in the earlier linked technical sheet.
That’s the minimum. If the repair is critical, the bead is thick, or the weather has been less than ideal, waiting longer is often the smarter move. In practice, conservative scheduling usually saves more time than doing the repair twice.
You finish a neat bead in the shed, it skins over nicely, and by the afternoon it looks done. Then the fitting shifts on the drive to the ramp or a damp patch under the hardware shows you the joint never really had a chance. That usually comes back to prep, joint size, or conditions on the day, not the product alone.
A strong seal starts on a surface that is clean, dry, and stable. On Australian boats, the usual troublemakers are salt film, sunscreen, polish residue, oxidised aluminium, and chalky old coatings. Any of that left behind weakens adhesion before cure even starts.
Get the job ready before you cut the nozzle. Clean back to sound material. Dry the area properly. Dry-fit the part so you are not scrambling once sealant is on the boat. On older inflatables and alloy fittings, check whether the substrate needs extra prep or a primer for the joint you are doing.
Sikaflex 291i behaves very differently in Cairns in summer than it does in Hobart on a cold morning. Warm, humid air helps it along. Cold substrates, stiff cartridges, and shaded winter sheds slow everything down and make the bead harder to lay neatly. On very hot days, the opposite problem shows up. The sealant starts to skin faster, and rushed tooling usually leaves a weaker finish.
If the tube feels cold in your hand, wait. If the deck is hot enough to make the sealant grab too quickly, shift the job to a cooler part of the day. Good timing saves a lot of rework.
These are the habits that matter in real repairs:
For areas that see more heat than a standard bedding job, it also helps to compare products before you commit. This guide to high temperature adhesive for marine and repair use is useful if you are sealing near hot components or working out whether 291i is the right fit.
The goal is a joint that stays sealed after flex, vibration, sun, and spray. A tidy bead just makes it easier to inspect.
I do not start on a wet surface just because the rain has stopped. I do not lay a fat bead to cover poor fit-up. I do not trust a joint just because the outside feels firm.
Those shortcuts cause the same headaches every time. Water tracks in, hardware loosens, and the repair has to be cut out and done again. On an inflatable, that can mean extra movement around fittings and more stress on the surrounding material. If you want the seal to hold in real Australian conditions, build the joint properly from the start.
You finish a repair in the shed on Friday, the sealant skins over by dinner, and by Saturday morning the boat looks ready. That is exactly when inflatable owners get caught out. A RIB or tender can look fine on the trailer, then start flexing around fittings and transom edges the moment it hits chop.
Inflatables put a sealant joint under a different kind of stress to a rigid hull. Tubes move, floors shift under load, and outboard vibration keeps working the same joint hour after hour. In Australian conditions, that matters even more. A repair done in humid North Queensland behaves differently from the same job done in a cold Tasmanian shed, even if the cartridge and the bead size are identical.
Sikaflex 291i suits sealing jobs where you need a flexible marine joint that can handle movement without turning brittle. On inflatables, that usually means bedding hardware, sealing around fittings, resealing transom interfaces, and keeping water out of joint lines that are sound but no longer watertight.
Used properly, it gives you a forgiving seal around parts that never stay perfectly still.
It is not a substitute for the right adhesive system on every PVC or Hypalon repair. If a fitting is tearing away from the base fabric, or the substrate itself is failing, sealant alone will not save it. The fix has to match the job.
Generic cure advice often falls apart on inflatable boats because owners are working in very different climates. In Queensland, high humidity can push surface cure along quickly, which tempts people to handle the boat too soon. In Victoria or Tasmania, winter temperatures can slow the whole job down and leave the bead looking finished before the centre has developed enough strength for real use.
That catches people on:
The common mistake is reading the surface instead of judging the whole joint. A bead that feels firm on the outside can still be too green for vibration, trailer bounce, or a hard afternoon in short chop.
For boat owners tackling these jobs regularly, our inflatable boat repair resources for tenders, RIBs, and portable boats cover the wider repair side as well.
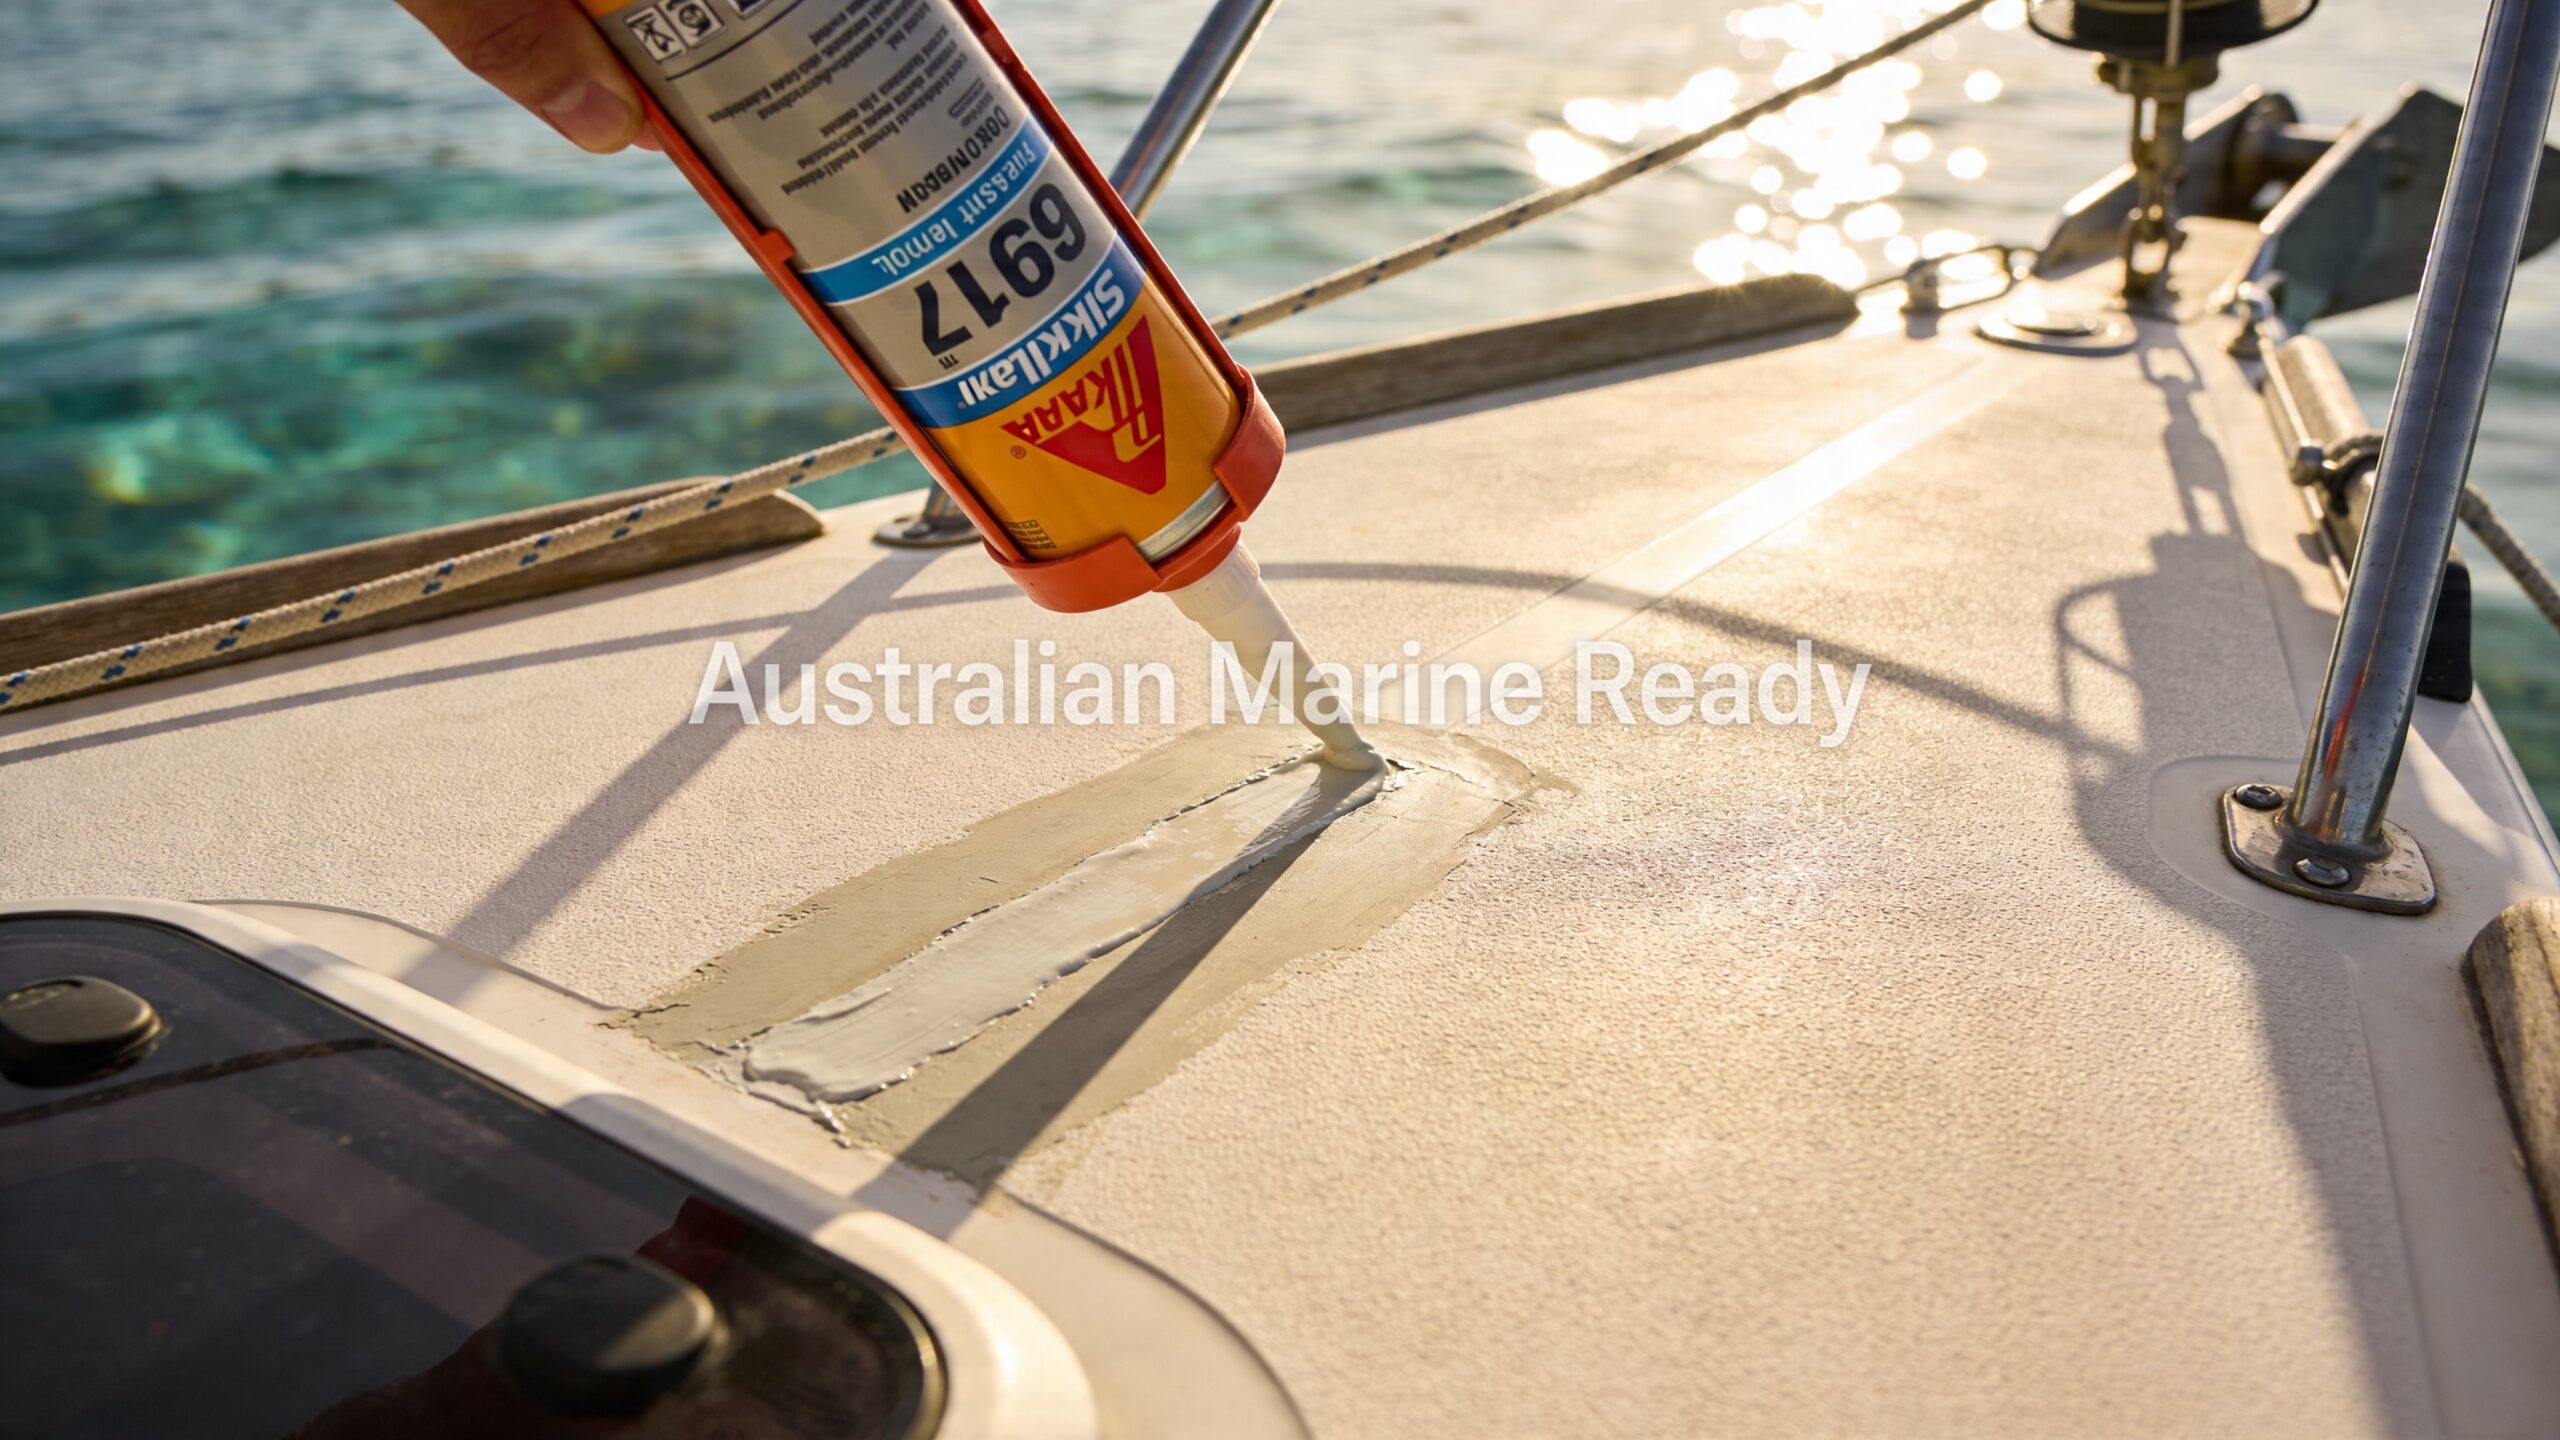
On customer inflatables, I look at the load path before I look at the bead. A mount for a sounder transducer, a rod holder base, or a transom edge seal might seem minor in the workshop. Once the outboard is running and the hull is landing off waves, that same joint has to cope with twisting, vibration, and repeated flex without letting water track in.
That is why tidy application matters on inflatables more than many owners expect. A controlled bead, solid surface prep, proper clamping or support where needed, and enough cure time for the way the boat will be used. Those basics give 291i a fair chance to hold up in service.
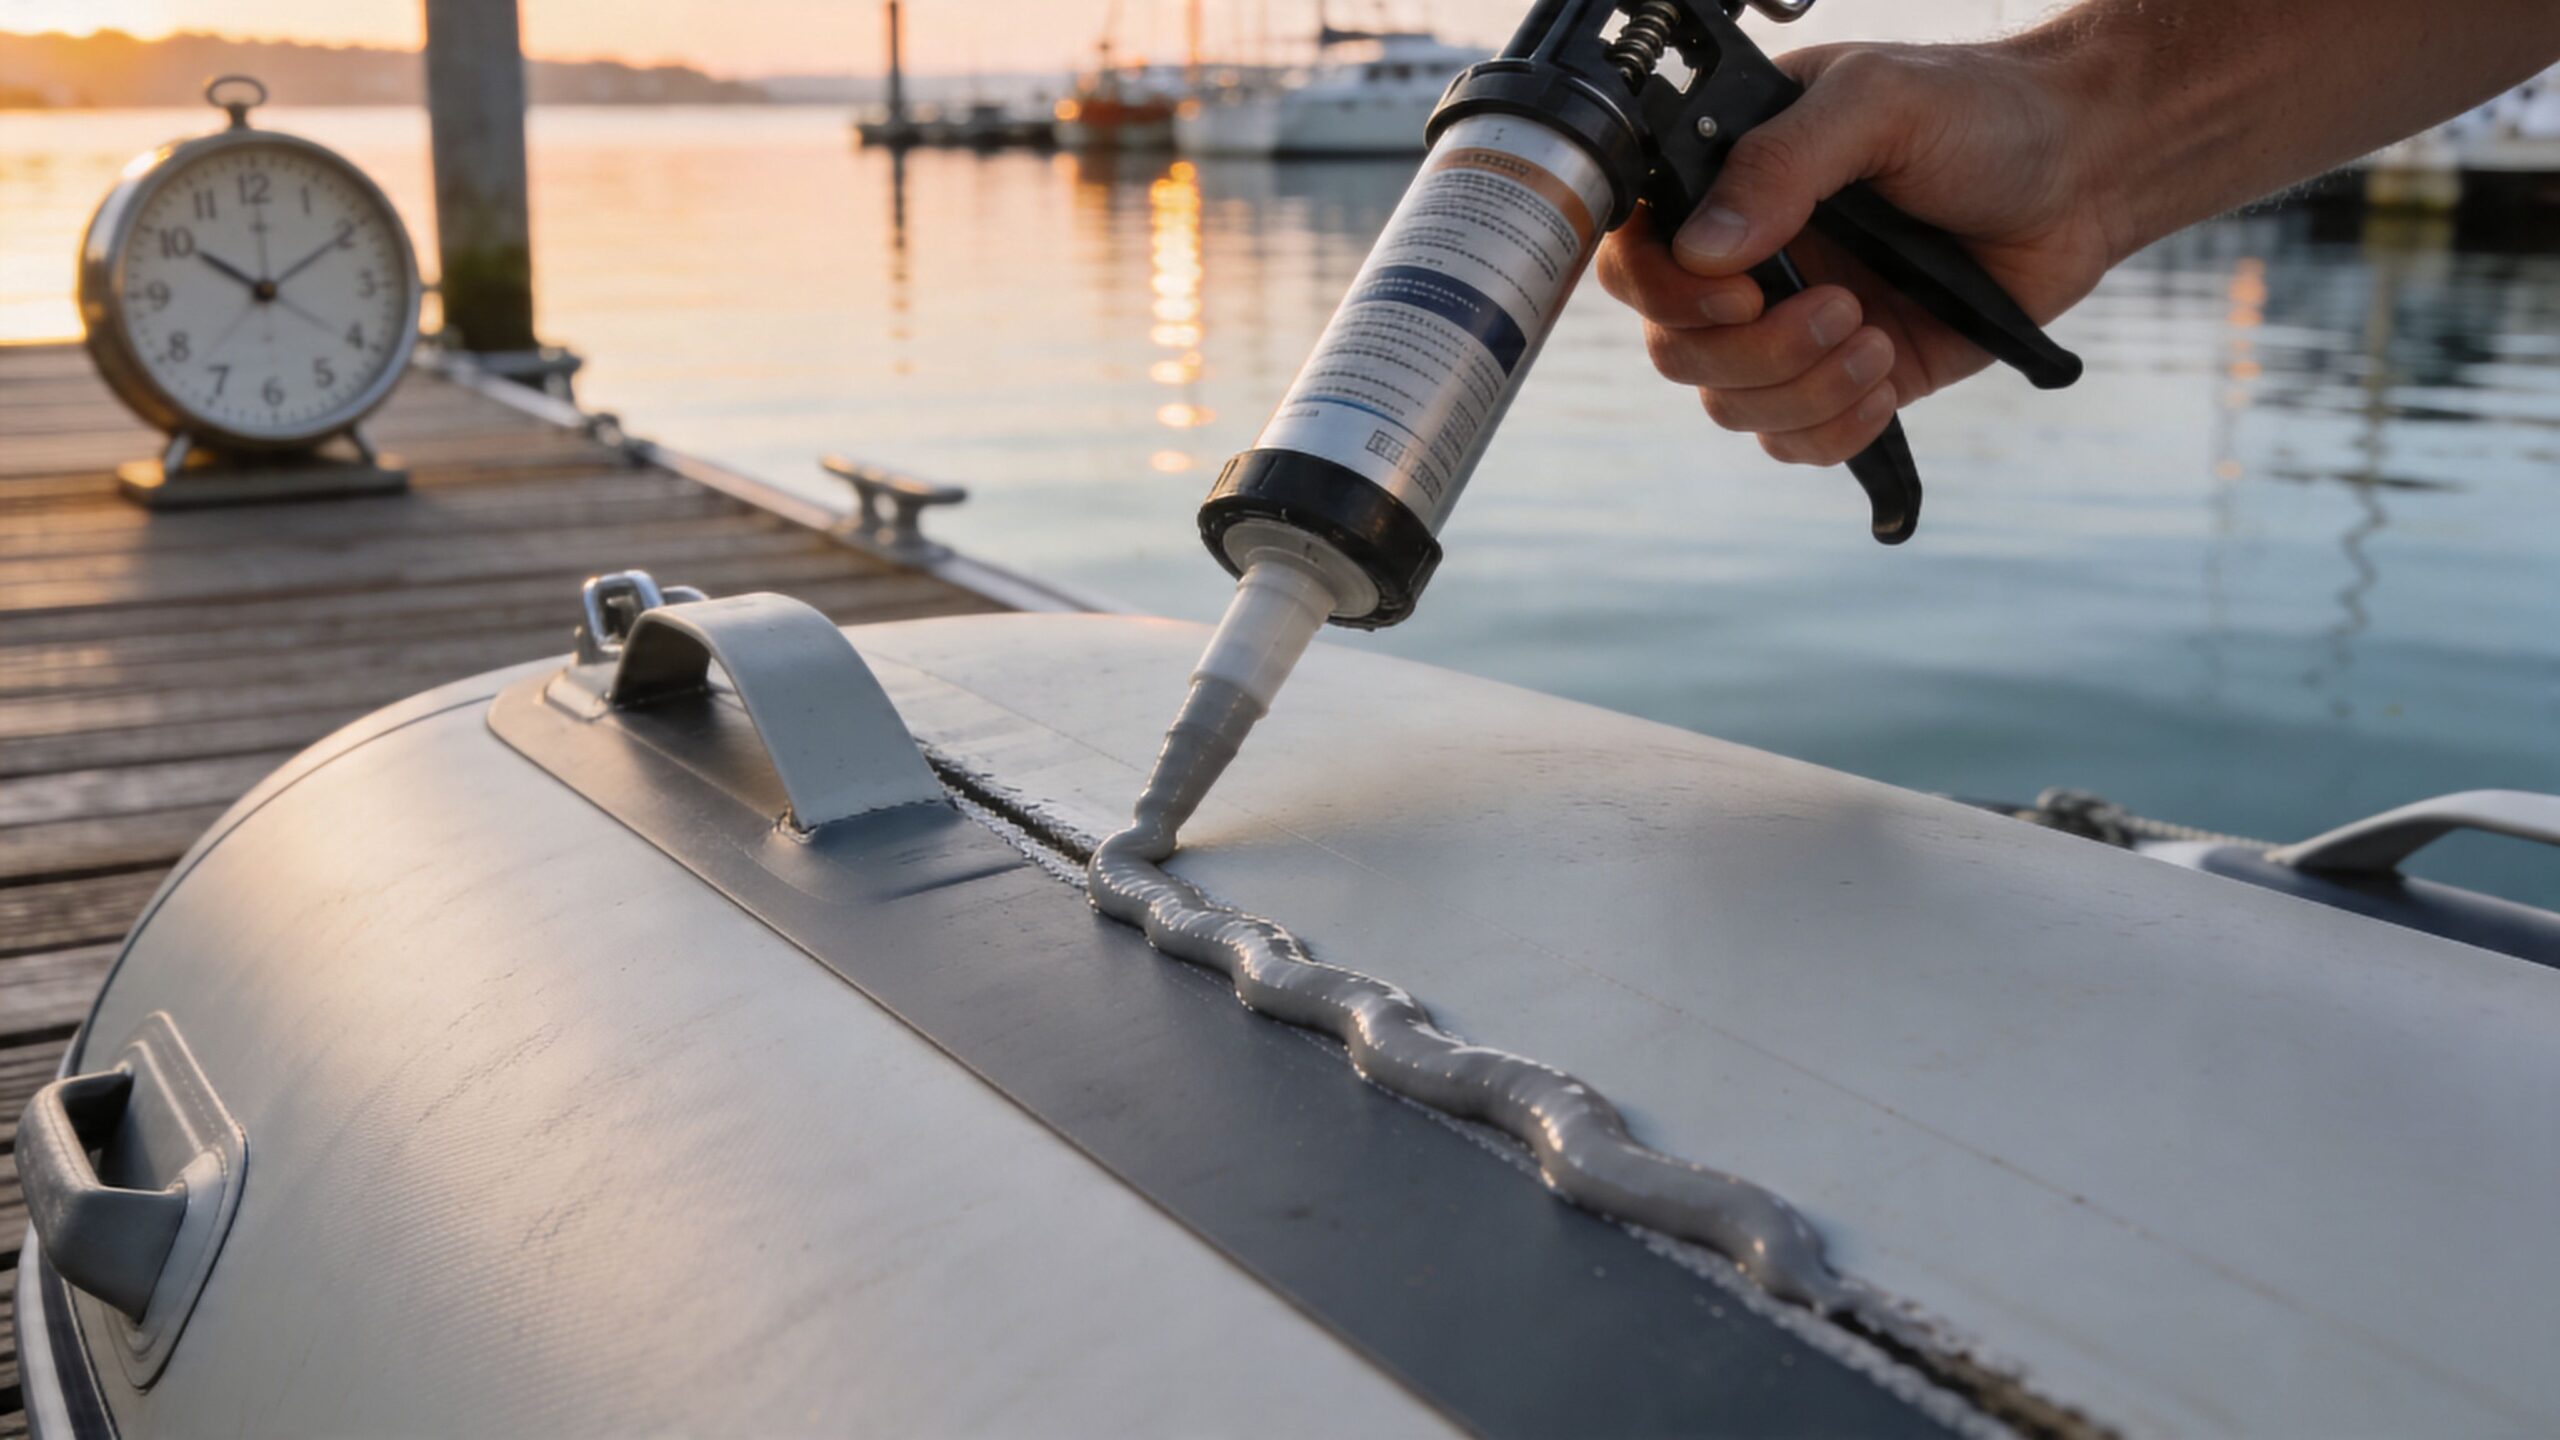
This short demonstration helps visualise the sort of application control that matters on marine sealant jobs:
If the job sits in a high-movement area, I stay conservative. A boat that only has to look sealed at the ramp is easy. A boat that stays sealed after a season of salt, sun, and vibration is the standard that matters.
You finish a tidy repair on Friday, the bead looks good by Saturday, and Sunday morning at the ramp is glassy. That is exactly when owners launch too early.
Australian conditions punish half-cured sealant fast. North Queensland humidity can skin a bead quickly but still leave it soft underneath. Southern winter jobs can stay firm on the surface and cure slowly through the body. Add salt spray, UV, trailer vibration and hull flex, and a repair that looked fine in the shed can start lifting at the edges or weeping once it is back in service.
Before I sign off on a boat for use, I want a simple, non-destructive check:
This matters most on fittings that see shock loads, repeated flex, or constant wetting.
I have seen small deck fittings hold up after a standard wait, then seen lower transom and splash-zone jobs fail because they were put straight into saltwater duty. The difference was not the product. It was the loading, the moisture exposure, and how much cure the joint had before real work started.
There is forum discussion from Australian boat owners suggesting longer wait times can improve results in hot, wet coastal use, but that is anecdotal, not a formal primary-source test result. The safe call is to treat generic brochure timing as a baseline and give heavily loaded or regularly wet joints more time where you can.
On inflatables and small trailer boats, I am cautious with:
Those repairs do not fail in a nice, clean way. They loosen a little, pump a little water, and get worse each trip.
If you are doing your final checks before launch, it also helps to review the broader inflatable boat compliance requirements in Australia so the boat is sound in more than just the repair area.
A reliable seal is proven on the water after heat, salt, flex and vibration. Give Sikaflex 291i enough time, test the job with a critical eye, and you have a much better chance of getting a repair that lasts through an Australian season instead of one decent weekend.