
How to Commission a New Inflatable Boat: The Definitive Australian Checklist
Your new inflatable has arrived. Here’s the definitive, step-by-step guide to commissioning your boat correctly, from first inflation to your maiden sea trial.
🇺🇸 Boats shipping to United States
See landed prices in USD before you bounce.
Door-to-door delivery to United States in 7–14 days. Choose a boat, see local-currency pricing, or request a fixed landed quote from the sales team.
The measure of a good skipper isn't how they handle a crisis, but how thoroughly they prepare to avoid one in the first place.
That moment of arrival is a unique thrill. A courier pulls up, and there it is: a tightly packed, surprisingly compact collection of boxes containing your new inflatable boat. It’s the promise of countless sun-drenched days exploring quiet coves, fishing in secluded estuaries, and accessing beaches that were previously just a dream. Before you can taste the salt spray, however, there's a crucial process to undertake: commissioning. This isn't just about blowing it up and hoping for the best; it’s a methodical, one-time procedure that sets the stage for the entire lifespan of your vessel.
A proper commissioning process ensures every component is correctly installed, seated, and functioning as the manufacturer intended. It’s your first, best opportunity to familiarise yourself with the boat’s systems, from its inflation valves to the nuances of its outboard motor. Rushing this stage is the number one mistake new owners make, often leading to performance issues, unnecessary wear, or worse, a preventable problem on the water. This guide is the definitive roadmap for Australian boaters looking to commission a new inflatable boat, turning that box of potential into a reliable and seaworthy craft.
We’ll walk through every step, from unboxing and initial inspection to the critical first sea trial. We'll use our own premium models like the Aerowave Viper and AeroCat as examples, but the principles apply to any quality inflatable. Get this right, and you’re not just preparing for a single launch; you’re investing in a decade or more of safe, trouble-free boating.
Unboxing and Initial Inspection: Your First Look
Your new boat, whether it's an AeroCat 380 or a Viper 400 Sovereign, arrives as a marvel of logistics. Unlike rigid-hull alternatives that require trailers and specialised delivery, a premium inflatable is delivered directly to your door via express courier. At Easy Inflatables, this door-to-door service is included in the purchase price, with delivery from our workshop to most Australian addresses typically taking just 7–14 days. This is a world away from the long waits and hidden freight charges common with other suppliers.
Find a clean, clear space—a garage floor, a patch of lawn free of sharp sticks, or a deck—large enough to unroll the boat completely. As you open the boxes, resist the urge to immediately reach for the pump. First, conduct a thorough inventory and inspection.
- Inventory Check: Lay everything out. You should have the main boat hull, the high-pressure air deck, a manual pump, a set of oars, seat or seats, a repair kit, and any other accessories included in your package. Cross-reference this with the packing list or manual.
- Fabric Inspection: Unroll the main hull. This is your first interaction with the heart of your boat. Our vessels use premium German VALMEX® fabric—a multi-layer, high-tenacity polyester base cloth coated in PVC. The Viper 400 Sovereign uses an exceptionally robust 1.2mm, 1500 GSM VALMEX® Heavy Plus, while the AeroCat series uses a still-premium 0.9mm, 1100 GSM fabric. Run your hands over the surface. It should feel thick, smooth, and substantial. Look for any signs of shipping damage, such as deep scuffs or abrasions. While extremely rare with point-to-point air freight, it's a crucial first check.
- Seam and Accessory Check: Pay close attention to the seams. They should be clean, with no signs of peeling or adhesive residue. On a quality boat, seams are either meticulously hand-glued or, even better, thermowelded for a bond that's stronger than the fabric itself. Check all the attachment points—D-rings, oar locks, grab ropes, and the transom mount. Everything should feel solid and securely bonded to the tubes.
Taking 30 minutes for this initial inspection is non-negotiable. It's far easier to address any potential issue now than after the boat is fully assembled or, worse, on the water.
The Inflation Sequence: Bringing Your Boat to Life
This is the most satisfying part of the initial setup. Watching your boat take shape is genuinely exciting, but a specific sequence and understanding of the pressures involved is vital for performance and longevity.
Tools of the Trade: Hand Pump vs. Electric
Your boat will come with a high-volume manual pump. These are excellent, reliable tools perfect for topping up pressure at the ramp or making adjustments. However, for the initial, full inflation from flat, a quality 12V electric pump is a godsend. Look for a two-stage pump: a high-volume turbine for the initial fill, which automatically switches to a high-pressure piston to bring the chambers up to the correct working pressure. This saves a significant amount of time and physical effort.
Understanding Your Valves
Modern inflatables use high-quality spring-loaded valves, often of the Halkey-Roberts style. Before connecting the pump, familiarise yourself with their operation. There is a central, spring-loaded pin.
- Pin UP (Closed): Press and turn the pin so it pops up. In this position, air can be pumped in, but it won't escape when you remove the pump nozzle. This is the position for inflation.
- Pin DOWN (Open): Press and turn the pin so it locks down. In this position, the valve is open, and air will rush out. This is the position for deflation.
Ensure all valves are in the 'Pin UP' (closed) position before you begin.
Step-by-Step Inflation Process
Do not simply inflate one chamber to full pressure and move to the next. This puts undue stress on the internal baffles that separate the chambers. The correct method is a gradual, staged inflation.
- Partial Inflation (All Chambers): Go around the boat and inflate each of the main tube chambers to about 50-60% of their final pressure. The boat will take shape but will still be soft and flexible. This allows all the components to settle into place without fighting against a fully rigid tube.
- Install the Air Deck: With the main tubes partially inflated, now is the time to insert the high-pressure air deck. It will be a much easier fit than if the tubes were fully rigid. Ensure it's sitting flat and centred within the hull.
- Final Inflation (Main Tubes): Now, return to the main tube chambers and bring them up to their recommended working pressure. For most quality PVC boats like ours, this is around 3.6 PSI (or 250 mbar). Use a pressure gauge—the one built into your pump is fine for this. Do not guess. Under-inflation leads to a floppy, poor-performing boat, while over-inflation stresses seams, especially on a hot day.
The High-Pressure Air Deck: The Secret to Rigidity
This is what separates a high-performance inflatable from a simple beach toy. The air deck, or drop-stitch floor, is a marvel of engineering. It consists of two layers of fabric held together by thousands of fine threads. When inflated to a high pressure, it becomes incredibly rigid, rivalling the feel of a solid aluminium or plywood floor but with a fraction of the weight and assembly time.
The target pressure for an air deck is much higher than the tubes, typically between 8.0 and 10.0 PSI. Achieving this with a manual pump is possible but requires a good workout. An electric pump makes it effortless. This high pressure is the key to the boat's performance, creating a firm platform to stand on and allowing the hull to track cleanly through the water.
Assembling the Deck, Transom, and Seats
With the hull and floor now fully inflated and rigid, you can install the remaining components.
- The Transom: On our catamaran models, the transom consists of a sturdy board for the outboard and, on some models, an additional splash-back panel. These slide into dedicated slots or are secured with robust straps and buckles. Ensure the main motor mount transom is seated fully and squarely. This component transfers all the thrust from your outboard to the boat, so its correct installation is paramount. All Easy Inflatables boats feature a standard 380mm (15-inch) transom height, designed for common short-shaft outboards.
- The Seats: Most inflatable boat seats are simple aluminium benches that slide into dedicated fabric holders bonded to the main tubes. Slide them in before the tubes are at 100% maximum pressure if you find it's a tight fit. You can adjust their position forward or aft to trim the boat correctly once you're on the water.
- Oars and Accessories: Attach the oars to the oar locks. It’s also a good time to install any other accessories you might have, such as rod holders or a fish finder mount. Think about where you will store your safety gear, anchor, and pump.
How to Commission a New Inflatable Boat Outboard
Mounting and preparing the outboard is often the most intimidating step for new owners, but it's straightforward if you're methodical.
Lifting and Mounting Your Outboard Safely
Modern 4-stroke outboards, even smaller models like the Hidea 9.9HP (around 40kg), are dense and awkward to lift. This is a two-person job if possible. Lift with your legs, not your back. Position the outboard bracket over the centre of the transom plate and lower it carefully until it's sitting flush.
Centring and Securing the Engine
Eyeball the engine to ensure the propeller shaft is perfectly vertical and in the horizontal centre of the transom. The anti-cavitation plate (the flat plate just above the propeller) should be level with, or slightly below, the bottom of the boat's hulls or keel. On our catamarans, it should be level with the water line between the two tubes.
Once positioned, tighten the two transom clamps by hand. They should be more than just 'snug'—they need to be very firm. Most people don't tighten them enough initially. Get them as tight as you can by hand. As a safety backup, you should also secure the engine to the boat using a stainless steel wire or rope passed through the boat's D-rings or transom handles. This ensures that even if the clamps were to vibrate loose (unlikely if tightened correctly), the engine remains attached to the boat.
Pre-Start Checks: Oil and Fuel
This is the most critical step in engine commissioning. Brand new 4-stroke outboards are always shipped without oil in the sump. Running the engine, even for a few seconds, without oil will cause catastrophic damage.
- Adding Engine Oil: Place the engine in a vertical position. Locate the oil filler cap (check your Hidea manual) and the dipstick. Using a funnel, slowly add the correct grade of 4-stroke marine engine oil (typically 10W-30). For a Hidea 9.9HP, this is around 800ml. Add oil incrementally, checking the dipstick regularly until the level is between the 'min' and 'max' marks. Do not overfill.
- Adding Gearbox Oil: While the engine sump is empty from the factory, the gearbox is usually pre-filled. It's still wise to check. Locate the two slotted screws on the lower leg. With the engine vertical, briefly remove the top screw. A small amount of oil should be present or weep out. If not, consult your dealer.
- Fuel: Use fresh, standard unleaded petrol (91-95 RON). Connect the fuel line from a separate fuel tank to the engine connector. Prime the engine by squeezing the primer bulb on the fuel line until it becomes firm. Check for any leaks at the connectors.
Your First Test Start: On Land or In Water?
Never, ever start an outboard motor out of the water without a cooling water source. The water pump's rubber impeller will be destroyed in seconds. You have two options for a pre-launch test start:
- In a Large Bucket/Drum: This is the best method. Place a large, sturdy rubbish bin or drum under the engine and fill it with water until the water intakes on the lower leg are well submerged.
- Using 'Flushing Muffs': These are rubber cups that fit over the water intakes and connect to a standard garden hose. This is a common method but ensure you have good water pressure and the muffs are securely fitted.
With the cooling water supplied, follow the starting procedure in your manual. For a new Hidea 4-stroke, this typically involves setting the choke, a few pulls to prime, and then a firm pull to start. The engine should fire up and settle into a high idle. The most important thing to look for is the 'telltale' stream of water squirting out from the back of the engine. This is your visual confirmation that the water pump is working and the engine is being cooled. Let it run for a minute or two, then shut it down.
Pre-Launch Checklist: Your Final Systems Check
Before you head to the boat ramp for the first time, run through a final, comprehensive checklist. This ensures nothing was overlooked in the workshop and that you have all necessary safety gear.
| System | Check | Status | Notes |
|---|---|---|---|
| HULL & TUBES | All chambers at correct pressure (3.6 PSI) | [ ] | Check with gauge, not just by feel. |
| Air deck at correct pressure (8-10 PSI) | [ ] | Floor should be firm, not bouncy. | |
| All valves securely closed | [ ] | Caps screwed on tight. | |
| TRANSOM & ENGINE | Outboard clamps are hand-tight plus a final firm turn | [ ] | Engine should not move on the transom. |
| Engine safety lanyard/wire attached | [ ] | Connects engine to a secure point on the boat. | |
| Engine tilt/trim lock is functional | [ ] | Practice tilting the engine up and down. | |
| FUEL & OIL | Engine oil level correct on dipstick | [ ] | Check while engine is level. |
| Fuel tank is full, vent is open | [ ] | Use fresh fuel only. | |
| Fuel line connected securely, bulb is firm | [ ] | Check for any leaks. | |
| SAFETY GEAR | PFDs (life jackets) for every person on board | [ ] | Must be correct size and type for your state. |
| Anchor with sufficient rope/chain | [ ] | A small grapnel or sand anchor is ideal. | |
| Bailing bucket or scoop | [ ] | Mandatory in most states. | |
| Paddles/oars secured to boat | [ ] | Your backup propulsion. | |
| Mobile phone in a waterproof case | [ ] | For communication. | |
| ADMINISTRATION | Task: Commission new inflatable boat registration paperwork (if required) | [ ] | Check your state's rules for motorised tenders. |
Your First Sea Trial: How to Commission a New Inflatable Boat on the Water
This is the final validation. Choose a calm day with minimal wind and boat traffic. A sheltered bay, quiet harbour, or gentle river is perfect. The goal is not to set a speed record, but to learn how the boat feels and to begin the crucial engine break-in period.
On-Water Pre-Departure Checklist
- Drain plugs are in and secure.
- Engine is tilted down fully into the water.
- Safety lanyard is attached from the engine's kill switch to the driver's wrist or PFD.
- Everyone on board is wearing a PFD.
- Start the engine and confirm the cooling water telltale is flowing strongly.
- Let the engine warm up at idle for a few minutes.
Engine Break-In and Manoeuvres
Your new 4-stroke outboard has a specific break-in procedure outlined in its manual. It's designed to let the piston rings, bearings, and gears seat correctly for a long and reliable life. A typical break-in schedule looks like this:
- First 15 Minutes: Run at the lowest possible planing speed. Not at idle, but just fast enough to get the hull up and skimming.
- Next 45 Minutes: Vary the throttle, but do not exceed 75% of full throttle. Avoid holding a constant speed for more than a few minutes.
- Next Hour: Brief periods of full throttle (less than one minute at a time) are acceptable, but most of the time should be spent below 80% throttle. Continue to vary your speed.
During this time, practice basic manoeuvres. See how she turns at low speed and at planing speed. Practice coming alongside a pontoon or beach. Get a feel for how she handles a small amount of chop. Note how the trim (weight distribution) affects performance. You might need to move passengers or gear forward or aft to get the boat running level.
Post-Trial Inspection
Once you’re back on shore, there’s one last check. With the boat out of the water, look over the hull, transom, and engine. Check the engine clamps to see if they need re-tightening after the first run (they often do). Check for any water inside the hull. A small amount of spray is normal, but any significant ingress needs to be investigated.
If you've been in salt water, it's essential to flush the engine's cooling system with fresh water and give the entire boat, trailer, and engine a thorough rinse.
The Bottom Line
The time you invest to commission a new inflatable boat properly is the best investment you can make in your new vessel. A methodical, unhurried approach ensures every system is working as it should, gives you an intimate understanding of your boat, and correctly breaks in the engine for a service life that should match the 10-12 year lifespan of the premium VALMEX® fabric. Now, the real fun begins. If you have any questions about setting up your new Aerowave, AeroCat or WaveRunner, our team of experienced boaters is always here to help. Give us a call on +61 2 4335 1603 or email sales@easyinflatables.com.au.
Related
Shop gear featured in this guide
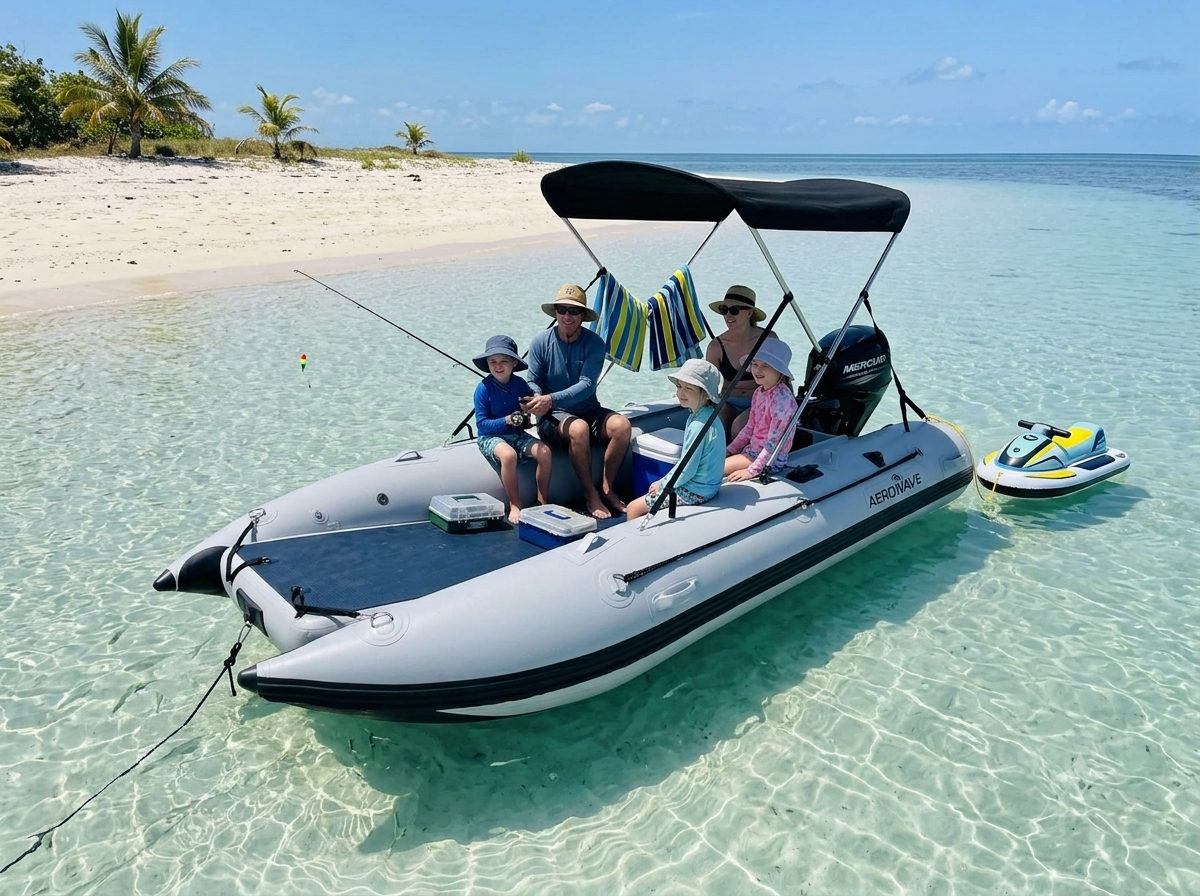
Aerowave WaveRunner 380 Series 3 Catamaran Package
The WaveRunner 380 Series 3 is a premium 3.8m inflatable catamaran package built for Australian and worldwide families, fishing, and coastal day boating — ideal for snorkeling and spearfishing — offering serious stability and premium German Valmex® construction.

Aerowave Viper 400 Sovereign
Flagship 4m enclosed-bow inflatable catamaran. German VALMEX® 7321 Heavy Plus 1.2mm commercial-grade fabric, 10 PSI high-pressure drop-stitch air deck floor with VALMEX non-slip surface, LockPro wheels, full Bimini and FREE express delivery Australia-wide delivery included. Winter special — save $1,000 until 31 August 2026.
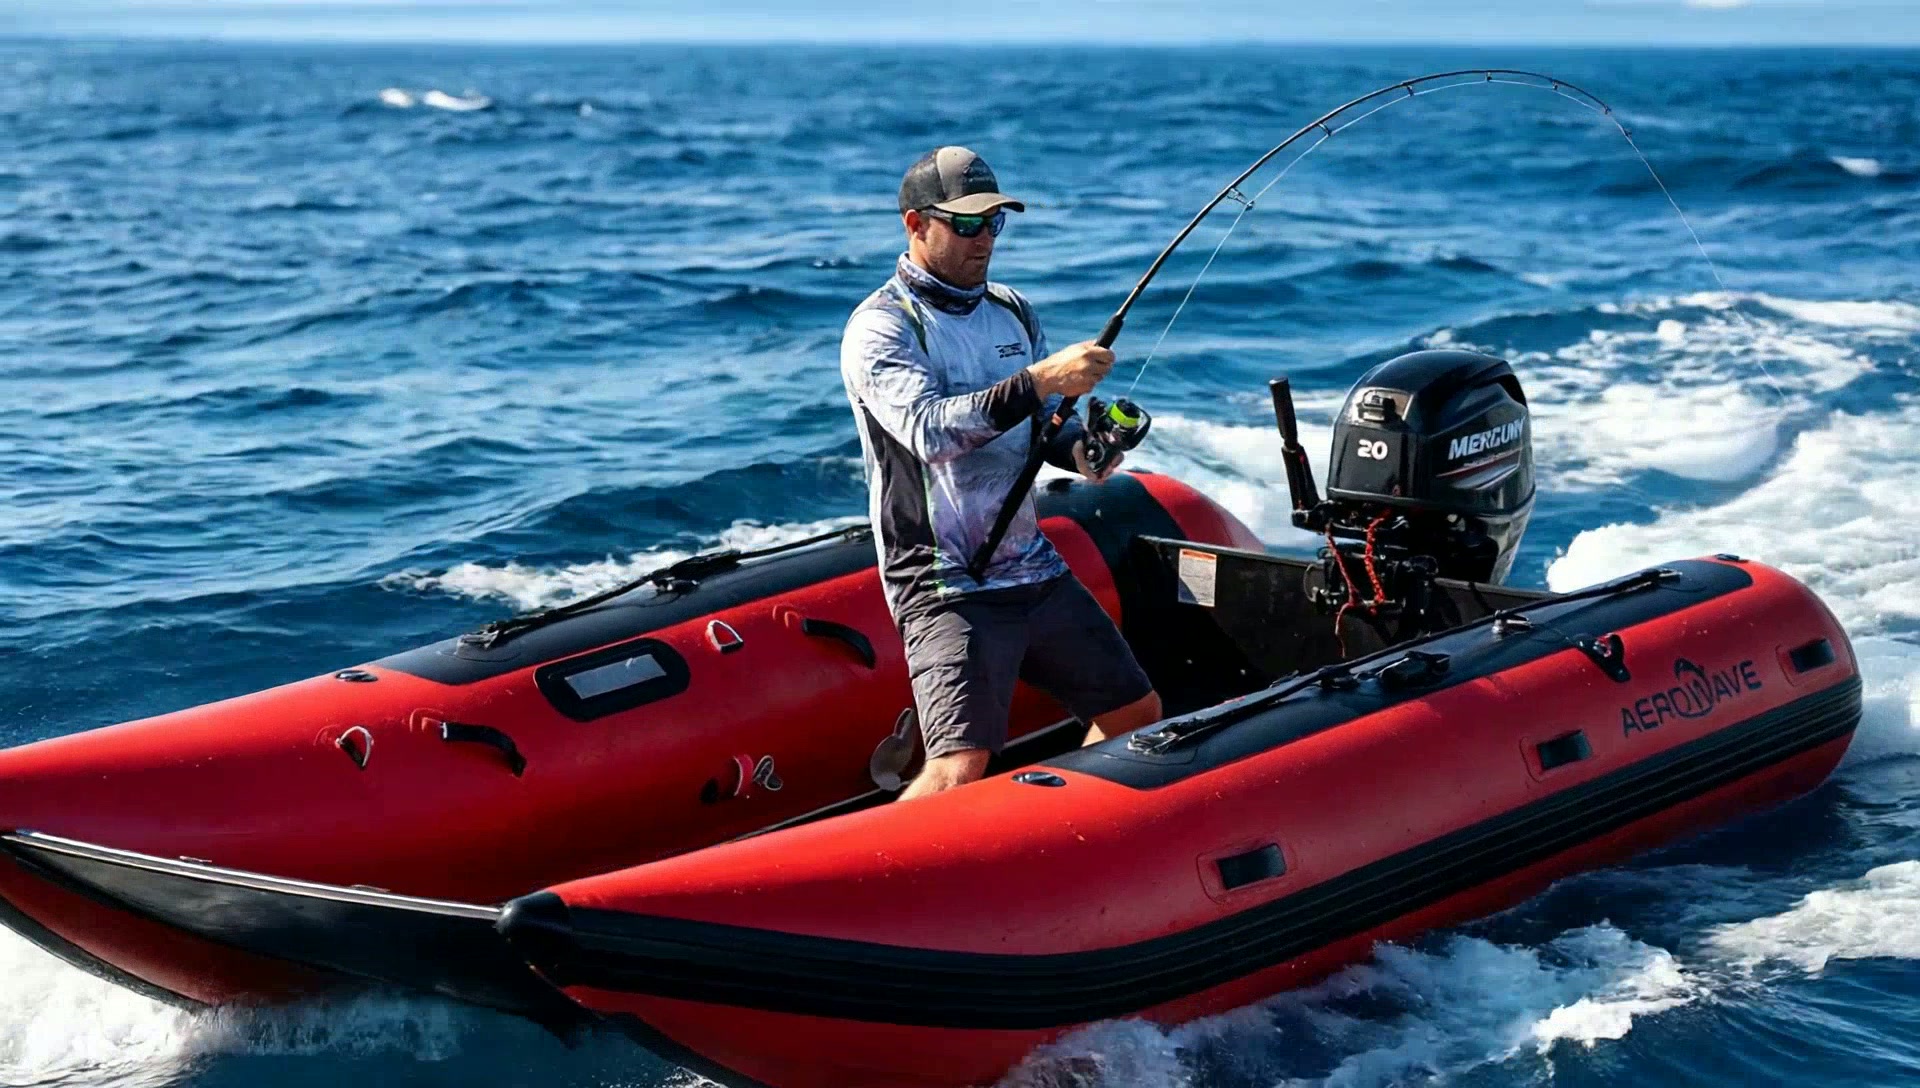
AeroWave AeroCat 360 Inflatable Catamaran
Same proven hull design, shape and look as our flagship Aerowave Viper catamarans — built lighter using 0.9mm Valmex® fabric instead of the Viper's 1.2mm. The AeroWave AeroCat 360 is our 3.6m inflatable catamaran built from 0.9mm Valmex® fabric — intentionally lighter than our 1.2mm Viper hulls so it folds smaller, packs lighter and is easy to handle solo. Twin-hull stability, 5-Year Warranty with global support and priced ~$500 below comparable 0.9mm imports.
Not sure which suits you? Talk to a real boat owner.
Frequently asked questions
- Do I need to register my new inflatable boat in Australia?
- It depends on your state and the size of your engine. In most Australian states, like NSW and QLD, any vessel powered by an engine requires registration. Check with your local maritime authority for the specific requirements, as rules for tenders can sometimes differ.
- How tight should the outboard clamps be?
- The clamps should be tightened by hand until they are very firm. As a guide, tighten them as much as you can, then give them one last forceful turn. It's also highly recommended to use a secondary safety wire or rope securing the engine to the boat's transom as a backup.
- What happens if I over-inflate or under-inflate my boat?
- Under-inflation makes the boat feel soft and 'floppy' in the water, severely hurting performance and handling. Gross over-inflation, especially on a hot day where the air expands, puts extreme stress on the seams and can lead to failure over time. Always use a pressure gauge to inflate to the manufacturer's recommendation (e.g., 3.6 PSI for tubes, 8-10 PSI for air decks).
- Can I really set up the boat by myself?
- Yes, one person can assemble and inflate the boat itself. However, lifting and mounting the outboard motor, especially models 9.9hp and above (which weigh around 40kg), is much safer and easier with two people. Always lift with your knees, not your back.
- Why is the engine break-in period so important?
- The break-in period allows the engine's internal components, like piston rings and gears, to mate and seat correctly. Following the manufacturer's procedure of varying engine speeds and avoiding sustained full throttle ensures a longer, more reliable engine life with better performance.
- How long does the German VALMEX® fabric actually last?
- With proper care, including rinsing after saltwater use and storing out of direct, harsh UV radiation, a premium German-made VALMEX® PVC fabric has a realistic lifespan of 10 to 12 years. This is significantly longer than the 3-5 years you might expect from budget boats using lower-grade Chinese or Korean PVC.
- My new boat was delivered by courier. Is it safe from damage?
- Yes, this is one of the safest methods. We use express couriers like DHL, FedEx, and UPS for door-to-door delivery, which is included in the boat's price. This minimises handling and transit time compared to slow sea freight used by many other suppliers, virtually eliminating the risk of shipping damage.
Ready to set sail?
Premium German-fabric inflatable catamarans with express courier delivery included in the price — 7–14 days door-to-door. Talk to our team or browse the fleet.
Like this guide? Get the next one in your inbox.
Owner-tested tips, gear deep-dives and Aussie boating know-how — no spam.