Inflatable Boat Repair Australia: The Definitive Owner's Guide
Our expert guide to inflatable boat repair in Australia. Learn what your repair kit can handle, what your warranty actually covers, and when to call in a professional.
🇺🇸 Boats shipping to United States
See landed prices in USD before you bounce.
Door-to-door delivery to United States in 7–10 days. Choose a boat, see local-currency pricing, or request a fixed landed quote from the sales team.
A small puncture shouldn't end your day on the water, but a bad repair job certainly can.
Investing in a premium inflatable boat is an investment in freedom, versatility, and countless days exploring Australia's stunning coastline. But even the most robustly built vessel, crafted from high-end German VALMEX® fabric like our Aerowave and AeroCat models, will encounter wear and tear. An errant fishing hook, a close encounter with an oyster-encrusted pylon, or simply the slow passage of time can lead to the need for a repair. The real measure of a boat owner isn't whether they can avoid damage, but how confidently they can manage it when it occurs.
This is your definitive guide to inflatable boat repair in Australia. We'll cut through the confusion, demystify the process, and give you the knowledge to discern between a simple five-minute patch job and a situation that demands a professional touch. We'll explore what's inside a proper repair kit, what your warranty truly covers, and what you can expect to pay for professional services. This isn't just about fixing a leak; it's about preserving the value and safety of your investment for its full 10 to 12-year lifespan.
Decoding Your Repair Kit: More Than Just Patches
When you unbox a quality inflatable, you'll find a small pouch or container holding the repair kit. It's easy to toss this aside and forget about it until disaster strikes, but understanding its contents is your first line of defence. A premium kit supplied by a reputable brand is worlds apart from the generic offerings found with budget imports.
The Essentials: Fabric and Adhesive
The two most critical components are the patches and the glue. The patches should be cut from the exact same material as your boat's tubes. For our Aerowave Viper and AeroCat ranges, this means you get patches of genuine VALMEX® fabric (1.2mm 1500 GSM Heavy Plus for the Viper, 0.9mm 1100 GSM for the AeroCat). This ensures a perfect chemical and structural bond. Using a generic PVC patch on a premium fabric can result in a weak repair that fails under pressure or UV exposure.
The adhesive is even more crucial. Inflatable boats are primarily made from two different materials: PVC (Polyvinyl Chloride) or Hypalon (a type of synthetic rubber). VALMEX® is a high-tech, multi-layered PVC material. You must use a PVC-specific adhesive. Using Hypalon glue on a PVC boat (or vice-versa) will result in a bond that never properly cures and will fail, guaranteed. Quality kits provide a high-grade, two-part PVC adhesive that creates a chemical weld, effectively fusing the patch to the boat's tube for a permanent, airtight seal.
Tools of the Trade
Beyond the core materials, a good kit includes essential tools:
- Valve Wrench: This simple plastic tool is invaluable. Its primary job is to tighten or replace the boat's inflation valves if they become loose over time, which can often be mistaken for a slow leak. It's also used for other fittings on some models.
- Surface Preparation Tool: This could be a small piece of sandpaper or a dedicated scuffing pad. A successful patch requires an abraded surface for the glue to grip onto. A smooth, unprepared surface will not create a lasting bond.
- Applicator: A proper brush or spatula for applying a thin, even layer of adhesive. Using your finger or a random stick often results in a messy, uneven application that compromises the repair's integrity.
What a Premium Kit Should Contain:
A quick checklist to assess the kit that came with your boat, or one you're considering buying:
- Genuine Fabric Patches: Matches your boat's material (e.g., VALMEX® PVC).
- High-Grade Two-Part PVC Adhesive: Not a simple, all-purpose 'super glue'.
- Valve Wrench: Specific to your boat's valve type.
- Sandpaper or Scuffing Pad: For proper surface preparation.
- Application Brush/Spatula: For clean and even glue application.
- Clear Instructions: Detailing cure times and application technique.
The DIY Guide: When to Tackle an Inflatable Boat Repair Yourself
With the right knowledge and a good kit, many common issues are well within the capabilities of the average boat owner. The key is knowing your limits and recognising the red flags that signal a job is best left to a professional.
The 5-Minute Fix: Pinholes & Small Punctures (<2cm)
This is the most common repair you'll face. Here is the professional-standard method for a permanent DIY patch.
- Locate the Leak: Inflate the tube to its operating pressure (around 3.6 PSI for our catamarans). Mix some dish soap and water in a spray bottle and spray the suspect area. A stream of bubbles will pinpoint the exact location of the leak.
- Prepare the Area: Mark the hole's location with a pencil. Deflate the tube completely. Thoroughly clean the area around the hole with a solvent like methyl ethyl ketone (MEK) or acetone, and let it dry completely.
- Cut & Prep the Patch: Cut a circular patch from your repair kit fabric. It should be at least 5cm larger in diameter than the hole itself. A circular patch is essential as it has no corners that can lift or get snagged over time. Lightly sand or scuff both the patch's underside and the repair area on the boat tube. Clean away all dust.
- Apply Adhesive: Apply a very thin, even layer of the PVC adhesive to both the patch and the boat. Let it dry until it's just tacky to the touch (usually 5-10 minutes, but check the glue's instructions).
- Apply a Second Coat: Apply a second thin layer to both surfaces and again, wait for it to become tacky.
- Apply the Patch: Carefully align the patch over the hole and press it down firmly, starting from the centre and working your way out to the edges. This forces out any air bubbles.
- Apply Pressure: Use the back of a spoon or a small roller to apply firm pressure across the entire surface of the patch. This is critical for ensuring a complete bond.
- Cure: This is the most important and most often ignored step. The repair needs to cure for a minimum of 24 hours, and ideally 72 hours, in a dry, temperate environment before you re-inflate the tube. Inflating it too early will compromise the bond.
Tightening Loose Fittings
If you notice a slow leak from around a valve, don't immediately assume you need a patch. Temperature fluctuations can cause the valve assembly to loosen slightly. Simply use the valve wrench from your kit to gently tighten it. Give it a quarter-turn clockwise and see if that solves the issue before reaching for the glue.
Understanding Your Warranty: What's Covered vs. What Costs You
Warranty is a word that provides great comfort, but it's vital to understand what it actually means in the context of inflatable boats. A warranty covers faults in manufacturing, not damage from use. Knowing the difference is crucial for managing your expectations.
At Easy Inflatables, we stand by our build quality. The Aerowave Viper 400 Sovereign, for instance, comes with a comprehensive 7-year warranty on the VALMEX® fabric and air-holding seams, while our WaveRunner 380 includes a 5-year warranty. These are designed to protect you against genuine manufacturing defects.
What Warranty Typically Covers:
- Manufacturing-Related Seam Failure: Our seams are meticulously thermo-welded or glued in a climate-controlled facility. If a seam begins to leak or separate due to a flaw in that process, it's a clear warranty issue.
- Fabric Delamination: This is when the layers of the PVC fabric separate without any external impact or chemical damage. It is exceptionally rare with premium German VALMEX®, but would be covered if it occurred.
- Faulty Components: A valve that won't hold air from its first inflation, or a D-ring that pulls out under normal load due to a bad weld.
What Warranty Does NOT Cover:
This is the critical part to understand. These are considered operational or environmental issues, and the cost of repair falls to the owner.
- Impact & Puncture Damage: Hitting a jetty, reef, fishing gaff, or running up on an oyster-covered rock. This is the most common type of damage and is considered user wear and tear.
- UV Degradation & Improper Care: While our VALMEX® fabric has a lifespan of 10-12 years, leaving the boat permanently uncovered in the harsh Australian sun will accelerate aging. Similarly, storing the boat wet, leading to mould, or damage from rodents is not a manufacturing fault.
- Over-Inflation Damage: All inflatables have a recommended pressure (e.g., 3.6 PSI for tubes, 8-10 PSI for the high-pressure air deck). Inflating beyond this, especially on a hot day, can put immense stress on seams and cause them to fail. This is user error, not a defect.
- Unauthorised or Incorrect Repairs: If you attempt a DIY repair using the wrong glue or a poor technique that subsequently fails and causes more damage, a professional repair of that area will not be covered by warranty.
- Scratches, Fading, and Normal Abrasion: Cosmetic issues that do not affect the boat's ability to hold air or perform safely are considered normal wear.
The Cost of Professional Inflatable Boat Repair in Australia
When a repair is beyond your DIY capabilities, it's time to call a professional. While prices vary by location and the complexity of the job, understanding the general cost structure can help you make an informed decision.
Assessing the Damage
A reputable repairer will always ask to inspect the boat before providing a firm quote. They need to assess the fabric type, the extent of the damage (is it just the outer layer, or has it torn through a baffle?), and the accessibility of the repair area. A simple patch on a flat section of a tube is much cheaper than a complex repair right on the transom seam.
Comparison: DIY vs. Professional Repair Costs
This table gives a realistic estimate of what to expect for common repair scenarios. It highlights why knowing when to DIY and when to call a pro is so important for your wallet and your safety.
| Repair Scenario | DIY Cost Estimate | Professional Repair Estimate | Key Consideration |
|---|---|---|---|
| Small Puncture (<2cm on a tube) | ~$0 (using included kit) | $120 - $200 | A straightforward DIY job for most owners. |
| Large Tear or L-shaped Rip | Not Recommended | $300 - $550+ | Requires a structural patch, often applied inside and out. |
| Seam Leak (5-10cm section) | Not Recommended | $350 - $700+ | Extremely complex; involves peeling the seam and re-gluing. |
| Transom Re-glue / Reinforcement | Not Recommended | $800 - $1,600+ | A critical structural repair. A failure here could lead to losing your outboard. |
| Baffle Leak (Internal Chamber) | Not Recommended | $900 - $2,200+ | The most difficult inflatable boat repair Australia has; requires 'surgery' on the boat. |
| Full Tube Replacement (per side) | Not Recommended | $2,500 - $4,500+ | Often approaches the cost of a new boat, depending on the model. |
Finding a Reputable Repairer in Australia
Not all repairers are created equal. Finding a specialist who appreciates the nuances of high-end PVC fabrics is crucial for a lasting repair on a premium vessel.
What to Look for in a Service Centre
- Experience with Premium PVC: When you call, ask them directly: "Do you have extensive experience working with high-end, multi-layer PVC fabrics like German VALMEX®, or do you mainly work on Hypalon or budget PVC boats?" Their answer will be telling.
- A Clean, Organised Workshop: A professional inflatable boat repair requires a dust-free, climate-controlled environment for the adhesive to cure properly. If their workshop is chaotic and dirty, walk away. Contaminants are the #1 enemy of a strong adhesive bond.
- Guaranteed Work: A confident professional will offer a warranty on their repair work, typically for at least 12 months. This shows they stand by their craftsmanship.
- Specialised Tools: Look for evidence of proper equipment, like heat guns for forming patches, specialised rollers, and internal patching tools.
Where to Start Your Search
Start by asking us. Even for non-warranty work, we want our customers to have a great ownership experience. At Easy Inflatables, we maintain a list of trusted, independent repair specialists across Australia who we know do quality work on our types of boats. Contact our team at sales@easyinflatables.com.au or call us on +61 2 4335 1603 and we’ll gladly point you in the right direction.
Beyond that, look for businesses described as 'marine trimmers' or 'sailmakers', as they often have the skills and equipment for fabric work. Be wary of general marine mechanics who may not have the specialist fabric repair skills.
Prevention: The Best Repair is the One You Never Have to Make
While knowing how to repair your boat is essential, diligent maintenance is the best way to minimise the need for it.
- Clean After Every Use: Rinse your boat thoroughly with fresh water, especially after use in saltwater. This removes salt crystals that can be abrasive and hygroscopic (attract moisture).
- Maintain Correct Pressure: Invest in a quality pressure gauge. Under-inflation causes the fabric to flex excessively, stressing the seams. Over-inflation (especially leaving a dark-coloured boat in the hot sun) can strain seams to their breaking point. Our boats are rated for 3.6 PSI in the tubes and 8-10 PSI in the air deck floor—stick to it.
- Protect from UV: When not in use, cover your boat or store it out of direct sunlight. A simple boat cover is one of the best investments you can make to achieve the full 10-12 year lifespan of the VALMEX® fabric.
- Store Properly: For long-term storage, ensure the boat is clean and completely dry. Store it loosely rolled in its bag, in a cool, dry place away from rodents. Our custom Air Tent ($890) provides a perfect, sheltered environment for off-season storage.
The Bottom Line
Owning a high-performance inflatable catamaran like an Aerowave Viper or an AeroCat is not about having an indestructible boat—it's about having a repairable one. Unlike rigid-hull alternatives where a significant impact can mean a write-off, almost any damage to an inflatable is repairable. The true peace of mind comes from understanding the difference between a simple patch you can handle on a Sunday afternoon and a structural issue that requires a specialist. By respecting your DIY limits, knowing your warranty, and practicing good preventative maintenance, you ensure your inflatable boat remains a safe, reliable, and valuable asset for many years of adventure.
Related
Shop gear featured in this guide
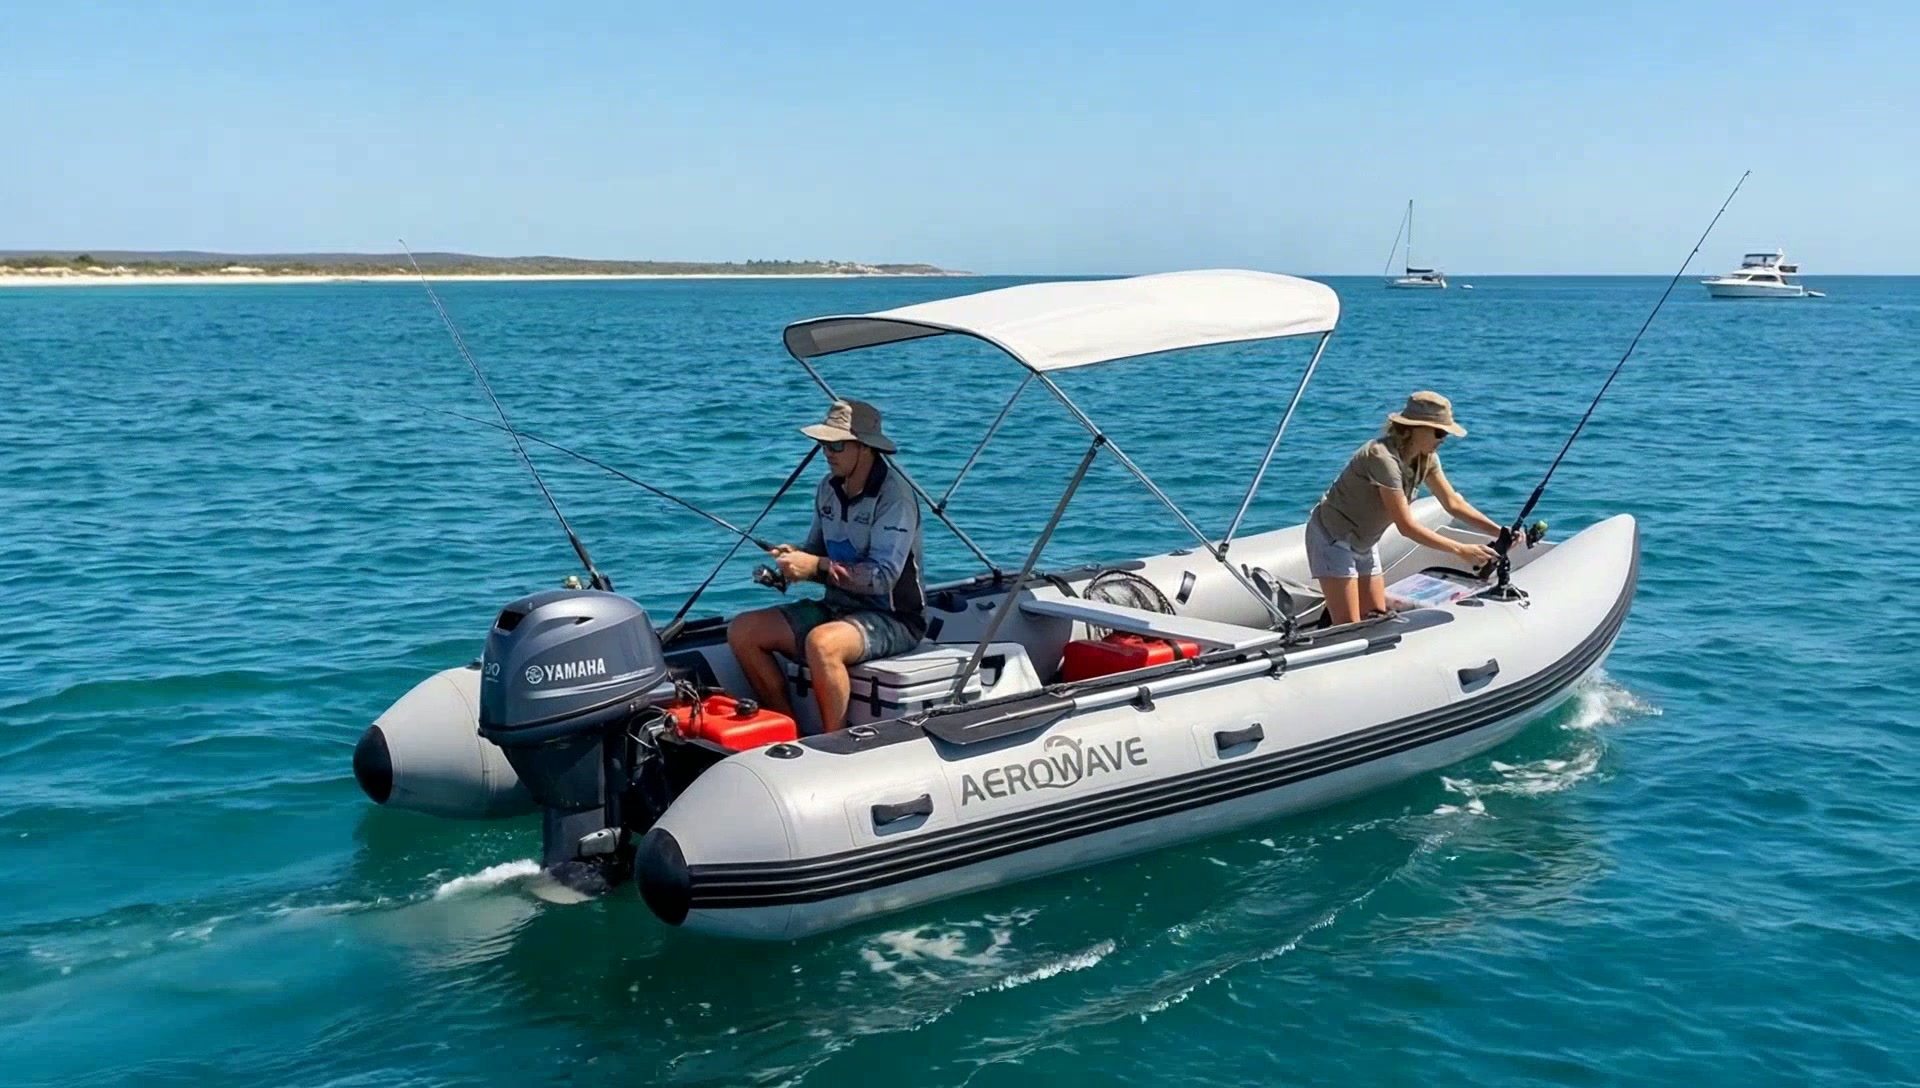
Aerowave Viper 330
The compact premium Viper catamaran package built for buyers who want serious stability, easy transport, premium materials and real global support in a 3.3m boat. German VALMEX® 1.2mm fabric, 10 PSI high-pressure drop-stitch air deck floor with VALMEX non-slip surface, 5-year warranty and FREE express delivery Australia-wide delivery.
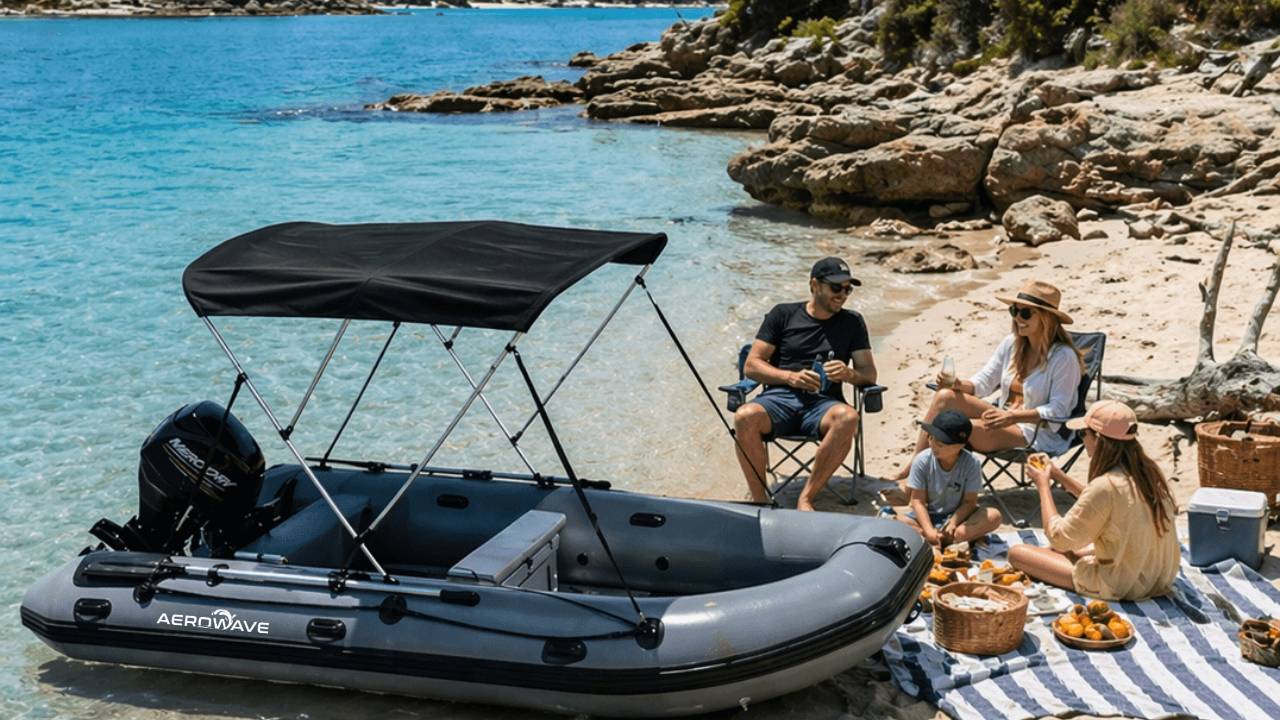
Aerowave Viper 400 Sovereign
Flagship 4m enclosed-bow inflatable catamaran. German VALMEX® 7321 Heavy Plus 1.2mm commercial-grade fabric, 10 PSI high-pressure drop-stitch air deck floor with VALMEX non-slip surface, LockPro wheels, full Bimini and FREE express delivery Australia-wide delivery included. Winter special — save $1,000 until 31 August 2026.
Not sure which suits you? Talk to a real boat owner.
Frequently asked questions
- Can I use a bicycle puncture repair kit on my inflatable boat?
- Absolutely not. Bicycle inner tubes are made of butyl rubber and their kits use a vulcanising solution. Inflatable boats like ours use PVC fabric and require a specific two-part PVC adhesive for a chemical weld. Using the wrong glue will result in a failed patch.
- How do I find a slow leak in my inflatable boat?
- Inflate the boat to its full operating pressure and spray the surface with a solution of soapy water. Look for bubbles forming, which will pinpoint the exact location of the leak. Pay close attention to the areas around valves and seams as well as the main tube surfaces.
- Is it better to patch a boat when it's inflated or deflated?
- You must always apply a patch to a fully deflated boat. This allows you to properly prepare the surface and apply firm pressure to the patch without the surface stretching or moving. The boat should remain deflated for at least 24-72 hours while the adhesive cures completely.
- My boat has two different air chambers, but air is moving between them. What's wrong?
- This indicates a leak in an internal baffle, which is the wall separating the air chambers. This is a complex and serious repair that should only be attempted by a professional inflatable boat repair specialist, as it requires opening up the main tube to access the internal baffle.
- How long should a professional inflatable boat repair last?
- A professionally applied patch or seam repair should last the remaining lifetime of the boat. Reputable repair centres use the correct adhesives and techniques to create a bond as strong as the original factory seam and should offer a warranty on their work.
- Why is a round patch better than a square one?
- A round or oval patch is always superior because it has no corners. Square corners on a patch are weak points that can easily get caught and begin to lift or peel back over time. The smooth edge of a circular patch distributes stress evenly and is far more durable.
- What's the difference between PVC and Hypalon repair?
- They are completely different materials requiring different glues and preparation methods. PVC (like VALMEX®) is repaired by using a solvent-based adhesive that chemically melts the surfaces together. Hypalon is a synthetic rubber that requires a contact-style cement and a more involved surface prep. You cannot mix the glues.
- I have a small tear right on a seam. Can I patch this myself?
- We strongly advise against attempting a DIY repair on or within 5cm of a seam. Seams are high-stress areas, and a failed patch here can lead to catastrophic failure. This type of damage requires professional attention to ensure the structural integrity of the boat is maintained.
Ready to set sail?
Premium German-fabric inflatable catamarans with express courier delivery included in the price — 7–10 days door-to-door. Talk to our team or browse the fleet.
Like this guide? Get the next one in your inbox.
Owner-tested tips, gear deep-dives and Aussie boating know-how — no spam.