
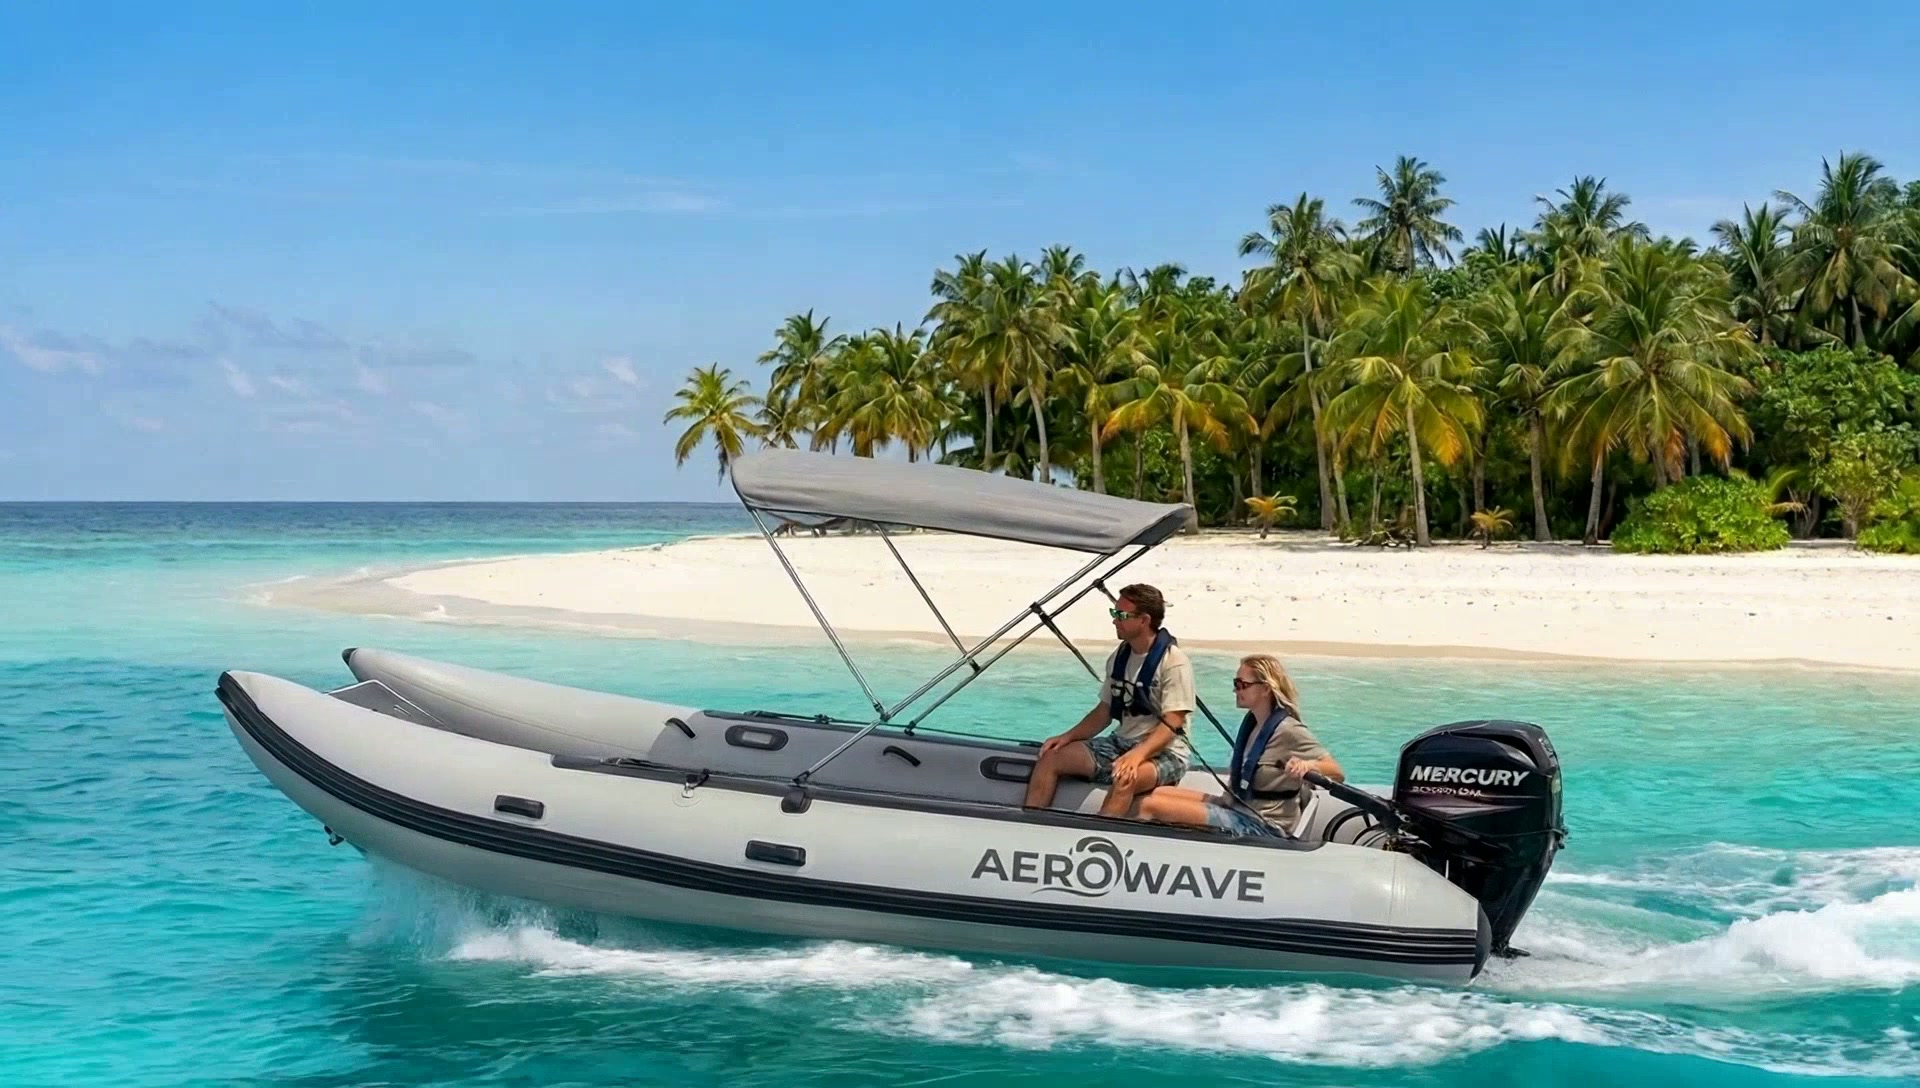
How to Mount a Fish Finder on an Inflatable Boat
A practical Australian guide to transducer placement, sounder wiring and rod-holder layout without drilling an inflatable tube.
Our recommendation
Aerowave Viper 400 Open Bow — Sports Package
1.2 mm fabric is about 33% thicker than common 0.9 mm fabric: more material between your boat and the water for everyday rubbing and knocks during beach launches. Careful handling still matters.
Length
4.0m / 13'1"
Beam
1.80m / 71"
Tube Diameter
50cm
Bare Boat Weight (without Bimini & wheel kit)
~56kg / 123lbs
A sounder is only useful when its transducer stays in clean water and its cables stay out of your feet.
Most fishing-boat guides tell you to add a fish finder. The part they skip is where its transducer goes on a small inflatable, especially when the outboard, drain and launching wheels all compete for the transom.
Here is a setup order you can use before buying a bracket or drilling a hole.
Where should a transducer go on an inflatable boat?
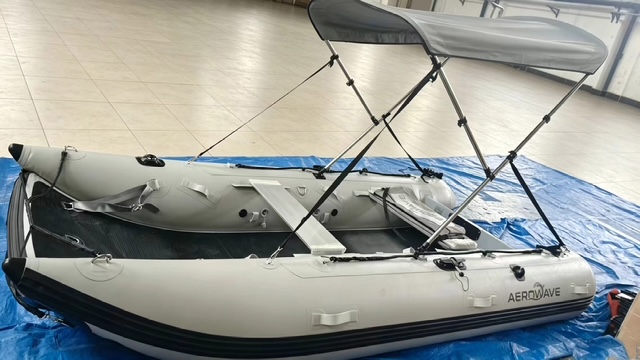
Start at the rigid transom, not the tube. Look for a position where the sensor remains immersed at fishing speed but sits away from the propeller wash, hull steps, drainage outlet and wheel hardware. The exact side and depth depend on your motor, hull and transducer: the sounder manufacturer's installation diagram takes priority over a generic measurement.
On a catamaran, check the water flow behind each hull at the speeds you intend to use. A sensor that reads at idle may lose bottom at speed if air passes across its face. Test in calm water, then mark the final position before permanent fastening.
Which mount should you choose?
1. Start with a removable bracket
A clamp-on or purpose-made removable transom bracket lets you adjust the depth and take the sensor off when packing the boat. Confirm the bracket actually fits your transom thickness and clears the motor and wheels. Secure the cable separately; never let the cable act as a tether.
2. Consider a fixed bracket only after a water test
A permanent bracket can be tidy, but holes in a transom deserve a measured location and proper sealing. Ask the boat maker before drilling, especially near reinforcement, the drain or wheel fittings. Do not drill an inflatable chamber.
3. Treat suction mounts as temporary
They need a clean rigid surface and may release in chop or at speed. Follow the mount's speed limit, attach a safety tether and lift the unit before beaching.
How do you route the display, cable and battery?
Put the screen where the skipper can see it without leaning across the boat or blocking the tiller. Run the cable along a protected edge, leave a service loop near the motor so steering cannot pull it tight, and secure it without pinching or perforating a tube. Store the power supply in a secured splash-resistant box, with a fuse sized to the sounder's instructions. Keep connectors above any water collecting on deck.
A tidy setup leaves a clear path from the seat to the bow. On the Viper 330 Sports package, plan the display and rod-holder positions while both aluminium seats are installed, not in an empty showroom hull. For more deck area, check the Viper 400 Open Bow: its 4 m layout changes the cable run and working space, not the basic mounting rules.
What else belongs in a fishing-ready layout?
- Put rod holders where a rod clears the motor, Bimini and the person casting.
- Keep tackle and tools in a secured bag under a seat, not loose beside the battery.
- Check wheel movement before fixing anything to the transom.
- Take the boat on a short local test with the sounder running before a longer fishing trip.
The generic advice to “add a fish finder” hides the expensive part: whether the bracket, wiring and battery actually fit your boat. Match the hardware to your chosen model and sounder before paying for an installation.
Want the fit-out written down before you order?
Send us your boat model and sounder/transducer make, and ask for an itemised mounting and delivered-price option. We will distinguish standard package items from extras rather than guessing what is in your basket. Explore the fishing boat range or call +61 2 4335 1603.
Frequently asked questions
- Can I mount a fish finder on an inflatable boat?
- Yes. Use a compatible transom bracket or approved accessory mounting point, and keep the display and power supply dry and secured. Check the exact hull and sounder before ordering hardware.
- Where should the transducer sit?
- Usually on a rigid transom mounting solution, clear of the propeller, turbulence and launching wheels. Follow the transducer maker’s immersion and angle instructions, then test at the speeds you actually fish.
- Should I glue a transducer to the inflatable tube?
- Not as a default. A transducer needs consistent contact with the water; choose a mounting system rated for the hull material and confirm its adhesive and installation with the boat and mount manufacturers.
- Will a portable suction mount work?
- It can work at low speeds on a clean, smooth rigid surface, but it may release. Use a tether and check the manufacturer’s speed rating. Do not rely on suction as a permanent installation.
- Do I need to drill the transom?
- Not necessarily. Clamp-on and removable brackets exist. If drilling is required, confirm the exact location and sealing method with the boat maker first; keep well clear of structural fasteners and drainage.
- Where do I put the sounder battery?
- In a secured, suitable battery box away from standing water and foot traffic. Use correctly fused marine-grade wiring to the display, with connections protected from spray.
- Are rod holders and a sounder included with the boat?
- Do not assume so. Inclusion varies by model and package. Check the current product listing or request a written itemised quote for the exact accessories and mounting hardware.
Finance this boat from $26/week
Estimate only — powered by Australian Motorcycle & Marine Finance (AMMF).
Paid upfront (AUD)
$587
10% of price
Term
5 years
60 monthly repayments
Comparison rate
9.95% p.a.
Subject to AMMF approval
Weekly
$26
Monthly
$112
Amount financed
$5,282
Indicative only. Actual repayments depend on your AMMF credit assessment, term, fees and the balloon you select. Talk to AMMF for a personalised quote on Aerowave Viper 400 Open Bow — Sports Package.
Like this guide? Get the next one in your inbox.
Owner-tested tips and Aussie boating know-how — no spam.
Ready when you are
Build your Viper 400 Open Bow — Sports Package in under 3 minutes.
1500 GSM / 1.2 mm VALMEX® hull. Five-year limited hull warranty plus two years of extended limited structural hull cover, subject to conditions. Free freight to United States · taxes included, nothing to pay on arrival.
delivered to your door
See it for yourself
Real boats. Real owners. Real people behind them.
Plenty of what you read online these days is generated. Check us out properly — the factory, the reviews and the owners are all one click away. Why we use AI, and how to check we’re real
How our boats are built
Walk the production line: thermo-welded seams, 1.2 mm VALMEX Heavy Plus hulls, over-pressure relief valves on every chamber.
See the buildGoogle Maps reviews
Real Australian owners, five stars, published on our Google Business Profile with the map — read them there, not just on our own site.
Open Google Maps reviewsOwner stories
Boats in use — offshore, on rivers, on rescue duty. Photos and words from the people who actually own them.
Read owner stories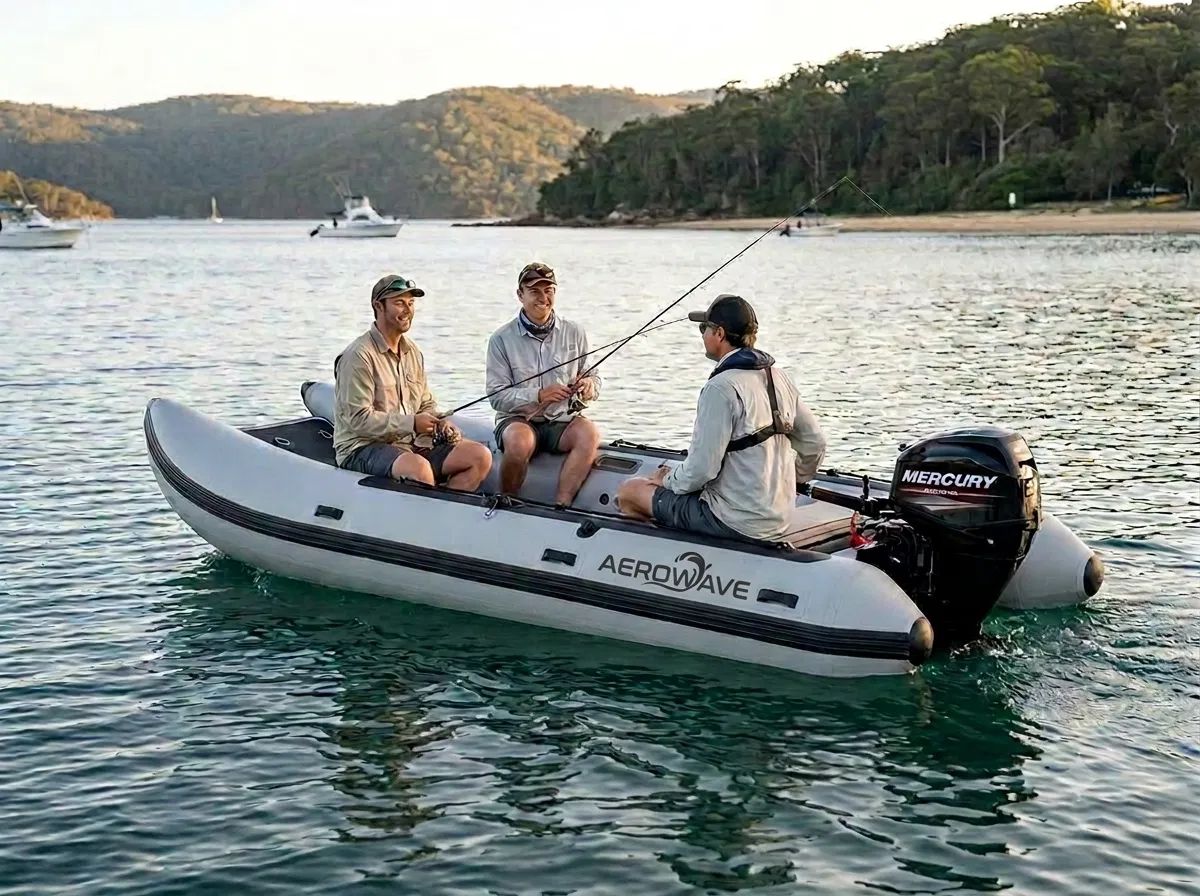
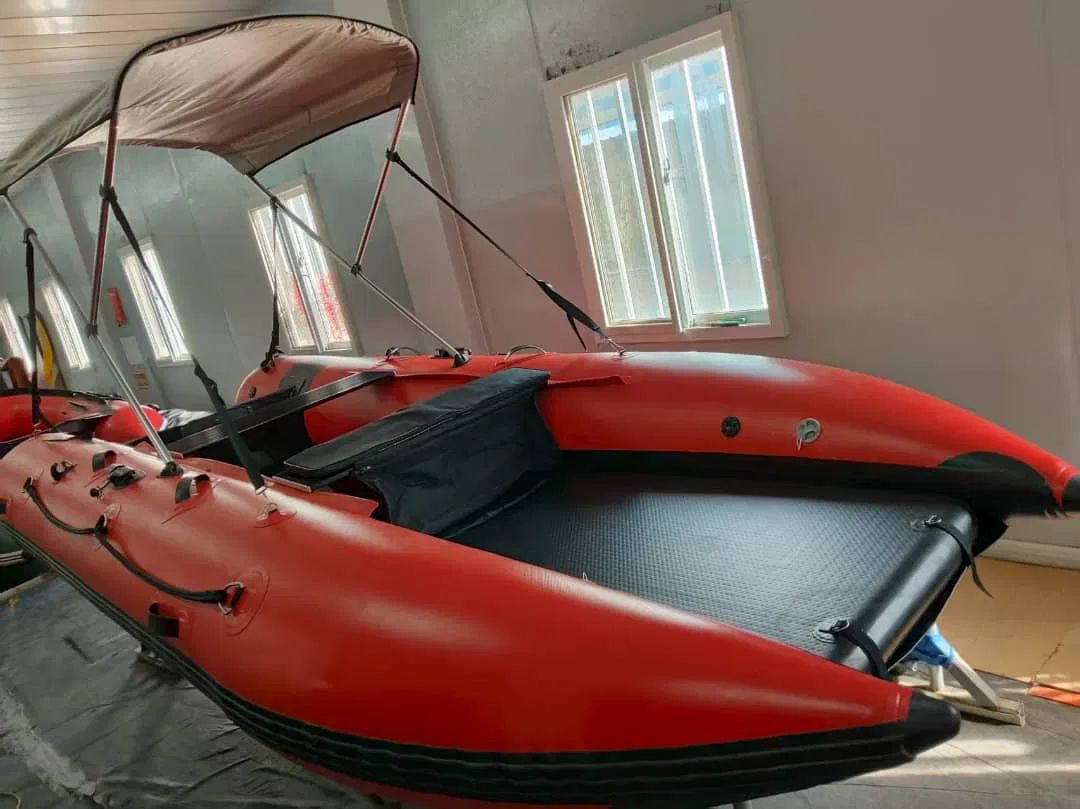
Aerowave Viper 400 Open Bow — Sports Package
US$4,472 USD · delivered to your door