How to Launch and Retrieve an Inflatable Boat (Beach, Ramp and Rocks)
Step-by-step Australian guide to launching and retrieving an inflatable boat solo or with crew — off the beach, off a ramp, and off rocks — without damage or drama.
At a glance
Step-by-step Australian guide to launching and retrieving an inflatable boat solo or with crew — off the beach, off a ramp, and off rocks — without damage or drama.
- Before you leave home
- Beach launching, step by step
- Ramp launching without a trailer
- Rocky banks, rock shelves and steep entries
What we'd put you in
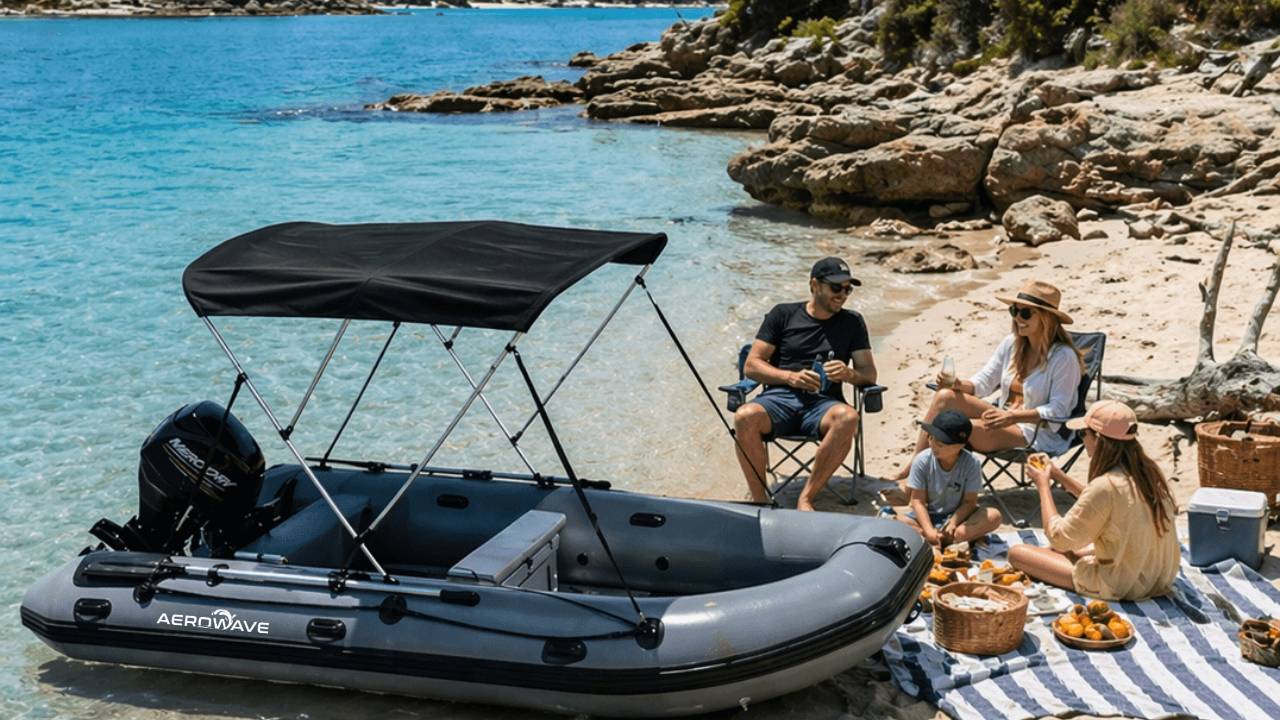
Aerowave Viper 400 Sovereign
Our best-selling boat: 4.0 m, 1.2 mm VALMEX hull, 7-year hull warranty.
US$3,167 USD
Delivered to your door, today's rate
- Free freight to United States · local taxes payable on arrival
- 7-year hull warranty
🇺🇸 Shipping to United States · landed price quoted in writing
Yes — we ship the Aerowave Viper 400 Sovereign to United States. Here's the landed price.
Our best-selling boat: 4.0 m, 1.2 mm VALMEX hull, 7-year hull warranty.
Aerowave Viper 400 Sovereign
- Boat package (export price)
- US$3,726
- 15% tariff relief credit
- − US$559
- Express air freight to United States
- Included
- Import duty, taxes & customs clearance
- Payable on arrival
- Estimated landed, USD
- US$3,167
Indicative, converted at today's rate, before local duty and tax on arrival. Ask below and we'll put a fixed figure in writing, valid 30 days.
- 7-year hull warranty
- 1500 GSM / 1.2 mm VALMEX® Heavy Plus hull
- CE certified to ISO 6185-3 and EU Directive 2013/53/EU
- Door-to-door, tracked the whole way
Your price, delivered to your door — freight included.
We email the full PDF quote (spec, freight, finance, WavePay) to your inbox in under 60 seconds. No spam — one quote, one follow-up.
See it for yourself
Real boats. Real owners. Real people behind them.
Plenty of what you read online these days is generated. Check us out properly — the factory, the reviews and the owners are all one click away. Why we use AI, and how to check we’re real
How our boats are built
Walk the production line: thermo-welded seams, 1.2 mm VALMEX Heavy Plus hulls, over-pressure relief valves on every chamber.
See the buildGoogle Maps reviews
Real Australian owners, five stars, published on our Google Business Profile with the map — read them there, not just on our own site.
Open Google Maps reviewsOwner stories
Boats in use — offshore, on rivers, on rescue duty. Photos and words from the people who actually own them.
Read owner storiesA good launch is boring. If your launch has a story attached to it, something went wrong.
Launching an inflatable is genuinely easier than launching a trailer boat — but only if you do it in the right order. Most damage to inflatables happens in the first and last ten minutes of the day, on land, at walking pace.
Here is the process Australian owners use, broken into beach launching, ramp launching and rock or bank launching, plus the retrieval sequence that keeps sand and salt out of everything.
Before you leave home
- Check the forecast for wind against tide, not just wind speed. A 12-knot southerly against a running tide makes a nasty launch.
- Check the tide time. On tidal flats, an hour either side of low tide turns a 20 m carry into a 200 m one.
- Pack in reverse order of use: safety gear and pump on top, fuel last so it stays upright.
- Confirm the boat, motor, bungs, kill lanyard, fuel line and battery are all in the car. Bungs and kill lanyards are the two most commonly forgotten items in Australia.
Beach launching, step by step
This is where inflatables shine, and where the Viper 365 style catamaran hull earns its keep — flat, stable and easy to float in ankle-deep water.
1. Set up above the high-water mark. Not on the wet sand. You want stable, dry ground for unrolling and pumping, and you do not want a wave arriving mid-assembly.
2. Unroll and inflate in stages. Bring every chamber to partial pressure first, then top each one to spec. This forms the hull evenly and avoids loading a single baffle. Floor last.
3. Fit the wheels before the motor. Always. Once the outboard is on, the boat is heavy and awkward, and lifting to fit wheels is exactly how people strain backs.
4. Mount the outboard, then connect fuel and lanyard. Clamp it down hard and fit the safety cable if you have one. Outboards do fall off transoms; it is always the clamp.
5. Load gear, then walk the boat down bow-first. Point the bow into the swell. Take it to knee depth — deep enough to float the transom clear, shallow enough to control the boat.
6. Lift the wheels and lock them up. Wheels left down cause drag, spray and noise, and they take a beating.
7. Board over the bow or the tube, start in neutral, idle out past the break, then trim and go.
Solo tip: run a bow line to a sand anchor or a mate on the beach before you go back for the last load. An unattended boat in 300 mm of water will always drift somewhere expensive.
Ramp launching without a trailer
Concrete ramps are hard on tube fabric. Treat them as an abrasive surface, because that is what they are.
- Rig fully in the car park, not on the ramp — you do not own the ramp and other boaters are waiting.
- Wheel the boat down; never drag it on its keel over concrete.
- Launch to the side of the main lane where possible so trailer boats can work.
- If there is a floating pontoon, use it: tie off bow and stern, load gear from the pontoon, then depart.
- Watch for green algae on the bottom third of any ramp. It is the most common cause of ramp injuries in Australia.
Rocky banks, rock shelves and steep entries
Sometimes the only entry is rough. Rules that keep the hull intact:
- Carry, never drag. Two people, one on each grab handle, boat lifted clear.
- Enter and exit stern-first where the swell allows, so the tougher transom area takes contact rather than the bow tube.
- Time it with the swell set: wait, watch three sets, go on the lull.
- Nothing sharp under the boat when you set down — kelp-covered rock hides oyster growth.
This is where fabric thickness stops being marketing. Aerowave hulls run 1.2 mm VALMEX® Heavy Plus, roughly 33% thicker than the 0.9 mm VALMEX used on comparable imported models. It does not make the boat invincible, but it is the difference between a scuff and a repair. More on that in how we compare.
Retrieving off a beach
Retrieval is where the day gets ruined if you rush it.
1. Approach square to the swell, slowly. Never come in beam-on.
2. Kill the motor and tilt before you touch bottom. Sand through a water pump impeller is a rebuild.
3. Step out, walk the boat in bow-first, then drop the wheels once the transom is clear of the bottom.
4. Wheel the boat up above the wet sand before unloading. Unload gear, then the outboard, then the wheels.
5. Rinse now if you can. A 60-second rinse of the transom, motor leg and wheels beats a 30-minute clean-up at home.
6. Deflate in the reverse order of inflation, floor first, and let the boat dry before it goes in the bag. Packing a wet boat in Australian heat is how you grow mould on an otherwise perfect hull.
Retrieving on a ramp
- Bring the boat to the pontoon or the ramp edge, unload gear first.
- Remove the outboard on stable ground, not while balancing on a wet slope.
- Wheel it to the car park, then break it down there. Never break down a boat on the ramp itself.
Common mistakes, ranked by how often they happen
- Fitting the motor before the wheels.
- Launching beam-on to the swell.
- Leaving wheels down underway.
- Dragging the hull over concrete or gravel to save 30 seconds.
- Packing the boat wet.
- Forgetting the bung. There is no fixing this one from the water.
- Under-inflating because "it looks hard enough". It is not.
Solo launching checklist
- Bow line always attached to something before you let go
- Wheels fitted first, every time
- Gear loaded after the boat is floating, not before
- Kill lanyard on your wrist, not clipped to the boat
- Someone on shore knows where you launched and when you will be back
Kit that makes launching easy
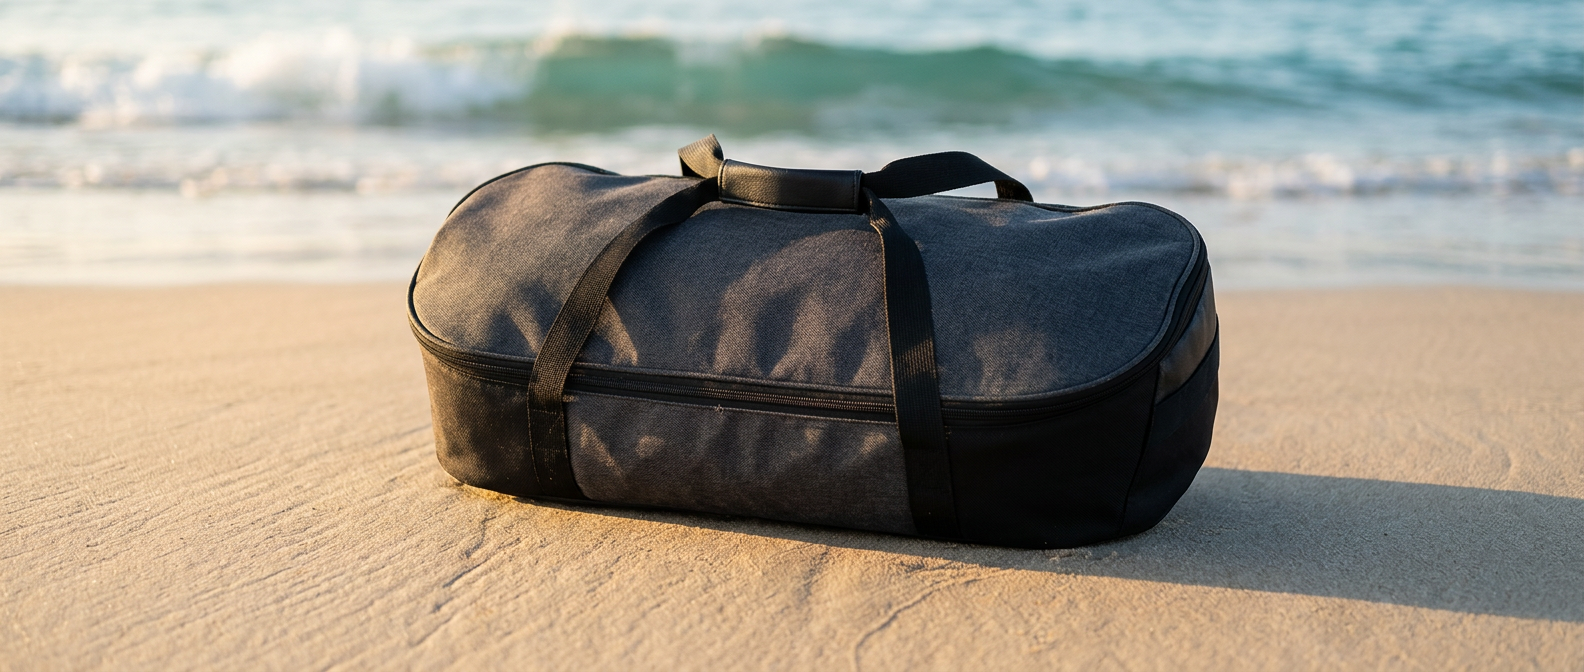
Almost everything that makes a launch smooth is a transport accessory: launching wheels, a wheel bag and a proper carry bag. Our full breakdown is in what accessories do you need for an inflatable boat.
If you are choosing a boat with beach launching in mind, the catamaran hulls in the Aerowave range float shallower and sit flatter on sand than a comparable monohull.
Weekend-Proof Score 17 questions · about 2 minutes
Will the boat you're about to buy survive an Australian summer?
Seventeen straight questions about where you'll use it, what you'll ask of it and the boat you're weighing up. You get a score out of 100, the exact weak points in your plan, and the one boat that genuinely fits.
Free · your result shows on screen · no email required
So which one is yours?
Pick how you'll actually use it and we'll take you straight to the right hull.
I want to fish it
Open bow, rod holders, deck space you can stand and cast from.
Viper Sport 400Family, diving and the beach
3.8 m Series 3 catamaran — low bow to climb back in wearing fins or a tank.
WaveRunner 380Tender / one-person launch
3.3 m hard-floor boat that packs into a bag and still takes a beach landing.
Viper 330Shop gear featured in this guide
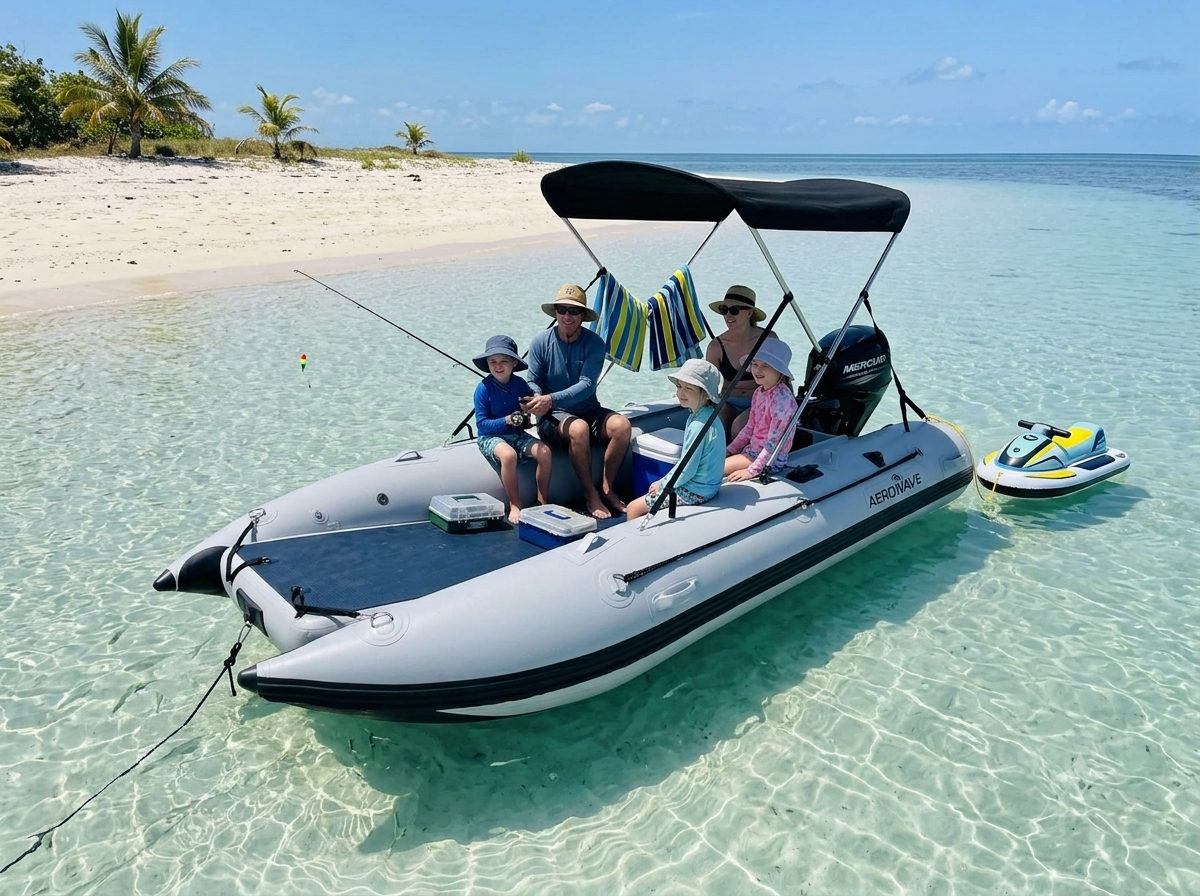
Aerowave WaveRunner 380 Series 3 Catamaran Package
The WaveRunner 380 Series 3 is a premium 3.8m inflatable catamaran package built for Australian and worldwide families, fishing, and coastal day boating — ideal for snorkeling and spearfishing — offering serious stability and premium German Valmex® construction.
Free freight to United States · local taxes payable on arrival
Aerowave Viper 400 Sovereign
Flagship 4m enclosed-bow inflatable catamaran. German VALMEX® 7321 Heavy Plus 1.2mm commercial-grade fabric, 10 PSI high-pressure drop-stitch air deck floor with VALMEX non-slip surface, LockPro wheels, full Bimini and FREE express delivery Australia-wide included. Winter special — save $1,000 until 31 August 2026.
Free freight to United States · local taxes payable on arrival
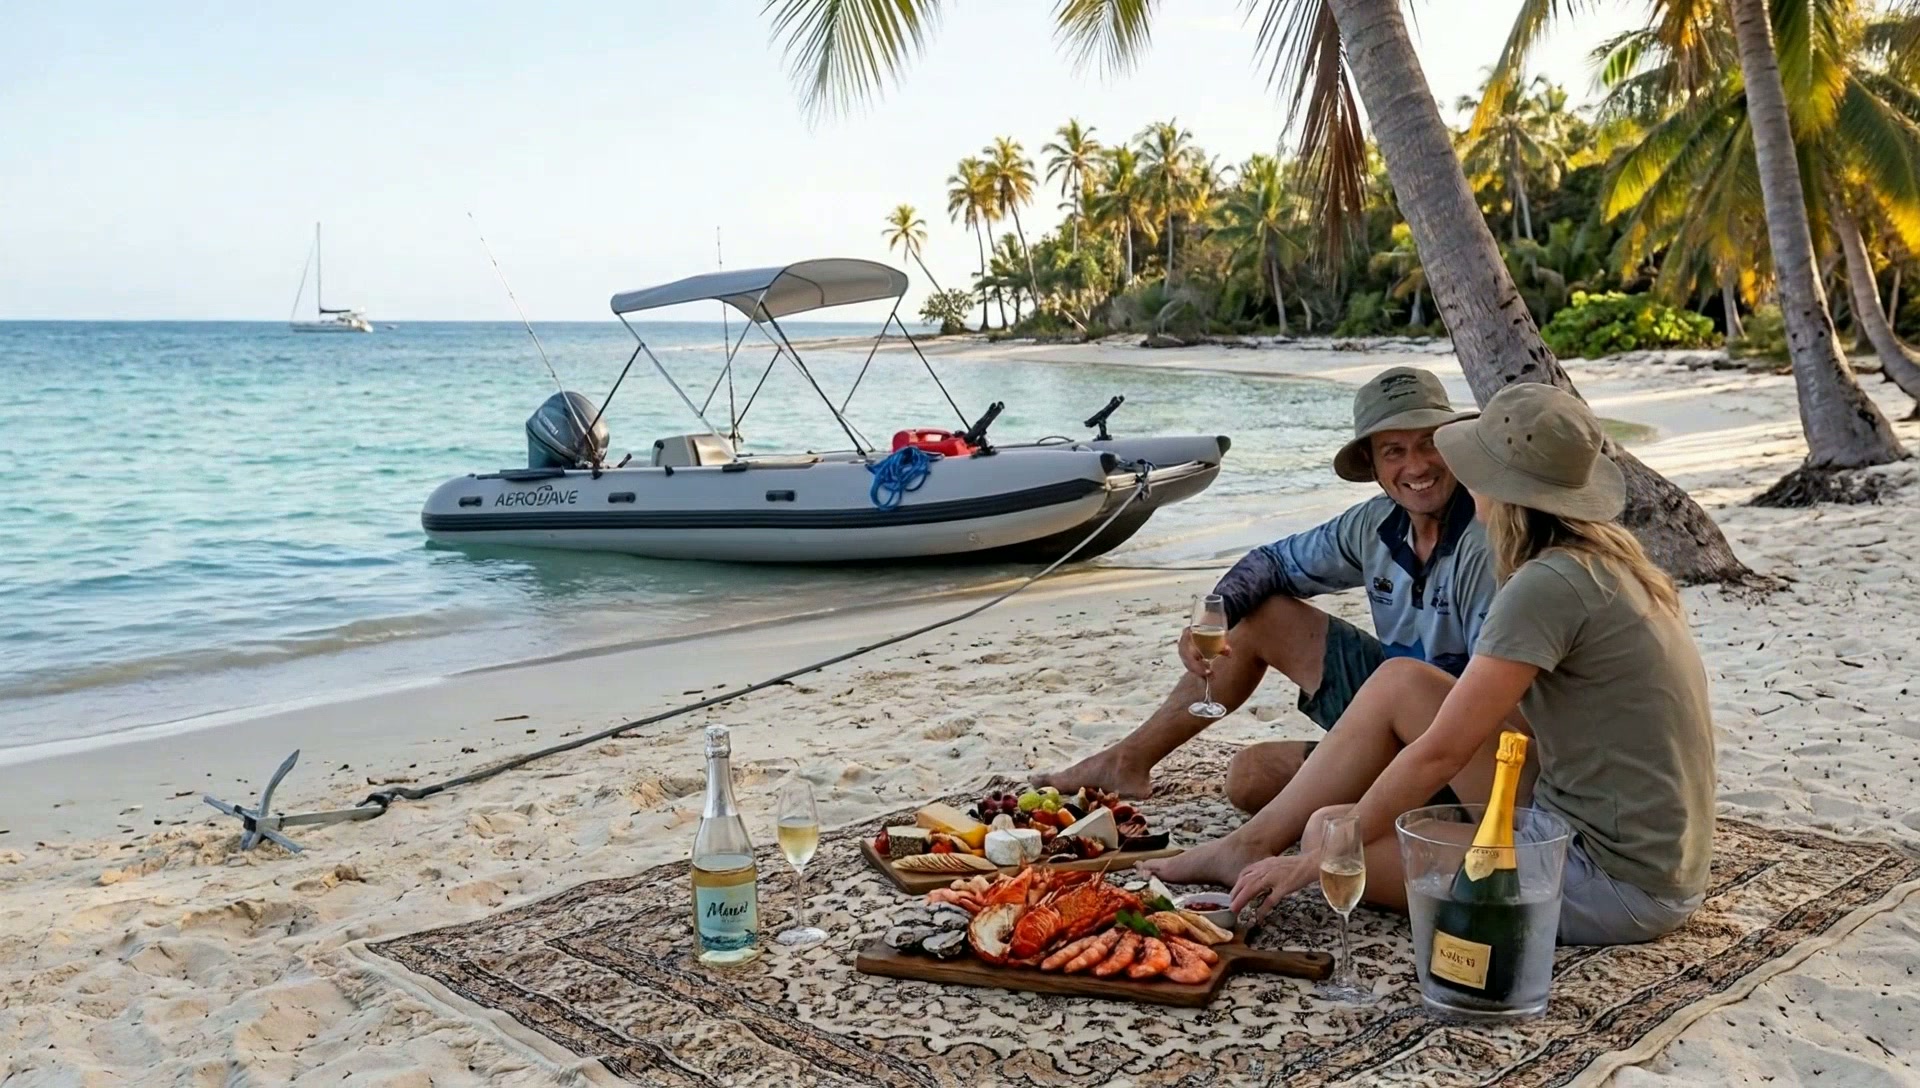
Aerowave Viper 365 Open Bow
Premium 3.65m Inflatable catamaran — built the same way as our flagship Viper 400 sports boat, just 35cm shorter. German VALMEX® 7321 Heavy Plus 1.2mm commercial-grade fabric, 10 PSI high-pressure drop-stitch air deck floor with VALMEX non-slip surface, LockPro wheels, full Bimini and FREE express delivery Australia-wide included.
Free freight to United States · local taxes payable on arrival
Not sure which suits you? Talk to a real boat owner.
Before you spend a cent
Buying from Australia, delivered to United States
You have never heard of us, we are on the other side of the world, and the internet is full of fakes. Fair enough. Here is everything you would need to check us out, in one place — no forms, no chat bot.
Australian designed business
Easy Inflatables, Avoca Beach NSW 2251. ABN 96 856 548 613. International orders ship from our Hong Kong hub.
222 owner reviews, 4.8 average
Read them in full, good and bad, on our reviews page.
CE certified, 7-year hull warranty
ISO 6185-3 and EU Directive 2013/53/EU. Warranty honoured worldwide.
Tracked, insured, door to door
FREE freight to United States · local tax/duty on arrival.
- Who am I actually buying from?
- Easy Inflatables, Avoca Beach NSW 2251, Australia. ABN 96 856 548 613. Sean is the owner and skipper, Gary Stewart handles sales on +61 2 4335 1603, Karen Matthews handles email. The boats are Australian designed; international orders ship from our Hong Kong dispatch hub so your landed price stays competitive. Phone us before you pay a cent — a real person answers.
- Is this really an Australian product?
- Yes — Australian designed and engineered on the NSW Central Coast. Manufacturing is done offshore to our spec, and international orders ship direct from our Hong Kong dispatch hub. If we routed every boat through Australia first, the freight alone would roughly double or triple your cost for the same hull.
- What do I pay, and what is not included?
- The delivery and import terms depend on your country. EU, UK, New Zealand and named Asia/Pacific lanes include duty and tax; US freight is free but US buyers pay import charges on arrival. Other destinations show their terms before payment.
- How do I pay safely?
- Card through Stripe (Visa, Mastercard, Amex, Apple Pay, Google Pay) or bank transfer. Card payments carry your bank's own dispute protection. We never ask for crypto, gift cards or payment to a personal account.
- What if it arrives damaged?
- Every boat ships fully tracked and insured door to door. Photograph the carton and the boat on arrival and email us — transit damage is claimed and replaced through us, not left with you and the courier.
- Is the warranty real outside Australia?
- Yes. The 7-year hull warranty on 1.2 mm VALMEX Heavy Plus and Orca Hypalon hulls applies wherever you are. Replacement parts are held in Australia and at our overseas hub and go out by express courier to your door.
- Is the boat actually certified?
- All Aerowave catamarans are CE certified to ISO 6185-3 and EU Directive 2013/53/EU. Certification paperwork is supplied with the boat — ask and we will send it before you order.
Frequently asked questions
- Can you launch an inflatable boat by yourself?
- Yes, and most owners do. The keys are fitting the wheels before the outboard, always having a bow line secured before you walk away, and loading gear only once the boat is floating. A catamaran hull makes solo beach launching noticeably easier because it sits flat and floats shallow.
- Do you need a trailer for an inflatable boat?
- No. That is the point of the format. Most Australian owners transport in the boot or on a roof rack and use launching wheels to move the rigged boat to the water. A trailer is only worth it if you leave the boat permanently rigged.
- What is the right order to inflate an inflatable boat?
- Bring each chamber to partial pressure first, then go back and top each chamber to its rated pressure, then fit the floor. Inflating one chamber fully first puts uneven load on the internal baffles.
- How do you launch an inflatable boat in surf?
- Point the bow directly into the swell, wait for the lull between sets, walk the boat to knee depth, board quickly and idle straight out before turning. Never launch or retrieve beam-on to breaking waves.
- Can you drag an inflatable boat across sand?
- You can, but you should not. Dry sand and gravel are abrasive and shell grit will score the underside over time. Launching wheels solve this for well under the cost of a hull repair.
- Should you rinse an inflatable boat after every trip?
- Yes, especially in salt water. A quick rinse of the hull, transom, outboard leg and wheels prevents salt build-up. Always let the boat dry fully before packing it away to avoid mould.
- What is the most common launching mistake?
- Fitting the outboard before the wheels. It turns an easy job into a heavy, awkward lift and it is the leading cause of both back strain and scratched transoms at the ramp.
Ready to set sail?
Premium German-fabric inflatable catamarans, built to order and delivered to your door. Talk to our team or browse the fleet.
Like this guide? Get the next one in your inbox.
Owner-tested tips, gear deep-dives and Aussie boating know-how — no spam.