Your Guide to High Temperature Adhesive for Boats in 2026
It’s a frustrating sight for any boatie: a seam on your inflatable starting to peel away, especially under the full force of the Australian sun. Standard glues just can’t cut it in that heat; they go brittle and let go,…
At a glance
It’s a frustrating sight for any boatie: a seam on your inflatable starting to peel away, especially under the full force of the Australian sun. Standard glues just can’t cut it in that heat; they go brittle and let go,…
- Why Your Boat Needs High Temperature Adhesive
- The Hidden Danger of Thermal Stress
- Understanding Different Marine Adhesive Chemistries
- Polyurethanes For Flexible Fabrics
What we'd put you in
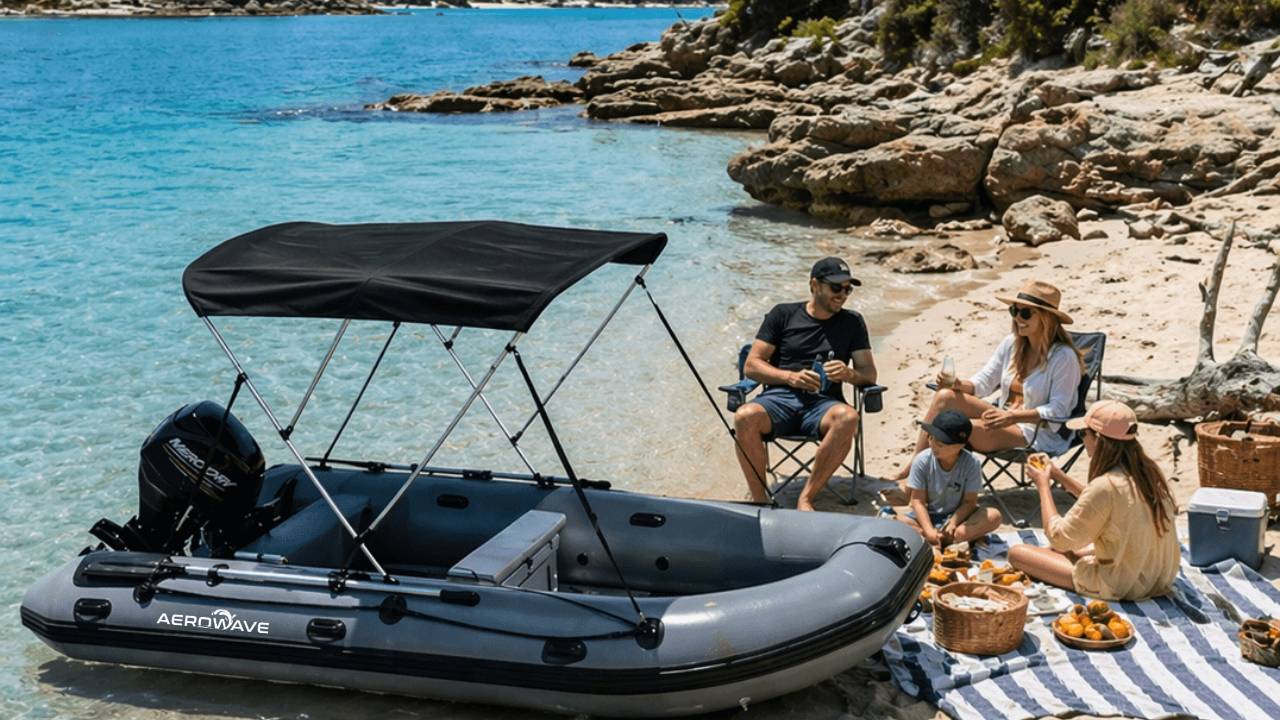
Aerowave Viper 400 Sovereign
Our best-selling boat: 4.0 m, 1.2 mm VALMEX hull, 7-year hull warranty.
US$3,167 USD
Delivered to your door, today's rate
- Free freight to United States · local taxes payable on arrival
- 7-year hull warranty
Ships to United States 🇺🇸 · tracked door to door
Fixing a hull today? Get the kit that actually holds.
Two-part PVC adhesive, matched fabric patches and a seam roller — the same kit our factory uses on 1500 GSM VALMEX®.
- Two-part adhesive — single-part hardware-store glue lets go in the sun
- Patch fabric matched to hull weight, not generic vinyl
- Written step-by-step for a wet-season repair that lasts
We're putting this into production. Want first run at cost-plus pricing?
Add your email — no spam, one message when it ships. We use this list to tell our factory what to build next.
Or replace the boat entirely
Aerowave Viper 400 Sovereign
Delivered to United States — freight included in the figure below.
US$3,167landed, USD
- 7-year hull warranty
- CE certified to ISO 6185-3 and EU Directive 2013/53/EU
- Door-to-door, tracked the whole way
See it for yourself
Real boats. Real owners. Real people behind them.
Plenty of what you read online these days is generated. Check us out properly — the factory, the reviews and the owners are all one click away. Why we use AI, and how to check we’re real
How our boats are built
Walk the production line: thermo-welded seams, 1.2 mm VALMEX Heavy Plus hulls, over-pressure relief valves on every chamber.
See the buildGoogle Maps reviews
Real Australian owners, five stars, published on our Google Business Profile with the map — read them there, not just on our own site.
Open Google Maps reviewsOwner stories
Boats in use — offshore, on rivers, on rescue duty. Photos and words from the people who actually own them.
Read owner storiesIt’s a frustrating sight for any boatie: a seam on your inflatable starting to peel away, especially under the full force of the Australian sun. Standard glues just can’t cut it in that heat; they go brittle and let go, leaving you with a leaky mess. Think of a high-temperature adhesive as specialised sunscreen for your boat’s bonds—it's engineered to stay tough and flexible when the surface gets scorching hot. Whether you're comparing prices and features of inflatable boats in your area or already own one, understanding adhesives is key to longevity.
Why Your Boat Needs High Temperature Adhesive
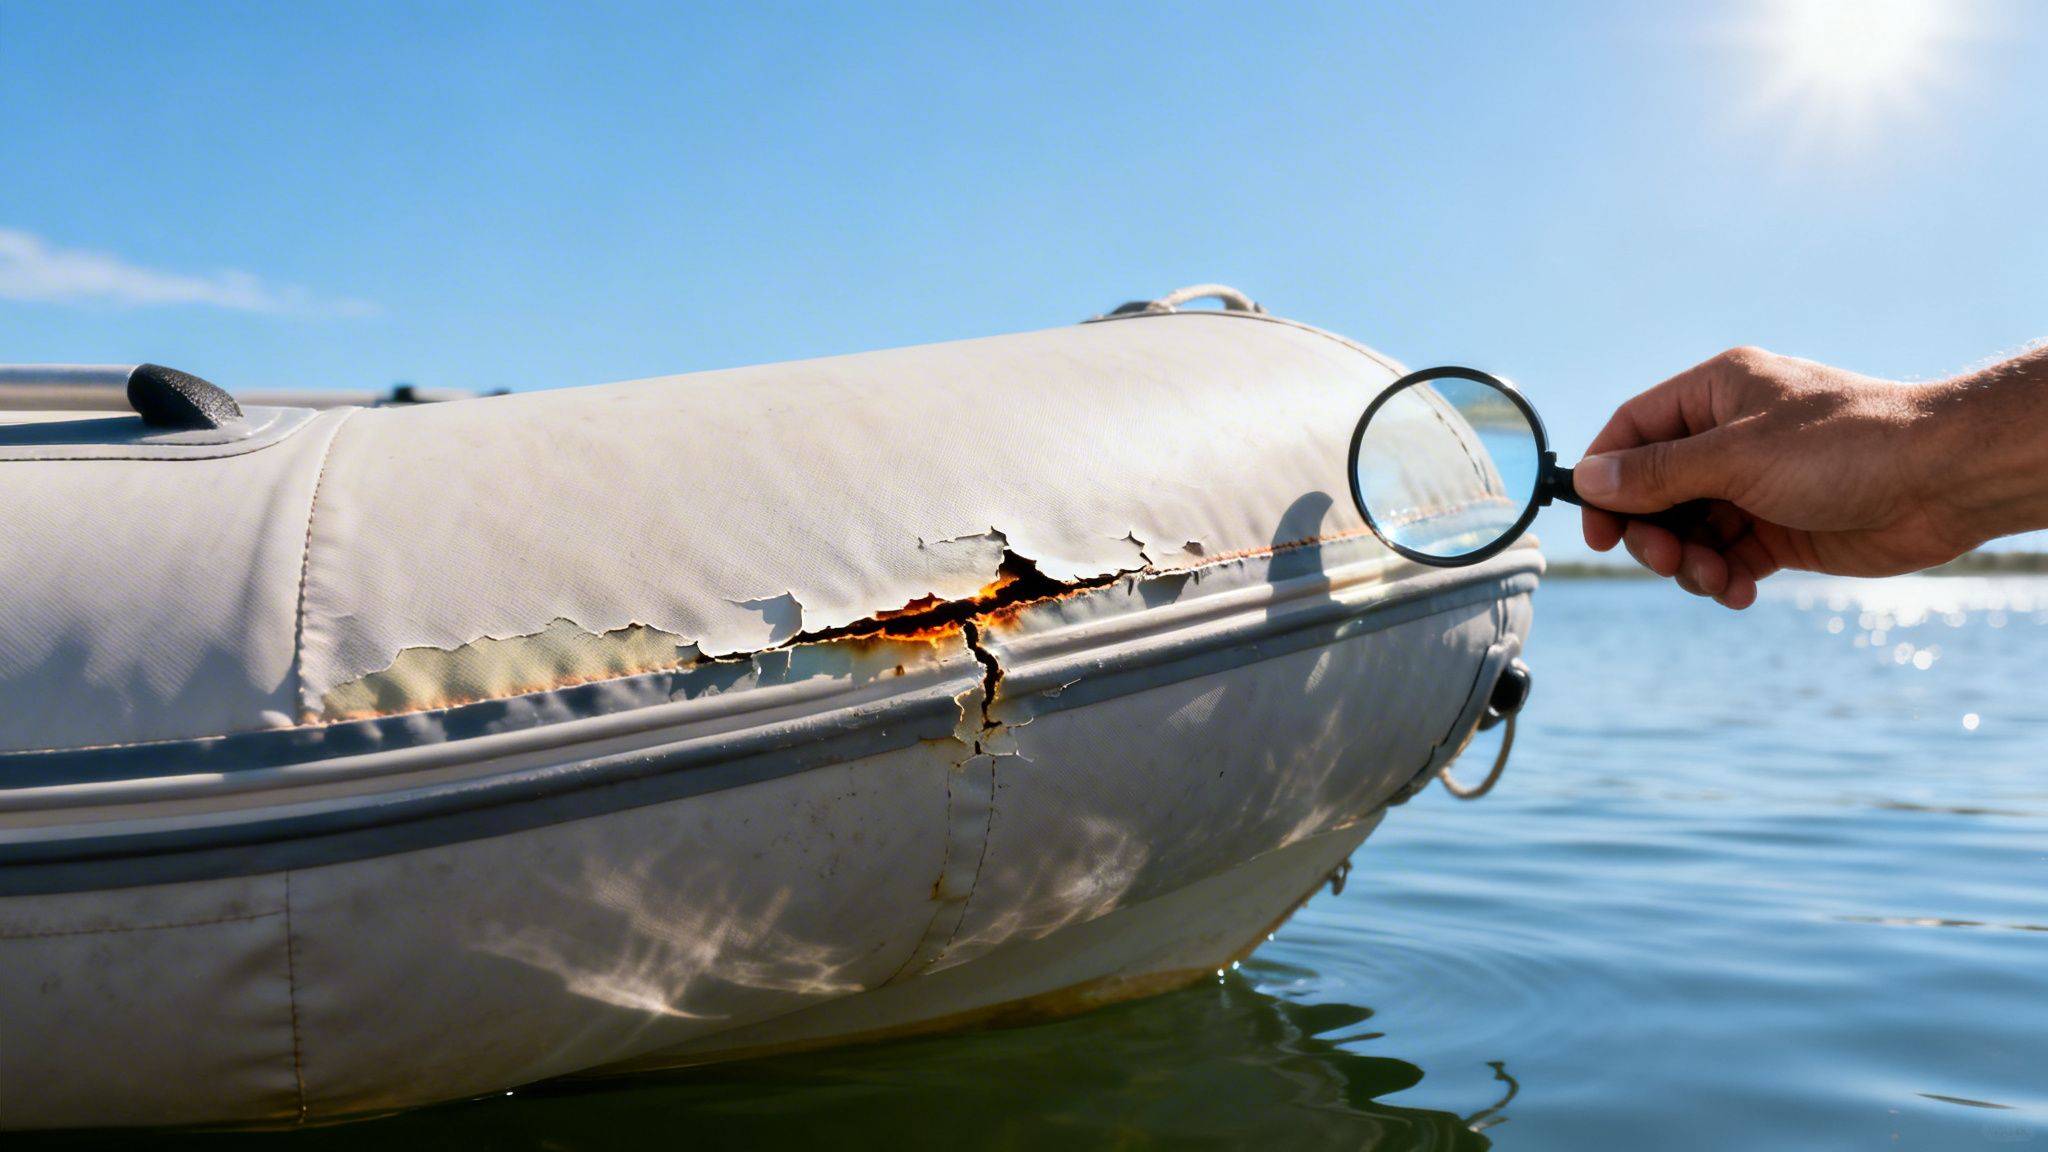 That brilliant sun that makes for a perfect day on the water is also your boat’s biggest enemy. When dark-coloured PVC or Hypalon fabric soaks up sunlight, the surface temperature can absolutely skyrocket, getting far hotter than the air around it. This constant cycle of heating and cooling puts massive stress on standard glues, causing them to soften, lose their grip, and fail. If you're looking for the best inflatable boats for recreational use available near you, choosing one with high-quality, heat-resistant seams is a crucial first step.
And this isn't just about looks. A failing seam or a handle that pulls away can go from a minor annoyance to a serious safety issue in a heartbeat, especially when you're far from shore. The integrity of your boat’s bonds is everything, whether you're out for a family cruise or relying on a high-performance inflatable for a serious fishing trip.
That brilliant sun that makes for a perfect day on the water is also your boat’s biggest enemy. When dark-coloured PVC or Hypalon fabric soaks up sunlight, the surface temperature can absolutely skyrocket, getting far hotter than the air around it. This constant cycle of heating and cooling puts massive stress on standard glues, causing them to soften, lose their grip, and fail. If you're looking for the best inflatable boats for recreational use available near you, choosing one with high-quality, heat-resistant seams is a crucial first step.
And this isn't just about looks. A failing seam or a handle that pulls away can go from a minor annoyance to a serious safety issue in a heartbeat, especially when you're far from shore. The integrity of your boat’s bonds is everything, whether you're out for a family cruise or relying on a high-performance inflatable for a serious fishing trip.
The Hidden Danger of Thermal Stress
Imagine leaving a chocolate bar in the car on a hot summer's day—it melts into a useless puddle. That's pretty much what happens to a regular adhesive under intense heat. A high-temperature adhesive, on the other hand, is built differently. It’s made to handle these wild temperature swings without losing its structural strength, ensuring your repairs hold firm day in and day out. This resilience is crucial for a few key reasons:
- Prevents Seam Separation: It gets to the root cause of leaks on sun-beaten areas of your boat.
- Secures Critical Components: It makes sure D-rings, grab handles, and transoms stay locked in place.
- Extends Your Boat's Lifespan: Strong, lasting repairs mean less time fixing things and more time enjoying the water.
This need for tough, heat-proof bonding solutions is growing fast. In fact, the global market for these specialised adhesives is set to hit USD 7.6 billion by 2034, pushed by demanding industries like marine and automotive where performance under pressure is non-negotiable.
A failed bond at sea is more than just an inconvenience; it’s a genuine risk. Using the right high-temperature adhesive is a fundamental part of good boat maintenance, giving you reliability and peace of mind on every trip.
Ultimately, picking the right glue is a critical investment in your vessel’s safety and longevity. For a deeper dive into the practical side of fixing your boat, you can check out our comprehensive guide to inflatable boat repairs.
Understanding Different Marine Adhesive Chemistries
Choosing the right adhesive can feel a bit like a chemistry test you didn't study for. To get a repair that actually lasts, you need to look past the fancy branding on the tube and understand what’s inside. While there are countless glues out there, only a few are cut out for the tough demands of marine use. Each type of glue, or "chemistry," brings its own mix of flexibility, brute strength, and resistance to the elements. For example, some specialised adhesives are engineered for very specific jobs, like a self-adhesive, waterproof barrier used to protect deck foundations from moisture. When it comes to inflatable boats, though, the choice nearly always boils down to two heavy hitters: polyurethanes and epoxies.
Polyurethanes For Flexible Fabrics
Think of polyurethane adhesive as the gymnast of the glue world. It’s incredibly tough and strong, yet it stays flexible—which is exactly what you need for the fabric on an inflatable boat or an inflatable catamaran. As your boat inflates, deflates, and flexes on the water, a polyurethane bond moves right along with it, preventing the repair from going brittle and cracking under pressure. These are almost always two-part systems, meaning you mix a resin and a hardener right before you apply it. This kicks off a chemical reaction that creates a powerful, cross-linked bond that stands up to water, sun, and scrapes. For any PVC or Hypalon fabric repair, a flexible polyurethane is your go-to.
Epoxies For Rigid Components
If polyurethane is the gymnast, then epoxy is the weightlifter. Epoxies cure into a rock-solid, rigid state, making them the perfect choice for structural repairs on hard, non-flexing parts of your boat. You'll typically see marine-grade epoxy used for:
- Bonding a solid transom to the boat's tubes.
- Fixing cracks in a rigid fibreglass hull.
- Securing hard plastic or metal accessories like rod holders or cleats.
But here’s a critical warning: using a rigid epoxy on a flexible fabric is a recipe for failure. The moment your boat inflates or flexes on a wave, that inflexible glue line will crack, and your patch will pop right off. This is why matching the adhesive to the material is so important. It's the same principle as with other materials, like knowing the best glue for foam repairs to avoid melting the foam. A true high-temperature adhesive has to hold its ground when things get hot. For a boat, this isn't just about engine heat—it’s about handling the constant temperature swings from a sun-baked deck to the cool water below. This cycle can quickly destroy weaker glues. Some industrial-grade adhesives are even rated for continuous use from 121°C to over 816°C, showing just how resilient a proper bond can be.
Matching the Adhesive to Your Boat Material
Using the wrong adhesive on your inflatable is a bit like putting diesel in a petrol car—it’s a recipe for total failure. The single most critical step in any repair is matching your high-temperature adhesive to the boat's material. Get this right, and you’re well on your way to a permanent, factory-quality seal. The two fabrics you’ll almost always encounter on inflatables are Polyvinyl Chloride (PVC) and Hypalon. They might look and feel similar, but chemically, they're worlds apart and demand completely different glues. Slapping a PVC adhesive on a Hypalon boat will give you a weak, temporary bond that’s guaranteed to peel away, probably at the worst possible moment.
PVC vs. Hypalon: The Great Divide
So, how can you tell what your boat is made of? The easiest method is to check the manufacturer's plate, which often lists the fabric. If that’s missing or unreadable, there’s a simple test you can do. Find a hidden spot, like the inside of a valve flap, and dab a small amount of acetone on a cloth. Gently rub the area. If the material gets sticky and the colour transfers to your cloth, you’ve got a PVC boat. Hypalon, on the other hand, will show little reaction beyond looking a bit cleaner. This simple distinction is vital because the glues work in fundamentally different ways:
- PVC adhesive is a solvent-based glue that works by chemically melting the surface of the fabric. It essentially welds the patch and boat material into a single, unified piece.
- Hypalon adhesive is more of a contact cement. It doesn't melt the material but instead forms an incredibly powerful, flexible layer that bonds the two surfaces together.
Understanding this difference is the first and most important step. If you want to dive deeper, you can learn more about the benefits of Hypalon versus PVC material in our detailed comparison guide.
Bonding Rigid and Advanced Materials
Of course, your repair job might go beyond the inflatable fabric itself. Many boats have rigid parts like aluminium transoms, wooden floorboards, or hard plastic D-rings and handles. These non-flexible components need a totally different bonding strategy.
While flexible polyurethanes are perfect for fabrics that need to move and flex, a rigid, high-strength epoxy is the superior choice for bonding structural elements that don’t bend. This ensures a rock-solid connection that won't fail under load.
When you're choosing an adhesive, you also have to think about the temperature resistance of the parts you're bonding. For some of the advanced composites and plastics used in high-performance marine environments, understanding properties like Peek's melting temperature is crucial. Your adhesive must be able to handle the material's thermal limits without degrading.
This quick decision guide can help simplify your choice between a high-temperature adhesive for flexible fabrics or one for rigid parts.
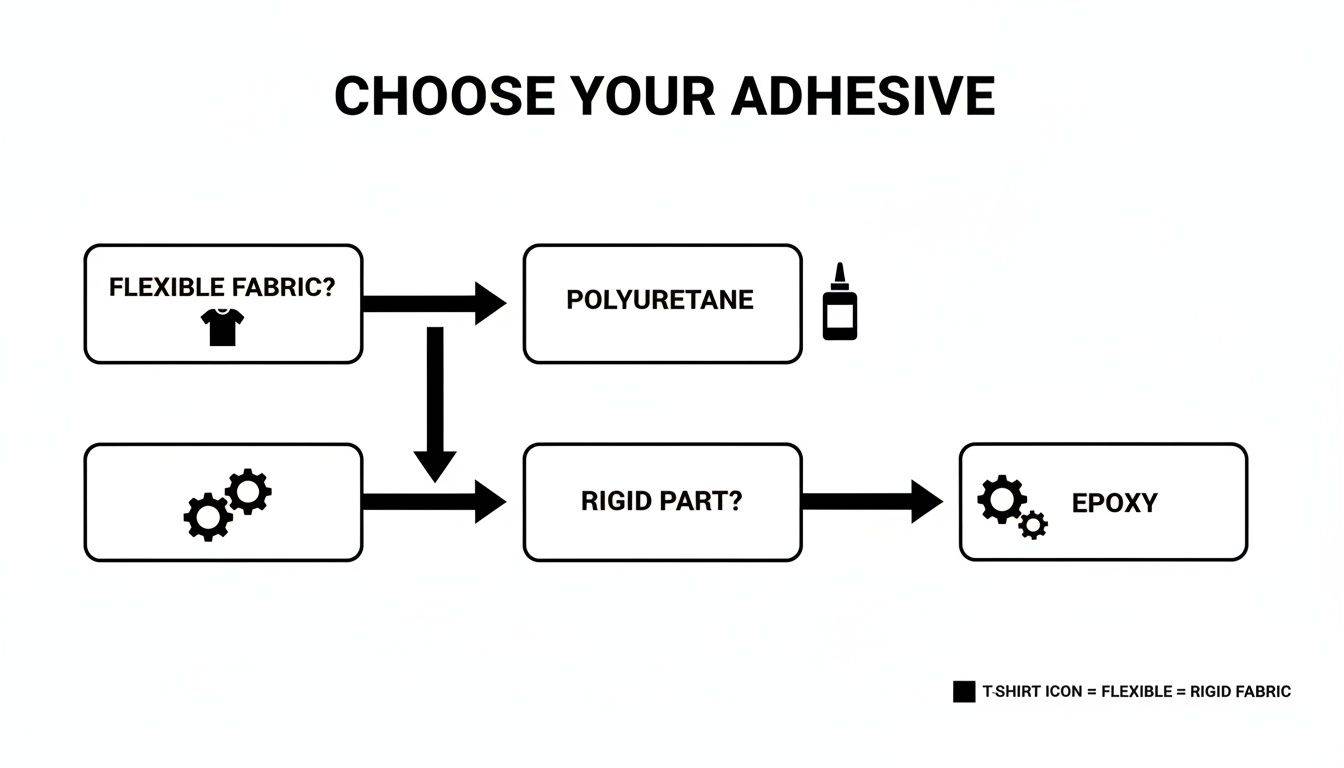 As the flowchart shows, material flexibility is your main guide. It points you toward polyurethane for fabrics and epoxy for any hard components. By correctly identifying your materials from the start, you set yourself up for a successful, durable repair that lasts.
A Step-by-Step Guide to a Flawless Application
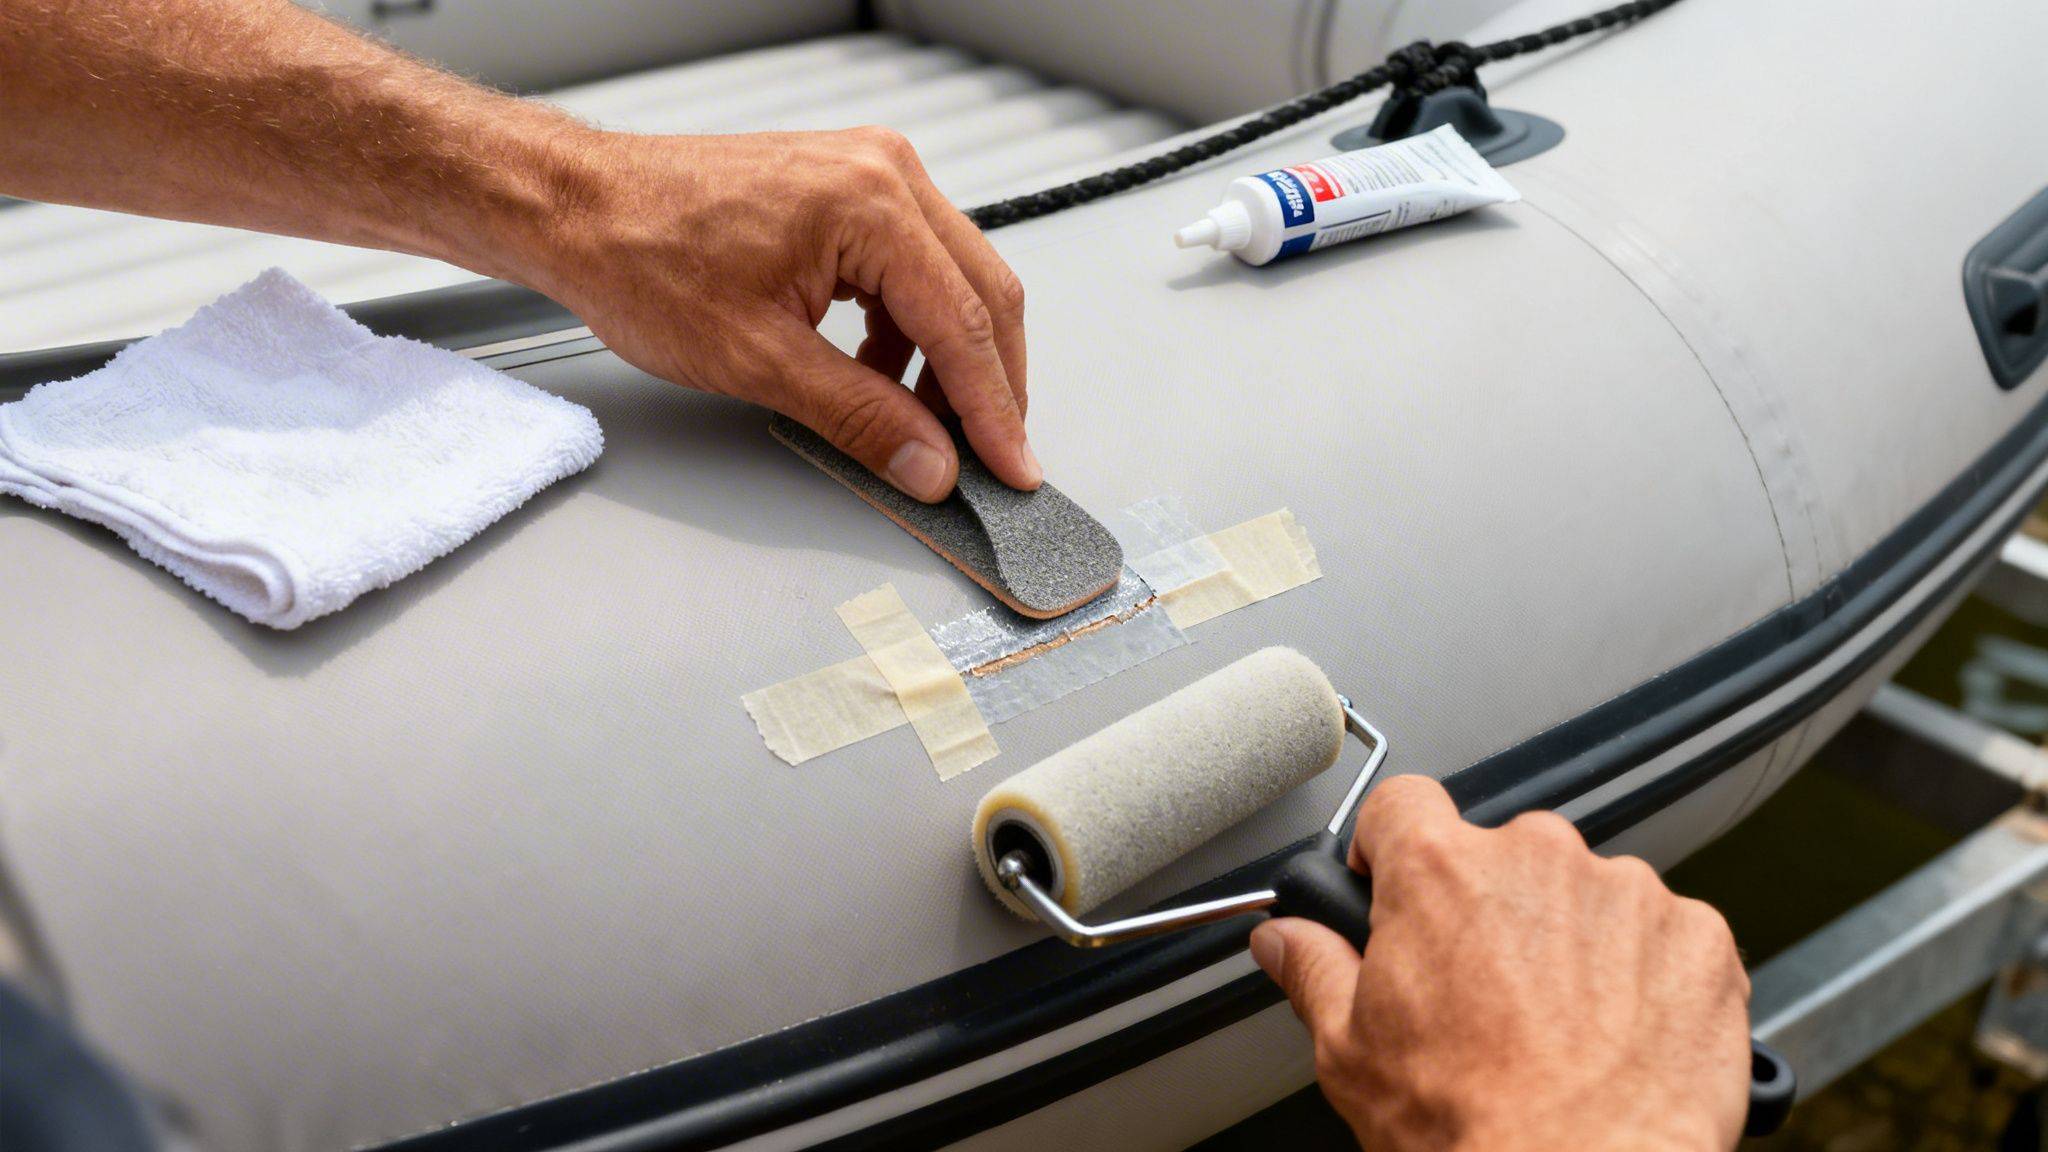 Even the world's best high-temperature adhesive will let you down if you skimp on the prep work. A rock-solid, permanent bond isn’t just about the glue; it's about giving that glue the perfect surface to bite into. This guide will walk you through the process just like a pro, making sure your repair stands up to the heat and strain of real-world use.
The fate of your repair is sealed long before you even crack open the adhesive. In fact, poor surface preparation is the number one reason adhesive jobs fail. Think of it like trying to paint a dusty, greasy wall—the paint has nothing to hold onto and will just peel away. Your adhesive needs a clean, slightly roughened surface to create a powerful mechanical grip.
Even the world's best high-temperature adhesive will let you down if you skimp on the prep work. A rock-solid, permanent bond isn’t just about the glue; it's about giving that glue the perfect surface to bite into. This guide will walk you through the process just like a pro, making sure your repair stands up to the heat and strain of real-world use.
The fate of your repair is sealed long before you even crack open the adhesive. In fact, poor surface preparation is the number one reason adhesive jobs fail. Think of it like trying to paint a dusty, greasy wall—the paint has nothing to hold onto and will just peel away. Your adhesive needs a clean, slightly roughened surface to create a powerful mechanical grip.
Stage 1: Surface Preparation
First up, lay your patch over the damaged spot and make sure it extends at least 2-3 centimetres beyond the tear on all sides. Use a pencil to lightly trace around the patch onto the boat's material. This outline is your working area. Now for the most important part: cleaning. This is absolutely non-negotiable. Both the patch and the marked area on your boat need a thorough wipe-down with the right solvent.
- For PVC Boats: Use Methyl Ethyl Ketone (MEK).
- For Hypalon Boats: You'll want to use Toluene or Acetone.
Put some solvent on a clean, lint-free cloth and give both surfaces a good, firm wipe. You might notice the material gets a little tacky, which is a great sign! It means the very top layer is chemically prepped for an unbreakable bond. Let the solvent flash off completely before you do anything else. Our detailed guide on rubber boat repair has even more tips on this crucial stage. Once clean and dry, it's time to scuff up the surfaces. This creates a microscopic, rough texture that the adhesive can lock onto. Using a medium-grit sandpaper (around 120-grit is perfect), lightly sand the underside of the patch and the traced area on the boat. You’re just aiming to dull the shiny finish, not grind away the material. When you're done, wipe away all the dust with a new, dry cloth.
Stage 2: Mixing and Application
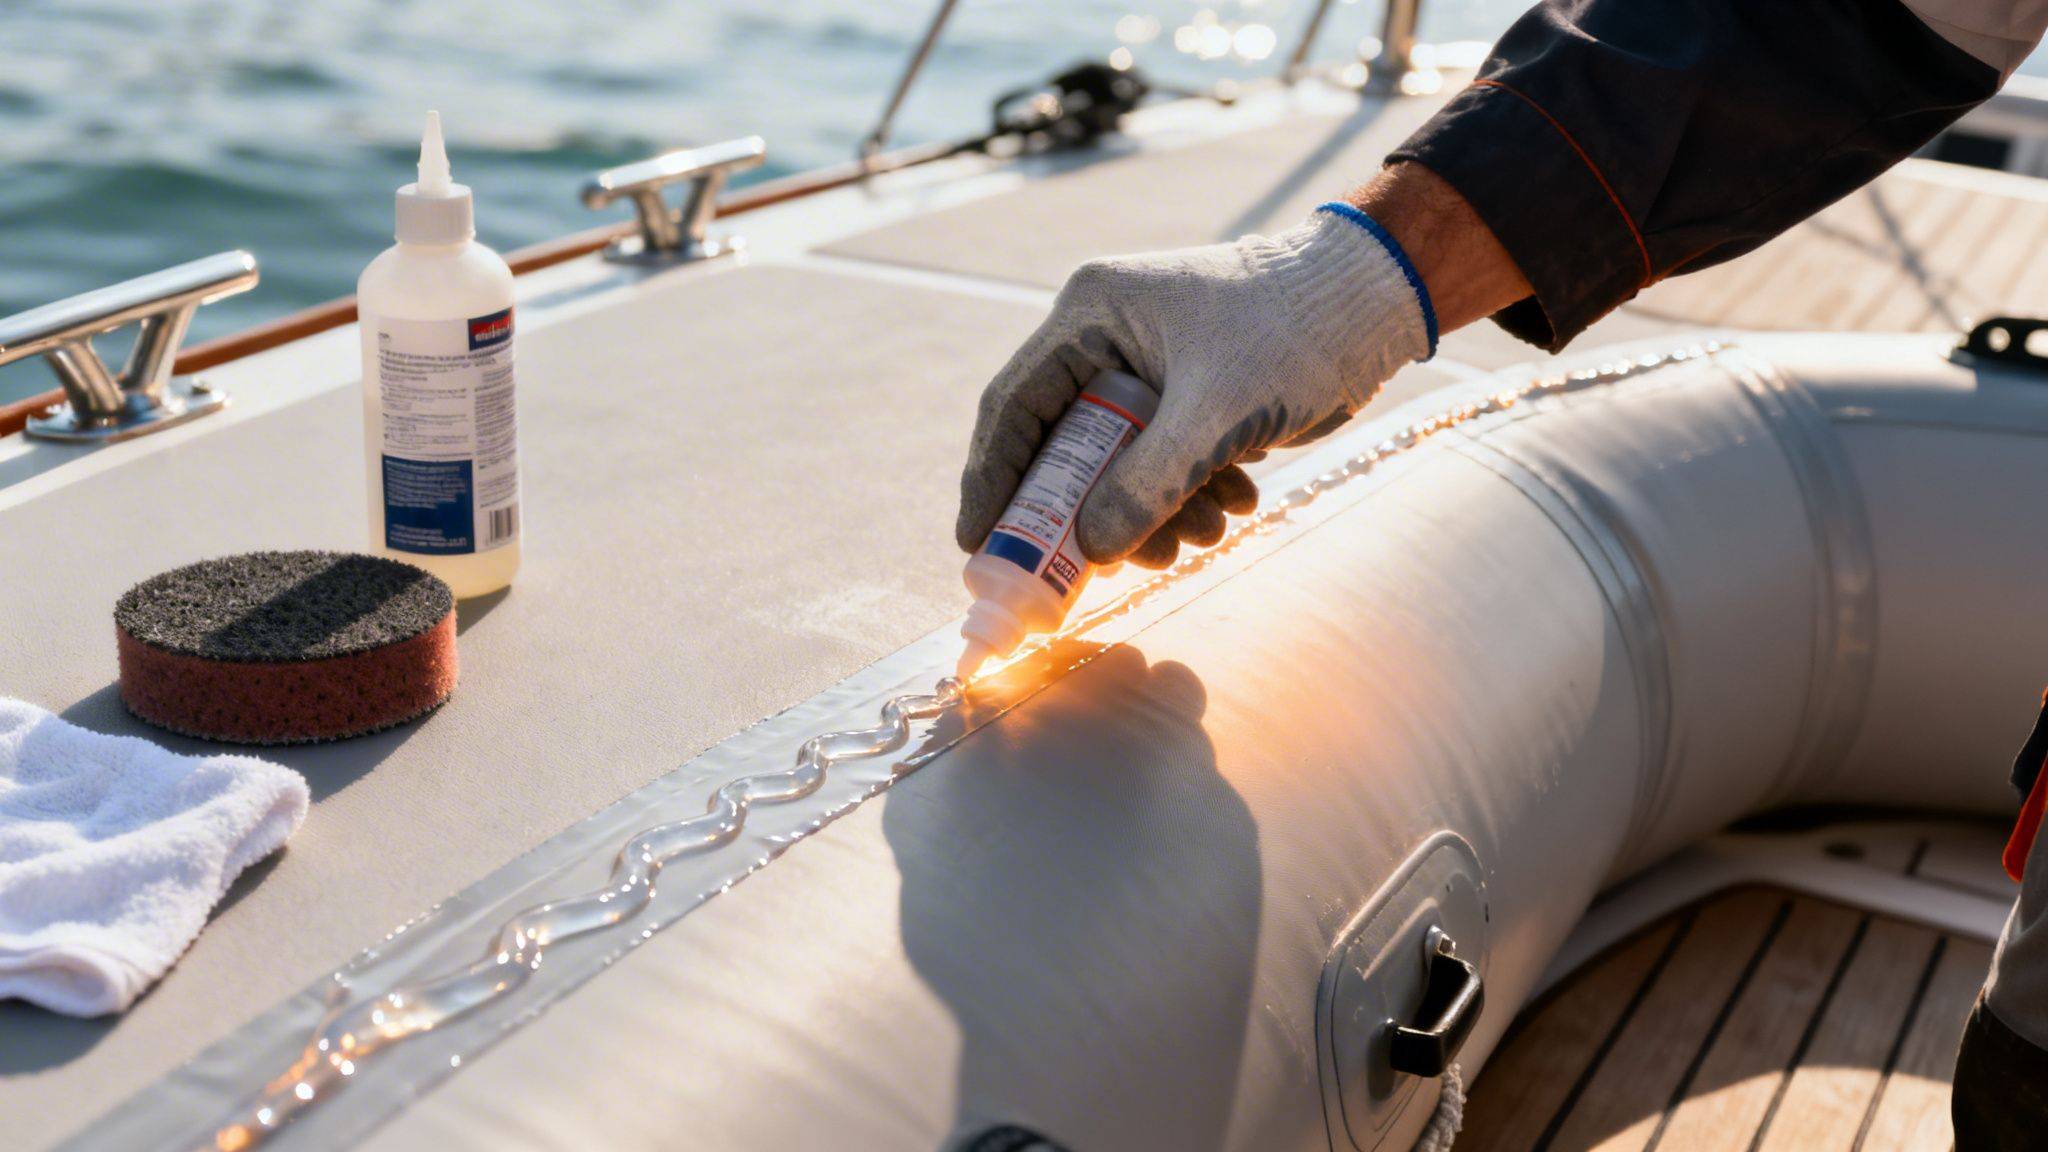
With your surfaces ready to go, it’s time to mix your high-temperature adhesive. If you're using a two-part polyurethane, you have to follow the manufacturer's ratios to the letter. Don't just eyeball it; getting the mix right is what kicks off the chemical reaction that creates a strong bond. Next, apply a thin, even coat of the adhesive to both the patch and the boat.
It's a common mistake to think more glue equals a stronger bond. The opposite is true. A thick, goopy layer won't cure properly and will result in a weak, lumpy seam. You're aiming for a consistent, thin film.
A small, stiff-bristled brush works best for this. Many adhesives need a second coat after the first has become tacky, which usually takes 10-15 minutes. Always check the specific instructions for your product. Once that final coat feels tacky to the touch—a bit like the sticky side of masking tape—you’re ready to join the surfaces.
Mastering the Curing Process for Maximum Strength
Getting the high temperature adhesive on perfectly is a great start, but the job is far from over. The real work—the part that creates an unbreakable, permanent bond—happens during the curing process. This isn't just about letting the glue "dry." Curing is a chemical reaction that transforms the liquid adhesive into a rock-solid material. Think of it like baking a cake. You can mix the best ingredients, but if you rush it out of the oven, you’re left with a gooey mess. Your adhesive is no different; it needs the right combination of time, temperature, and pressure to reach its full strength.
The Three Stages of Curing
A professional-grade repair doesn’t happen instantly. The bond develops in distinct phases, and knowing what to look for will stop you from stressing the patch before it's ready.
- Initial Tack: Right after pressing the surfaces together, the adhesive feels sticky. It’s strong enough to hold a patch in place, but the bond is still incredibly fragile.
- Handling Strength: After a few hours, the bond has developed enough strength to be handled gently. You might be able to move the boat around your workshop, but it's nowhere near ready for inflation or the water.
- Full Cure Strength: This is the finish line. The adhesive has completely cross-linked and reached 100% of its potential strength. Depending on the product, this can take anywhere from 24 hours to a full week.
Patience is the single most important tool you have. Rushing your boat back into the water before a full cure is the leading cause of repair failure, even when the bond feels solid to the touch.
Why Time, Temperature, and Pressure Matter
These three elements are the pillars of a successful cure. Getting them right is non-negotiable if you want your high temperature adhesive to perform under pressure, especially in the demanding Australian climate. Time: As we’ve covered, every adhesive has a specific cure time. Always check the manufacturer's directions, but a good rule of thumb is to give it more time than you think you need. For most marine adhesives, waiting a full 72 hours is a safe bet. Temperature: Most adhesives cure best in a specific temperature range, typically between 18°C and 25°C. If it’s too cold, the chemical reaction slows to a crawl, dragging out the cure time. If it’s too hot, the solvents can flash off too quickly, preventing the adhesive from forming a strong bond. Pressure: This is the secret to a flawless bond. Applying firm, consistent pressure is what ensures the two surfaces make complete contact and forces out any trapped air bubbles. You don’t need anything fancy—a simple handheld J-roller is the perfect tool. Work from the centre of the patch outwards with firm, steady pressure. It’s far more effective than just pressing down with your hands.
Essential Safety When Using Marine Adhesives
Working with a powerful high temperature adhesive means you're dealing with serious chemicals. Getting a perfect, long-lasting bond is the goal, but your safety and protecting the environment are just as important. Let’s make sure your repair project is a success from start to finish, without any nasty surprises. The fumes from marine adhesives contain Volatile Organic Compounds (VOCs), which you definitely don't want to be breathing in. Always work outdoors if you can, or in a space with fantastic ventilation—think a garage with the main door wide open. A simple fan isn't enough.
Your Essential PPE Checklist
Protecting yourself is simple when you have the right gear. Before you even think about opening that adhesive tin, make sure you have this kit ready to go.
- Respirator: A basic dust mask won’t cut it here. You need a proper respirator fitted with organic vapour cartridges to filter out those harmful fumes.
- Safety Glasses: Protect your eyes from accidental splashes. We recommend chemical-resistant goggles for the best possible protection.
- Chemical-Resistant Gloves: Don’t even try using standard latex gloves; they’ll just dissolve. You need nitrile or butyl rubber gloves to keep the adhesive and solvents off your skin.
Proper storage and disposal are just as critical. Keep your adhesive containers sealed tight and store them in a cool, dry place away from direct sunlight. Never, ever pour leftover adhesive or solvents down the drain. Check with your local council for their guidelines on disposing of hazardous household waste.
Having the right safety kit is a non-negotiable part of any on-water activity. For a complete rundown, take a look at our comprehensive boat safety equipment checklist.
Got Questions? We've Got Answers
Working with marine adhesives can feel tricky, but it doesn't have to be. Here are a few straightforward answers to the questions we hear most often from boat owners, helping you get your repairs done right the first time.
Can I Just Use a General-Purpose Epoxy on My Inflatable Boat?
It's a common thought, but a standard epoxy is the wrong tool for this job. While it's fantastic for rigid repairs, it cures into a rock-hard state that can't handle the movement of an inflatable. As your boat flexes, inflates, and deflates, that brittle epoxy will simply crack and fail. For a repair that lasts on PVC or Hypalon, you absolutely need a flexible adhesive, like a two-part polyurethane, that’s designed to move with the fabric.
How Long Until I Can Get My Boat Back on the Water After a Repair?
Always start by reading the manufacturer's instructions, but a good rule of thumb is to wait for a full cure, not just until it feels dry to the touch. This can take anywhere from 24 hours to a full week, depending on the adhesive, temperature, and humidity. Hitting the water too soon is one of the biggest reasons repairs fail. Even if the bond feels tough, the chemical process is still working its magic internally. For those who need to hire inflatable boats for a family outing in Australia, you can rest assured that professionally maintained rentals have been properly repaired and fully cured.
Patience really is your best friend here. Rushing this final step almost guarantees you'll be doing the same repair all over again sooner than you'd like.
Why Did My Adhesive Repair Fail?
More often than not, a failed repair comes down to one thing: improper surface preparation. If the surfaces aren't perfectly clean, dry, and scuffed up (abraded), the adhesive has nothing to grip onto. Think of it like trying to paint a greasy, glossy surface—it just won't stick. Other common culprits we see include:
- Using the wrong adhesive for your boat’s material (e.g., a PVC glue on Hypalon).
- Applying the adhesive in the wrong conditions, like high humidity or outside the recommended temperature range.
- Not using enough firm, even pressure to squeeze out air bubbles and get 100% contact between the patch and the boat.
For a reliable inflatable boat that minimises the need for repairs in the first place, check out the expertly crafted range at Easy Inflatables. Discover our durable, heat-welded boats and find the perfect model for your next adventure at .
Explore the Aerowave range
Weekend-Proof Score 17 questions · about 2 minutes
Will the boat you're about to buy survive an Australian summer?
Seventeen straight questions about where you'll use it, what you'll ask of it and the boat you're weighing up. You get a score out of 100, the exact weak points in your plan, and the one boat that genuinely fits.
Free · your result shows on screen · no email required
So which one is yours?
Pick how you'll actually use it and we'll take you straight to the right hull.
I want to fish it
Open bow, rod holders, deck space you can stand and cast from.
Viper Sport 400Family, diving and the beach
3.8 m Series 3 catamaran — low bow to climb back in wearing fins or a tank.
WaveRunner 380Tender / one-person launch
3.3 m hard-floor boat that packs into a bag and still takes a beach landing.
Viper 330Shop gear featured in this guide
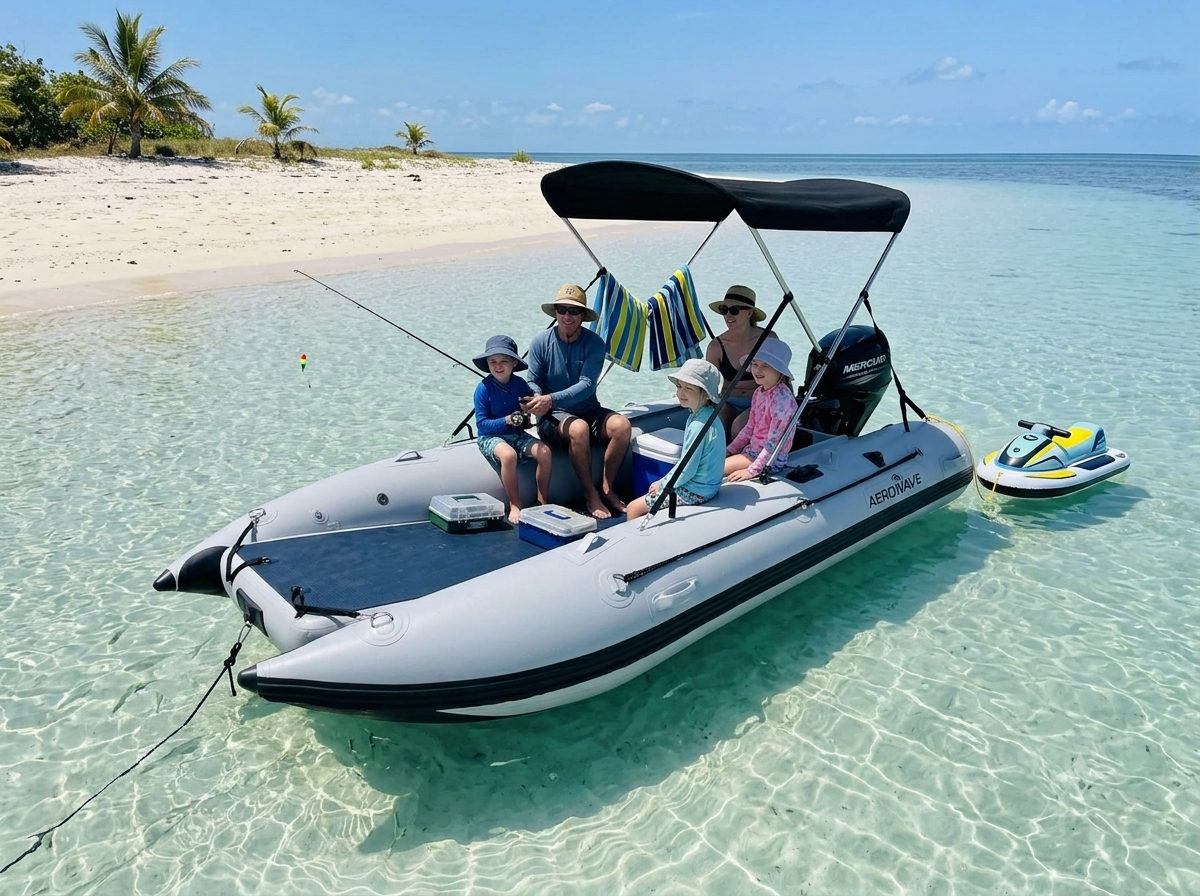
Aerowave WaveRunner 380 Series 3 Catamaran Package
The WaveRunner 380 Series 3 is a premium 3.8m inflatable catamaran package built for Australian and worldwide families, fishing, and coastal day boating — ideal for snorkeling and spearfishing — offering serious stability and premium German Valmex® construction.
Free freight to United States · local taxes payable on arrival
Aerowave Viper 400 Sovereign
Flagship 4m enclosed-bow inflatable catamaran. German VALMEX® 7321 Heavy Plus 1.2mm commercial-grade fabric, 10 PSI high-pressure drop-stitch air deck floor with VALMEX non-slip surface, LockPro wheels, full Bimini and FREE express delivery Australia-wide included. Winter special — save $1,000 until 31 August 2026.
Free freight to United States · local taxes payable on arrival
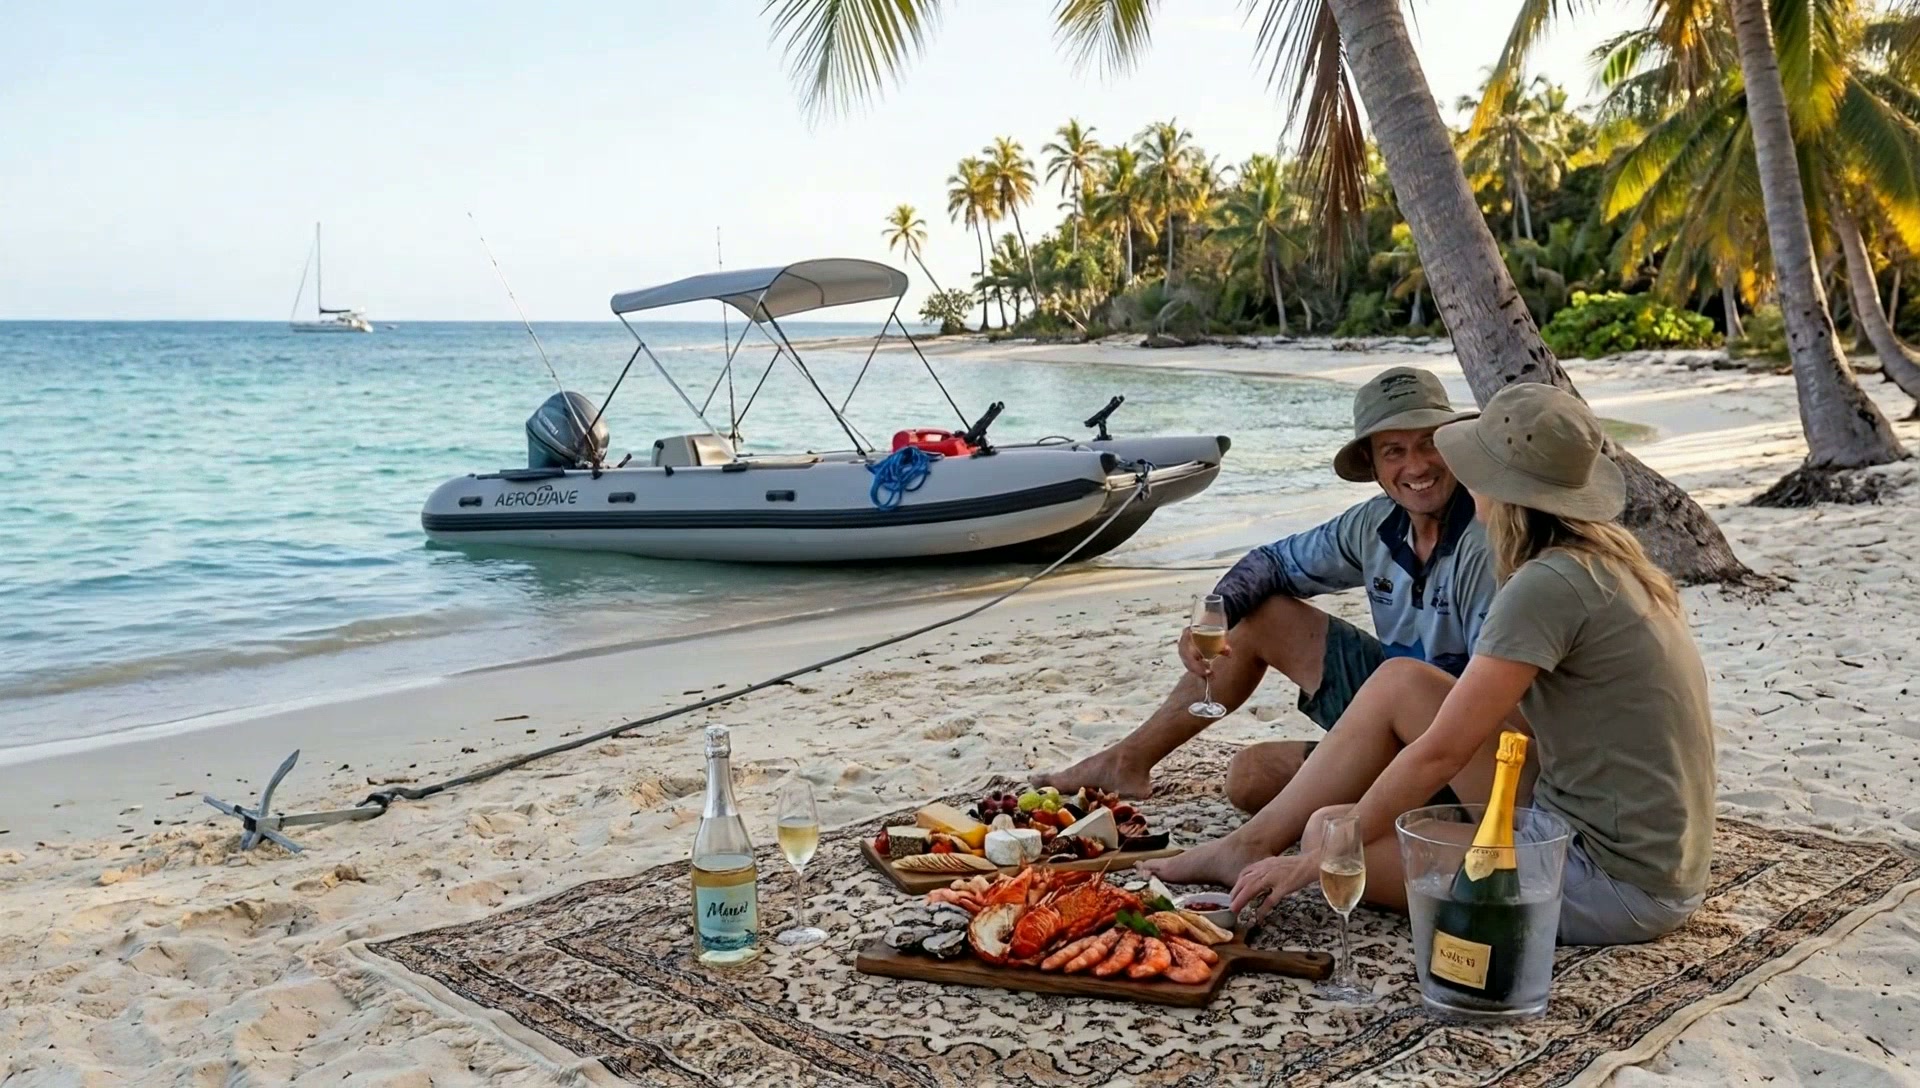
Aerowave Viper 365 Open Bow
Premium 3.65m Inflatable catamaran — built the same way as our flagship Viper 400 sports boat, just 35cm shorter. German VALMEX® 7321 Heavy Plus 1.2mm commercial-grade fabric, 10 PSI high-pressure drop-stitch air deck floor with VALMEX non-slip surface, LockPro wheels, full Bimini and FREE express delivery Australia-wide included.
Free freight to United States · local taxes payable on arrival
Not sure which suits you? Talk to a real boat owner.
Before you spend a cent
Buying from Australia, delivered to United States
You have never heard of us, we are on the other side of the world, and the internet is full of fakes. Fair enough. Here is everything you would need to check us out, in one place — no forms, no chat bot.
Australian designed business
Easy Inflatables, Avoca Beach NSW 2251. ABN 96 856 548 613. International orders ship from our Hong Kong hub.
222 owner reviews, 4.8 average
Read them in full, good and bad, on our reviews page.
CE certified, 7-year hull warranty
ISO 6185-3 and EU Directive 2013/53/EU. Warranty honoured worldwide.
Tracked, insured, door to door
FREE freight to United States · local tax/duty on arrival.
- Who am I actually buying from?
- Easy Inflatables, Avoca Beach NSW 2251, Australia. ABN 96 856 548 613. Sean is the owner and skipper, Gary Stewart handles sales on +61 2 4335 1603, Karen Matthews handles email. The boats are Australian designed; international orders ship from our Hong Kong dispatch hub so your landed price stays competitive. Phone us before you pay a cent — a real person answers.
- Is this really an Australian product?
- Yes — Australian designed and engineered on the NSW Central Coast. Manufacturing is done offshore to our spec, and international orders ship direct from our Hong Kong dispatch hub. If we routed every boat through Australia first, the freight alone would roughly double or triple your cost for the same hull.
- What do I pay, and what is not included?
- The delivery and import terms depend on your country. EU, UK, New Zealand and named Asia/Pacific lanes include duty and tax; US freight is free but US buyers pay import charges on arrival. Other destinations show their terms before payment.
- How do I pay safely?
- Card through Stripe (Visa, Mastercard, Amex, Apple Pay, Google Pay) or bank transfer. Card payments carry your bank's own dispute protection. We never ask for crypto, gift cards or payment to a personal account.
- What if it arrives damaged?
- Every boat ships fully tracked and insured door to door. Photograph the carton and the boat on arrival and email us — transit damage is claimed and replaced through us, not left with you and the courier.
- Is the warranty real outside Australia?
- Yes. The 7-year hull warranty on 1.2 mm VALMEX Heavy Plus and Orca Hypalon hulls applies wherever you are. Replacement parts are held in Australia and at our overseas hub and go out by express courier to your door.
- Is the boat actually certified?
- All Aerowave catamarans are CE certified to ISO 6185-3 and EU Directive 2013/53/EU. Certification paperwork is supplied with the boat — ask and we will send it before you order.
Ready to set sail?
Premium German-fabric inflatable catamarans, built to order and delivered to your door. Talk to our team or browse the fleet.
Like this guide? Get the next one in your inbox.
Owner-tested tips, gear deep-dives and Aussie boating know-how — no spam.